はじめに
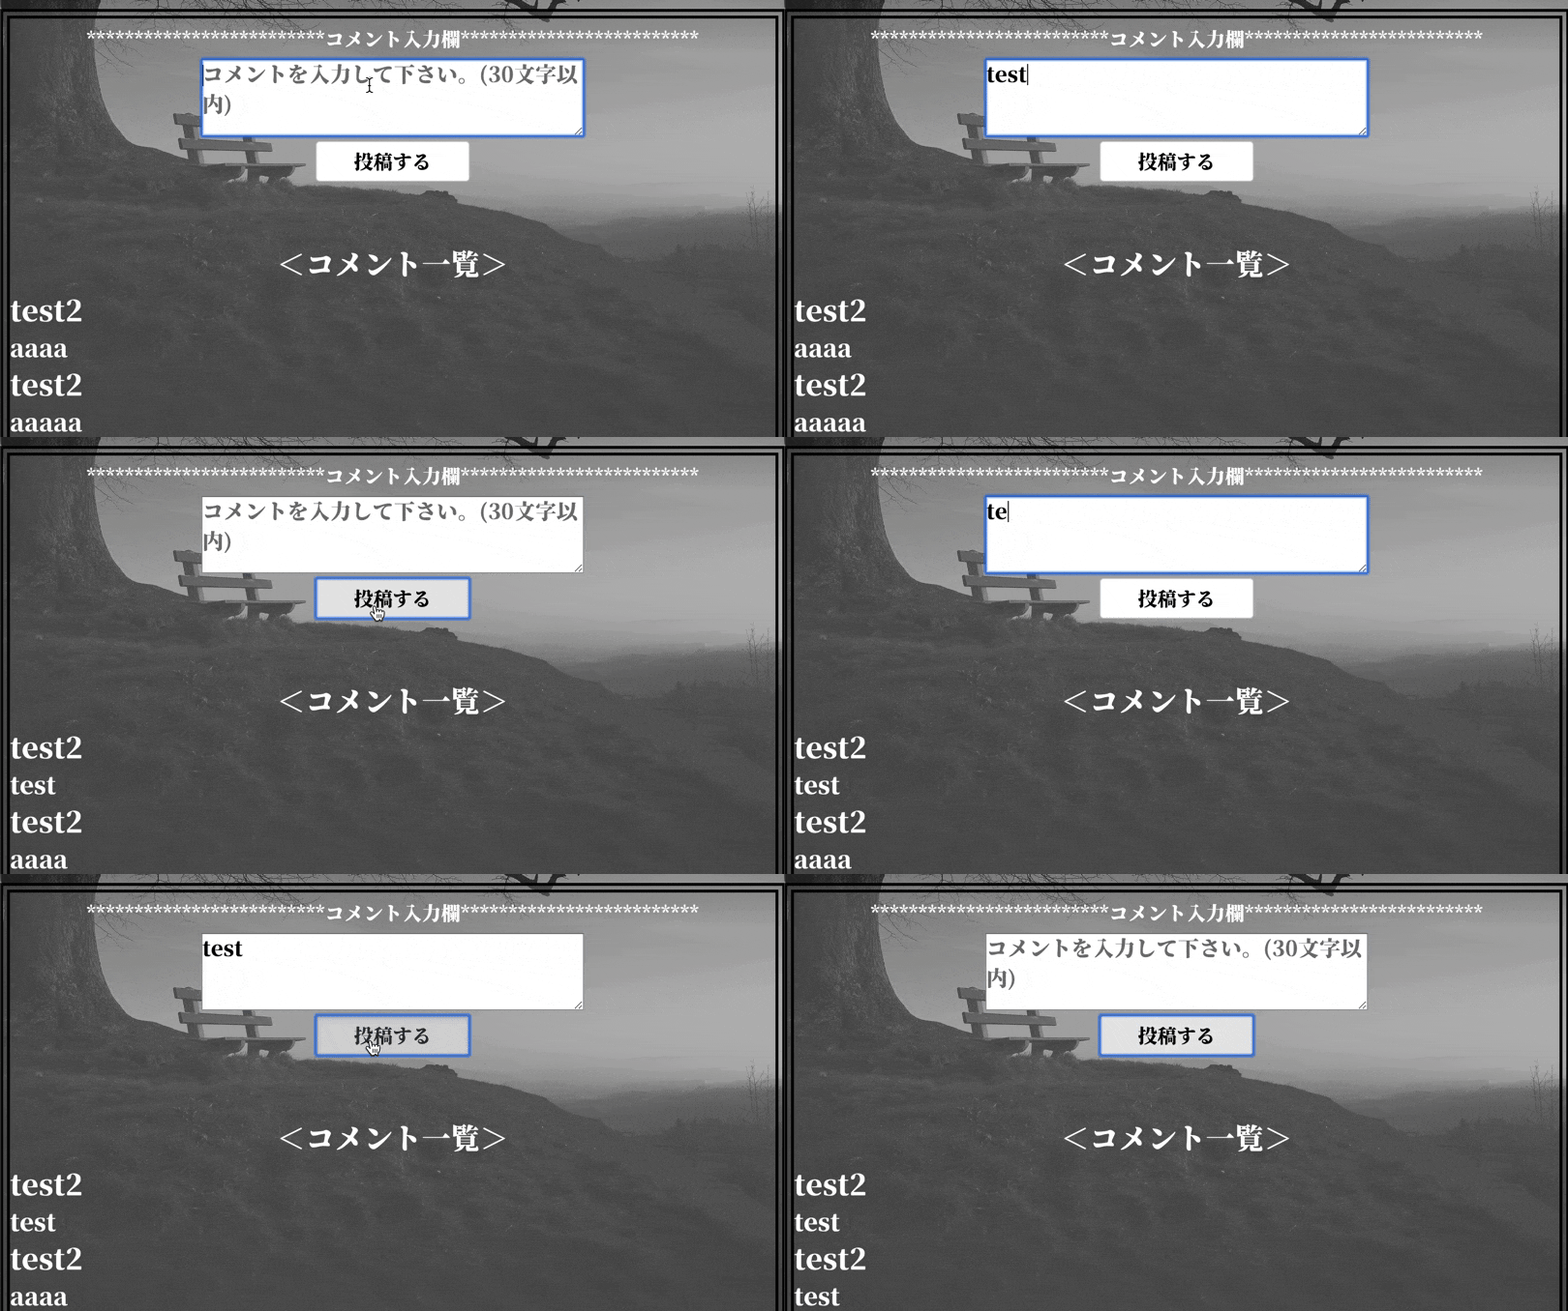
ポートフォリオ用の作品にコメント機能を導入したのですが、非同期通信になってなかったのでストレスなく投稿出来るようにしようと思い実装しました。
環境
ruby 2.5.1
Rails 5.2.3
Ajax(非同期通信)とは
Ajaxとは「Asynchronous JavaScript + XML」の略で簡単にいうと[JavaScriptとXMLを使って非同期にサーバとの間の通信を行うこと]です。
具体的な説明はこちらがわかりやすいかと思いますので参考にして下さい。
https://qiita.com/hisamura333/items/e3ea6ae549eb09b7efb9
実装方法
導入について
モデルやコントローラーの作成手順は省略します。
先ずはGemなどの確認から使用するのはgem 'jquery-rails'です。もし無ければ先ずはGemfileに記述し、Bundle installします
gem 'jquery-rails'
次にapplication.jsに//= require jqueryと//= require rails-ujsと//= require turbolinksがあるのを確認します。これでjQueryは使用できるかと思います。
//= require jquery
//= require rails-ujs
//= require turbolinks
ビュー部分
先ずはビュー画面から今回はform_withを使用してます。非同期を導入するのに気をつけるのはform_with内にid:名前を追加する事です。その他はコメント機能の話になりますので割愛します。
.message
  .message-field
    - if current_user
      = form_with url: "/videos/#{@video.id}/comments", method: :post, id: "new_comment" do
        %h4.message-field__title *************************コメント入力欄*************************
        %textarea{name: "text", cols: "30", rows:"2", placeholder: "コメントを入力して下さい。(30文字以内)", class: "message-field__area",maxlength: "30"}
        %input{type: "submit", value: "投稿する", class: "btn btn-default"}
        %h4.commentlist<コメント一覧>
        .comments
          = render partial: "comments/comment"
部分テンプレート化したビュー部分
- if @comments
  - @comments.each do |comment|
    = link_to comment.user.name, "/users/#{comment.user_id}",class: "username"
    .comment-style
      = comment.text
コメント機能や部分テンプレートについては以下を参考にして下さい。
コメント機能
部分テンプレート
コントローラー部分
class CommentsController < ApplicationController
  def create
    @comment = Comment.create(text: comment_params[:text], video_id: comment_params[:video_id], user_id: current_user.id)
    respond_to do |format|
      format.html { redirect_to video_path(params[:video_id])  }
      format.json
    end
  end
非同期に必要な部分はrespond_to doの部分です。この記述をする事でリクエストされたformatによって処理を分けるようにしてます。あとはjbuilderを使用し、JavaScript(jQuery)に返す値を作成します。
json.text  @comment.text
json.user_id  @comment.user.id
json.user_name  @comment.user.name
jbuilderファイルではjson.KEY VALUEという形で書きます。
こうすることによってJavaScriptファイルに返ってきたデータをjbuilderで定義したキーとバリューの形で呼び出して使うことが出来るようになります。
jQuery部分
次にJSファイルに非同期に必要な記述をします。
$(document).on('turbolinks:load', function(){
  function buildHTML(comment){
    var html = `
                <div class ="username">
                <a href=/users/${comment.user_id}>${comment.user_name}</a>
                <div class="comment-style">
                  ${comment.text}`
    return html;
  }
  $('#new_comment').on('submit', function(e){
    e.preventDefault();
    var formData = new FormData(this);
    var href = window.location.href + '/comments'
    $.ajax({
      url: href,
      type: "POST",
      data: formData,
      dataType: 'json',
      processData: false,
      contentType: false
    })
    .done(function(data){
      var html = buildHTML(data);
      $('.comments').prepend(html);
      $('.message-field__area').val('')
    })
//↓エラー時の処理
    .fail(function(){
      alert("error");
    })
  })
})
先ず、Railsのバージョンが5以降の場合jQueryを動かすために$(document).on('turbolinks:load', function()をはじめに記述します。
詳しい説明はこちらも参考にして下さい
https://qiita.com/hiroyayamamo/items/b258acbaa089d9482c8a
var html部分
function buildHTML(comment){
    var html = `
                <div class ="username">
                <a href=/users/${comment.user_id}>${comment.user_name}</a>
                <div class="comment-style">
                  ${comment.text}`
    return html;
  }
- if @comments
  - @comments.each do |comment|
    = link_to comment.user.name, "/users/#{comment.user_id}",class: "username"
    .comment-style
      = comment.text
この部分ではjQueryのイベントが発火した時に表示させるhtmlをvar html内に記述しています。書き方としてはビューファイルを確認してクラス名などを合わせるだけです。
ajax部分
$('#new_comment').on('submit', function(e){
    e.preventDefault();
    var formData = new FormData(this);
    var href = window.location.href + '/comments'
    $.ajax({
      url: href,
      type: "POST",
      data: formData,
      dataType: 'json',
      processData: false,
      contentType: false
    })
この部分では先ほどビューファイルに記述したid:を$('#new_comment')に記述し送信ボタンを押した時on('submit', function(e)でイベントが発火します。
$.ajaxの部分ではjson型で非同期通信をした際に保存される処理を行なっています。
非同期通信成功時と失敗時の処理
.done(function(data){
      var html = buildHTML(data);
      $('.comments').prepend(html);
      $('.message-field__area').val('')
    })
//↓エラー時の処理
    .fail(function(){
      alert("error");
    })
.done(function(data)を使用して非同期通信成功時の処理を記述してます。
var htmlでhtmlの読み込み、$('.comments').prepend(html);では降順でコメントを表示させています。最後に$('.message-field__area').val('')で入力した文字を削除しています。
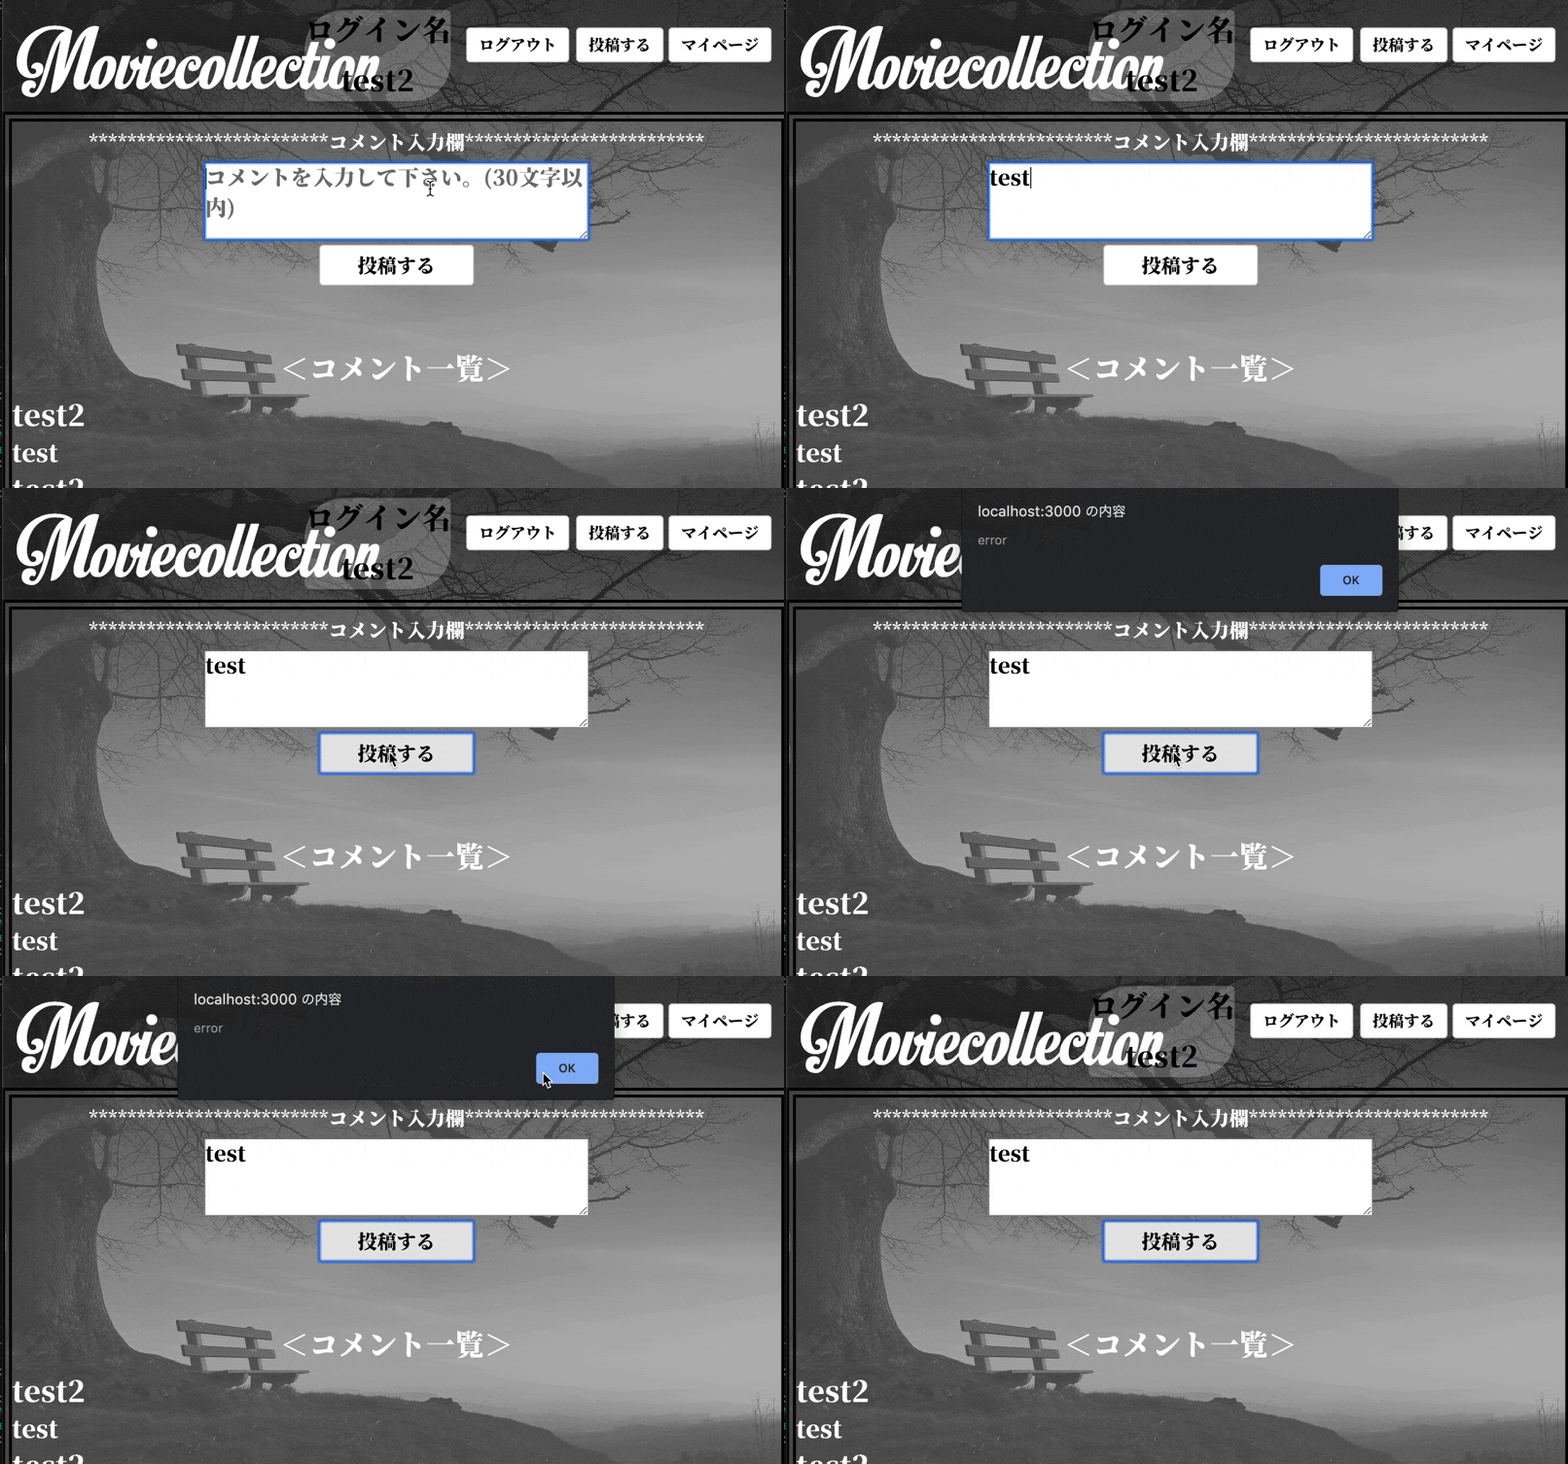
非同期通信に失敗した場合はalert("error")を使用しエラーメッセージを表示させています。
あとはクラス名やcssを調整し見た目を整えたら上手くいくと思います。
成功時
失敗時
最後に
私も最初はクラスの当て方や、ビューの崩れの調整に結構時間がかかっていました。非同期に関しては慣れれば応用が効くようになるかと思います。
説明不足な部分もあるかと思いますので、以下も参考にして下さい。
https://qiita.com/ryosuke071111/items/bedb7f89fe63afc376d4
https://qiita.com/mikan3rd/items/21d716026b51331e53a1

