前書き
AmazonのLightsailでは管理用の画面から簡単に暗号鍵を生成できます。今回はその鍵を基にSSHで接続するまでをまとめます。
今回の内容はLightsailのLAMPインスタンスで行いました。
事前準備
デフォルトユーザー以外のユーザを作成しておく必要がありますLightsailの暗号鍵
当然コンソールからコマンドを入力すれば通常通り暗号鍵/公開鍵を作成し、使用することは可能です。しかしながら管理画面から簡単に暗号鍵をダウンロードできるため今回はこちらで作成していきます。 新しく鍵を作成し、ログインするまでに こちらの手順を参考にします。
鍵の作成
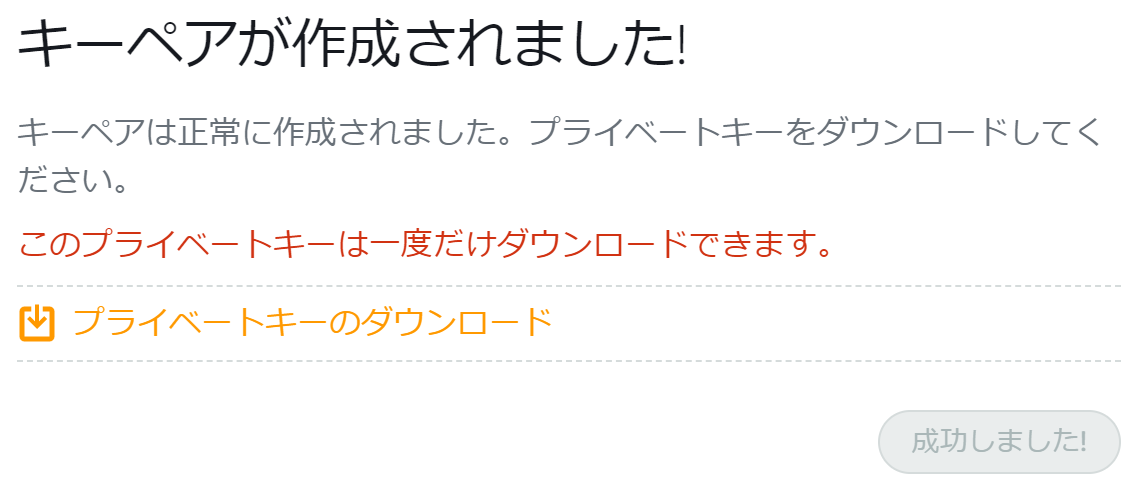
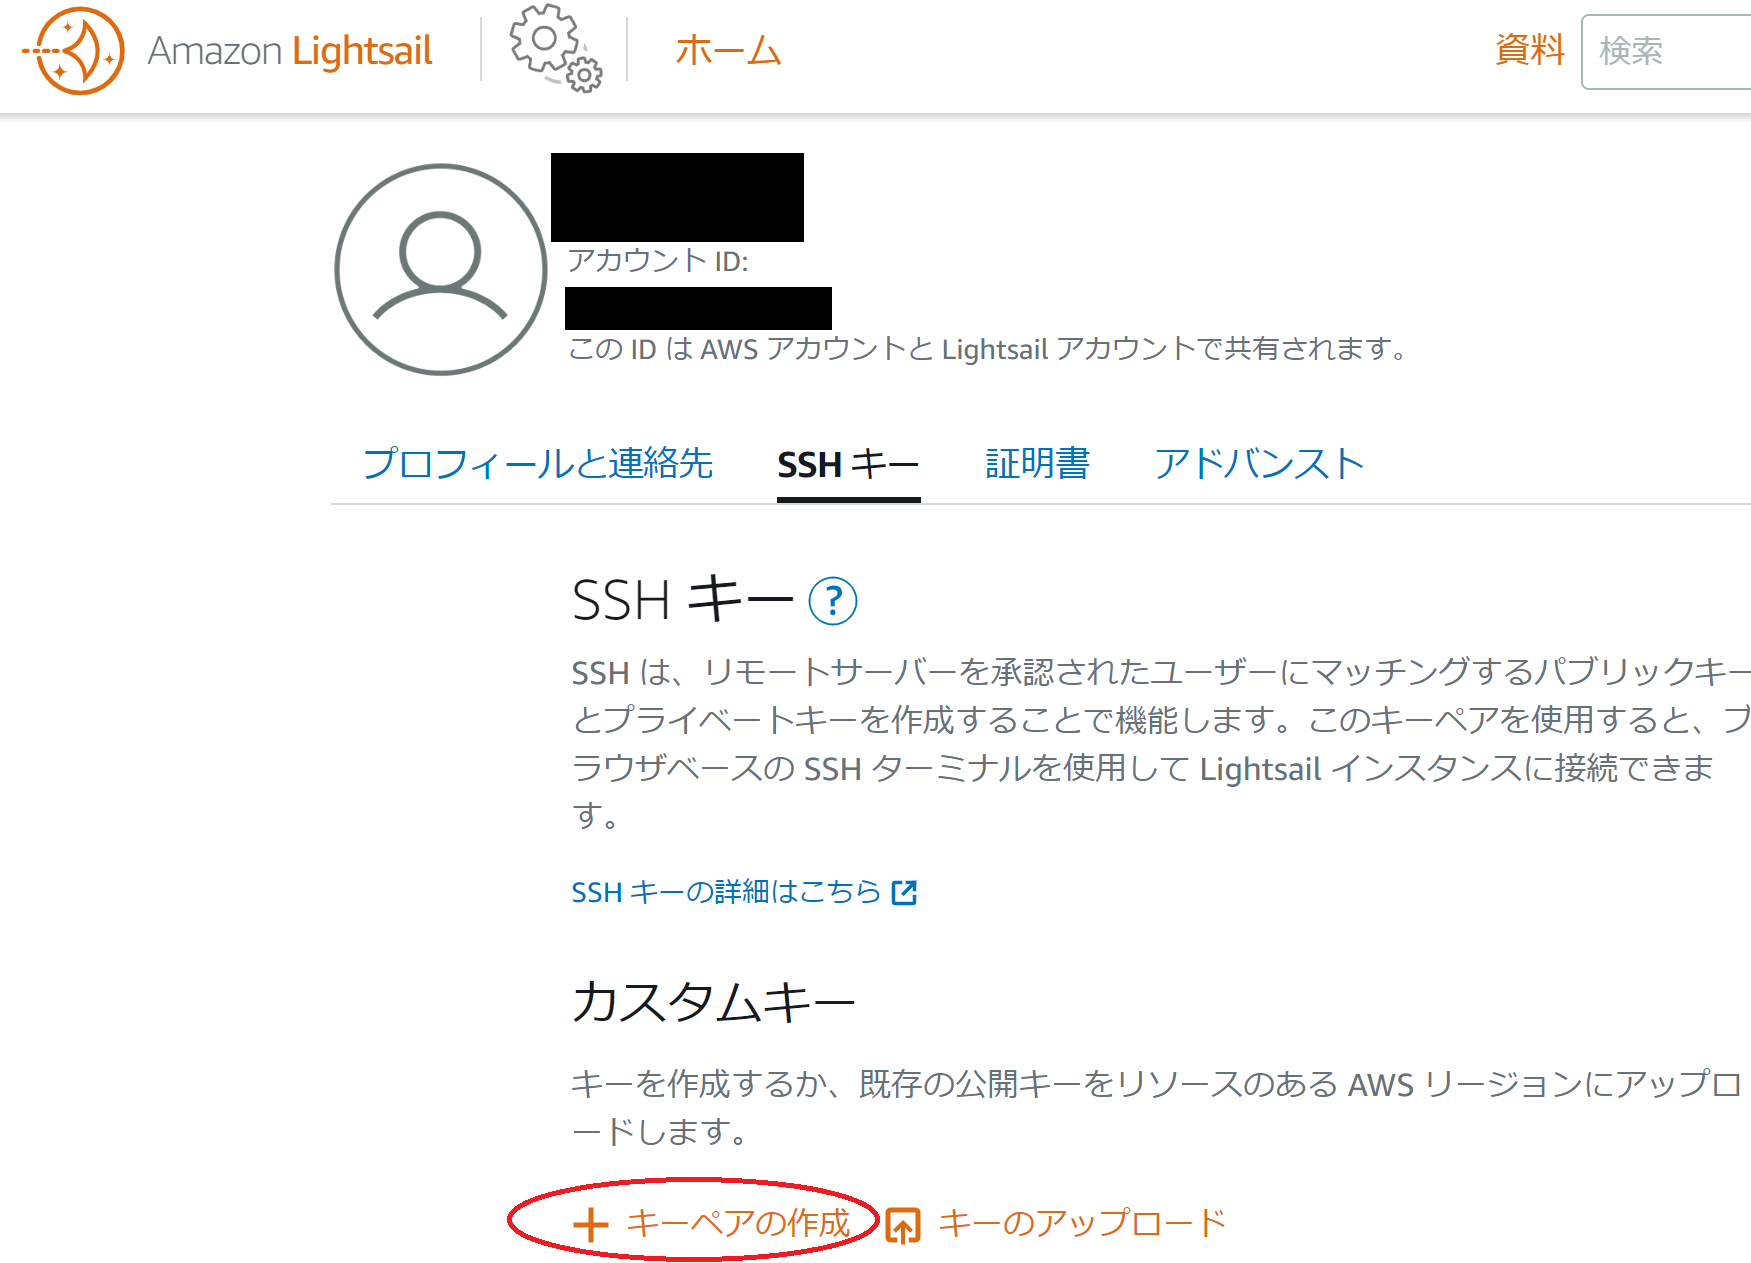
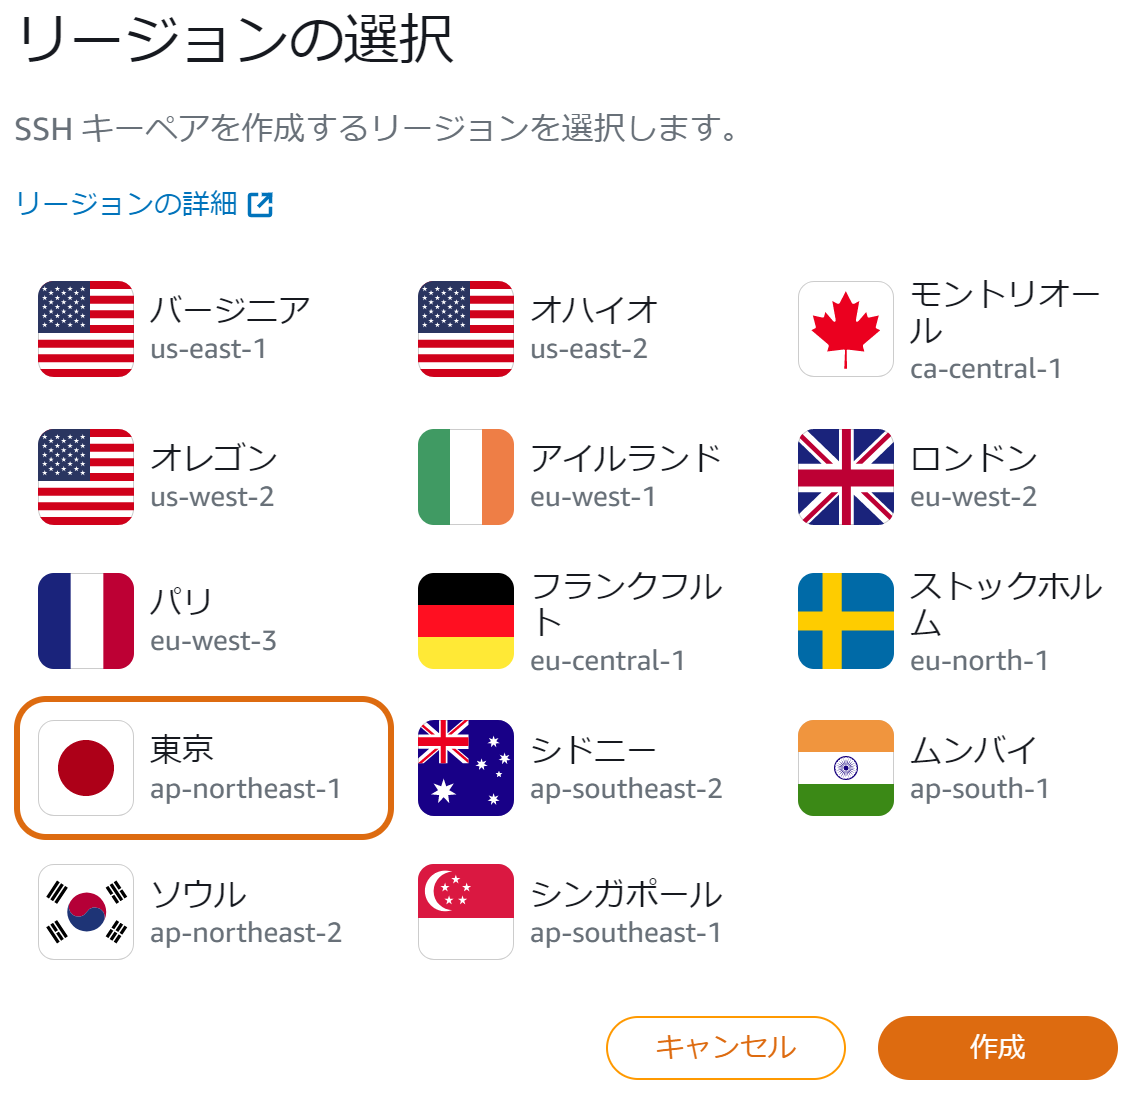
まず、Lightsailの管理画面から「アカウント」を選択し、「SSHキー」のタブを選択していきます。新規作成できた暗号鍵は一度しかダウンロードできないため、注意が必要です。

公開鍵の取得
暗号鍵をダウンロードできた後は、そのファイル(pem)から公開鍵を取得します。使用している端末のコマンドラインから以下のコマンド実行すると公開鍵の内容が表示されます。
ssh-keygen -y -f 暗号鍵のファイルパス
公開鍵のアップロード
ユーザのホームディレクトリに.ssh/authorized_keysを作成し上記の公開鍵を記録しておきます。今回は中を確認するために直接弄って記録しましたが、ssh-copy-idなどを介すと楽に行えるようです。
SSHログイン
ダウンロードした暗号鍵を使用して接続してみます。コマンドプロンプトからアクセスするには以下のように接続します。ssh -i 暗号鍵 ユーザ名@接続先ホスト
参考文献
https://dev.classmethod.jp/articles/amazon-lightsail-ssh-key-options/https://aws.amazon.com/jp/premiumsupport/knowledge-center/lightsail-troubleshoot-lost-ssh-keypair/
https://qiita.com/kentarosasaki/items/aa319e735a0b9660f1f0


