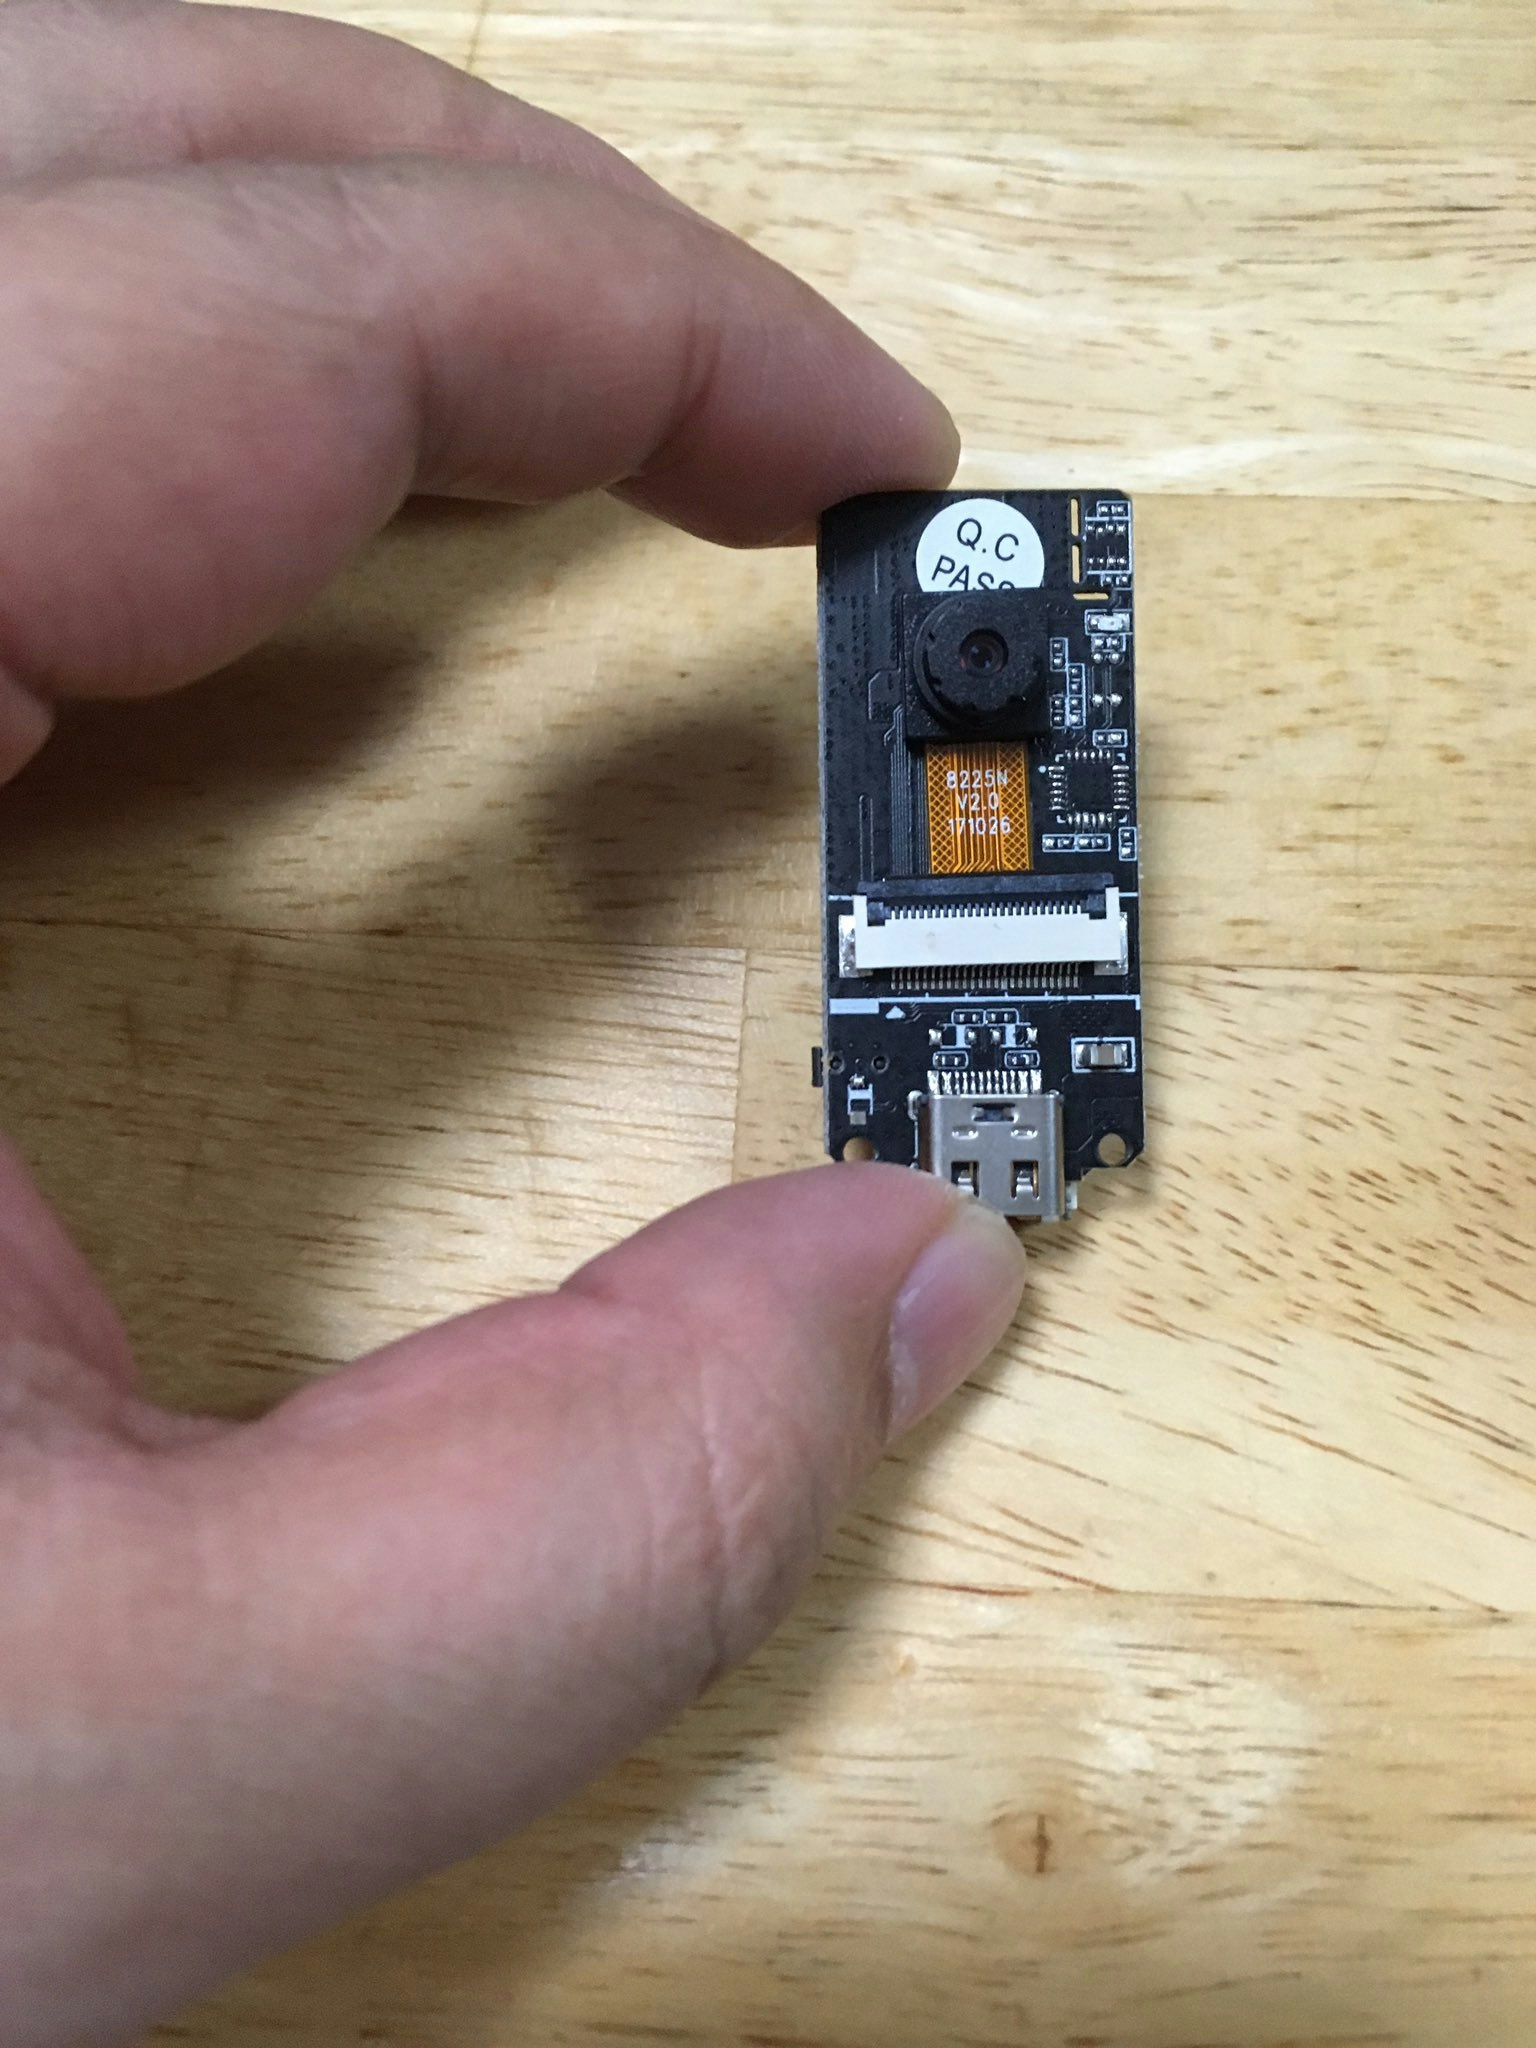
M5StackのWiFiカメラモジュールが安い(Aliexpressで1500円ほど)ので買ってみた。
M5Stack用とされているが、ESP32が搭載されていて単体でも動く。
購入時にはSoftAPでWiFiのアクセスポイントとして動作するファームウエアが書き込まれていて、M5Cam-testというSSIDに繋いで192.168.4.1/jpgにアクセスすると静止画、192.168.4.1/jpg_streamにアクセスすると動画(パラパラ漫画だが)が見られる。
自分の環境ではちょっと使いにくかったので、STATIONモードで動作するようファームウエアを変更してみた。
- ファームウエア入手先
開発元のものはこちらと思われる。
https://github.com/m5stack/esp32-cam-demo
https://github.com/1zlab/1ZLAB_ESP32_Wifi_Camera
これのフォーク元のソースを使った。
ファームウエアのビルドには、esp-idfが必要である。
ファームウエアのソースをダウンロードして、makefileのあるディレクトリでmake menuconfigする。

ESP32 Camera Demo ConfigurationからSSID、PASSWORD、Pin Configurationの設定をおこなう。
このSSID,PASSWORDはカメラがぶら下がるルーターのもの(STATIONモード)。
ピン配置は以下の通り。
| IO | Interface |
|---|---|
| 17 | D0 |
| 35 | D1 |
| 34 | D2 |
| 5 | D3 |
| 39 | D4 |
| 18 | D5 |
| 36 | D6 |
| 19 | D7 |
| 27 | XCLK |
| 21 | PCLK |
| 22 | VSYNC |
| 26 | HREF |
| 25 | SDA |
| 23 | SCL |
| 15 | RESRT |
ソースは二種類のカメラモジュールと動画に対応しているが、この部分はいらないので削除した。
また、以下を参考にカメラはDHCPではなく固定IPとした。
今回書き込んだファームウエアのソースは以下になる。make flashで書き込みできる。
// Copyright 2015-2017 Espressif Systems (Shanghai) PTE LTD
//
// Licensed under the Apache License, Version 2.0 (the "License");
// you may not use this file except in compliance with the License.
// You may obtain a copy of the License at
//
//     http://www.apache.org/licenses/LICENSE-2.0
//
// Unless required by applicable law or agreed to in writing, software
// distributed under the License is distributed on an "AS IS" BASIS,
// WITHOUT WARRANTIES OR CONDITIONS OF ANY KIND, either express or implied.
// See the License for the specific language governing permissions and
// limitations under the License.


# include <stdio.h>
# include <stdlib.h>
# include <string.h>

# include "freertos/FreeRTOS.h"
# include "freertos/task.h"
# include "freertos/semphr.h"
# include "freertos/event_groups.h"

# include "esp_system.h"
# include "esp_wifi.h"
# include "esp_event_loop.h"
# include "esp_log.h"
# include "esp_err.h"
# include "nvs_flash.h"

# include "driver/gpio.h"
# include "camera.h"
# include "http_server.h"

# include <lwip/sockets.h>

static void handle_jpg(http_context_t http_ctx, void* ctx);
static esp_err_t event_handler(void *ctx, system_event_t *event);
static void initialise_wifi(void);

static const char* TAG = "camera_demo";

static EventGroupHandle_t s_wifi_event_group;
const int CONNECTED_BIT = BIT0;
static ip4_addr_t s_ip_addr;
static camera_pixelformat_t s_pixel_format;

//画像サイズを指定、QVGA、SVGAなど
# define CAMERA_FRAME_SIZE CAMERA_FS_VGA

//カメラのIPアドレスを指定
// The IP address that we want our device to have.
# define DEVICE_IP          "192.168.1.250"

// The Gateway address where we wish to send packets.
// This will commonly be our access point.
# define DEVICE_GW          "192.168.1.1"

// The netmask specification.
# define DEVICE_NETMASK     "255.255.255.0"


void app_main()
{
    esp_log_level_set("wifi", ESP_LOG_WARN);
    esp_log_level_set("gpio", ESP_LOG_WARN);

    esp_err_t err = nvs_flash_init();
    if (err != ESP_OK) {
        ESP_ERROR_CHECK( nvs_flash_erase() );
        ESP_ERROR_CHECK( nvs_flash_init() );
    }

    ESP_ERROR_CHECK(gpio_install_isr_service(0));

    camera_config_t camera_config = {
        .ledc_channel = LEDC_CHANNEL_0,
        .ledc_timer = LEDC_TIMER_0,
        .pin_d0 = CONFIG_D0,
        .pin_d1 = CONFIG_D1,
        .pin_d2 = CONFIG_D2,
        .pin_d3 = CONFIG_D3,
        .pin_d4 = CONFIG_D4,
        .pin_d5 = CONFIG_D5,
        .pin_d6 = CONFIG_D6,
        .pin_d7 = CONFIG_D7,
        .pin_xclk = CONFIG_XCLK,
        .pin_pclk = CONFIG_PCLK,
        .pin_vsync = CONFIG_VSYNC,
        .pin_href = CONFIG_HREF,
        .pin_sscb_sda = CONFIG_SDA,
        .pin_sscb_scl = CONFIG_SCL,
        .pin_reset = CONFIG_RESET,
        .xclk_freq_hz = CONFIG_XCLK_FREQ,
    };

    camera_model_t camera_model;
    err = camera_probe(&camera_config, &camera_model);
    if (err != ESP_OK) {
        ESP_LOGE(TAG, "Camera probe failed with error 0x%x", err);
        return;
    }

  if (camera_model == CAMERA_OV2640) {
       ESP_LOGI(TAG, "Detected OV2640 camera, using JPEG format");
        s_pixel_format = CAMERA_PF_JPEG;
        camera_config.frame_size = CAMERA_FRAME_SIZE;
        camera_config.jpeg_quality = 10;//画質設定(数値が小さいほどよい)
    } else {
        ESP_LOGE(TAG, "Camera not supported");
        return;
    }

    camera_config.pixel_format = s_pixel_format;
    err = camera_init(&camera_config);
    if (err != ESP_OK) {
        ESP_LOGE(TAG, "Camera init failed with error 0x%x", err);
        return;
    }

    initialise_wifi();

    http_server_t server;
    http_server_options_t http_options = HTTP_SERVER_OPTIONS_DEFAULT();
    ESP_ERROR_CHECK( http_server_start(&http_options, &server) );

    if (s_pixel_format == CAMERA_PF_JPEG) {
        ESP_ERROR_CHECK( http_register_handler(server, "/jpg", HTTP_GET, HTTP_HANDLE_RESPONSE, &handle_jpg, NULL) );
        ESP_LOGI(TAG, "Open http://" IPSTR "/jpg for single image/jpg image", IP2STR(&s_ip_addr));
    }
    ESP_LOGI(TAG, "Free heap: %u", xPortGetFreeHeapSize());
    ESP_LOGI(TAG, "Camera demo ready");

}

static esp_err_t write_frame(http_context_t http_ctx)
{
    http_buffer_t fb_data = {
            .data = camera_get_fb(),
            .size = camera_get_data_size(),
            .data_is_persistent = true
    };
    return http_response_write(http_ctx, &fb_data);
}


static void handle_jpg(http_context_t http_ctx, void* ctx)
{
    esp_err_t err = camera_run();
    if (err != ESP_OK) {
        ESP_LOGD(TAG, "Camera capture failed with error = %d", err);
        return;
    }

    http_response_begin(http_ctx, 200, "image/jpeg", camera_get_data_size());
    http_response_set_header(http_ctx, "Content-disposition", "inline; filename=capture.jpg");
    write_frame(http_ctx);
    http_response_end(http_ctx);
}

static esp_err_t event_handler(void *ctx, system_event_t *event)
{
    switch (event->event_id) {
        case SYSTEM_EVENT_STA_START:
            esp_wifi_connect();
            break;
        case SYSTEM_EVENT_STA_GOT_IP:
            xEventGroupSetBits(s_wifi_event_group, CONNECTED_BIT);
            s_ip_addr = event->event_info.got_ip.ip_info.ip;
            break;
        case SYSTEM_EVENT_STA_DISCONNECTED:
            esp_wifi_connect();
            xEventGroupClearBits(s_wifi_event_group, CONNECTED_BIT);
            break;
        default:
            break;
    }
    return ESP_OK;
}

static void initialise_wifi(void)
{
    tcpip_adapter_init();
    tcpip_adapter_dhcpc_stop(TCPIP_ADAPTER_IF_STA); // Don't run a DHCP client
    tcpip_adapter_ip_info_t ipInfo;

    inet_pton(AF_INET, DEVICE_IP, &ipInfo.ip);
    inet_pton(AF_INET, DEVICE_GW, &ipInfo.gw);
    inet_pton(AF_INET, DEVICE_NETMASK, &ipInfo.netmask);

    tcpip_adapter_set_ip_info(TCPIP_ADAPTER_IF_STA, &ipInfo);

    s_wifi_event_group = xEventGroupCreate();
    ESP_ERROR_CHECK( esp_event_loop_init(event_handler, NULL) );
    wifi_init_config_t cfg = WIFI_INIT_CONFIG_DEFAULT();
    ESP_ERROR_CHECK( esp_wifi_init(&cfg) );
    ESP_ERROR_CHECK( esp_wifi_set_storage(WIFI_STORAGE_RAM) );
    wifi_config_t wifi_config = {
        .sta = {
            .ssid = CONFIG_WIFI_SSID,
            .password = CONFIG_WIFI_PASSWORD,
        },
    };
    ESP_ERROR_CHECK( esp_wifi_set_mode(WIFI_MODE_STA) );
    ESP_ERROR_CHECK( esp_wifi_set_config(WIFI_IF_STA, &wifi_config) );
    ESP_ERROR_CHECK( esp_wifi_start() );
    ESP_ERROR_CHECK( esp_wifi_set_ps(WIFI_PS_NONE) );
    ESP_LOGI(TAG, "Connecting to \"%s\"", wifi_config.sta.ssid);
    xEventGroupWaitBits(s_wifi_event_group, CONNECTED_BIT, false, true, portMAX_DELAY);
    ESP_LOGI(TAG, "Connected");
}
http://192.168.1.250/jpg にアクセスするとカメラ画像が見られる。
あとは、カメラの画像を自前のNode-REDサーバーにHTTPでポストしたいなぁ…
できた
- 追記
このカメラはArduino-IDEでも使える。ボード:ESP32 Wrober Moduleとし、ESP32のスケッチ例の中からCamera→CameraWebServerを選ぶ。Partition SchemeをHuge Appにする。
カメラのピン配列は、
の 11. esp_camera_fb_get(): Failed to get the frame on time!
を参照のこと。