はじめに
GitOpsツールとしてArgoCDを使用して、OKE(Oracle Container Engine for Kubernetes)のGitOps環境を構築します。
アーキテクチャ
このようなアーキテクチャです。
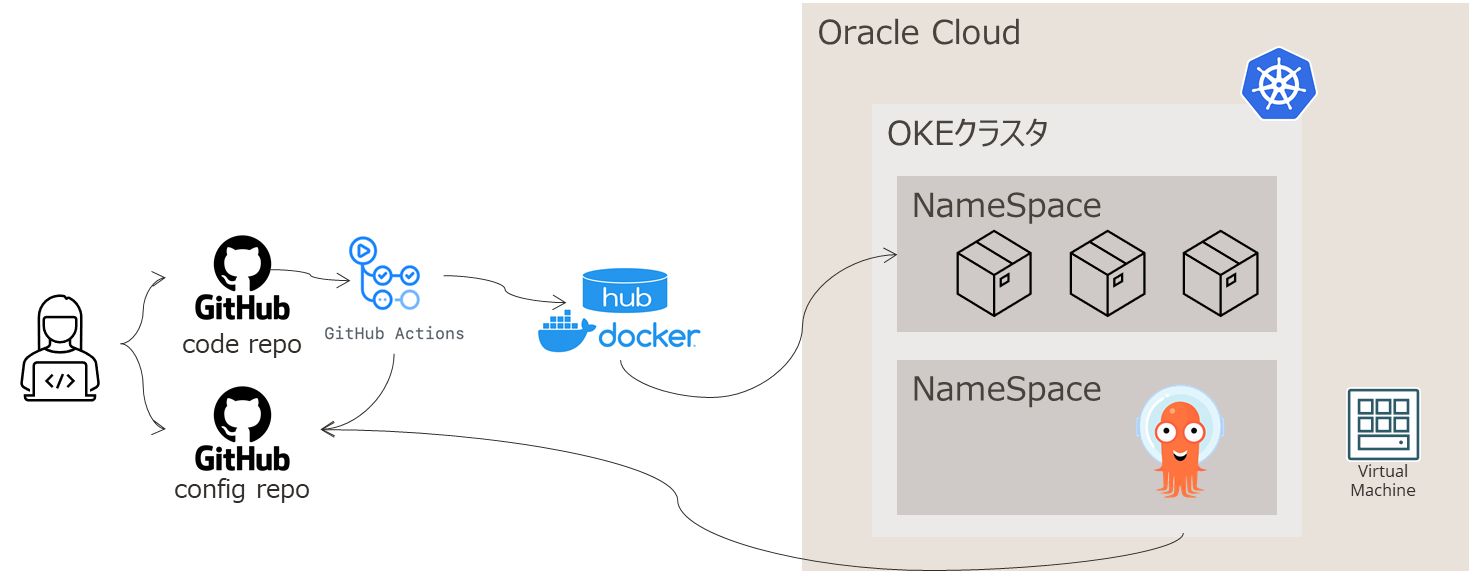
検証なのでOKEクラスタは、1ノードで構成しています。
$ kubectl get node
NAME          STATUS   ROLES   AGE   VERSION
10.0.10.211   Ready    node    98s   v1.24.1
別途クライアント用として、Virtual Machineを1つ用意しています。
OSはOracle Linuxです。
$ cat /etc/oracle-release
Oracle Linux Server release 8.6
参考資料
基本的にこちらの本の通りで構築できました。以降の手順もこの本の通りで一部OKEに合わせて変更したところがあります。
CI環境構築
リポジトリ作成
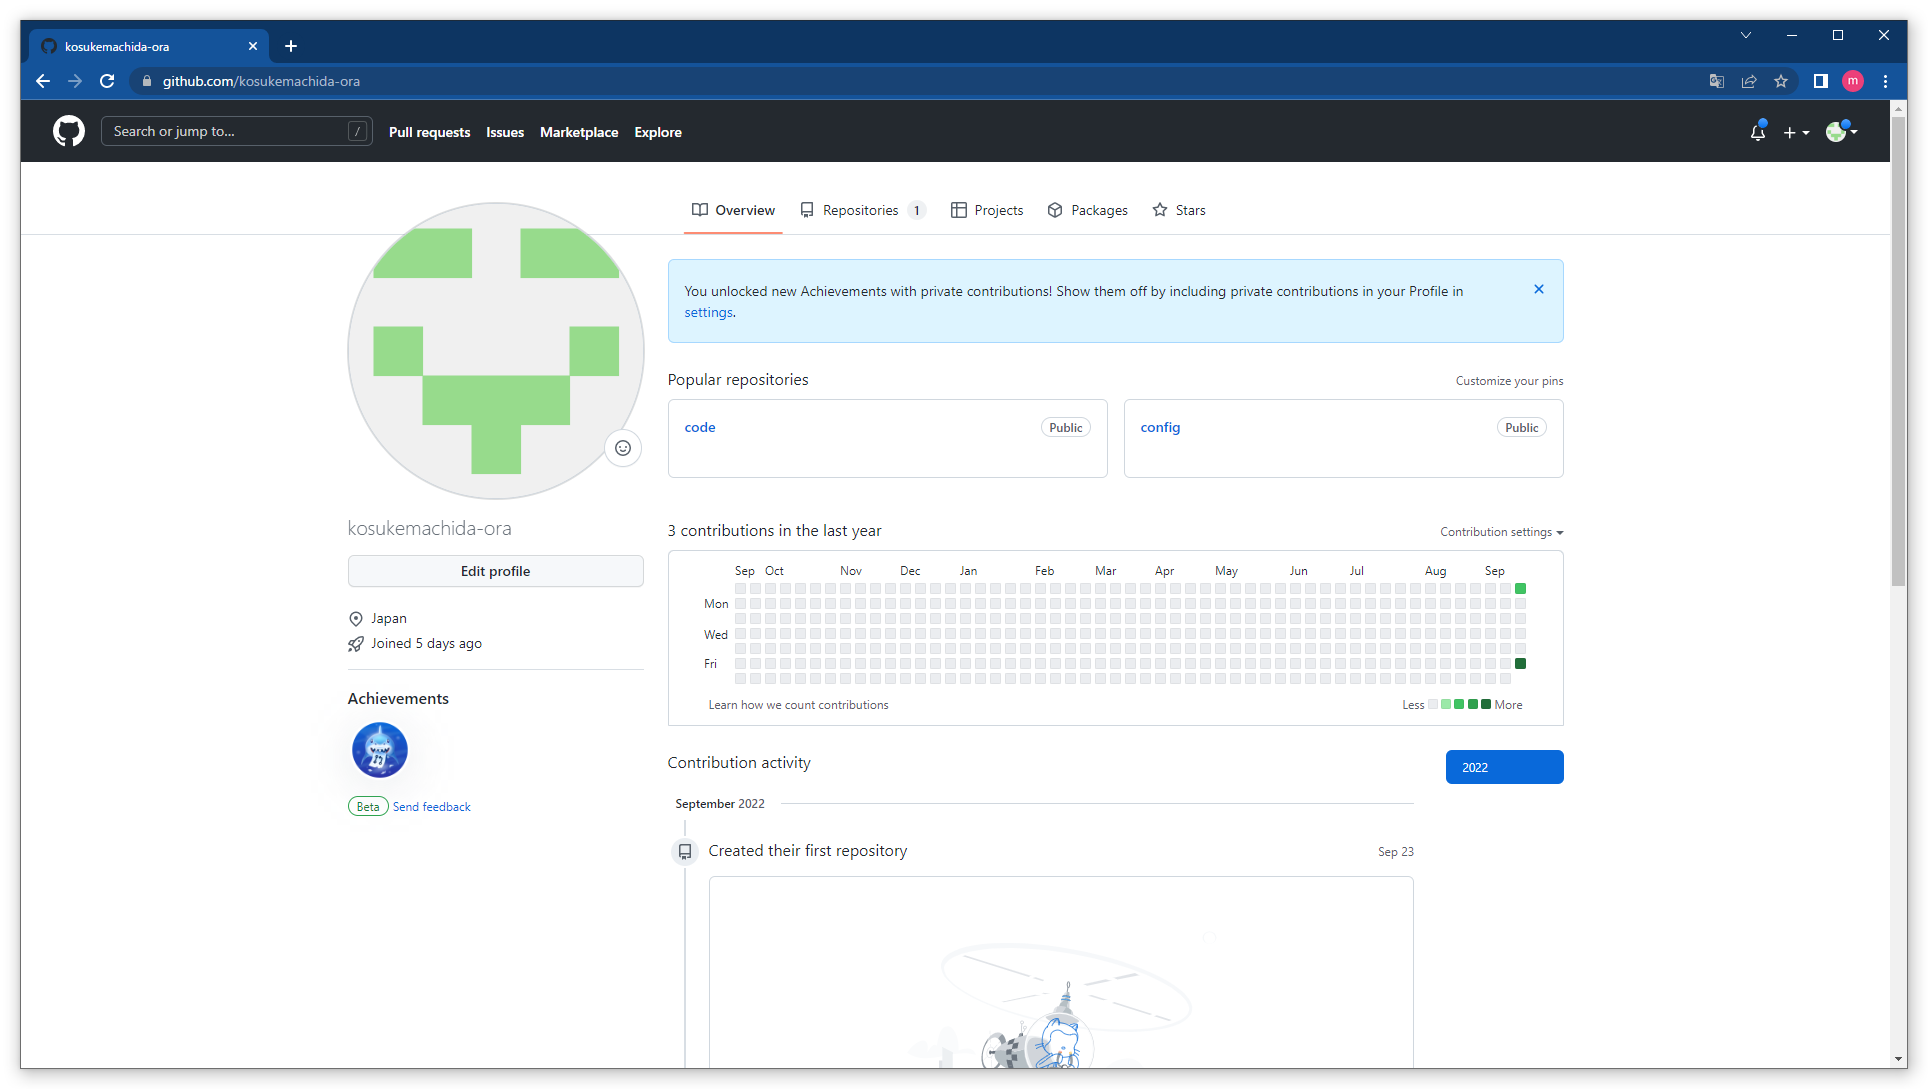
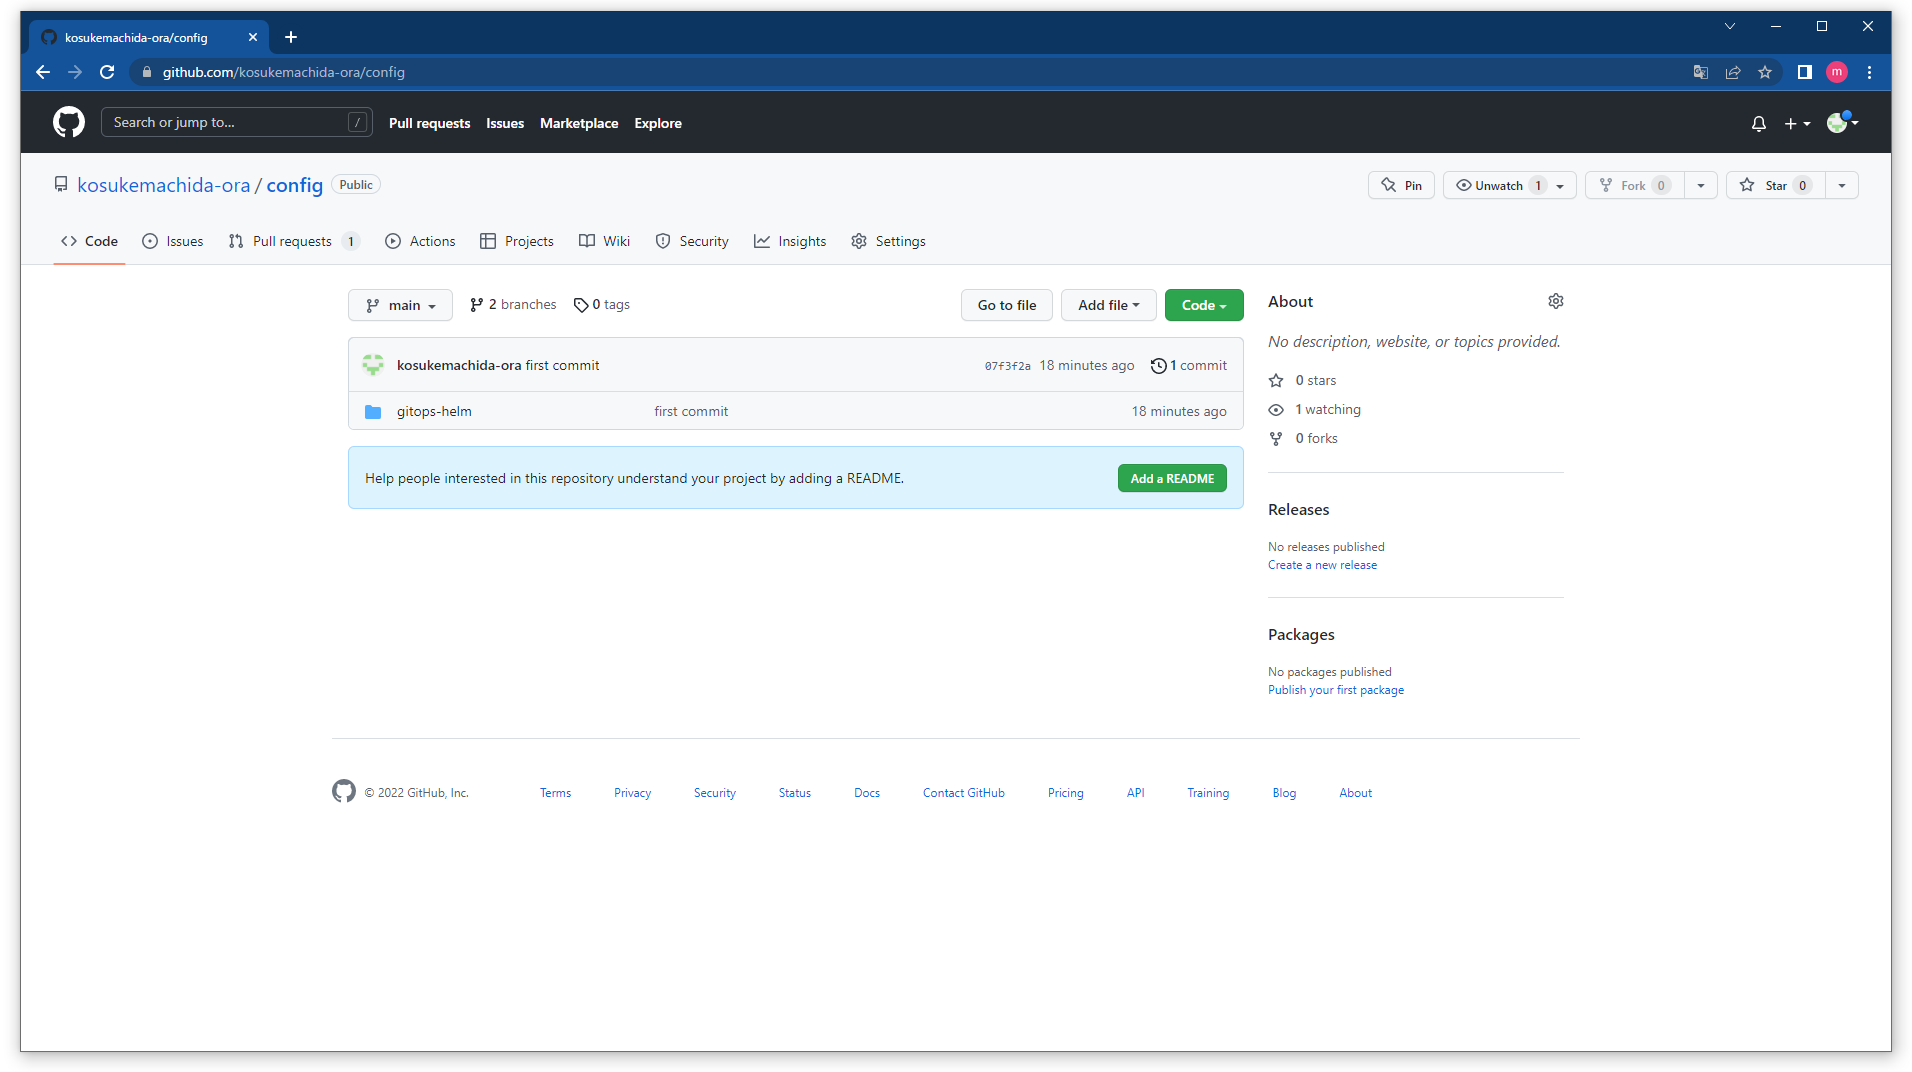
GithubにCodeリポジトリとConfigリポジトリを作成します。
サンプルアプリの作成
クライアントマシンのcode/app配下にサンプルアプリを配置します。
今回は参考資料のアプリそのままなので、中身は割愛します。
$ ls -l code/app/
total 8
-rw-rw-r--. 1 opc opc 219 Sep 24 01:36 Dockerfile
-rw-rw-r--. 1 opc opc 261 Sep 24 01:36 main.go
CodeリポジトリへのPush
git remoteコマンド時に使用するトークンは、予めGithubで作成しておきます。
$ cd code
$ git init
hint: Using 'master' as the name for the initial branch. This default branch name
hint: is subject to change. To configure the initial branch name to use in all
hint: of your new repositories, which will suppress this warning, call:
hint:
hint:   git config --global init.defaultBranch <name>
hint:
hint: Names commonly chosen instead of 'master' are 'main', 'trunk' and
hint: 'development'. The just-created branch can be renamed via this command:
hint:
hint:   git branch -m <name>
Initialized empty Git repository in /home/opc/gitops/code/.git/
$ git config --global user.email kosuke.machida@oracle.com
$ git config --global user.name kosukemachida-ora
$ git add .
$ git commit -m "first commit"
[master (root-commit) 424c005] first commit
 2 files changed, 25 insertions(+)
 create mode 100644 app/Dockerfile
 create mode 100644 app/main.go
$ git branch -M main
$ git remote add origin https://ghp_your-token@github.com/kosukemachida-ora/code.git
$ git push -u origin main
Enumerating objects: 5, done.
Counting objects: 100% (5/5), done.
Delta compression using up to 2 threads
Compressing objects: 100% (4/4), done.
Writing objects: 100% (5/5), 672 bytes | 672.00 KiB/s, done.
Total 5 (delta 0), reused 0 (delta 0), pack-reused 0
To https://github.com/kosukemachida-ora/code.git
 * [new branch]      main -> main
Branch 'main' set up to track remote branch 'main' from 'origin'.
Configの作成
マニフェストファイルを作成して、ConfigリポジトリにPushします。
マニフェストファイル作成
$ cd ../config/
$ helm create gitops-helm
Creating gitops-helm
$ rm -rf gitops-helm/templates/*
gitops-helm/templates配下にマニフェストファイルを作成します。
$ ls -l gitops-helm/templates/
total 8
-rw-rw-r--. 1 opc opc 439 Sep 24 01:44 gitops-deployment.yaml
-rw-rw-r--. 1 opc opc 455 Sep 24 01:46 gitops-service.yaml
gitops-deployment.yamlは参考資料そのままですが、gitops-service.yamlは以下のようにしました。
Oracle Cloudのフレキシブルロードバランサーをデプロイするように、annotationsを追加しています。
apiVersion: v1
kind: Service
metadata:
  name: gitops-service
  annotations:
    service.beta.kubernetes.io/oci-load-balancer-shape: "flexible"
    service.beta.kubernetes.io/oci-load-balancer-shape-flex-min: "10"
    service.beta.kubernetes.io/oci-load-balancer-shape-flex-max: "50"
spec:
  type: {{ .Values.service_type }}
  ports:
  - name: {{ .Chart.Name }}
    protocol: TCP
    port: 80
    targetPort: 8080
  selector:
    app: {{ .Values.label }}
values.yamlファイルを編集します。今回は参考資料の記述そのままです。
$ ls -l gitops-helm
total 8
drwxr-xr-x. 2 opc opc    6 Sep 24 01:41 charts
-rw-r--r--. 1 opc opc 1147 Sep 24 01:41 Chart.yaml
drwxr-xr-x. 2 opc opc   63 Sep 24 01:46 templates
-rw-rw-r--. 1 opc opc  228 Sep 24 01:49 values.yaml
ConfigリポジトリにPushします。
$ git init
hint: Using 'master' as the name for the initial branch. This default branch name
hint: is subject to change. To configure the initial branch name to use in all
hint: of your new repositories, which will suppress this warning, call:
hint:
hint:   git config --global init.defaultBranch <name>
hint:
hint: Names commonly chosen instead of 'master' are 'main', 'trunk' and
hint: 'development'. The just-created branch can be renamed via this command:
hint:
hint:   git branch -m <name>
Initialized empty Git repository in /home/opc/gitops/config/.git/
$ git add .
$ git commit -m "first commit"
[master (root-commit) 07f3f2a] first commit
 5 files changed, 96 insertions(+)
 create mode 100644 gitops-helm/.helmignore
 create mode 100644 gitops-helm/Chart.yaml
 create mode 100644 gitops-helm/templates/gitops-deployment.yaml
 create mode 100644 gitops-helm/templates/gitops-service.yaml
 create mode 100644 gitops-helm/values.yaml
$ git branch -M main
$ git remote add origin https://ghp_your-token@github.com/kosukemachida-ora/config.git
$ git push -u origin main
Enumerating objects: 9, done.
Counting objects: 100% (9/9), done.
Delta compression using up to 2 threads
Compressing objects: 100% (8/8), done.
Writing objects: 100% (9/9), 1.83 KiB | 1.83 MiB/s, done.
Total 9 (delta 0), reused 0 (delta 0), pack-reused 0
To https://github.com/kosukemachida-ora/config.git
 * [new branch]      main -> main
Branch 'main' set up to track remote branch 'main' from 'origin'.
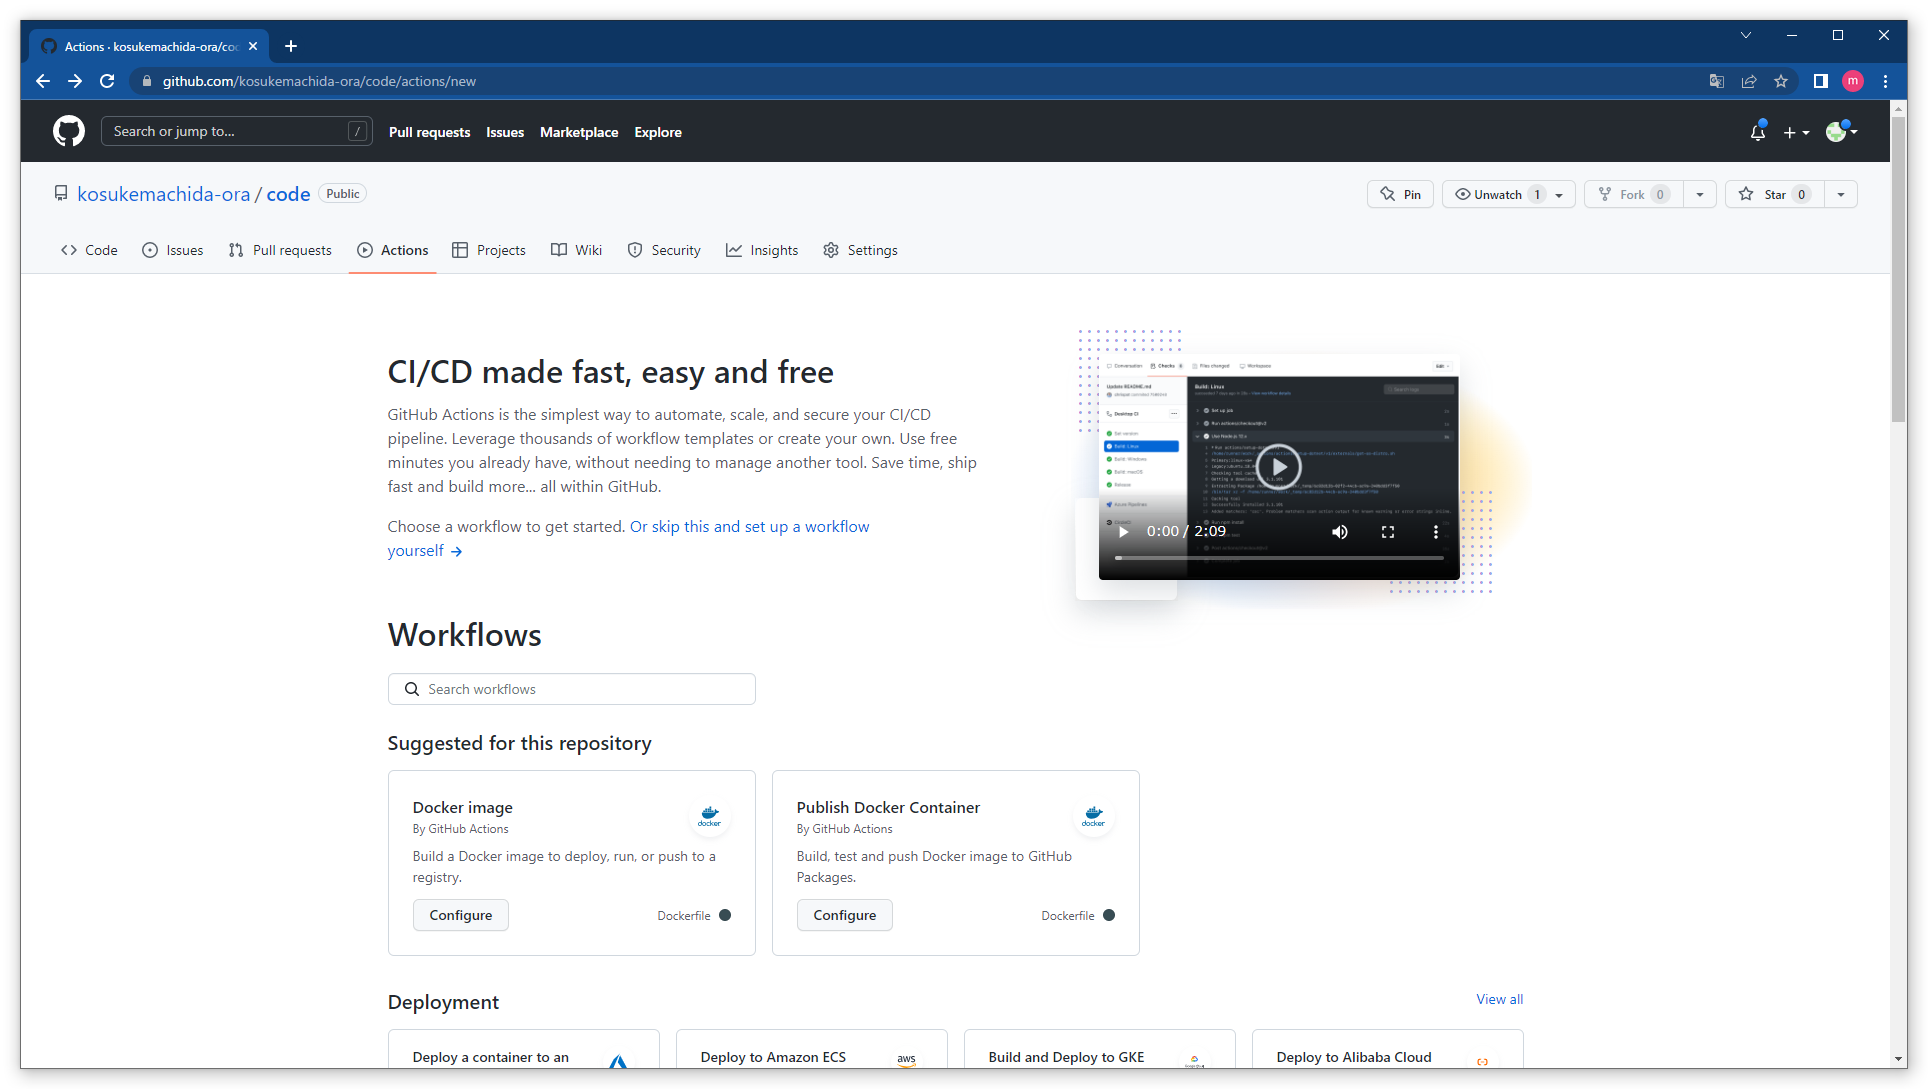
Github Actionsの設定
codeリポジトリ -> Actions -> Or skip this and set up a workflow yourself をクリック
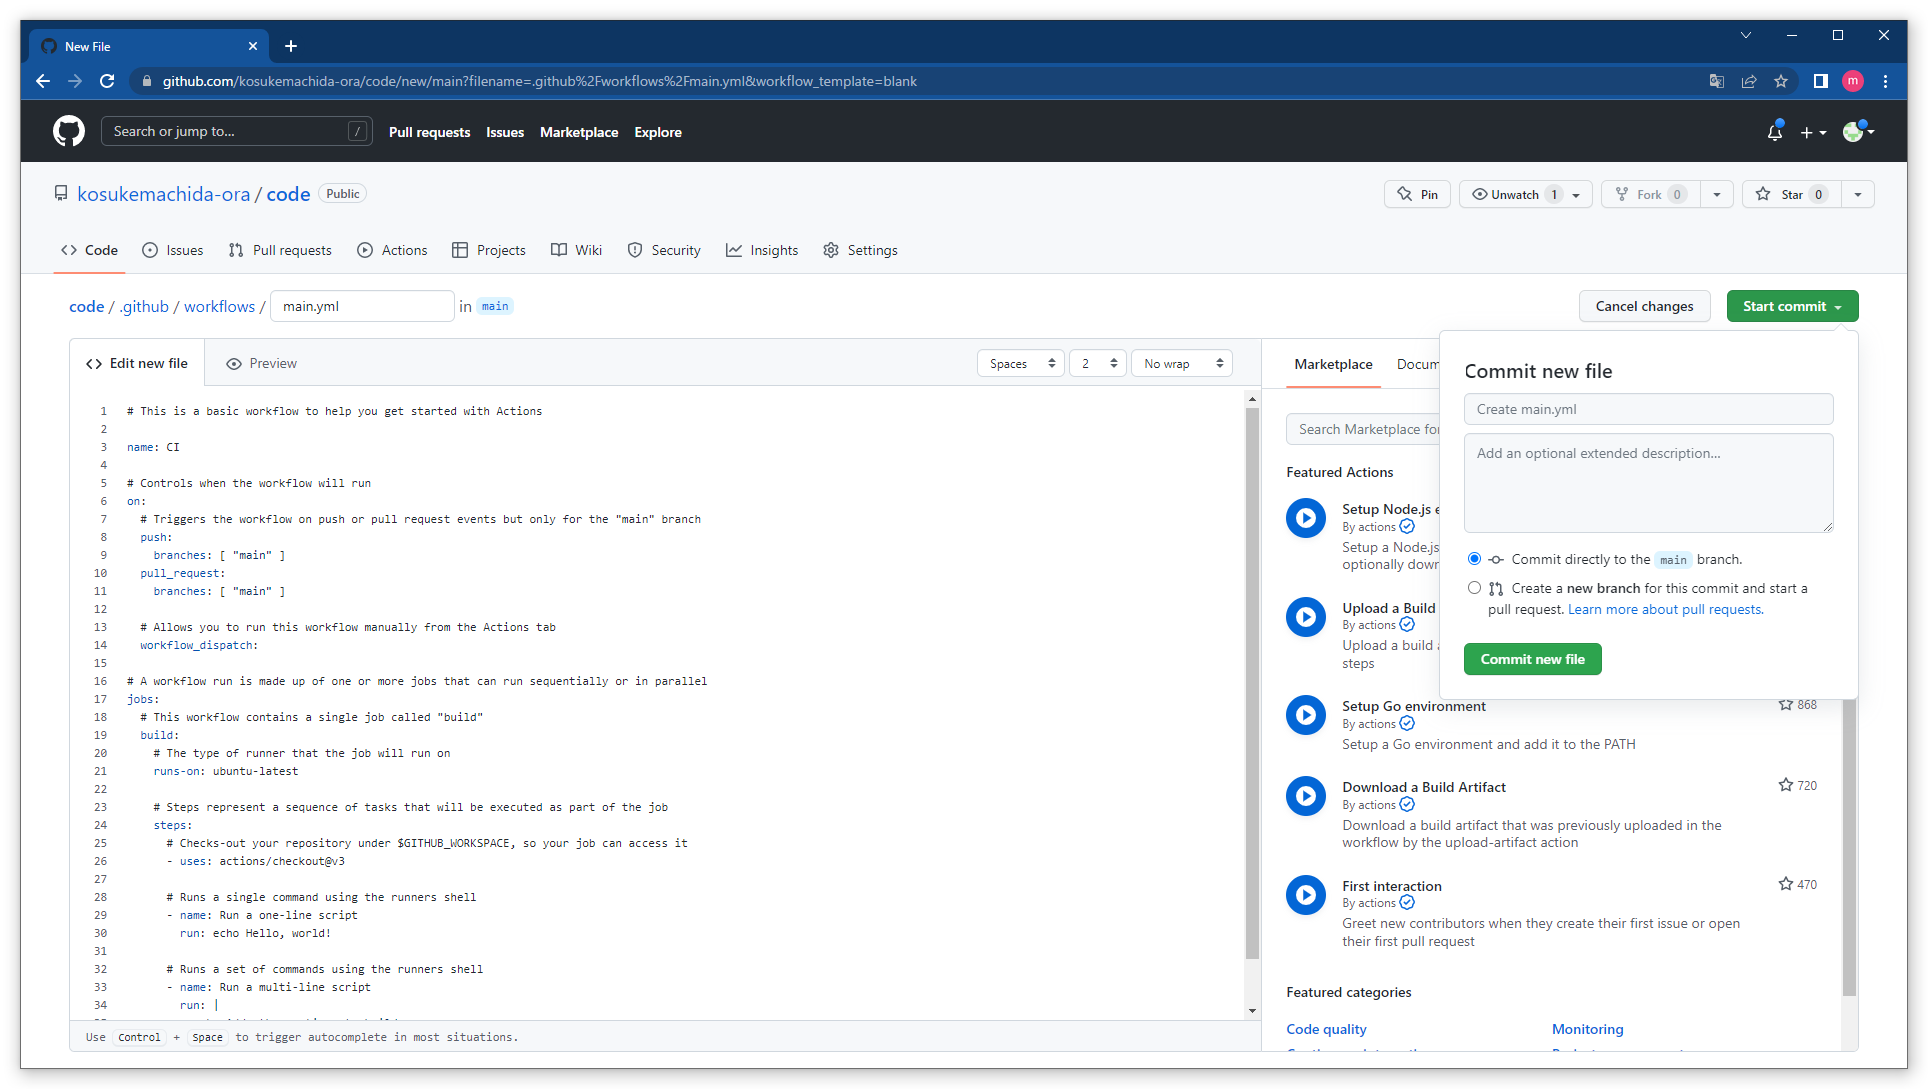
Start commit -> Commit new file をクリック
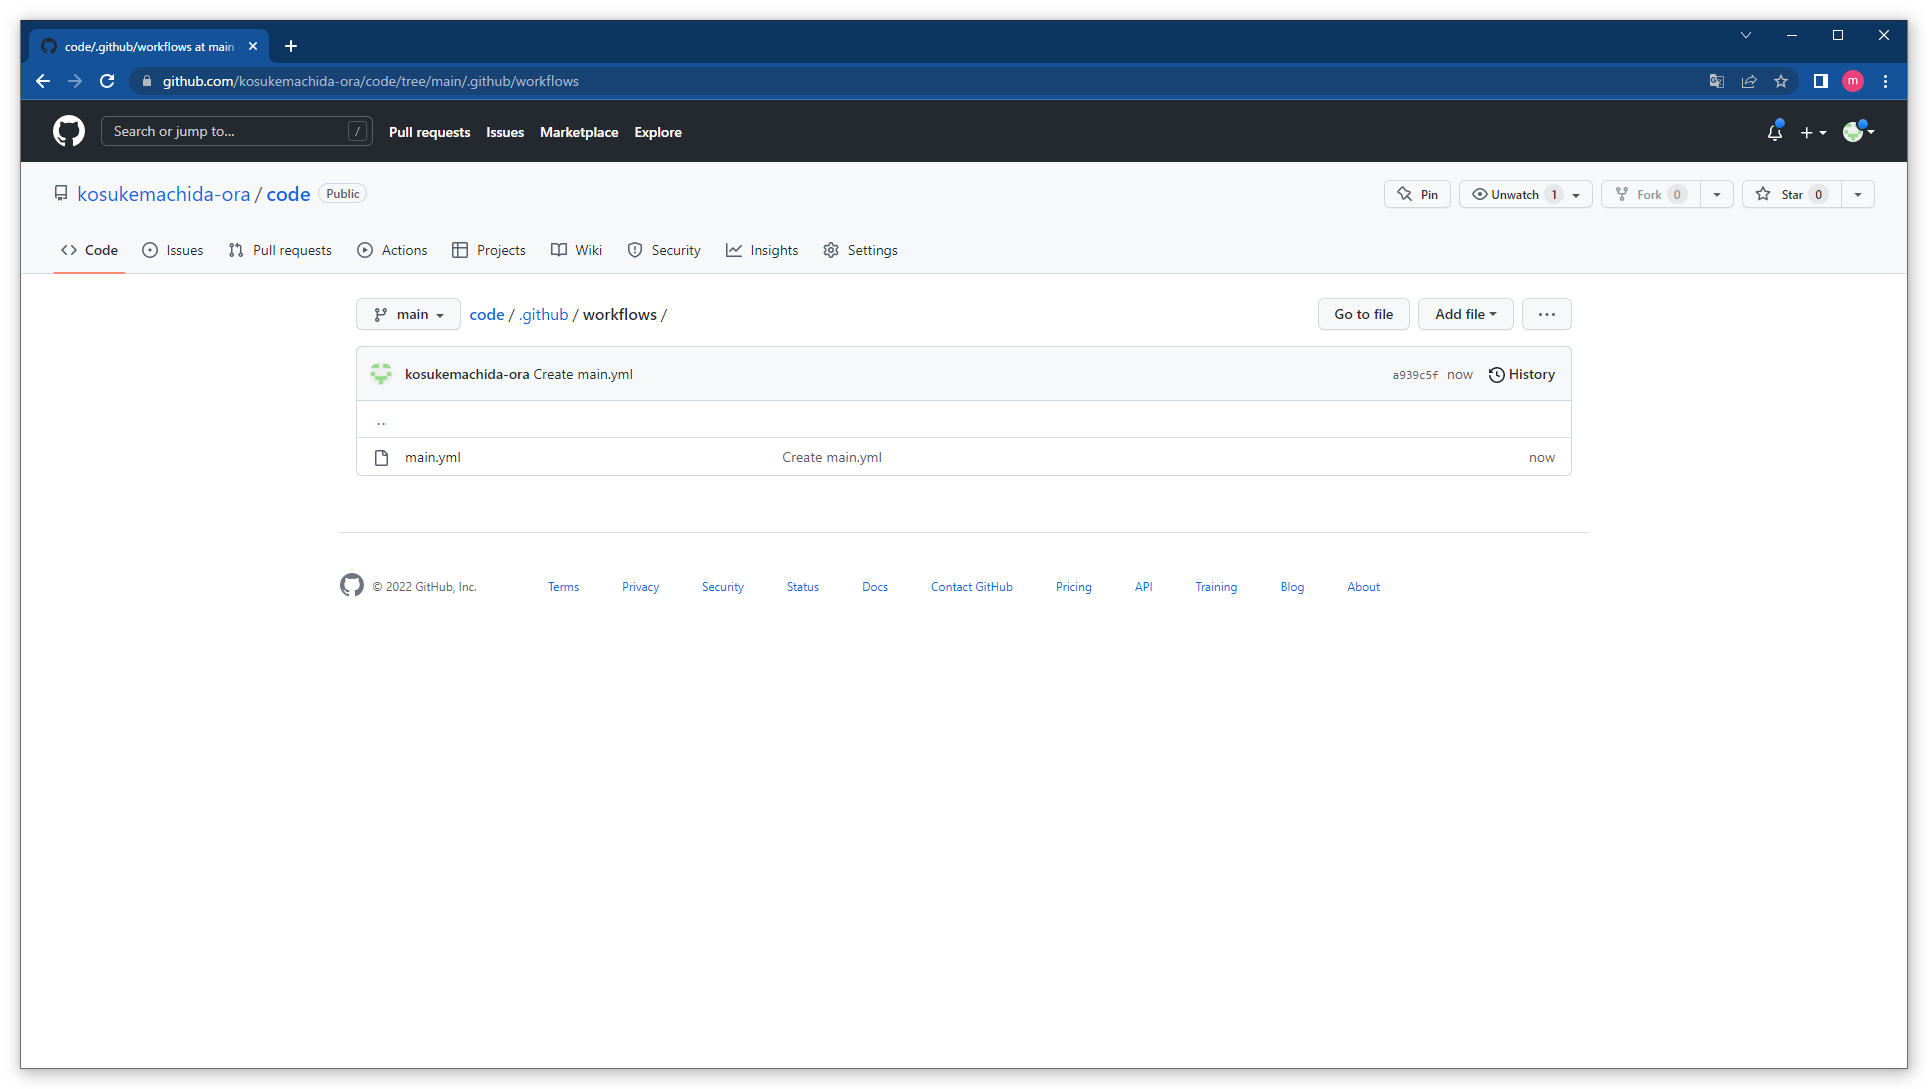
ローカルリポジトリとの同期
Pullして同期します。
$ cd ../code/
$ git pull
remote: Enumerating objects: 6, done.
remote: Counting objects: 100% (6/6), done.
remote: Compressing objects: 100% (3/3), done.
remote: Total 5 (delta 0), reused 0 (delta 0), pack-reused 0
Unpacking objects: 100% (5/5), 1.28 KiB | 1.28 MiB/s, done.
From https://github.com/kosukemachida-ora/code
   f8360f4..a939c5f  main       -> origin/main
Updating f8360f4..a939c5f
Fast-forward
 .github/workflows/main.yml | 36 ++++++++++++++++++++++++++++++++++++
 1 file changed, 36 insertions(+)
 create mode 100644 .github/workflows/main.yml
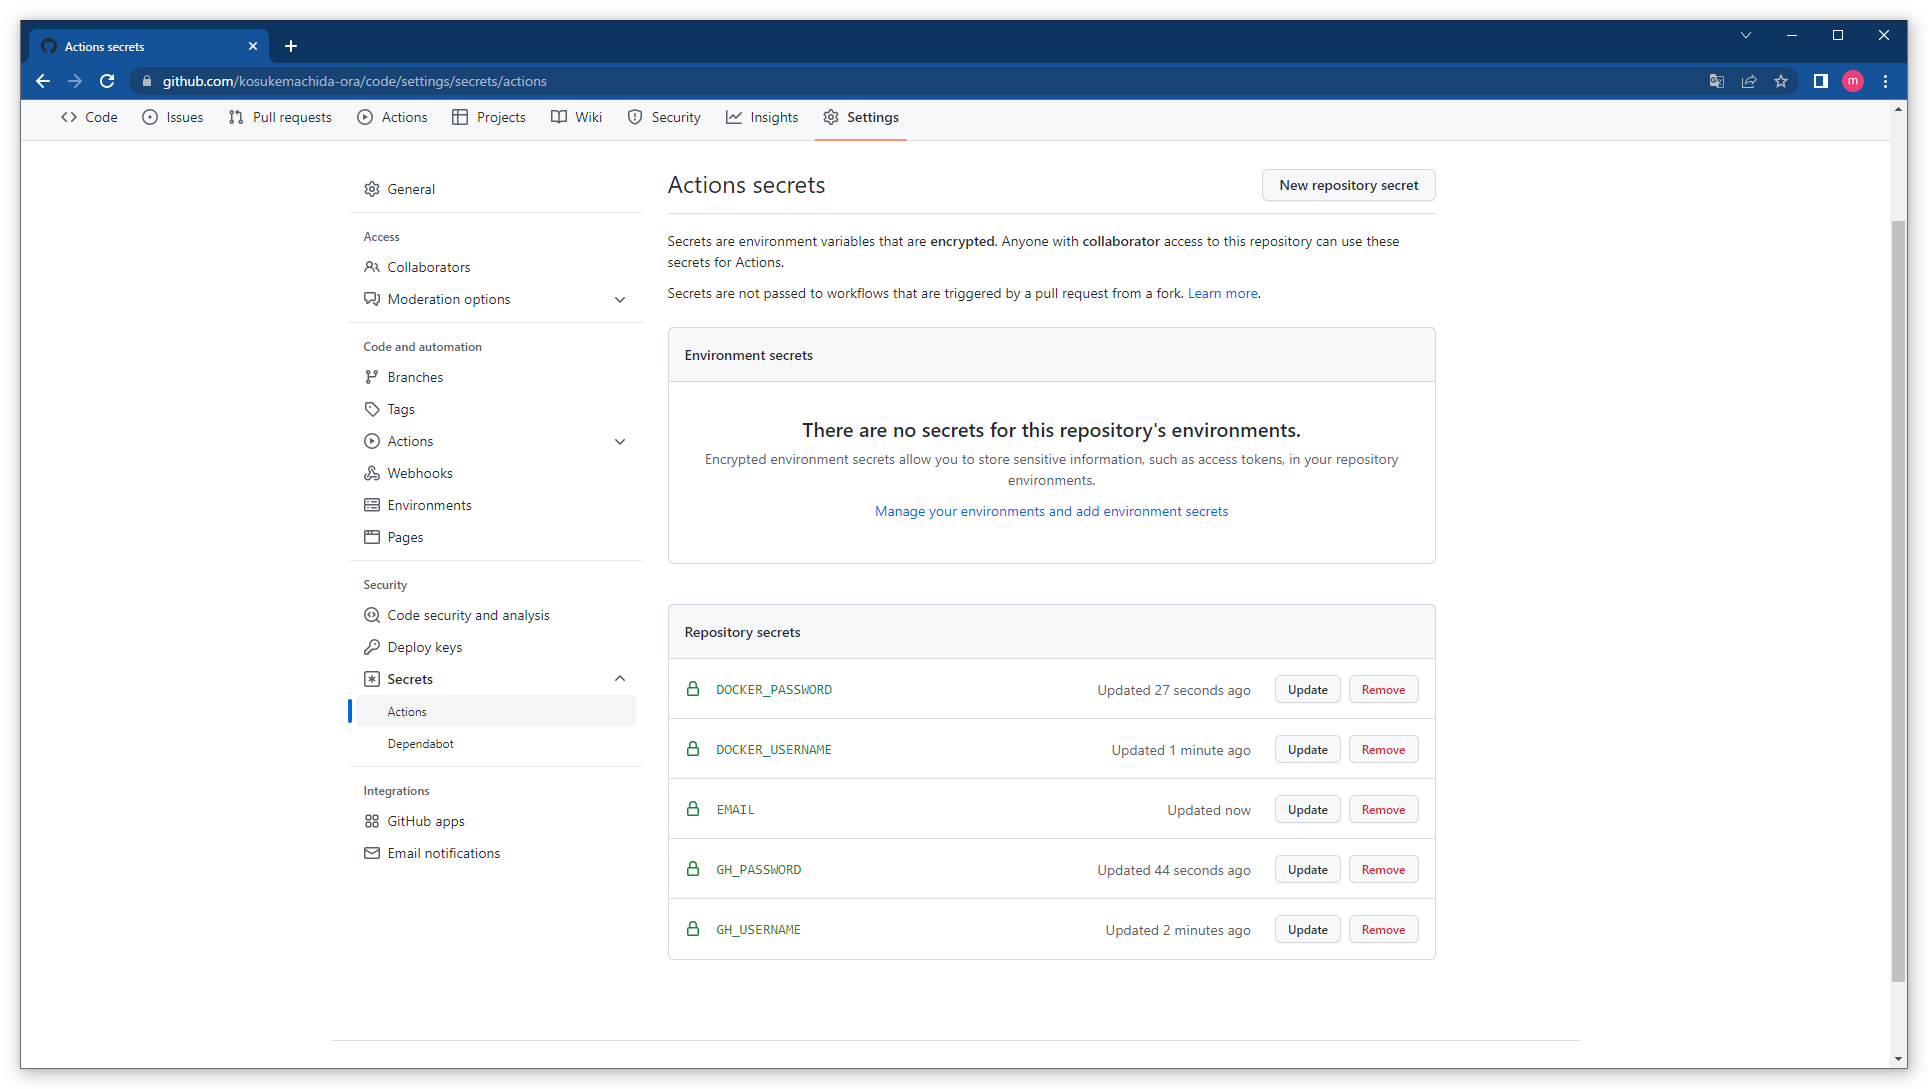
リポジトリのSecret登録
Settings -> Secrets -> Actionsをクリック

New repository secretを選択して環境に合わせて5つのSecretを登録します。
なお、GH_PASSWORDはGithubのパスワードではなく、git remoteコマンドで使用しているトークンを設定します。
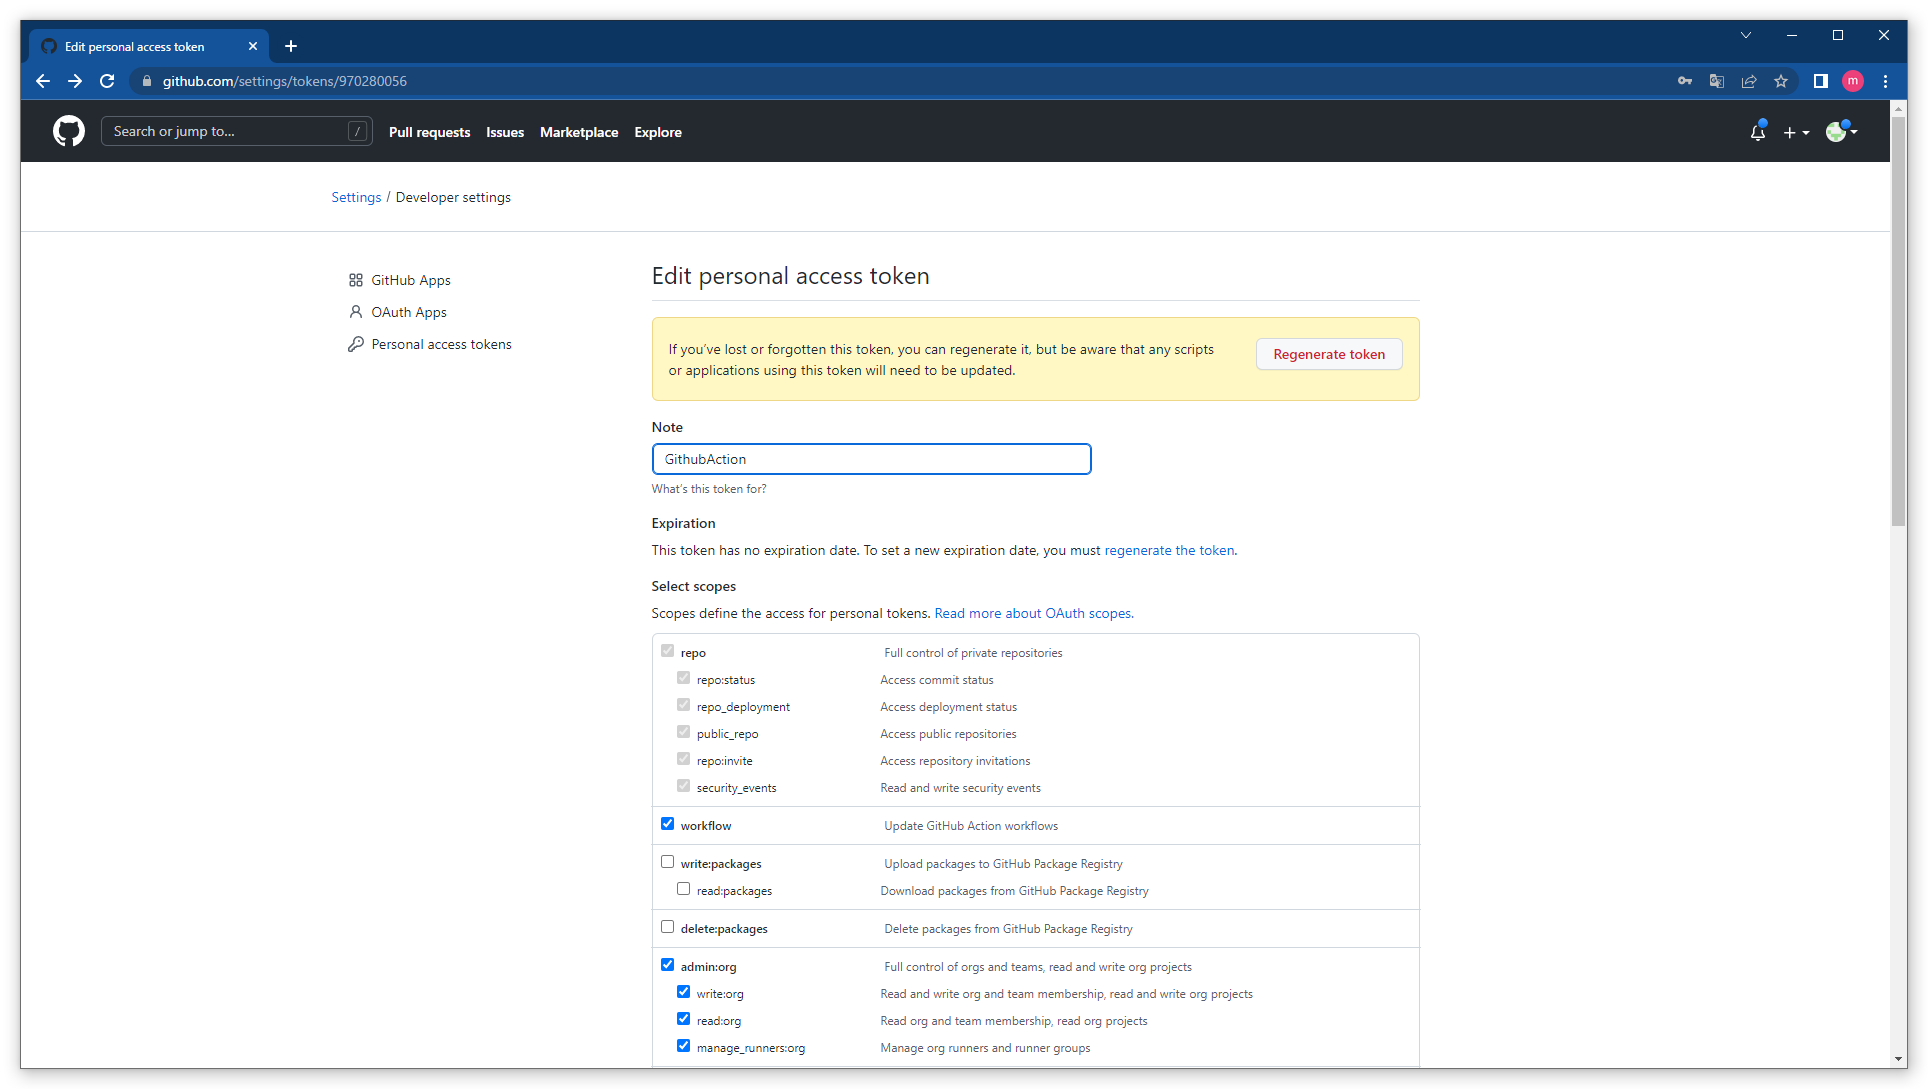
Personal access tokenの取得と登録
ここでは既に作成済みのGithubActionsのトークンを再利用します。

Regenerate tokenをクリック
表示されたトークンを別途コピーしておきます。
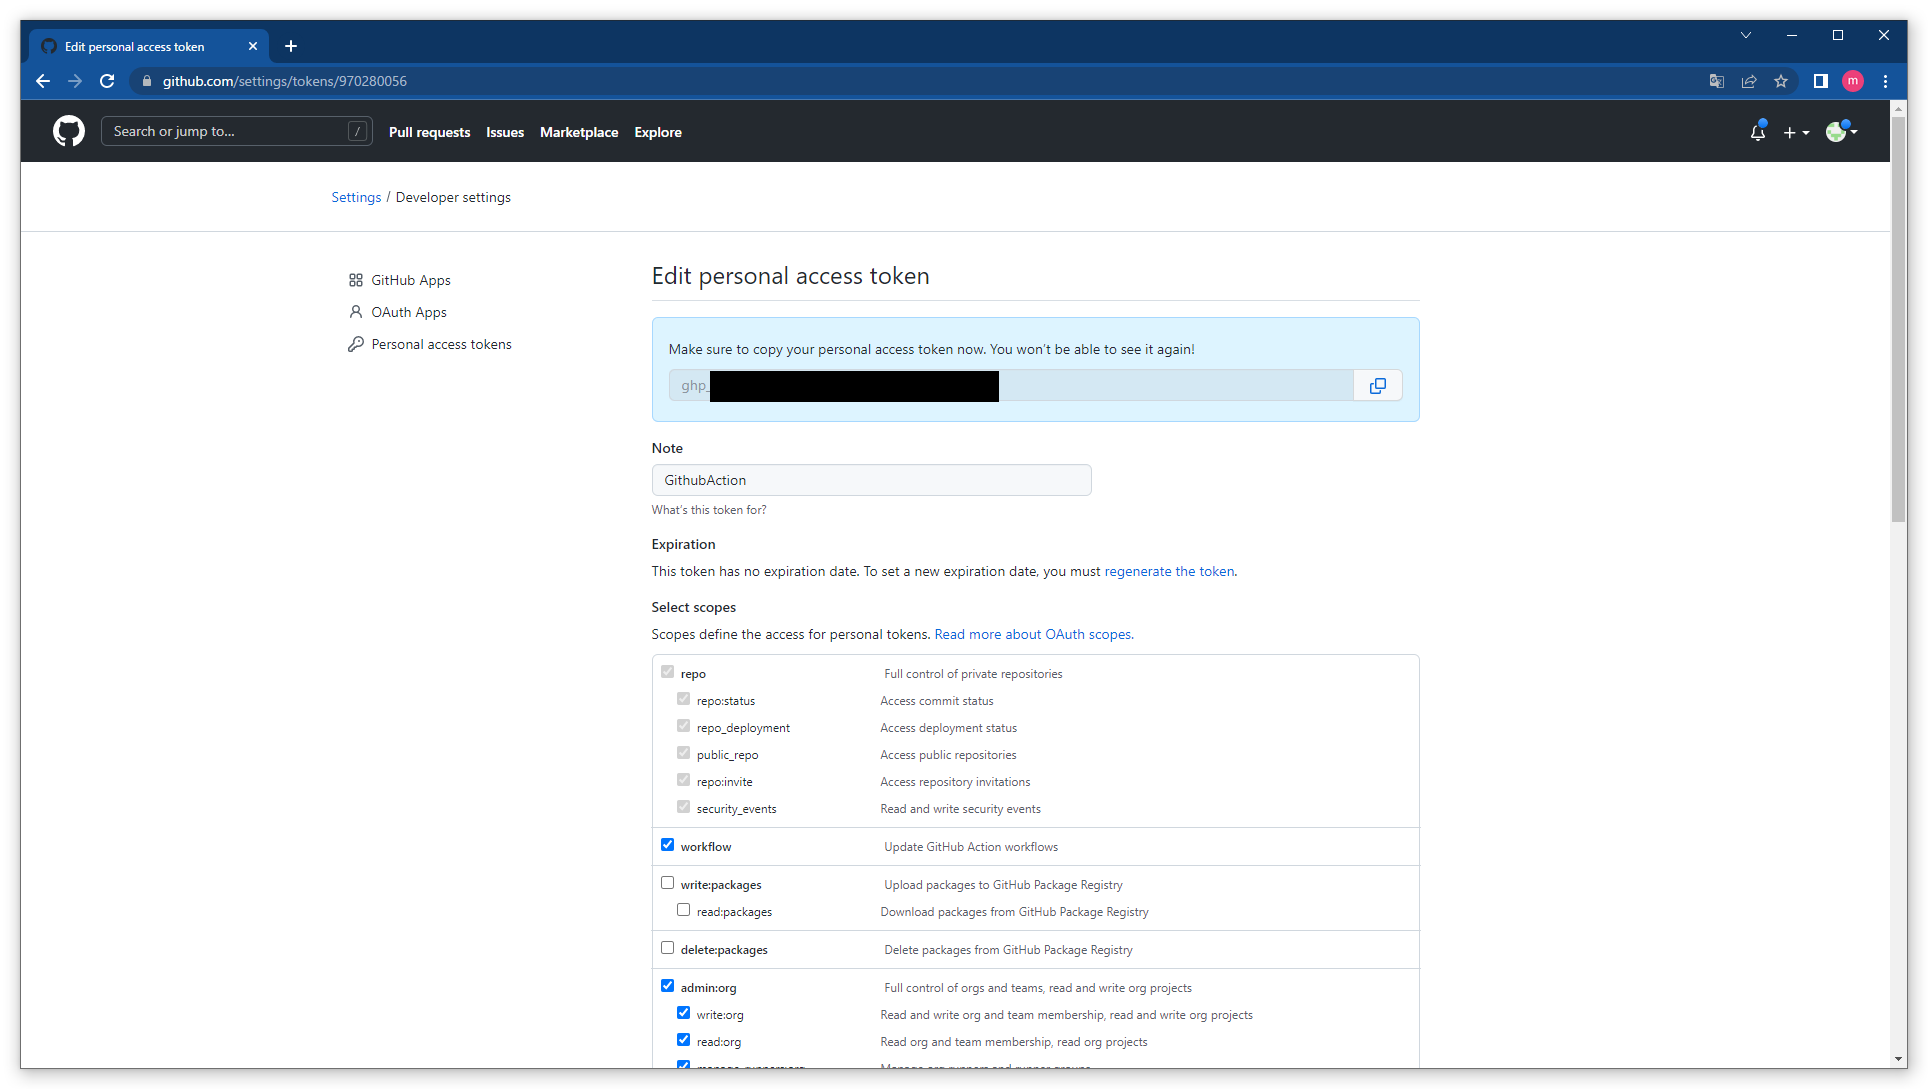
Secretに登録します。

workflowの設定
Pullしたmain.ymlをこれまで設定してきた内容に合わせて修正します。
$ ls -l .github/workflows
total 4
-rw-rw-r--. 1 opc opc 2627 Sep 24 02:01 main.yml
name: GitHub Actions CI

on:
  push:
    branches: [ main ]

jobs:
  build:
    name: GitOps Workflow
    runs-on: ubuntu-latest
    steps:
      - name: Checkout code
        uses: actions/checkout@v2

        # イメージビルド
      - name: Build an image from Dockerfile
        run: |
          # Dockerビルド
          DOCKER_BUILDKIT=1 docker image build . -f app/Dockerfile --tag ${{ secrets.DOCKER_USERNAME }}/gitops-go-app:${{ github.run_number }}

        # Trivyによるイメージスキャン
      - name: Run Trivy vulnerability scanner
        uses: aquasecurity/trivy-action@master
        with:
          image-ref: '${{ secrets.DOCKER_USERNAME }}/gitops-go-app:${{ github.run_number }}'
          format: 'table'
          exit-code: '1'
          ignore-unfixed: true
          severity: 'CRITICAL,HIGH'

        # コンテナイメージをDocker Hubにプッシュ
      - name: Push image to Docker Hub
        run: |
          # Docker Hub ログイン
          docker login docker.io --username ${{ secrets.DOCKER_USERNAME }} --password ${{ secrets.DOCKER_PASSWORD }}
          # イメージプッシュ
          docker image push ${{ secrets.DOCKER_USERNAME }}/gitops-go-app:${{ github.run_number }}

        # values.yamlの更新、新規ブランチ作成、プッシュ、プルリクエスト
      - name: Update values.yaml & Pull Request to Config Repository
        run: |
          # GitHubログイン
          echo -e "machine github.com\nlogin ${{ secrets.GH_USERNAME }}\npassword ${{ secrets.GH_PASSWORD }}" > ~/.netrc
          # 「config」リポジトリからクローン
          git clone https://github.com/${{ secrets.GH_USERNAME }}/config.git
          # values.yamlファイルの更新処理
          cd config/gitops-helm
          git config --global user.email "${{ secrets.EMAIL }}"
          git config --global user.name "${{ secrets.GH_USERNAME }}"
          # 新規ブランチ作成
          git branch feature/${{ github.run_number }}
          git checkout feature/${{ github.run_number }}
          # values.yamlのタグ番号を更新
          sed -i 's/tag: [0-9]*/tag: ${{ github.run_number }}/g' values.yaml
          # プッシュ処理
          git add values.yaml
          git commit -m "Update tag ${{ github.run_number }}"
          git push origin feature/${{ github.run_number }}
          # プルリクエスト処理
          echo ${{ secrets.PERSONAL_ACCESS_TOKEN }} > token.txt
          gh auth login --with-token < token.txt
          gh pr create  --title "Update Tag ${{ github.run_number }}" --body "Please Merge !!"
Pushします。
$ git add .
$ git commit -m "create main.yml"
[main 418a8a3] create main.yml
 1 file changed, 62 insertions(+), 36 deletions(-)
 rewrite .github/workflows/main.yml (92%)
$ git branch -M main
$ git push -u origin main
Enumerating objects: 9, done.
Counting objects: 100% (9/9), done.
Delta compression using up to 2 threads
Compressing objects: 100% (3/3), done.
Writing objects: 100% (5/5), 1.40 KiB | 1.40 MiB/s, done.
Total 5 (delta 0), reused 0 (delta 0), pack-reused 0
To https://github.com/kosukemachida-ora/code.git
   6bb932d..418a8a3  main -> main
Branch 'main' set up to track remote branch 'main' from 'origin'.
CIの実行
GithubActionsを確認すると、ワークフローが実行されています。
create main.ymlをクリックすると、ワークフローの詳細が確認できます。

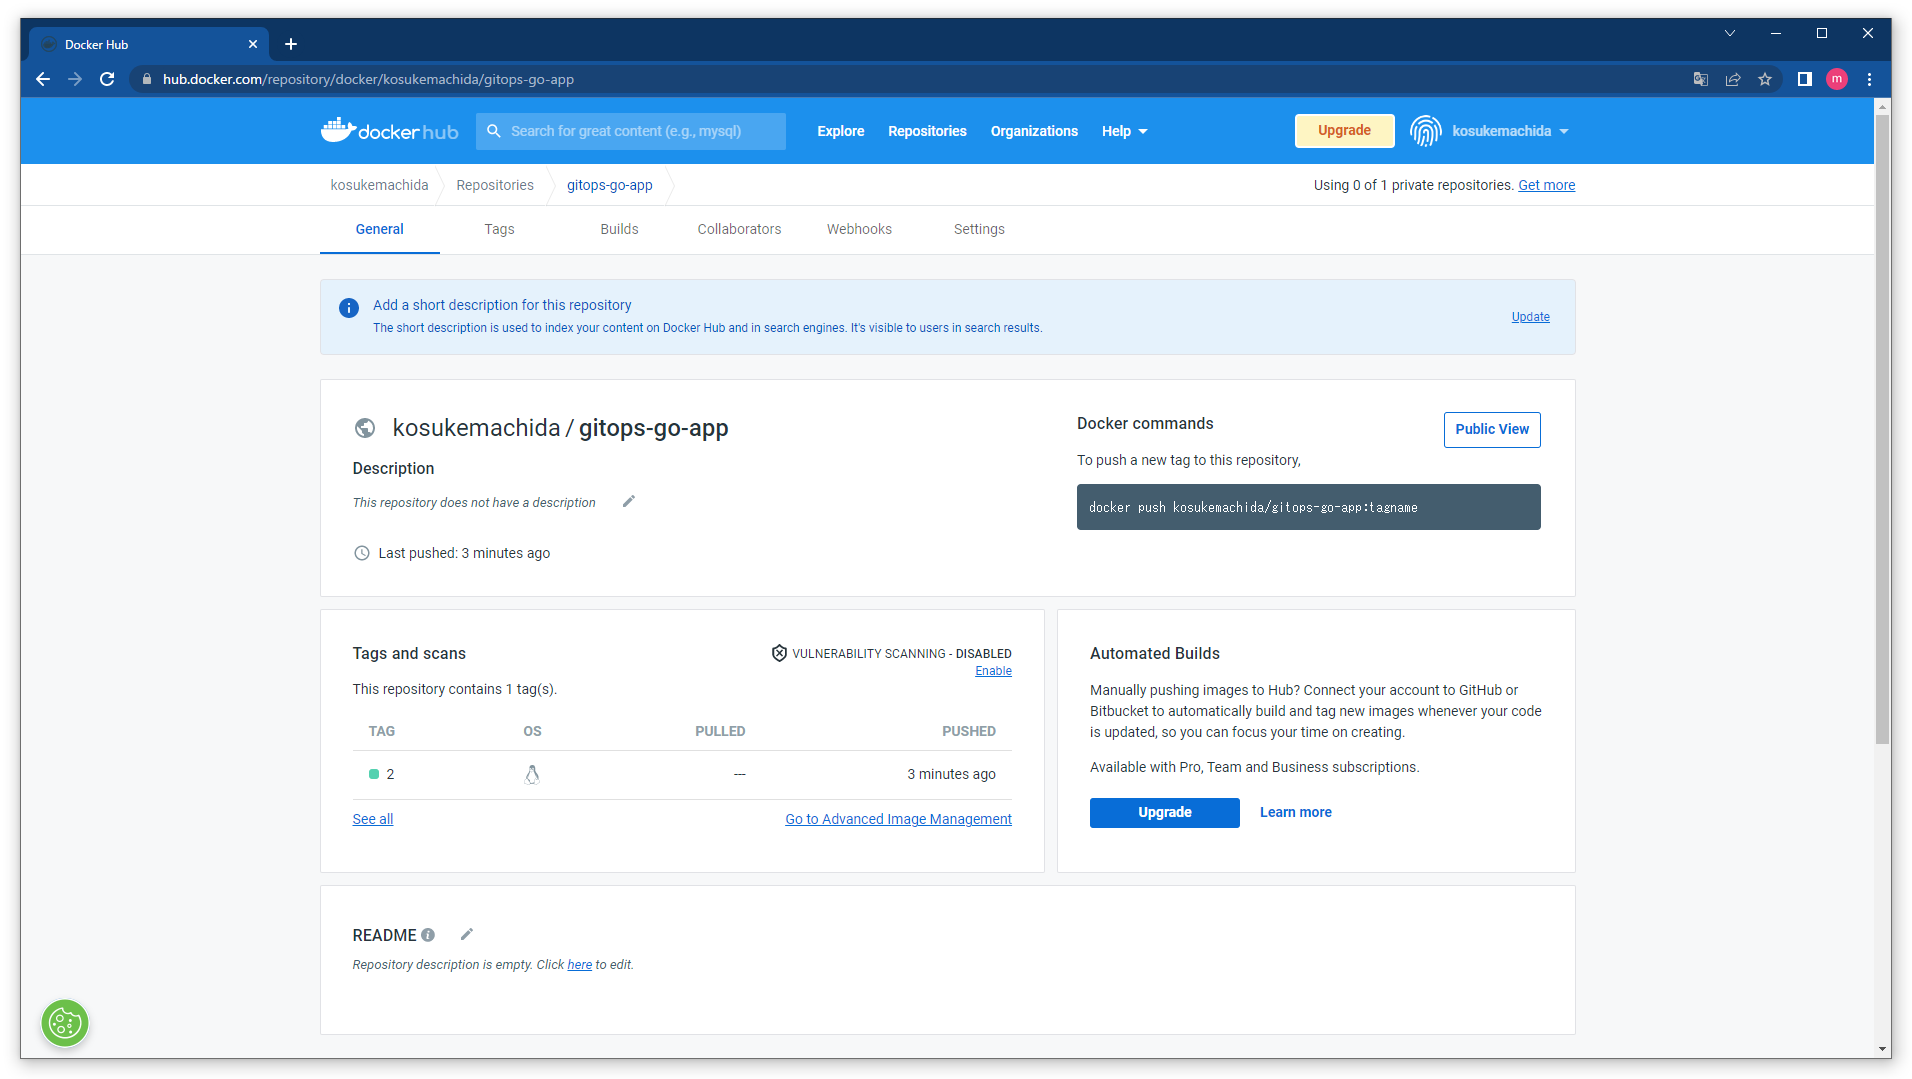
Docker Hubにビルドしたコンテナイメージが格納されています。
ConfigリポジトリにPull Requestがあるので、マージします。
CD環境構築
ArgoCDのインストール
Helmでインストールするために、Argo CDのリポジトリを追加します。
$ helm repo add argo https://argoproj.github.io/argo-helm
"argo" has been added to your repositories
$ helm repo update
Hang tight while we grab the latest from your chart repositories...
...Successfully got an update from the "argo" chart repository
Update Complete. ?Happy Helming!?
$ helm search repo argocd
NAME                            CHART VERSION   APP VERSION     DESCRIPTION
argo/argocd-applicationset      1.12.1          v0.4.1          A Helm chart for installing ArgoCD ApplicationSet
argo/argocd-apps                0.0.1                           A Helm chart for managing additional Argo CD Ap...
argo/argocd-image-updater       0.8.0           v0.12.0         A Helm chart for Argo CD Image Updater, a tool ...
argo/argocd-notifications       1.8.1           v1.2.1          A Helm chart for ArgoCD notifications, an add-o...
argo/argo-cd                    3.35.4          v2.2.5          A Helm chart for ArgoCD, a declarative, GitOps ...
KubernetesクラスタにNamespaceを作成します。
$ kubectl create ns argocd
namespace/argocd created
インストールします。
$ helm install argo-cd -n argocd argo/argo-cd --version 3.6.4
manifest_sorter.go:192: info: skipping unknown hook: "crd-install"
manifest_sorter.go:192: info: skipping unknown hook: "crd-install"
NAME: argo-cd
LAST DEPLOYED: Sat Sep 24 02:19:34 2022
NAMESPACE: argocd
STATUS: deployed
REVISION: 1
TEST SUITE: None
NOTES:
In order to access the server UI you have the following options:

1. kubectl port-forward service/argo-cd-argocd-server -n argocd 8080:443

    and then open the browser on http://localhost:8080 and accept the certificate

2. enable ingress in the values file `server.ingress.enabled` and either
      - Add the annotation for ssl passthrough: https://github.com/argoproj/argo-cd/blob/master/docs/operator-manual/ingress.md#option-1-ssl-passthrough
      - Add the `--insecure` flag to `server.extraArgs` in the values file and terminate SSL at your ingress: https://github.com/argoproj/argo-cd/blob/master/docs/operator-manual/ingress.md#option-2-multiple-ingress-objects-and-hosts


After reaching the UI the first time you can login with username: admin and the random password generated during the installation. You can find the password by running:

kubectl -n argocd get secret argocd-initial-admin-secret -o jsonpath="{.data.password}" | base64 -d

(You should delete the initial secret afterwards as suggested by the Getting Started Guide: https://github.com/argoproj/argo-cd/blob/master/docs/getting_started.md#4-login-using-the-cli)
確認します。
$ kubectl -n argocd get all
NAME                                                        READY   STATUS    RESTARTS   AGE
pod/argo-cd-argocd-application-controller-bc5dd54c5-mll54   0/1     Running   0          86s
pod/argo-cd-argocd-dex-server-7c86d574b8-xjsqf              1/1     Running   0          86s
pod/argo-cd-argocd-redis-568dbf6d9d-mqdpk                   1/1     Running   0          86s
pod/argo-cd-argocd-repo-server-58f85d449-7h2f7              0/1     Running   0          86s
pod/argo-cd-argocd-server-64dd8cfb77-qtb4w                  0/1     Running   0          86s

NAME                                            TYPE        CLUSTER-IP     EXTERNAL-IP   PORT(S)             AGE
service/argo-cd-argocd-application-controller   ClusterIP   10.96.139.60   <none>        8082/TCP            88s
service/argo-cd-argocd-dex-server               ClusterIP   10.96.102.61   <none>        5556/TCP,5557/TCP   88s
service/argo-cd-argocd-redis                    ClusterIP   10.96.95.232   <none>        6379/TCP            88s
service/argo-cd-argocd-repo-server              ClusterIP   10.96.45.128   <none>        8081/TCP            88s
service/argo-cd-argocd-server                   ClusterIP   10.96.44.118   <none>        80/TCP,443/TCP      88s

NAME                                                    READY   UP-TO-DATE   AVAILABLE   AGE
deployment.apps/argo-cd-argocd-application-controller   0/1     1            0           87s
deployment.apps/argo-cd-argocd-dex-server               1/1     1            1           87s
deployment.apps/argo-cd-argocd-redis                    1/1     1            1           87s
deployment.apps/argo-cd-argocd-repo-server              0/1     1            0           87s
deployment.apps/argo-cd-argocd-server                   0/1     1            0           87s

NAME                                                              DESIRED   CURRENT   READY   AGE
replicaset.apps/argo-cd-argocd-application-controller-bc5dd54c5   1         1         0       88s
replicaset.apps/argo-cd-argocd-dex-server-7c86d574b8              1         1         1       88s
replicaset.apps/argo-cd-argocd-redis-568dbf6d9d                   1         1         1       88s
replicaset.apps/argo-cd-argocd-repo-server-58f85d449              1         1         0       88s
replicaset.apps/argo-cd-argocd-server-64dd8cfb77                  1         1         0       88s
GUIへのアクセス設定
argo-cd-argocd-serverをClusterIPからLoadBalancerに変更して、外部からアクセスできるようにします。
kubectl patchコマンドで変更すると、Oracle Cloudでは非推奨の固定シェイプのロードバランサ―がプロビジョニングされるので、以下のようにyamlファイルにはき出してから変更して、kubectl replaceコマンドで入れ替えます。
NodePortでもいいかなと思いましたが、Kubernetesクラスタをプライベートサブネットにプロビジョニングしているので、インターネット越しにアクセスできないため、LoadBalancerにします。
$ kubectl get svc argo-cd-argocd-server -n argocd -o yaml > ~/argo-lb.yaml
apiVersion: v1
kind: Service
metadata:
  annotations:
    meta.helm.sh/release-name: argo-cd
    meta.helm.sh/release-namespace: argocd
    service.beta.kubernetes.io/oci-load-balancer-shape: "flexible" #追記
    service.beta.kubernetes.io/oci-load-balancer-shape-flex-min: "10" #追記
    service.beta.kubernetes.io/oci-load-balancer-shape-flex-max: "50" #追記
  creationTimestamp: "2022-09-24T12:36:02Z"
  labels:
    app.kubernetes.io/component: server
    app.kubernetes.io/instance: argo-cd
    app.kubernetes.io/managed-by: Helm
    app.kubernetes.io/name: argocd-server
    app.kubernetes.io/part-of: argocd
    helm.sh/chart: argo-cd-3.6.4
  name: argo-cd-argocd-server
  namespace: argocd
  resourceVersion: "2676"
  uid: d0f218bc-8452-4096-80a7-8ec10a8c2db8
spec:
  clusterIP: 10.96.44.118
  clusterIPs:
  - 10.96.44.118
  internalTrafficPolicy: Cluster
  ipFamilies:
  - IPv4
  ipFamilyPolicy: SingleStack
  ports:
  - name: http
    port: 80
    protocol: TCP
    targetPort: server
  - name: https
    port: 443
    protocol: TCP
    targetPort: server
  selector:
    app.kubernetes.io/instance: argo-cd
    app.kubernetes.io/name: argocd-server
  sessionAffinity: None
  type: LoadBalancer #変更
status:
  loadBalancer: {}
$ kubectl replace -f ~/argo-lb.yaml
service/argo-cd-argocd-server replaced
$ kubectl -n argocd get svc
NAME                                    TYPE           CLUSTER-IP     EXTERNAL-IP       PORT(S)                      AGE
argo-cd-argocd-application-controller   ClusterIP      10.96.139.60   <none>            8082/TCP                     4m43s
argo-cd-argocd-dex-server               ClusterIP      10.96.102.61   <none>            5556/TCP,5557/TCP            4m43s
argo-cd-argocd-redis                    ClusterIP      10.96.95.232   <none>            6379/TCP                     4m43s
argo-cd-argocd-repo-server              ClusterIP      10.96.45.128   <none>            8081/TCP                     4m43s
argo-cd-argocd-server                   LoadBalancer   10.96.44.118   132.226.xx.xx     80:32580/TCP,443:30710/TCP   4m43s
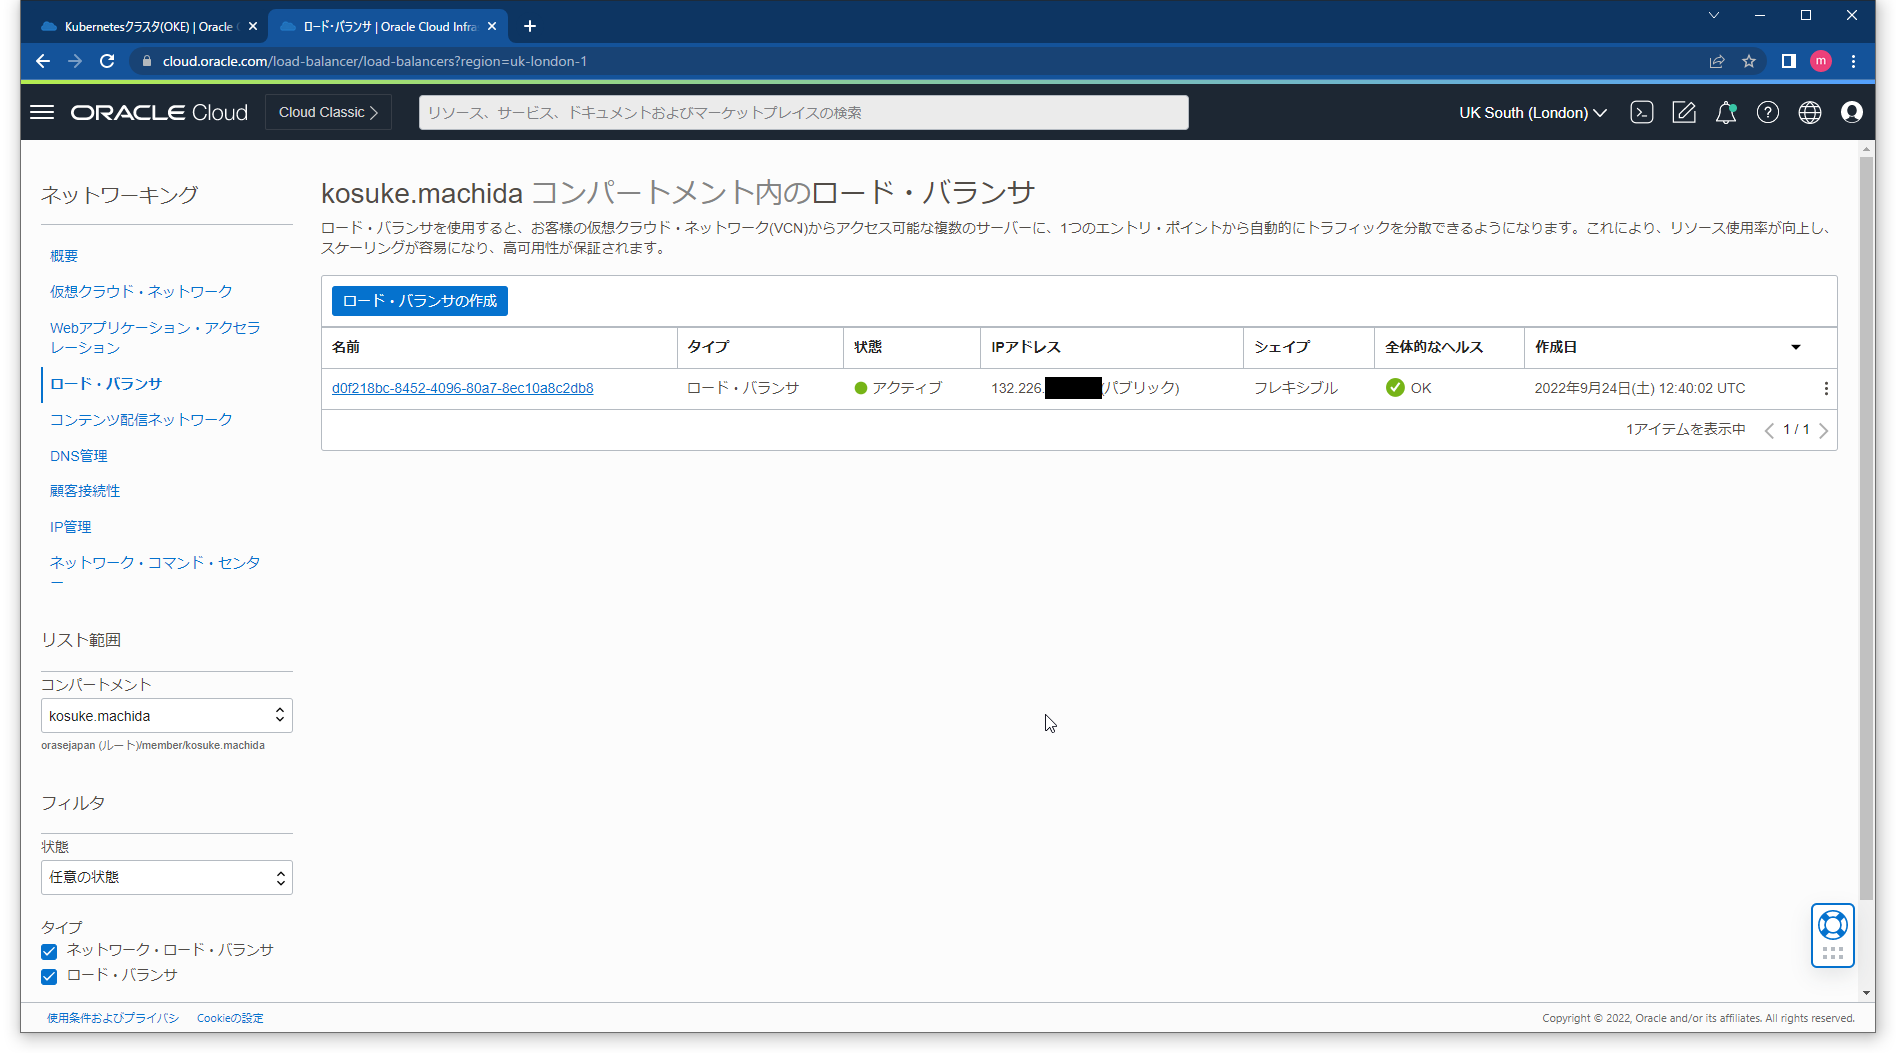
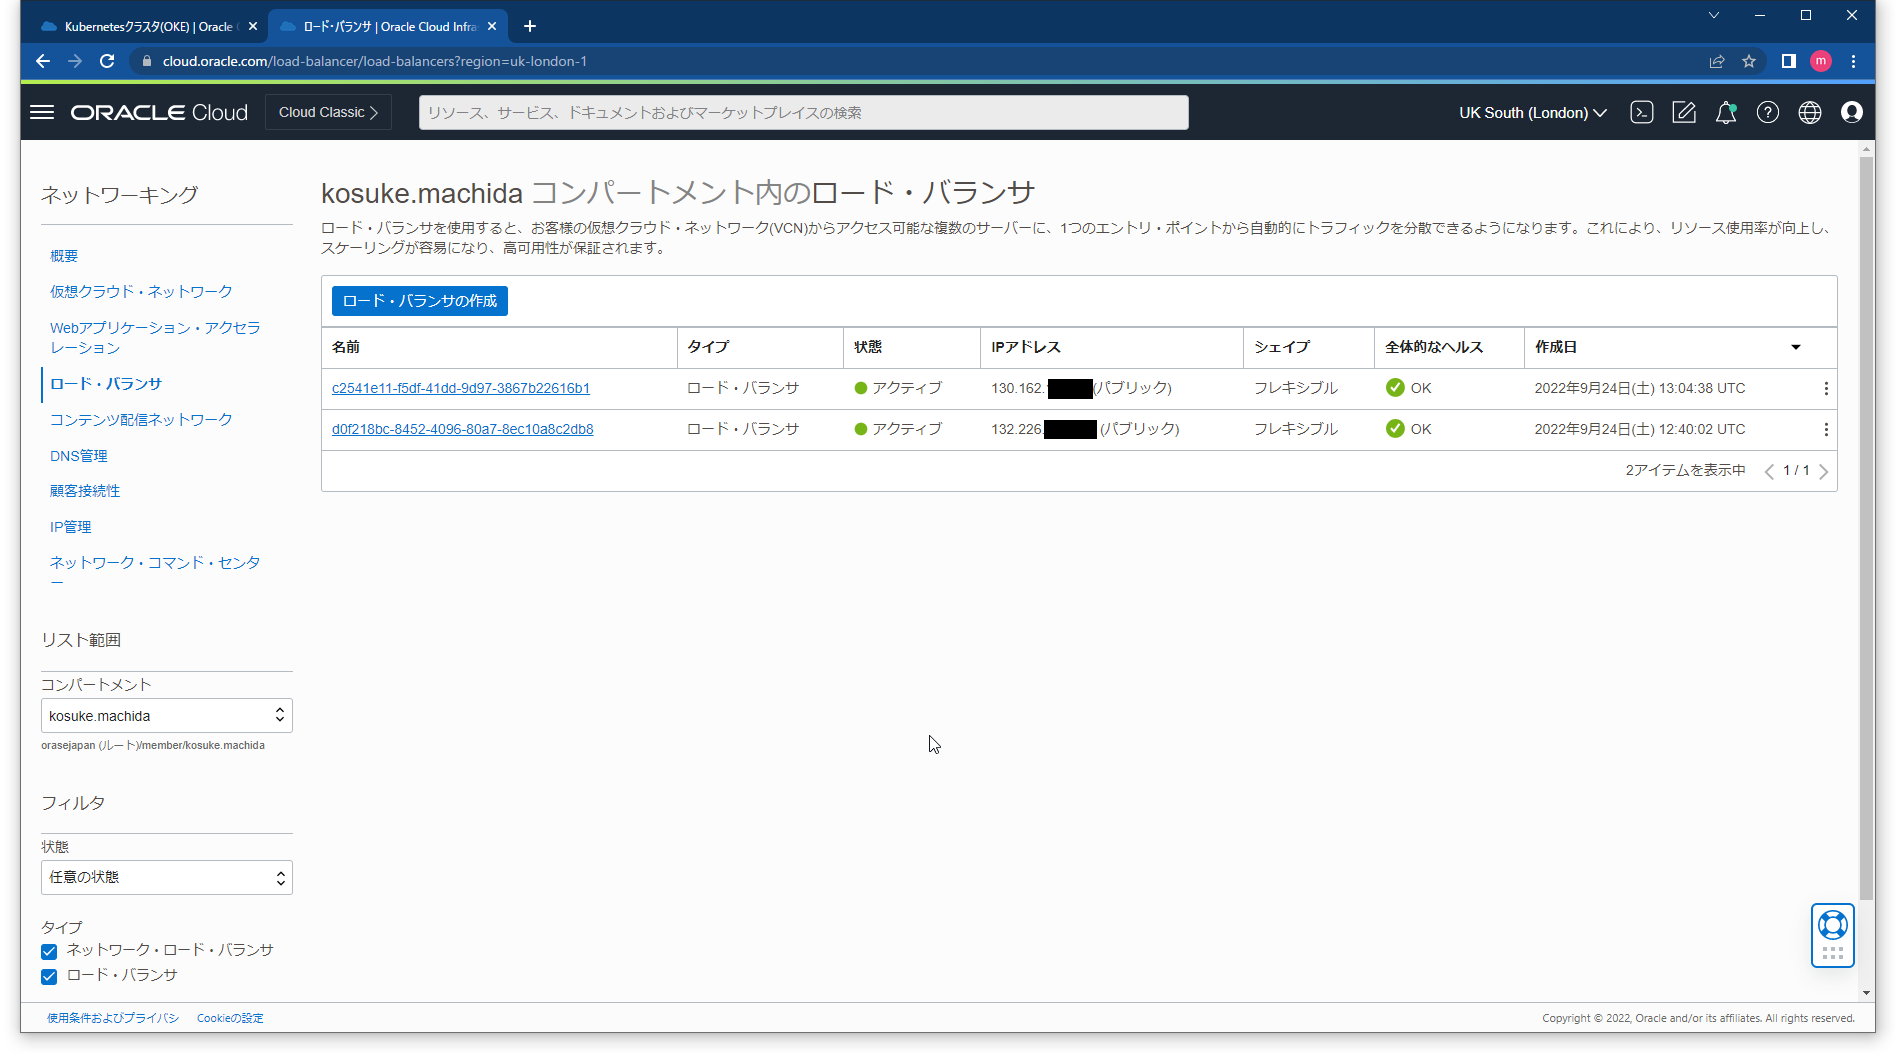
OCIのコンソールでもロードバランサーがプロビジョニングされていることを確認できます。
Argo CD Clientのインストール
$ sudo curl -sSL -o /usr/local/bin/argocd https://github.com/argoproj/argo-cd/releases/latest/download/argocd-linux-amd64
$ sudo chmod +x /usr/local/bin/argocd
初期パスワードはKubernetesのSecretにあるので、デコードして確認します。
確認した初期パスワードを指定してログインします。ログイン先はLoadBalancerのEXTERNAL-IPです。
$ kubectl -n argocd get secret argocd-initial-admin-secret -o jsonpath="{.data.password}" | base64 -d
EXxaxxxxxxxxxx
$ argocd --insecure login 132.226.xxx.xxx --username admin
Password:
'admin:login' logged in successfully
Context '132.226.xxx.xxx' updated
パスワードをわかりやすいものに変更します。
$ argocd account update-password --account admin
*** Enter password of currently logged in user (admin):
*** Enter new password for user admin:
*** Confirm new password for user admin:
Password updated
Context '132.226.xxx.xxx' updated
Argo CDの設定
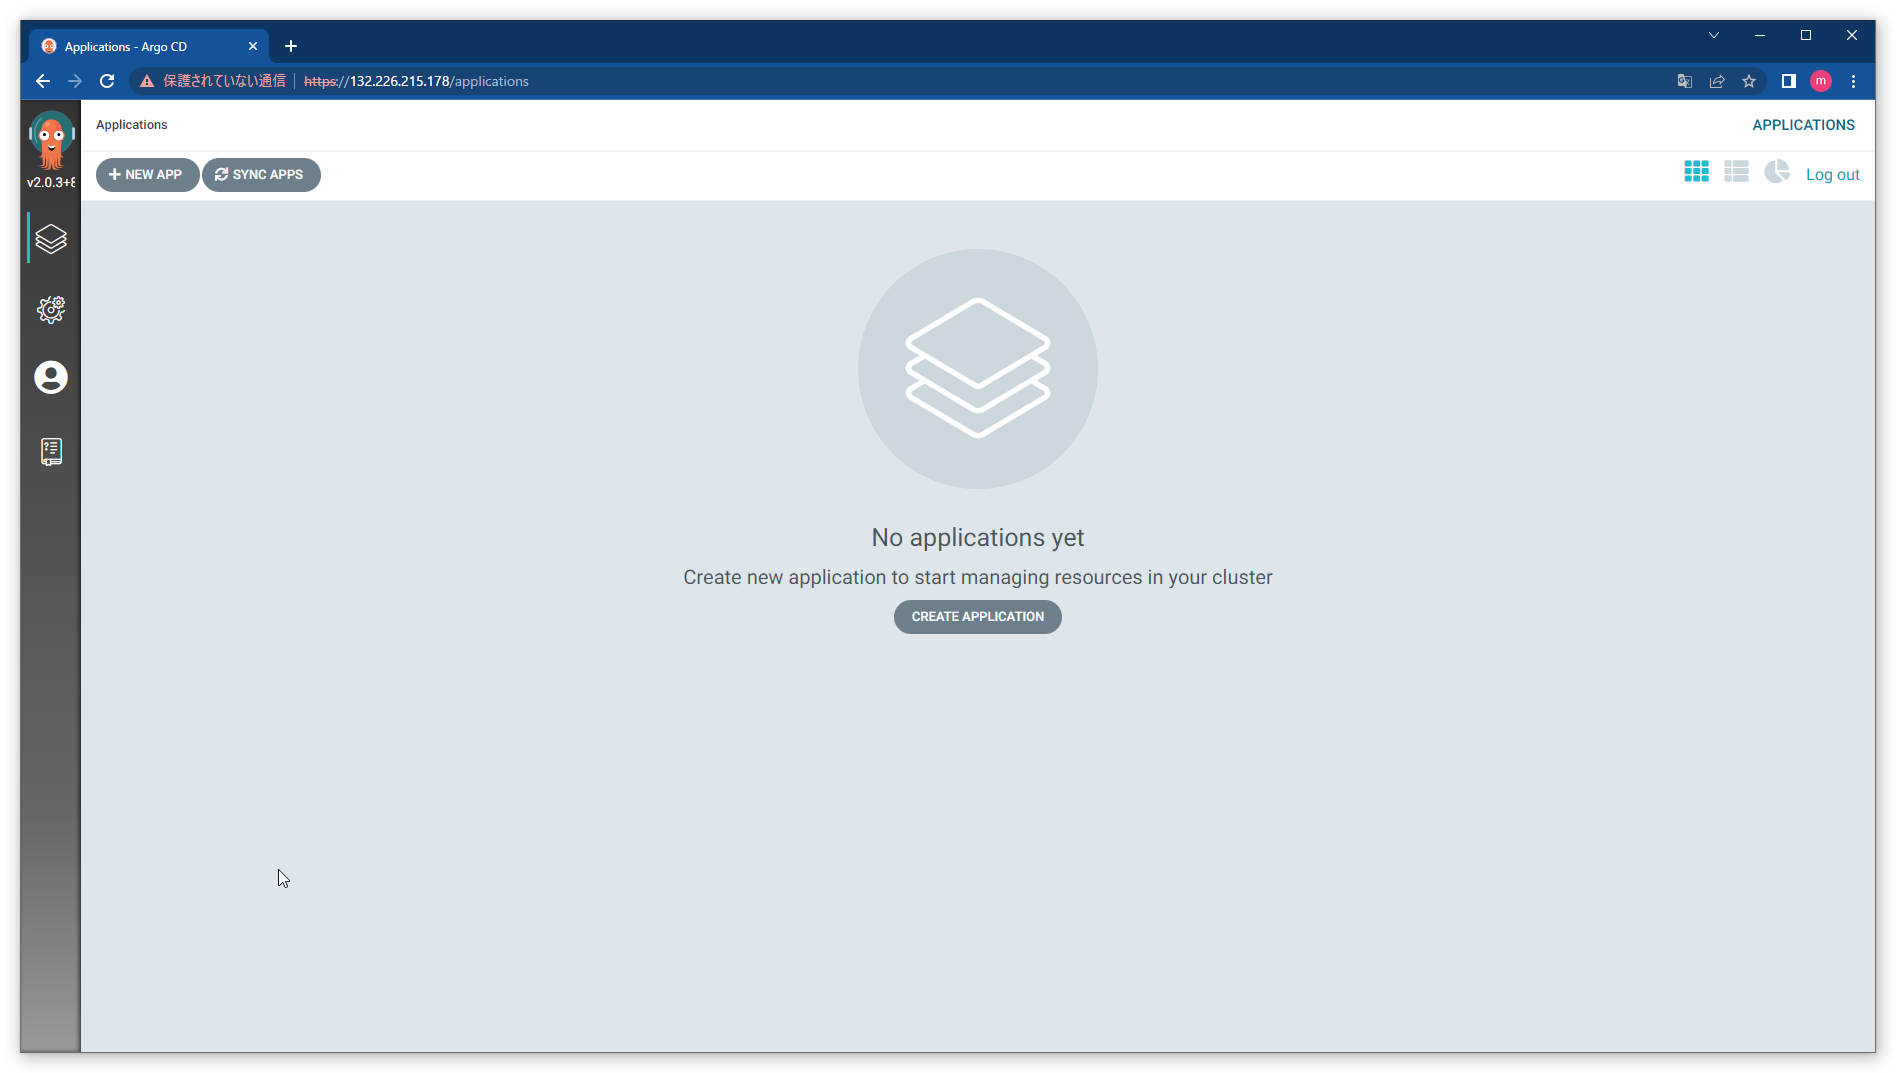
ブラウザから http:// にアクセスしてログインします。
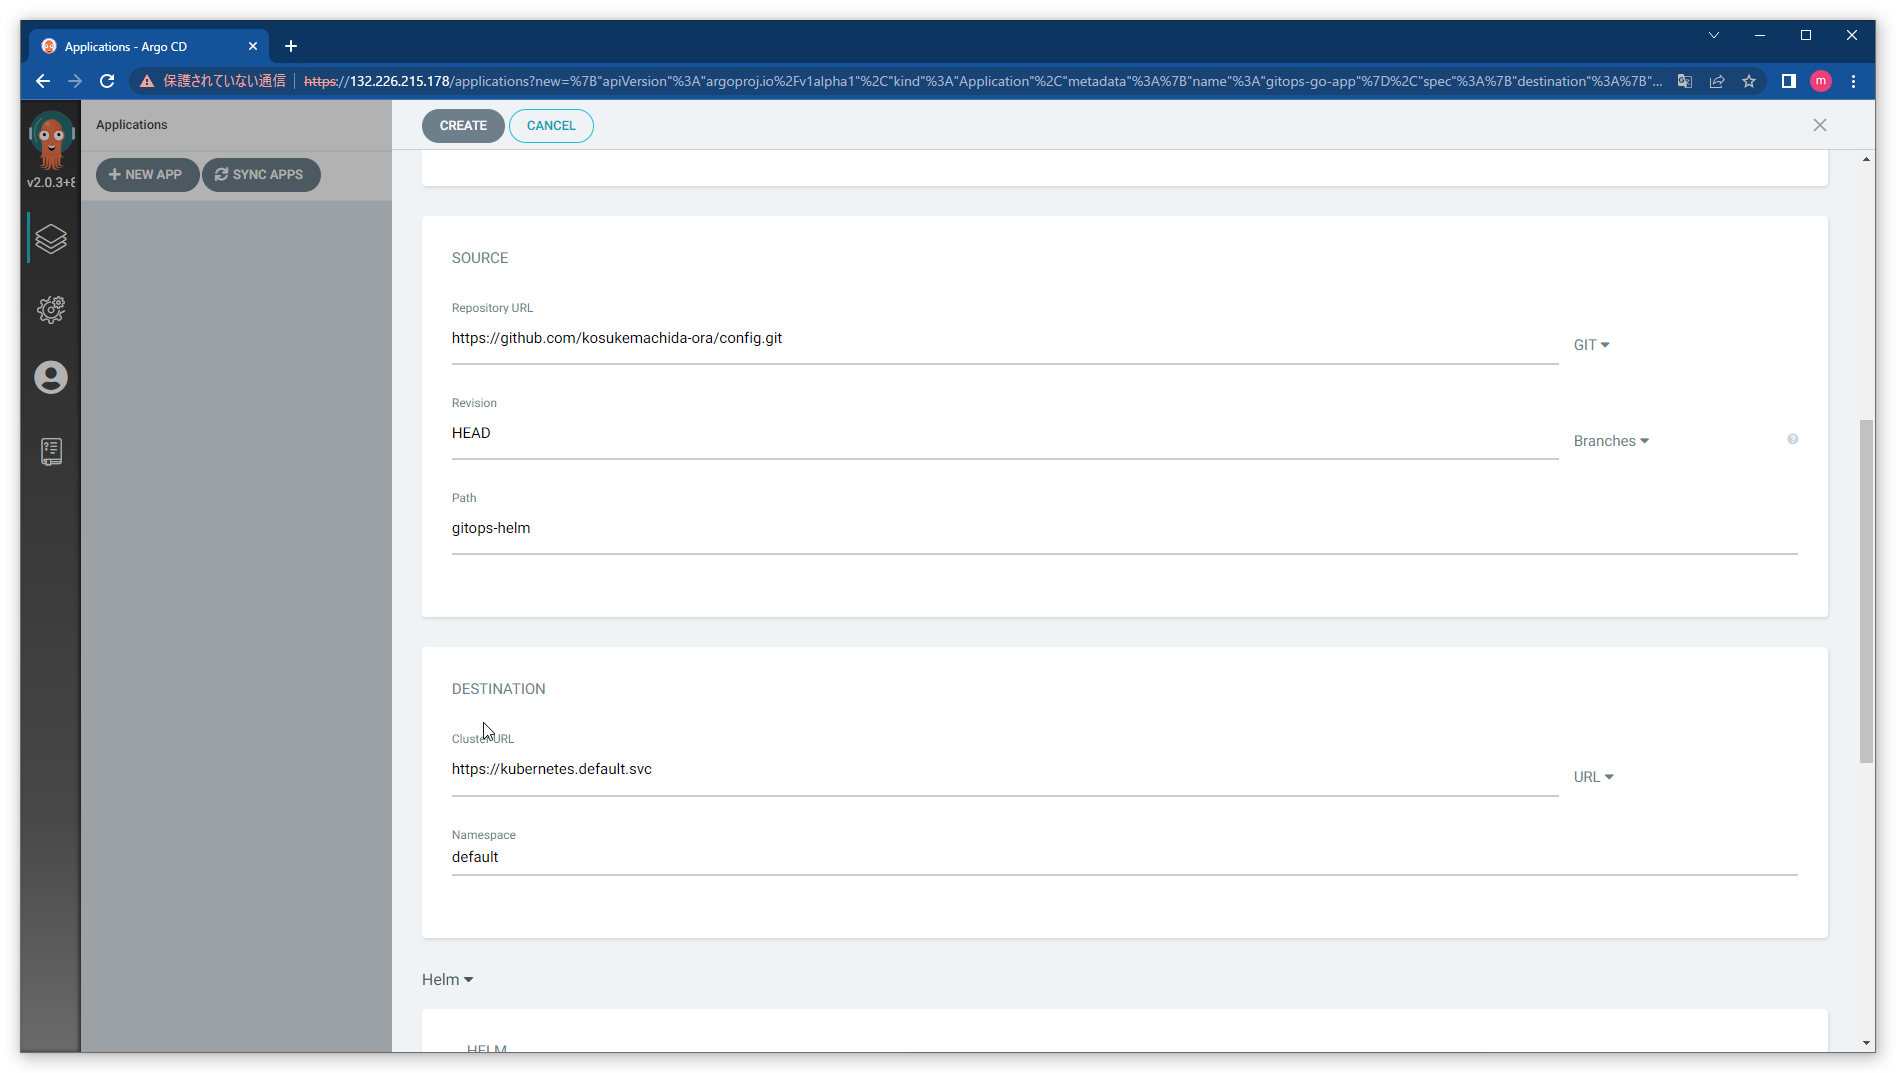
+NEW APPをクリックします。
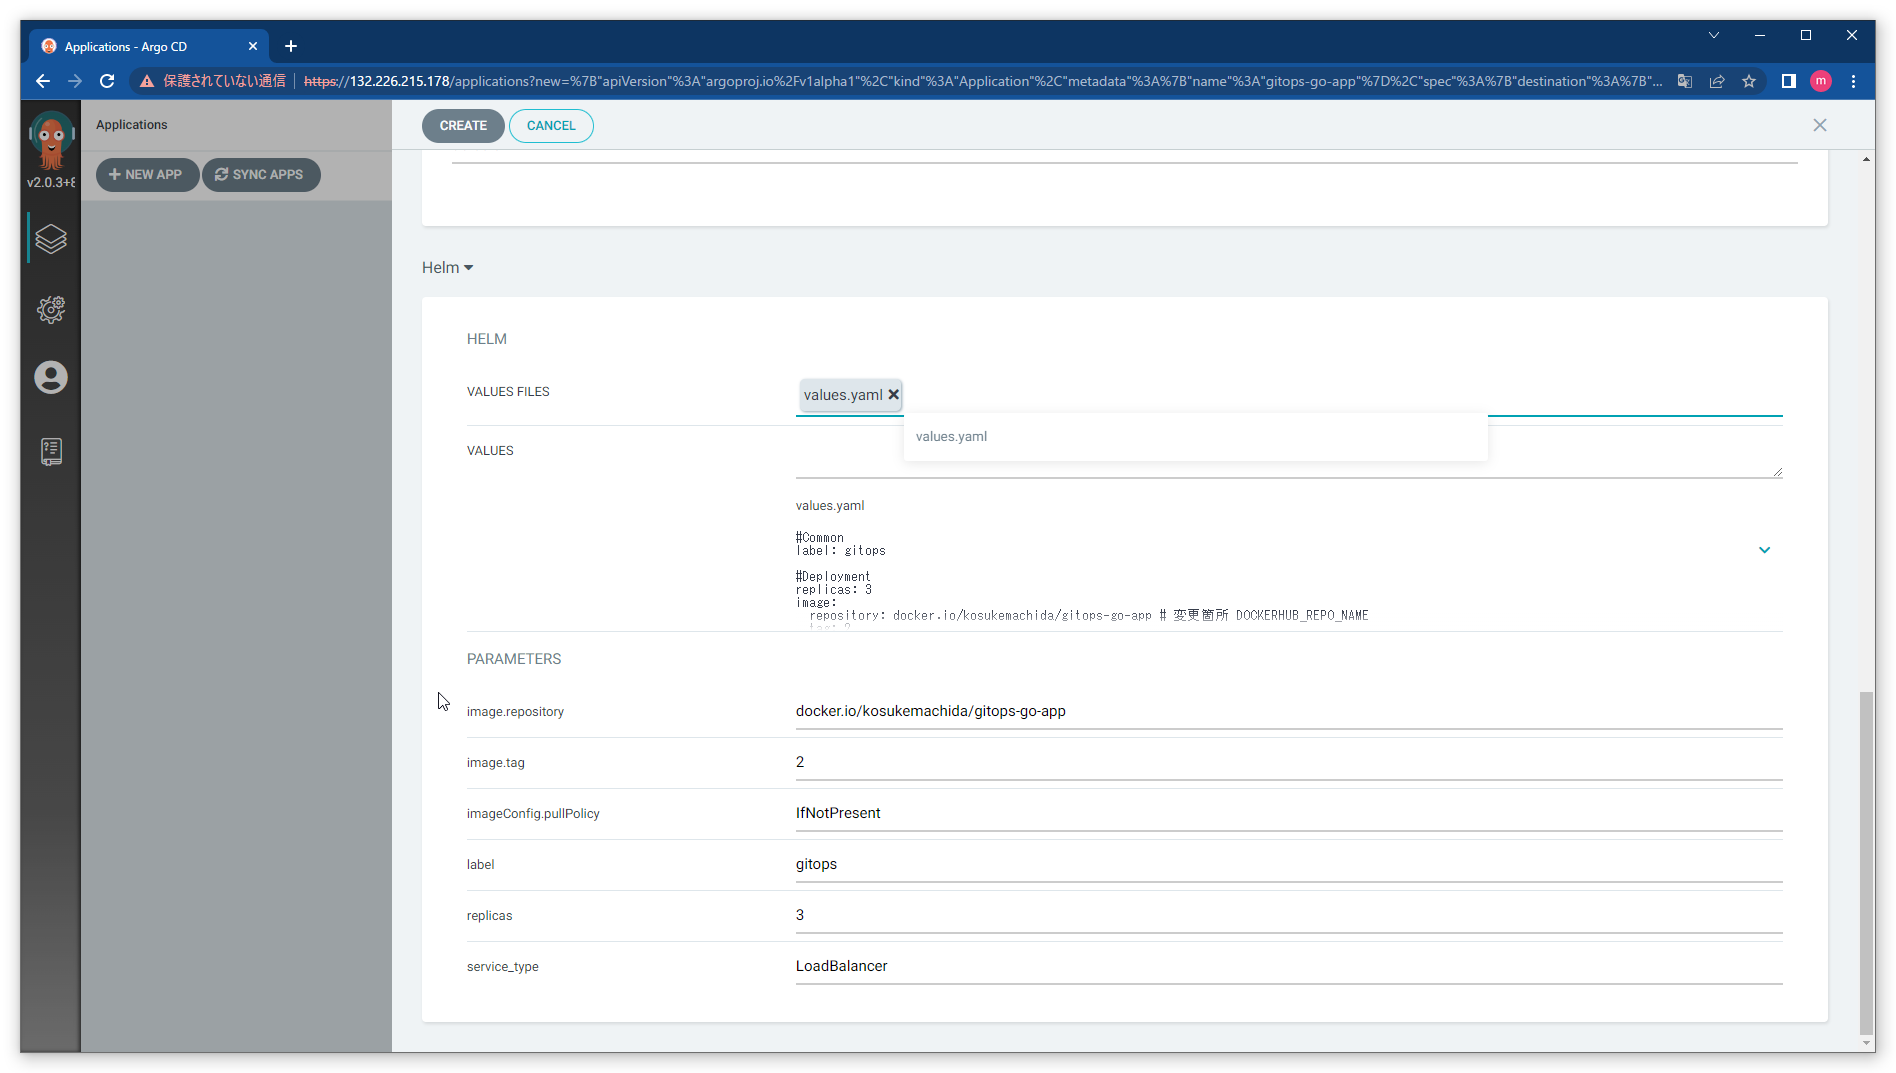
このように設定して、CREATEをクリックします。

続き
続き
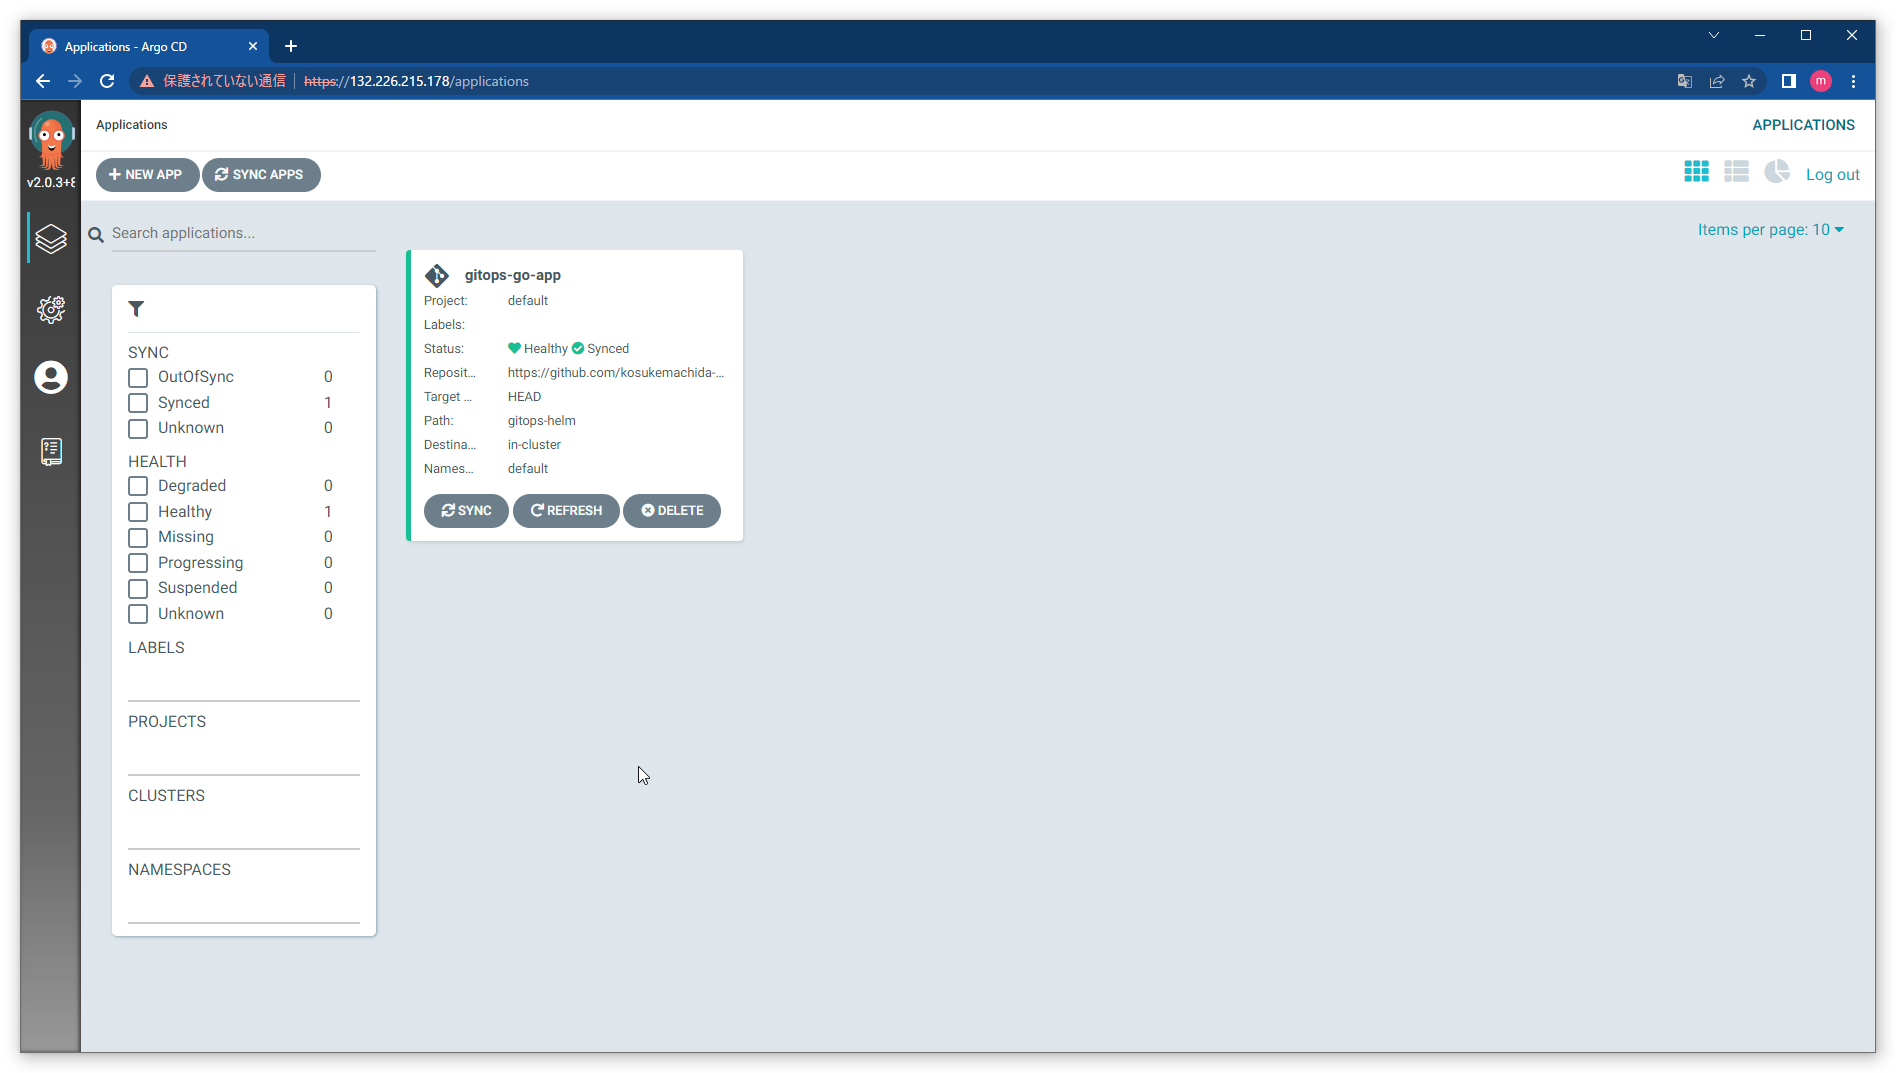
CDの実行
設定が終わるとCDが実行されてます。
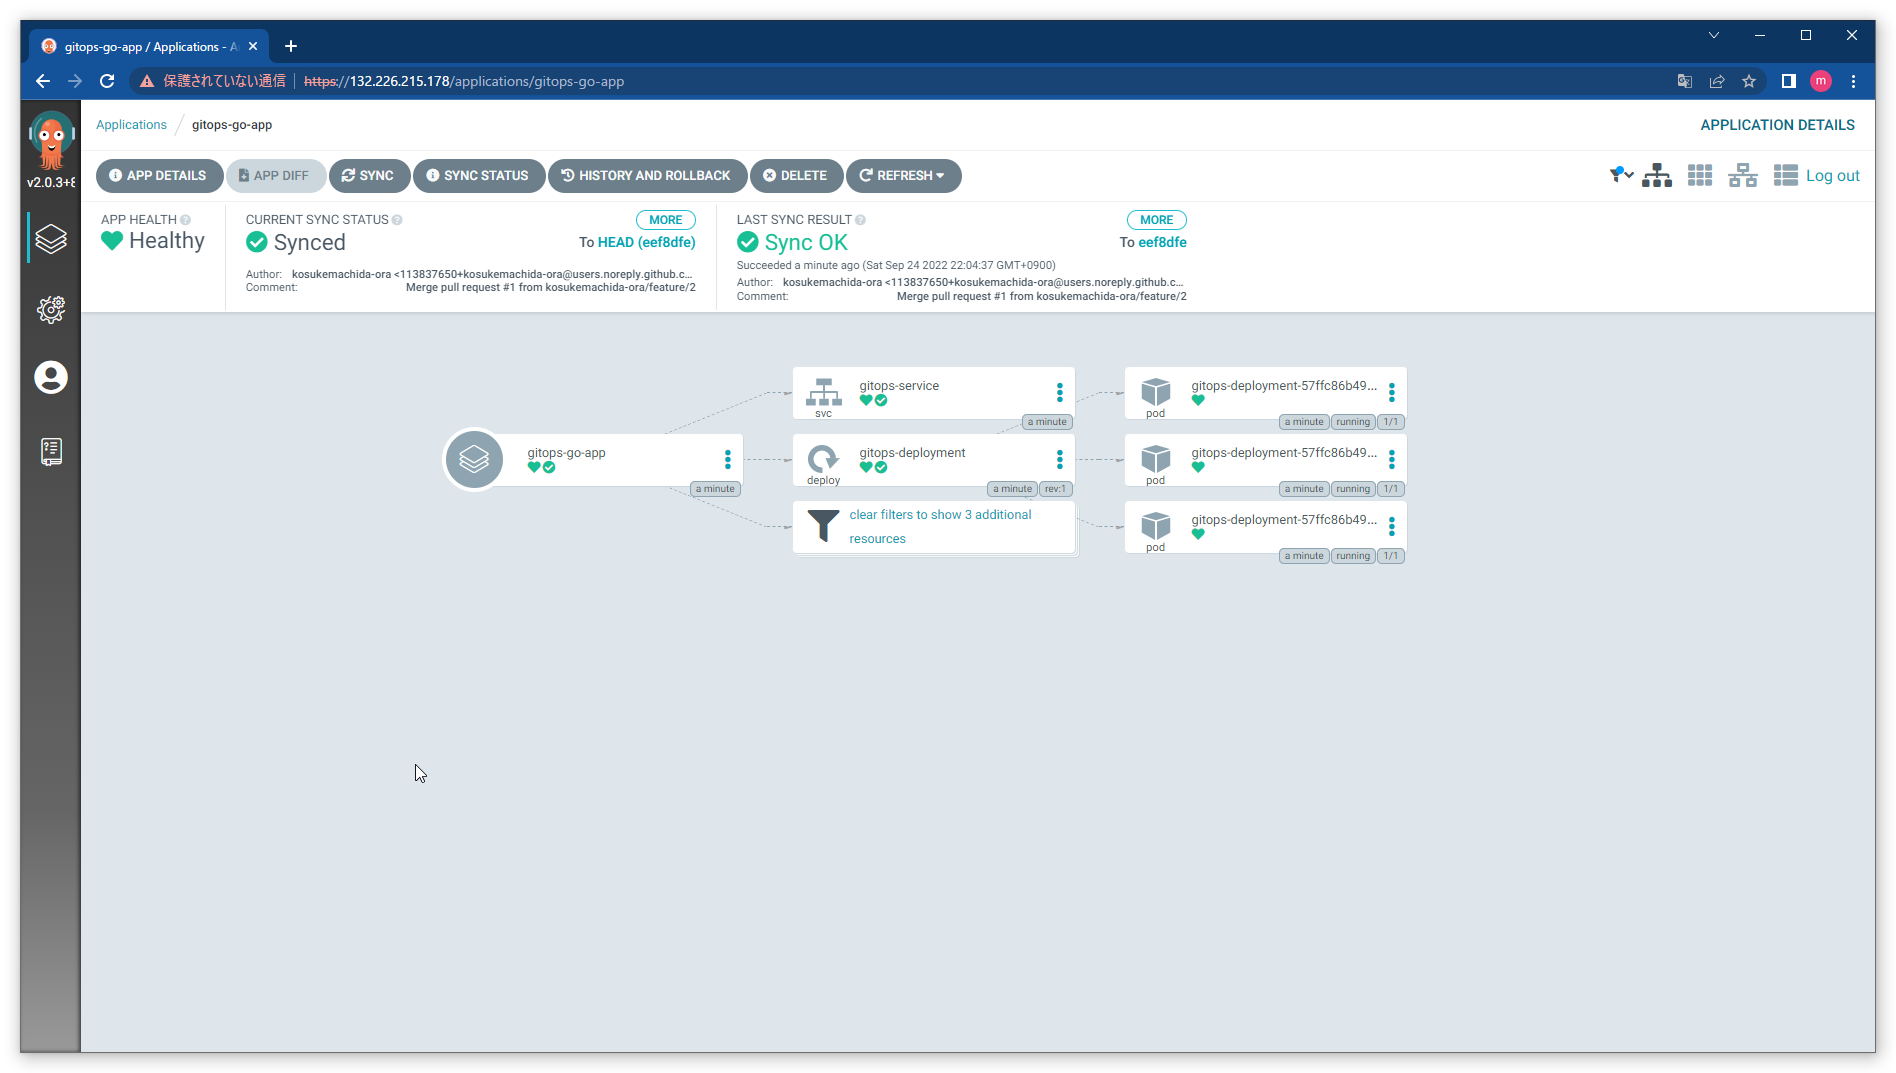
Statusをクリックすると、デプロイ状況が確認できます。
分かりやすい画面ですね。
Kubernetesクラスタ上でもデプロイされていることを確認します。
$ kubectl get all
NAME                                     READY   STATUS    RESTARTS   AGE
pod/gitops-deployment-57ffc86b49-mjpnq   1/1     Running   0          3m2s
pod/gitops-deployment-57ffc86b49-r9kgl   1/1     Running   0          3m2s
pod/gitops-deployment-57ffc86b49-vjs75   1/1     Running   0          3m3s

NAME                     TYPE           CLUSTER-IP      EXTERNAL-IP      PORT(S)             AGE
service/gitops-service   LoadBalancer   10.96.243.159   130.162.xxx.xx   80:30389/TCP        3m3s
service/kubernetes       ClusterIP      10.96.0.1       <none>           443/TCP,12250/TCP   42m

NAME                                READY   UP-TO-DATE   AVAILABLE   AGE
deployment.apps/gitops-deployment   3/3     3            3           3m4s

NAME                                           DESIRED   CURRENT   READY   AGE
replicaset.apps/gitops-deployment-57ffc86b49   3         3         3       3m4s
OCIのコンソール画面でもロードバランサーがプロビジョニングされていることを確認できます。
設定した通り、フレキシブルシェイプでプロビジョニングされています。
アプリケーションにアクセスできることを確認します。ブラウザからもアクセスできます。
$ curl 130.162.xxx.xx
Hello GitOps!!
GitOpsの動作確認
サンプルアプリのコードを変更して、CodeリポジトリにPushします。
$ git add .
$ git commit -m "Hello ArgoCD"
[main a3dd4c1] Hello ArgoCD
 1 file changed, 1 insertion(+), 1 deletion(-)
$ git branch -M main
$ git push -u origin main
Enumerating objects: 7, done.
Counting objects: 100% (7/7), done.
Delta compression using up to 2 threads
Compressing objects: 100% (4/4), done.
Writing objects: 100% (4/4), 388 bytes | 388.00 KiB/s, done.
Total 4 (delta 1), reused 0 (delta 0), pack-reused 0
remote: Resolving deltas: 100% (1/1), completed with 1 local object.
To https://github.com/kosukemachida-ora/code.git
   418a8a3..a3dd4c1  main -> main
Branch 'main' set up to track remote branch 'main' from 'origin'.
CodeリポジトリにPushすると、ワークフローが実行されて、ConfigリポジトリにPull Requestがあります。
それをマージすると、Argo CDが自動でPodを更新します。
こんな感じでわかりやすく表示してくれます。
Sync Statusで詳細が確認できます。

サンプルアプリが更新されたことを確認します。
$ curl 130.162.xxx.xx
Hello ArgoCD!!