iOSアプリでSwiftを利用しGoogle Cloud Endpointsを扱ってみました。
現段階ではiOS用のライブラリはObjective-Cのみしか生成できないため、Objective-Cで書かれたライブラリをSwiftで扱っていきます。
今回はGAEプロジェクト作成等はできている前提でそれらについては詳しくは触れません。
大まかな流れ#
1.Endpointクラスファイルの作成
2.クライアントライブラリの生成
3.iOS用のクライアントライブラリの生成
4.クライアントライブラリの導入
5.iOSアプリの実装
こんな感じの手順で実装していきます。
5をSwiftで実装する以外は特にObjective-Cで扱うのと違いはありません。
今回使用するDTO#
今回はGAEのDatastoreを利用するため、DTOクラスファイルを用意します。
EclipseでJavaプロジェクトで作成しました。
ここで使用するのは、クラス名がTestSwiftDataで、フィールドに
String id,String message,Date date
を持つだけのシンプルなクラスです。
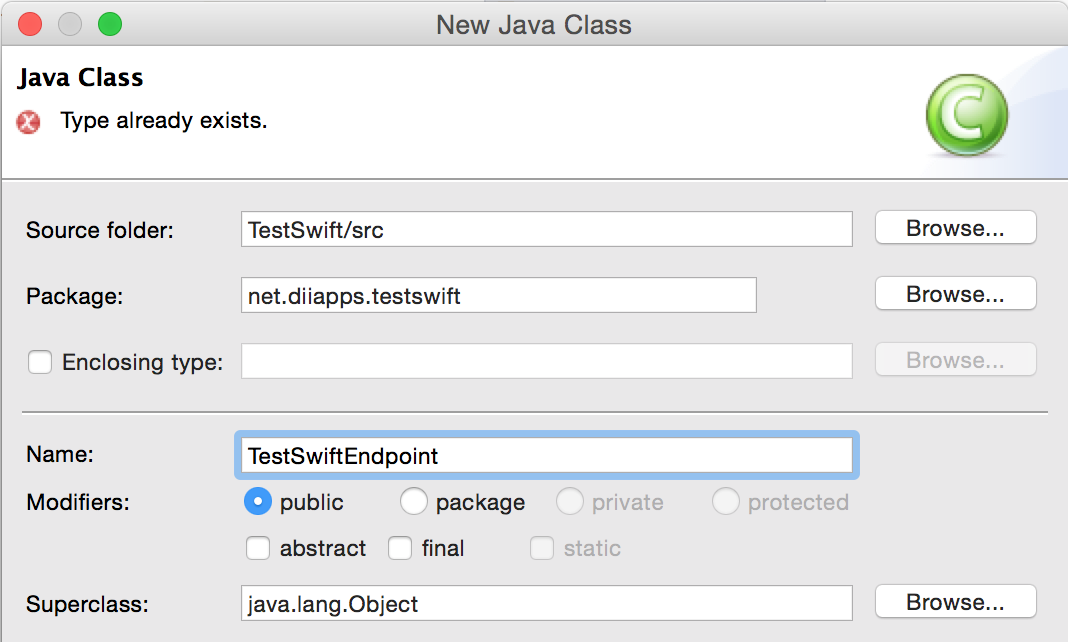
1.Endpointクラスファイルの作成#
まずDTOクラスのデータを扱うためのAPIを実装したEndpointクラスをEclipse上で作成します。
ここではTestSwiftEndpointクラスとしています。
@Api(name = "testSwiftEndpoint", version = "v1",description="endpoint test with swift")
public class TestSwiftEndpoint{
	public TestSwiftEndpoint(){
		super();
	}

	//IDを指定して取得するためのAPIメソッド
	@ApiMethod(name="get",path="get/{id}",httpMethod = HttpMethod.GET)
	public TestSwiftData get(@Named("id") String id) throws EntityNotFoundException{
		DatastoreService ds = DatastoreServiceFactory.getDatastoreService();
		Key key = KeyFactory.createKey("Test", id);
		Entity entity = ds.get(key);
		String message = (String)entity.getProperty("message");
		Date date = (Date)entity.getProperty("date");
		TestSwiftData tsd = new TestSwiftData(id,message,date);
		return tsd;
	}

	//IDを指定して削除するためのAPIメソッド
    @ApiMethod(name="remove",path="remove/{id}",httpMethod=HttpMethod.DELETE)
	public TestSwiftData remove(@Named("id") String id)throws EntityNotFoundException{
		DatastoreService ds = DatastoreServiceFactory.getDatastoreService();
		Key key = KeyFactory.createKey("Test", id);
		Entity entity = ds.get(key);
		String message = (String)entity.getProperty("message");
		Date date = (Date)entity.getProperty("date");

		ds.delete(key);
		TestSwiftData tsd = new TestSwiftData(id,message,date);
		return tsd;
	}

	//エンティティを保存するAPIメソッド
	@ApiMethod(name="put",path="put",httpMethod=HttpMethod.PUT)
	public TestSwiftData put(@Named("id") String id,@Named("message") String message){
		DatastoreService ds = DatastoreServiceFactory.getDatastoreService();
		Key key = KeyFactory.createKey("Test", id);
		Entity entity;
		try{
			entity = ds.get(key);
		}catch(EntityNotFoundException e){
			entity = new Entity("Test",id);
		}
		Date now = new Date();
		entity.setProperty("date", now);
		entity.setProperty("message", message);
		ds.put(entity);
		TestSwiftData tsd = new TestSwiftData(id,message,now);
		return tsd;
	}

	//全エンティティを取得するAPIメソッド
	@ApiMethod(name="list",path="list",httpMethod=HttpMethod.GET)
	public List<TestSwiftData> list(){
		DatastoreService ds = DatastoreServiceFactory.getDatastoreService();
		FetchOptions options = FetchOptions.Builder.withLimit(10);
		Query query = new Query("Test");
		query.addSort("date",SortDirection.DESCENDING);
		List<Entity> entities = ds.prepare(query).asList(options);
		List<TestSwiftData> tsds = new ArrayList<TestSwiftData>();
		for(Entity entity: entities){
			String id = (String)entity.getKey().getName();
			String message = (String)entity.getProperty("message");
			Date date = (Date)entity.getProperty("date");
			TestSwiftData tsd = new TestSwiftData(id,message,date);
			tsds.add(tsd);
		}
		return tsds;
	}
}
簡単に解説をすると、まず先頭で**@Api**によりこのクラスをAPIクラスと明示しています。
また各操作のためのメソッドに**@ApiMethod**でAPIメソッドとして明示をし設定をしています。
Datastoreの操作にはDatastoreServiceを利用しています。
DTOクラスファイル、Endpointクラスファイルの準備ができたらApp Engineにデプロイします。
ここでは省略します。
2.クライアントライブラリの生成
Google APIs クライアントライブラリ
iOSクライアントライブラリ生成のための生成プロジェクト、Google APIs クライアントライブラリ for Objective-Cをダウンロードします。
ターミナルで以下を入力し、SVNコマンドでチェックアウトします。
svn checkout \
    http://google-api-objectivec-client.googlecode.com/svn/trunk/ \
    google-api-objectivec-client-read-only

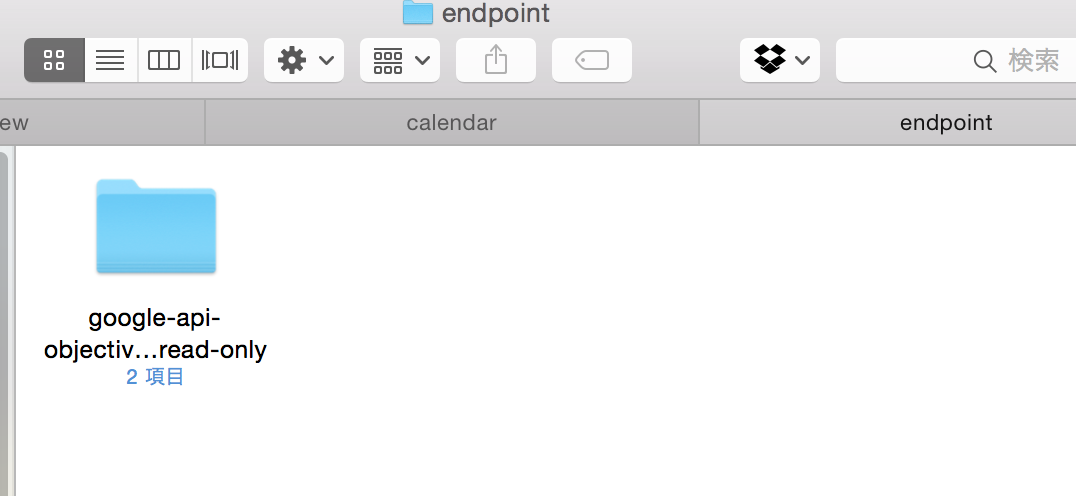
これで任意のフォルダに一式がダウンロードされます。
ダウンロードされたフォルダ内の
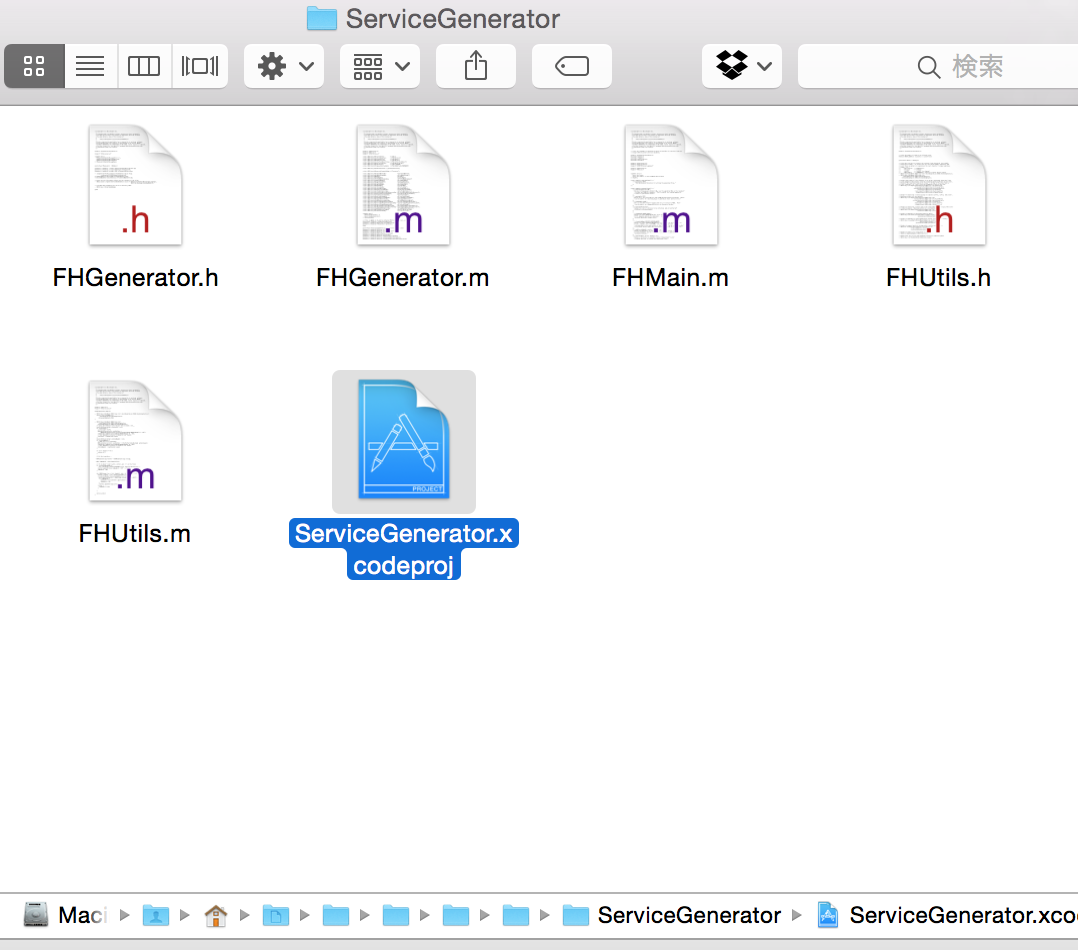
google-api-objectivec-client-read-only ▸ Source ▸ ToolsにあるXcodeプロジェクト「ServiceGenerator.xcodeproj」を開きそのままRunで実行をします。
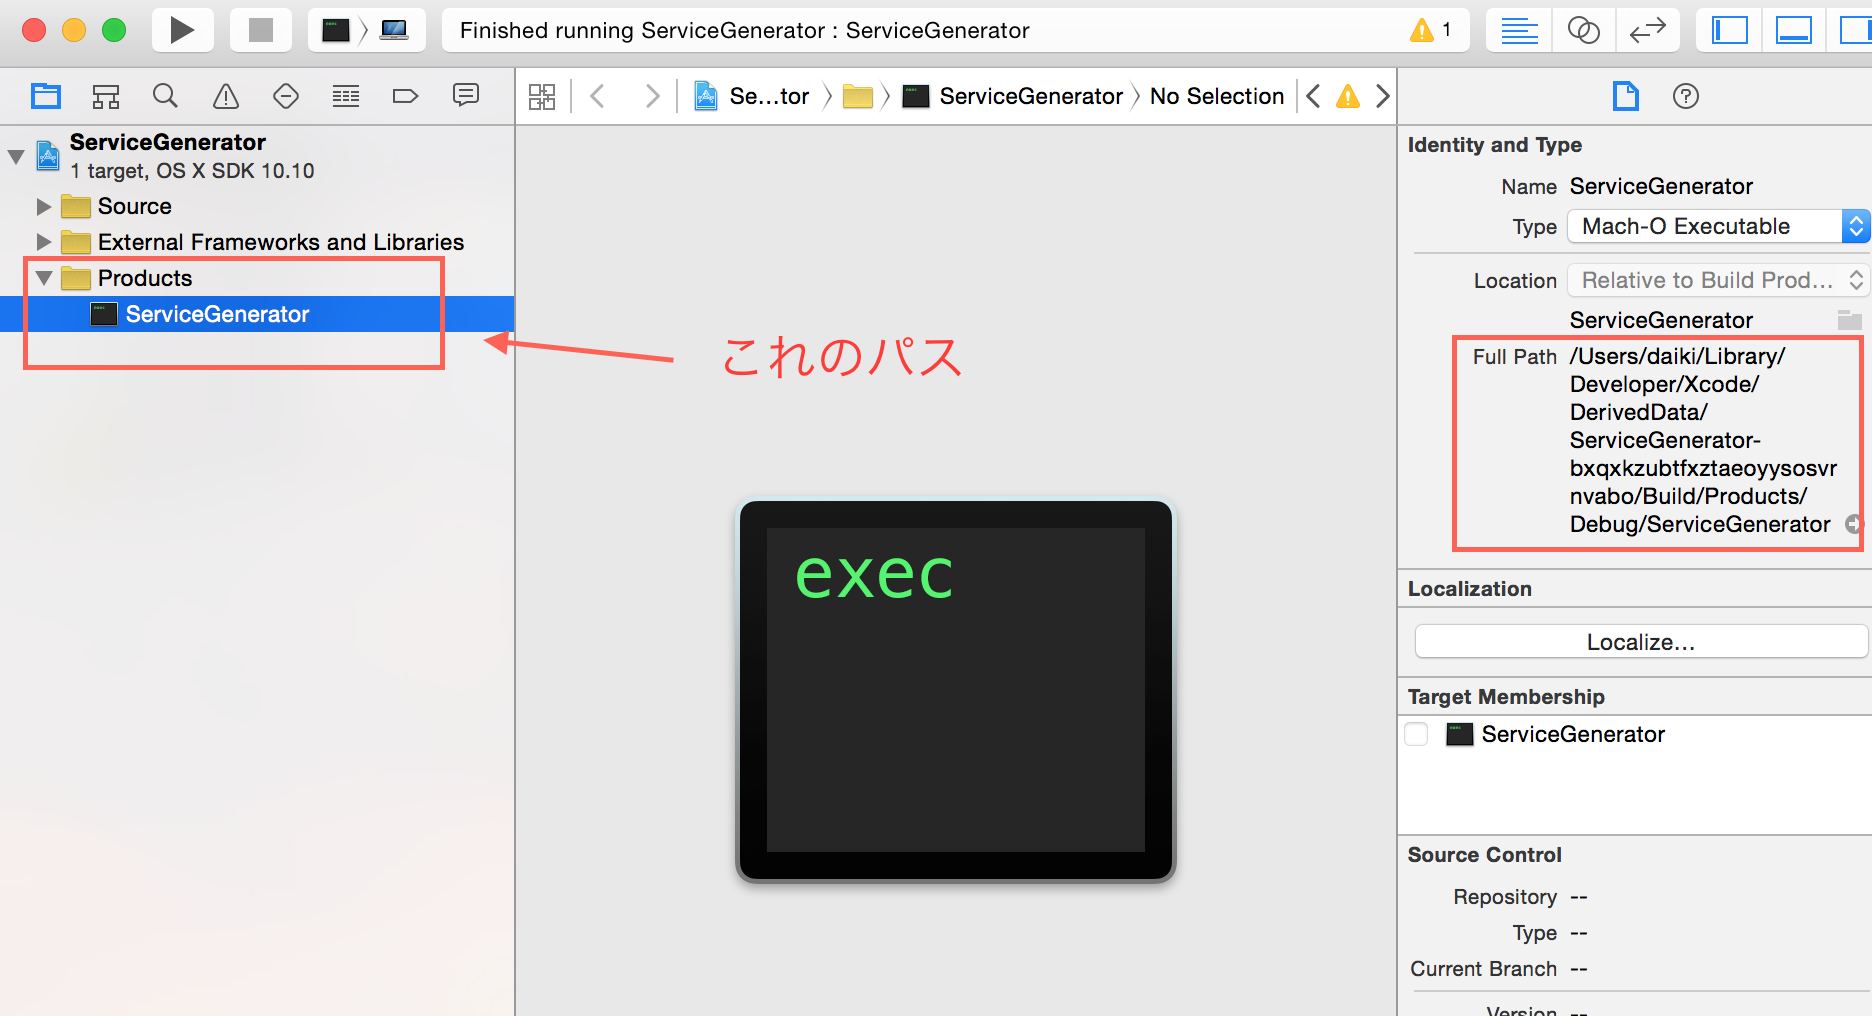
実行後、同プロジェクト内のProductsフォルダにあるServiceGeneratorと、先ほどEclipse上で作成したEndpointプロジェクト内にあるrpc.discoveryのそれぞれのパスを使い作成したプロジェクト用の専用クラスライブラリを生成します。
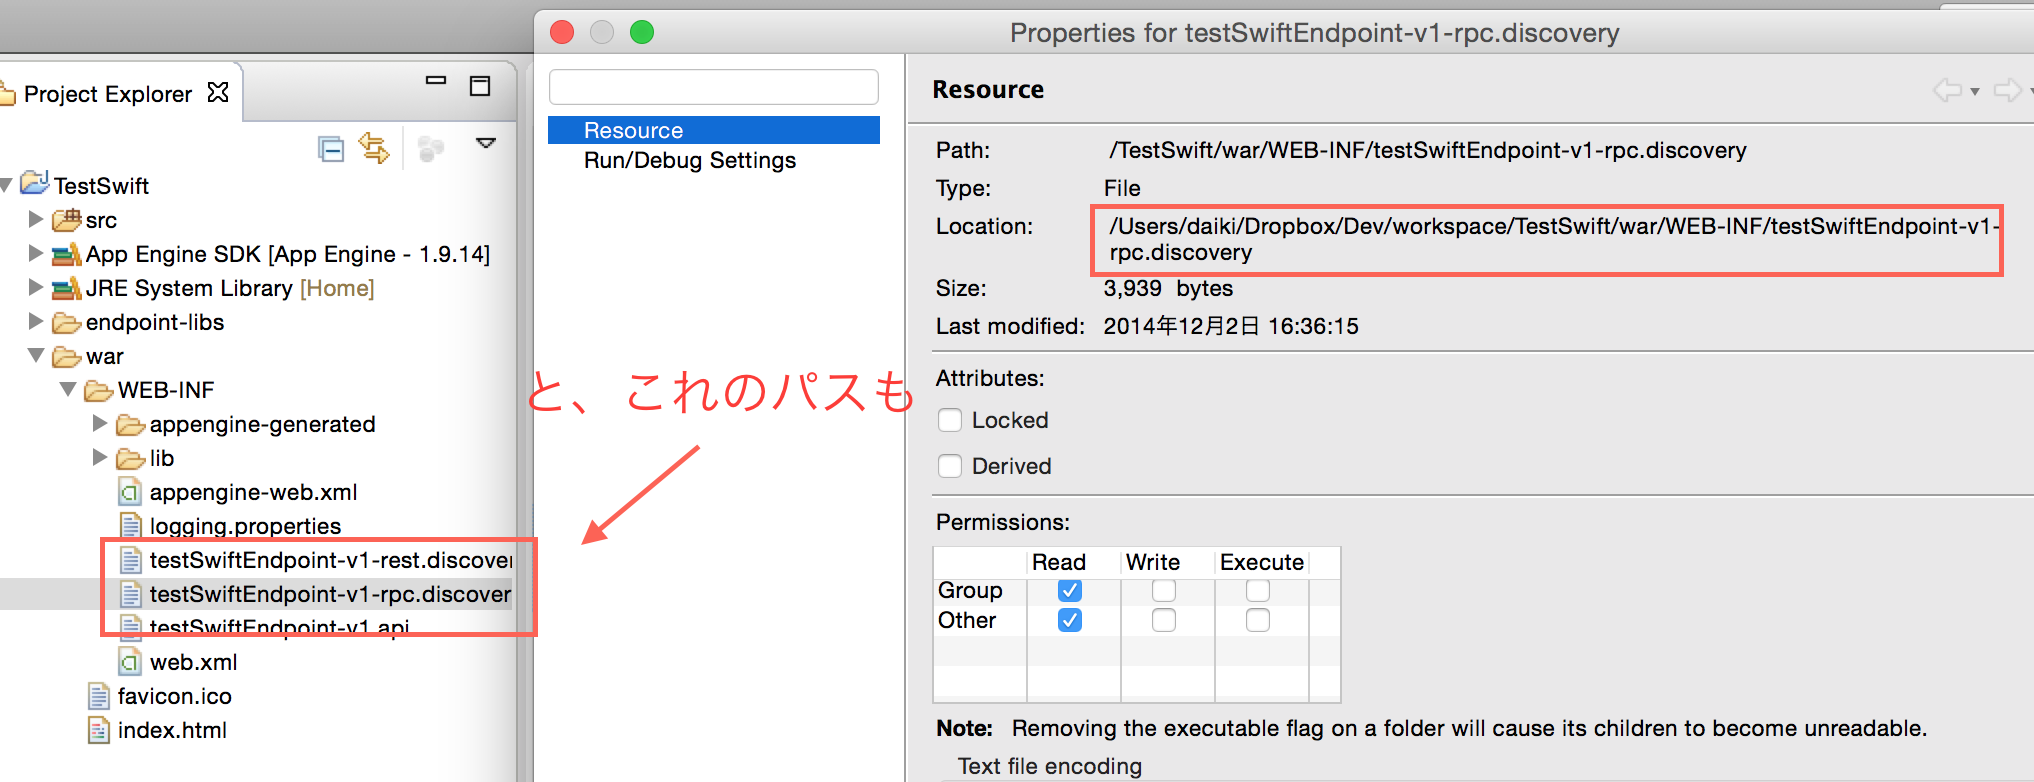
ターミナルから
(ServiceGeneratorのパス)(半角スペース)(rpc.discoveryのパス) --outputDir ./API
を実行します。
すると以下のような結果が表示されます。
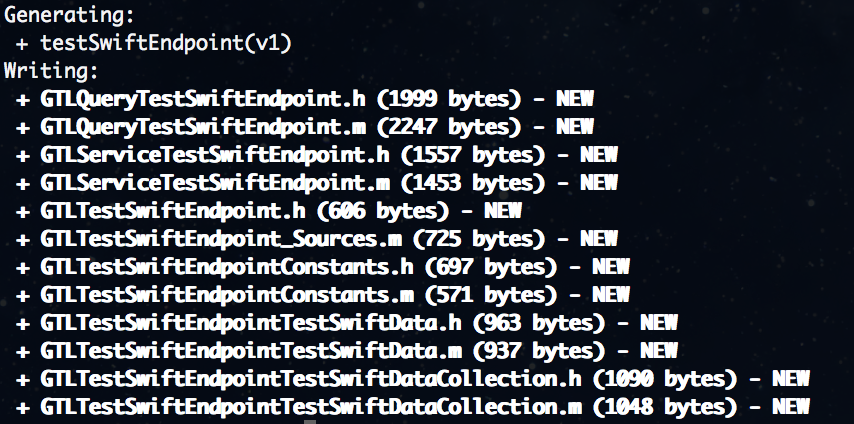
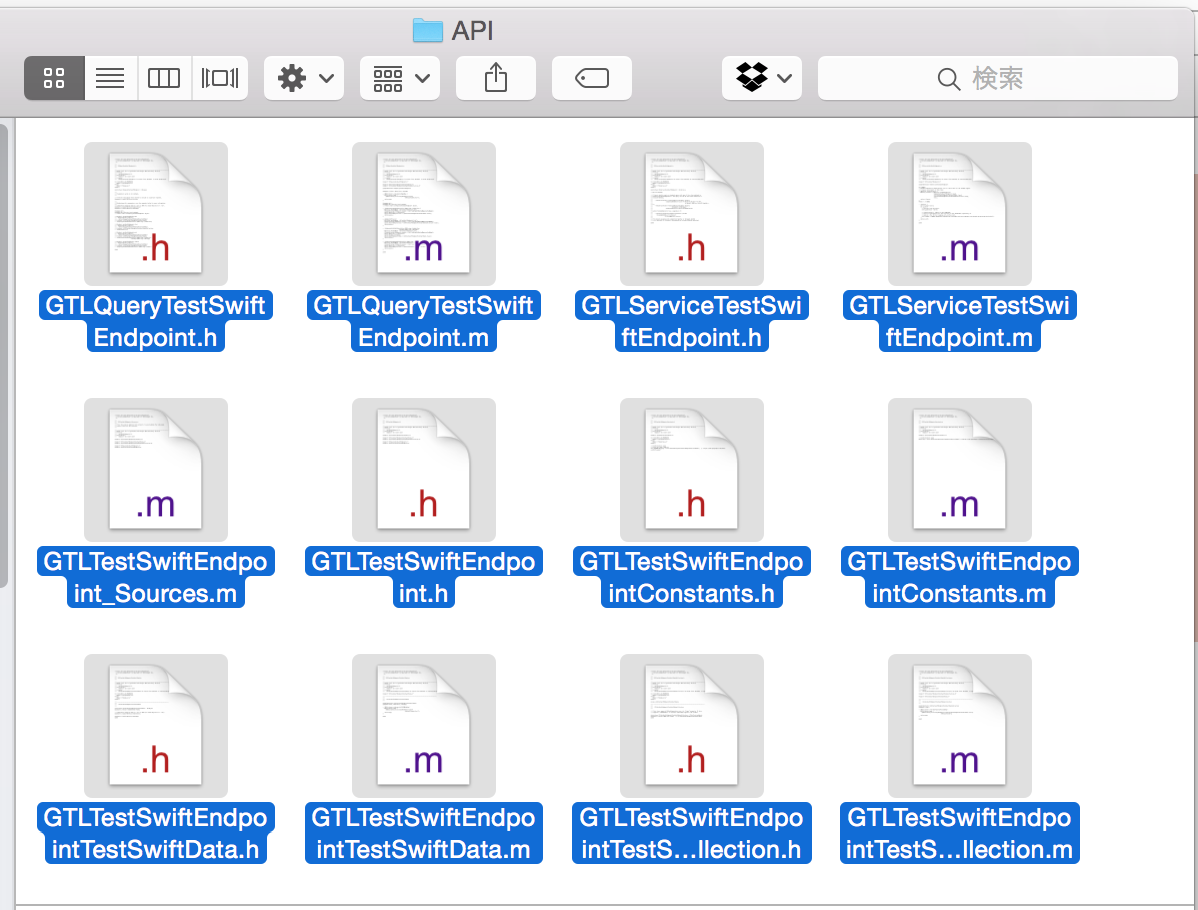
これで任意のフォルダにAPIフォルダとして生成されます。
Using Endpoints in an iOS Client
https://cloud.google.com/appengine/docs/java/endpoints/consume_ios
4.クライアントライブラリの導入
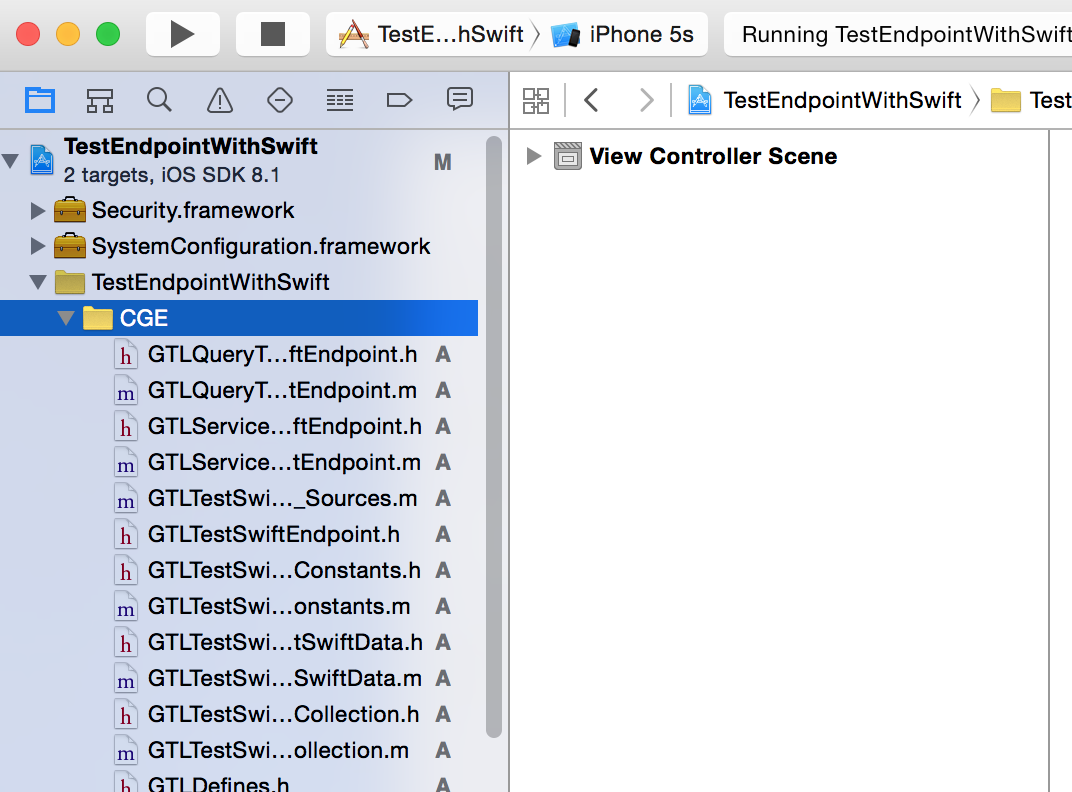
先ほどXcodeで作成したクライアントアプリに生成したクラスライブラリを導入します。
生成されたAPIフォルダ内のクラスライブラリをXcode上のクライアントライブラリにコピーします。
次に、ダウンロードした「google-api-objectivec-client-read-only」内にあるXcodeプロジェクトGTL.xcodeprojを開きます。
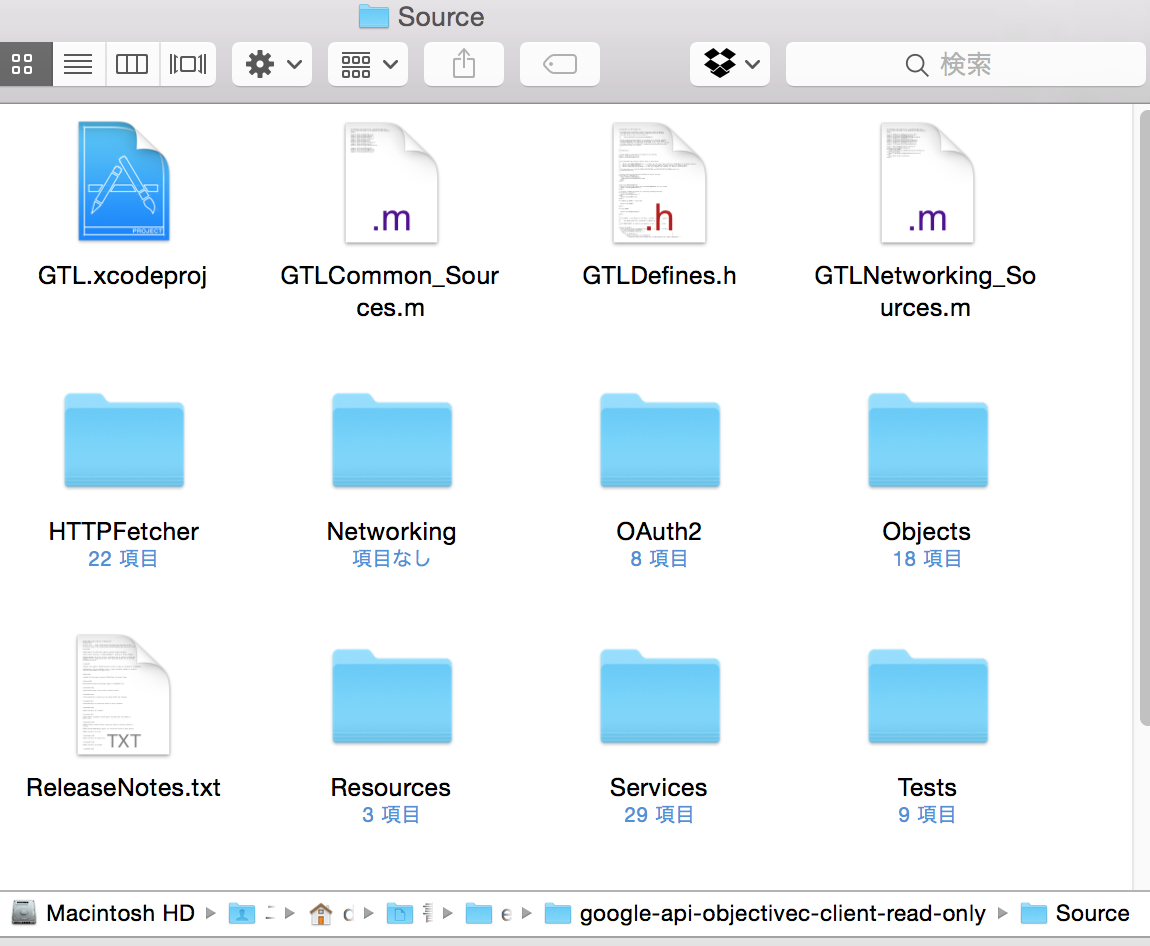
そしてこのプロジェクトに含まれている、commonフォルダ内のすべてのソースファイルも同様にクライアントアプリにコピーします。

ここではGCEフォルダにまとめています。
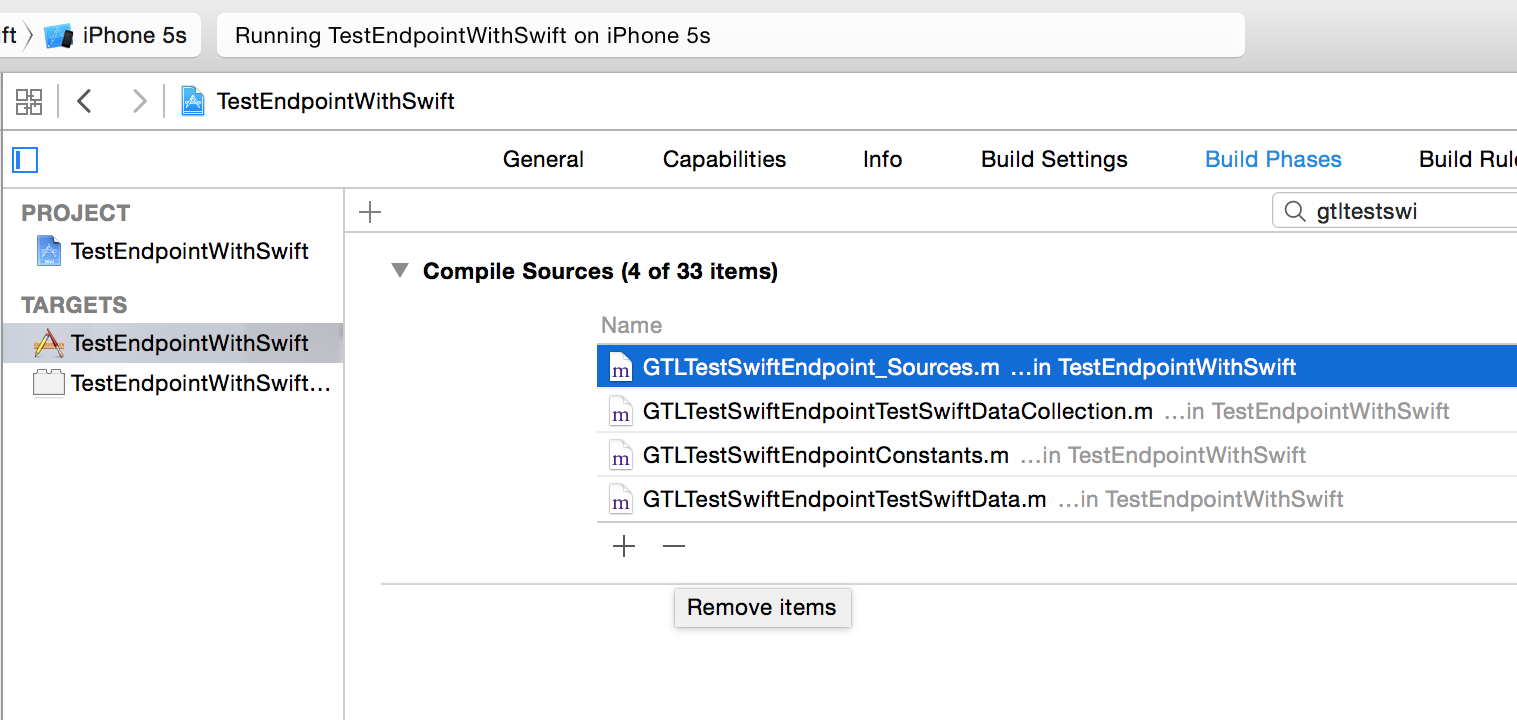
その後、このクライアントアプリのBuildPhasesからCompile Sourcesを開き、
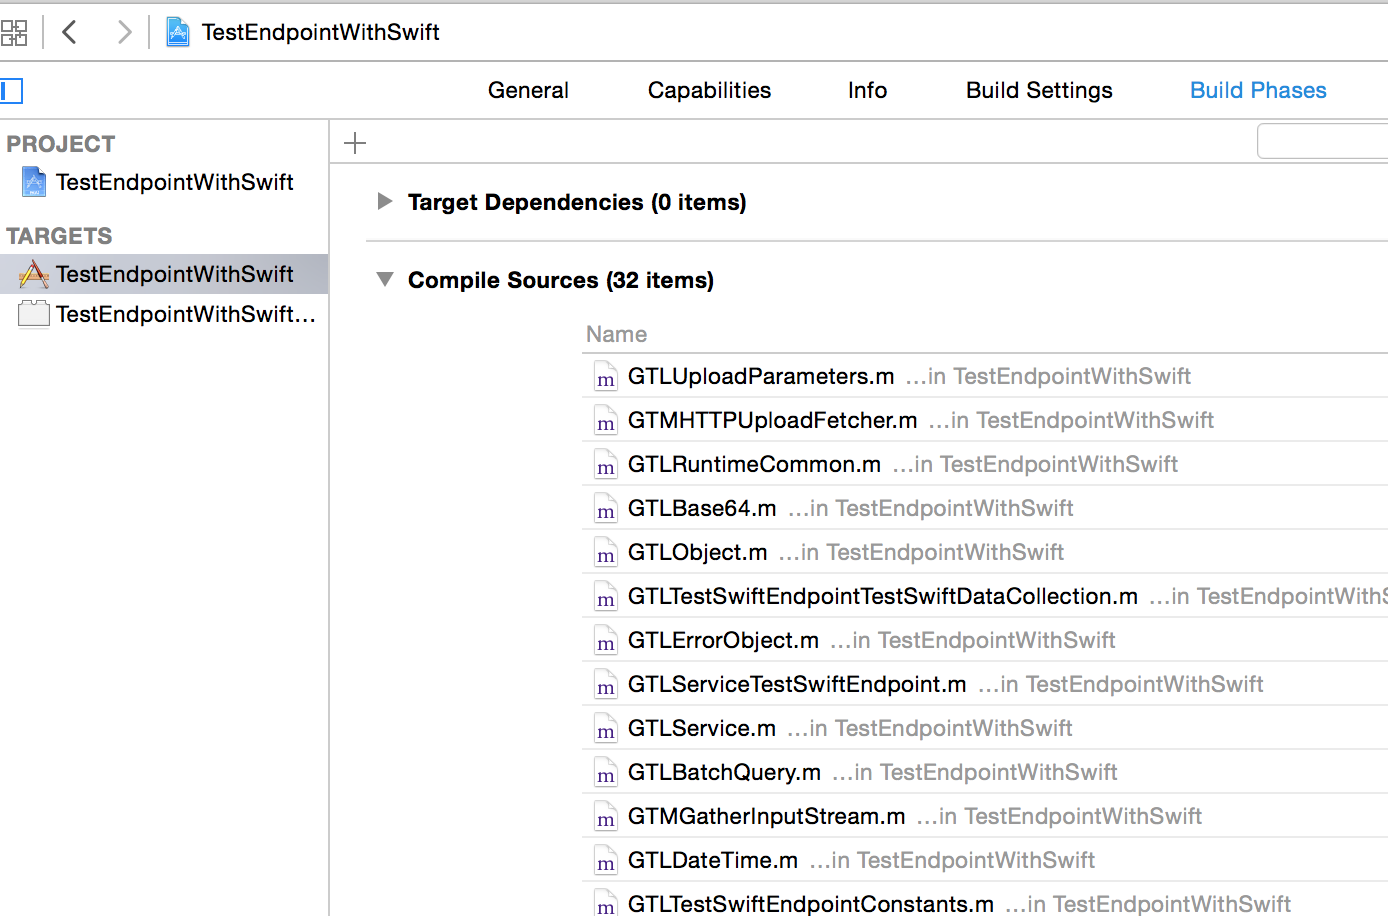
GTL(TestSwiftEndpoint)_Souces.mをビルド対象から除外します。
カッコ内は作成したEndpointクラスです。
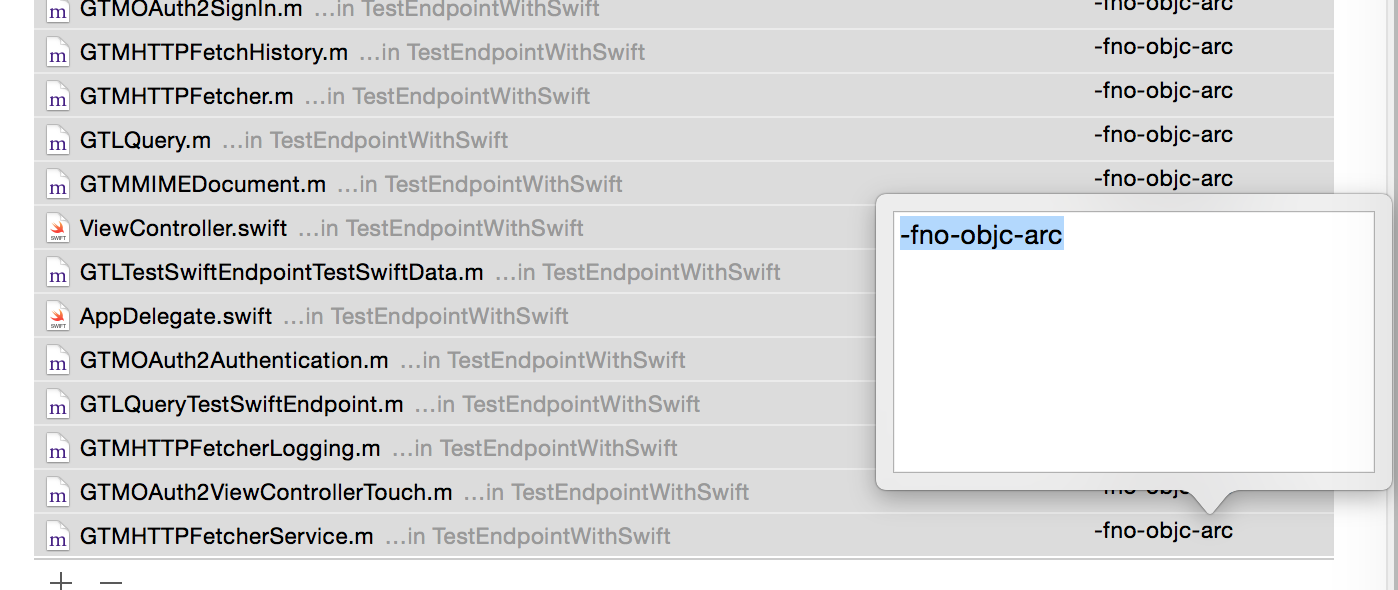
そして追加してすべてのファイルを選択しCompiler Flagsに「-fno-objc-arc」を設定しARCを無効にします。
画像だとswiftファイルも選択されてしまっていますが、ARCを無効にするのは先ほど追加したファイルのみです。
最後に、GeneralからSecurity.framework、SystemConfiguration.frameworkを追加します。
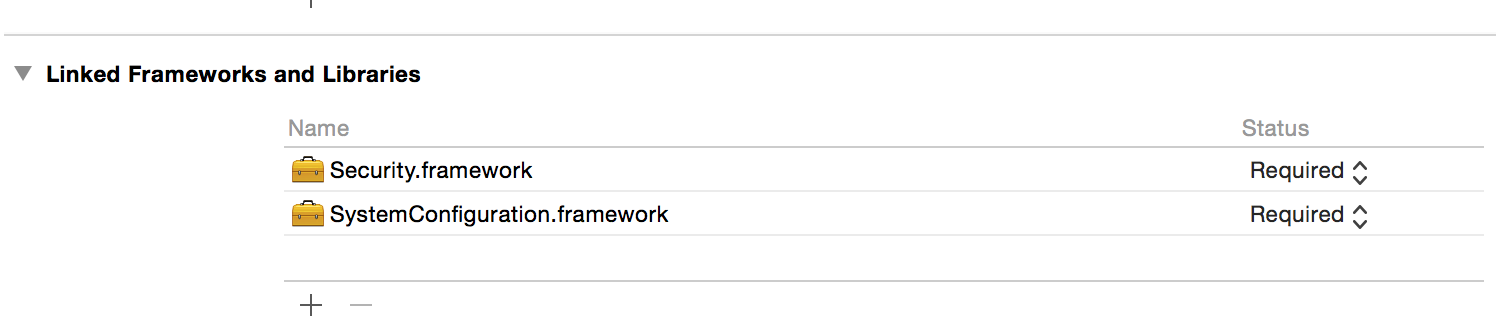
以上で導入の完了です。
5.iOSアプリの実装
クライアントアプリの実装をしていきます。
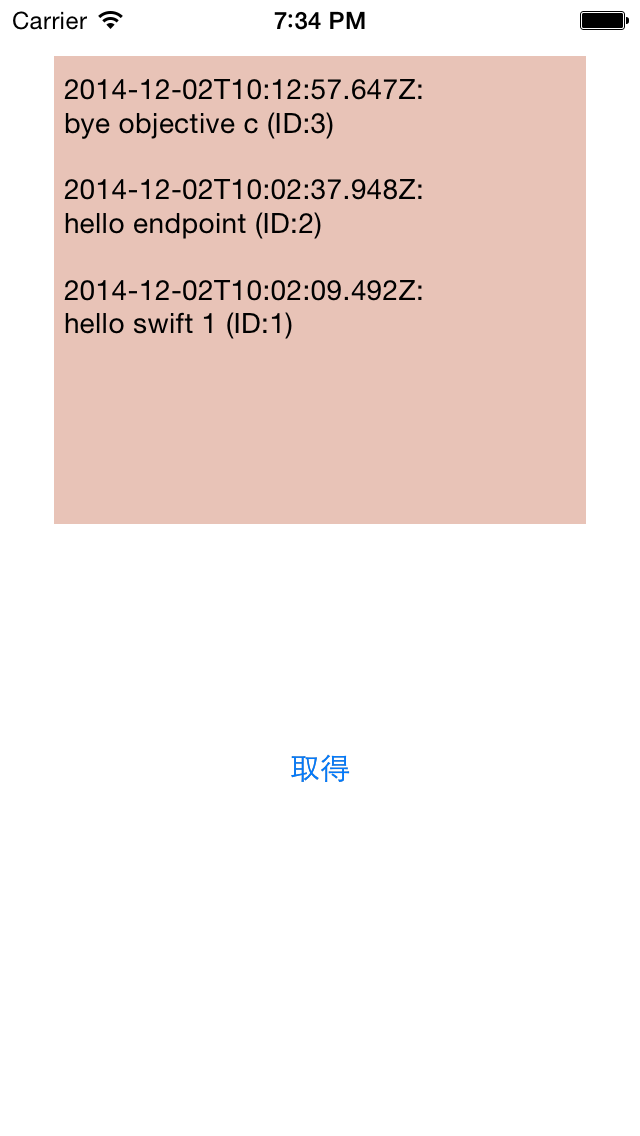
目的は「取得」ボタンを押すとクライアントライブラリからDatastoreに登録されているすべてのエンティティを取得し、アプリ内のTextViewに表示されることです。
//取得ボタンのアクション
@IBAction func getTestSwiftData(sender: AnyObject) {
        var service:GTLServiceTestSwiftEndpoint?
        if (service == nil) {
            service = GTLServiceTestSwiftEndpoint()
            service!.retryEnabled = true
            GTMHTTPFetcher.setLoggingEnabled(true)
        }
        var query = GTLQueryTestSwiftEndpoint.queryForList() as GTLQueryTestSwiftEndpoint

        service?.executeQuery(query, completionHandler: {(ticket,object,error) in
            var items:NSArray = object.items!
            println(items)
            var messageAry = NSMutableArray()
            for(var i=0;i<items.count;i++) {
                var dto:GTLTestSwiftEndpointTestSwiftData?
                dto = (items[i] as GTLTestSwiftEndpointTestSwiftData)

                var id = dto?.identifier
                var message = dto?.message
                var date = dto?.date
                var dateStr = NSString(format: "%@", date!)

                //var formatter = NSDateFormatter().dateFormat = "yyyy'-'MM'-'dd'T'HH':'mm':'ss'Z'"

                var messageText = NSString(format:"%@: \n%@ (ID:%@)\n", dateStr,message!,id!)
                messageAry.addObject(messageText)
            }
            self.textView.text = messageAry.componentsJoinedByString("\n")
次にObjective-C用のライブラリをSwiftファイルで利用するためにBridging-Headerファイルを作成します。
# import "GTMHTTPFetcherLogging.h"
# import "GTLServiceTestSwiftEndpoint.h"
# import "GTLQueryTestSwiftEndpoint.h"
# import "GTLTestSwiftEndpointTestSwiftData.h"
以上です。
ここでは一覧取得のクエリを作り実行し、エンティティを取得しています。
動かしてみる
実際にクライアントアプリを動かしてみました。
エンティティの準備
その前に取得するエンティティデータを用意します。
今回はブラウザのAPI explorerから以下のデータを作成しておきました。
API explorerはhttps://(プロジェクトID).appspot.com/_ah/api/explorerから。
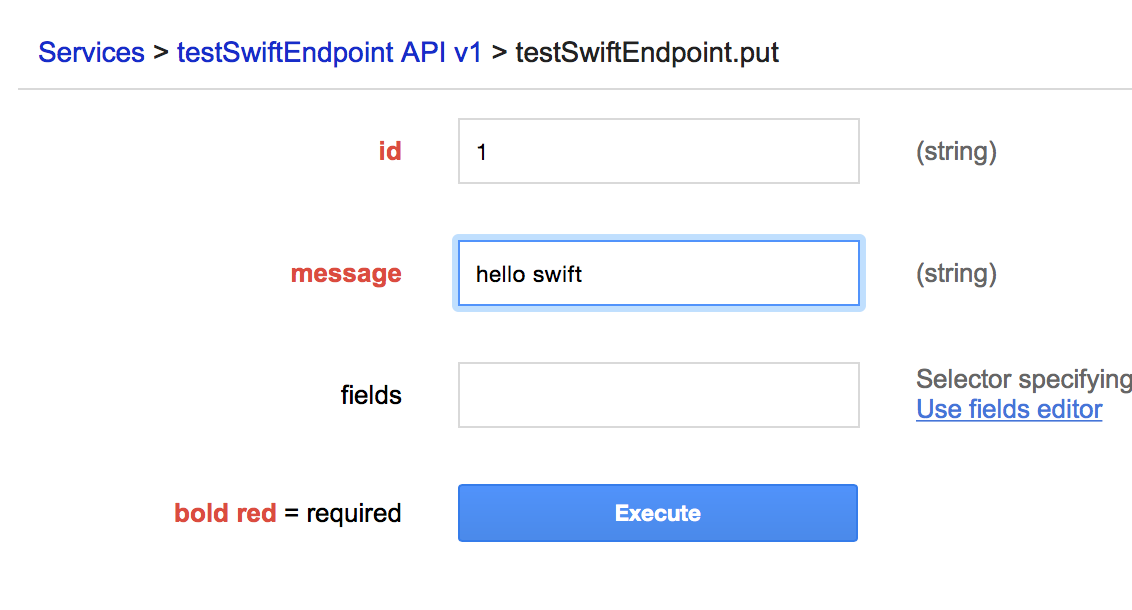
putのAPIを利用して、
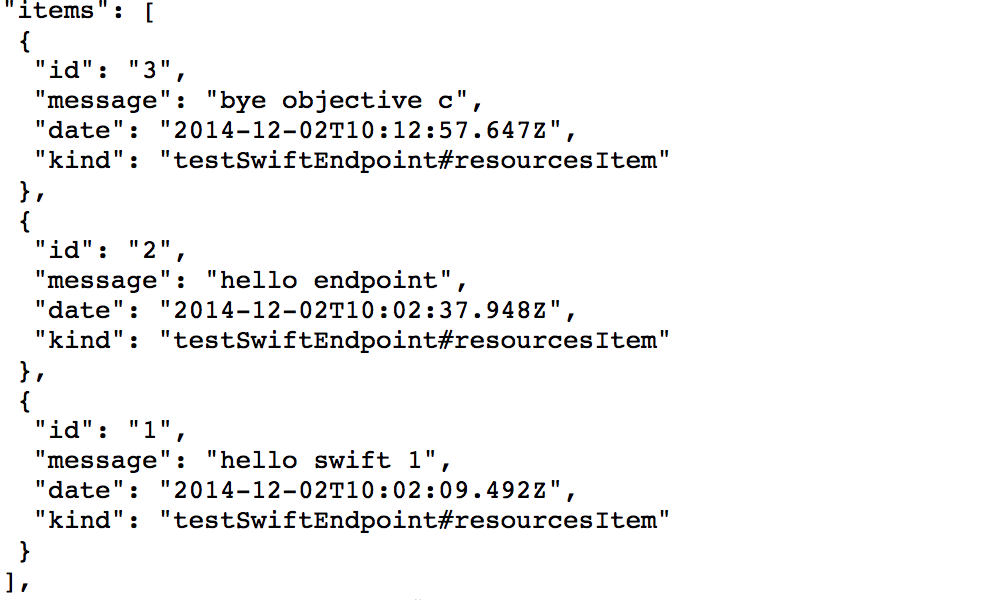
3つのエンティティを作成しました。
これをアプリから取得し表示されます。
実行
取得ボタンを押すと、
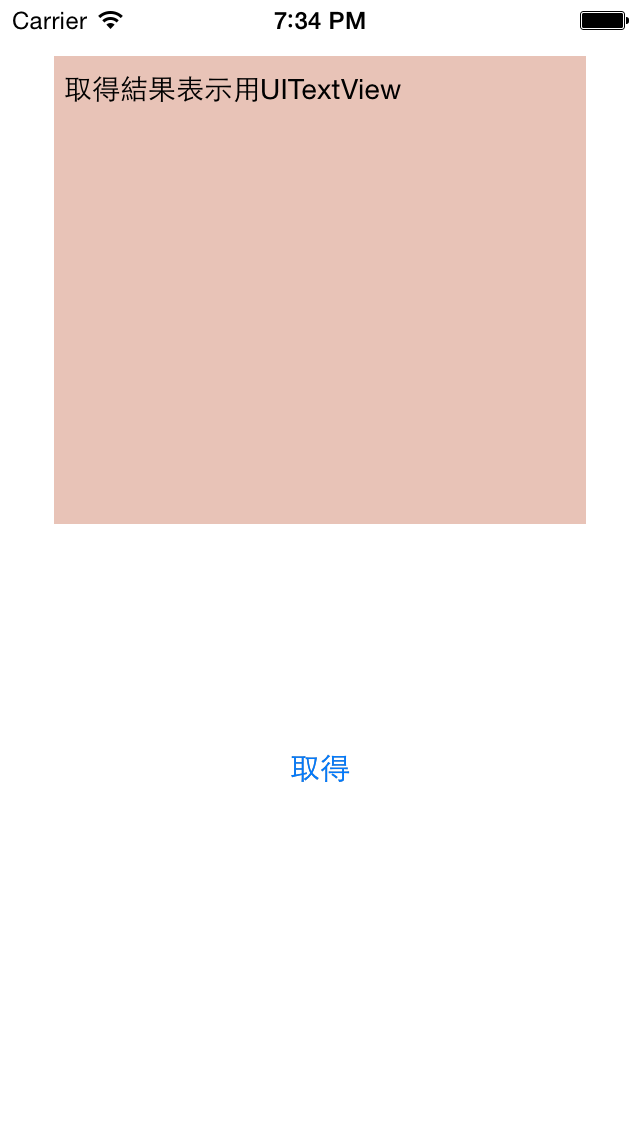
エンティティを取得しUITextViewに出力されました。
取得の他にもPut(.queryForPutWithIdentifier)やRemove(.queryForRemoveWithIdentifier)なども同様に行えます。
ということで簡単なエンティティ取得アプリをSwiftで動かすことができました。