こんばんは。ボルダリングで腕がパンパンmorifujiです。
今日は久しぶりにRaspoberryPiを押入れから引っ張り出して、Alexaさんを憑依させてAmazonMusicを流させようとしたので知見を共有します。なんか憑依っていうと◯川隆法みたいですね
目次
- amazonで開発者アカウント作成・アプリケーション登録
- スピーカー・マイク準備
- デバイス登録
- 初期設定
前提となる環境
- RaspberryPiが起動している
- RaspberryPiに接続できるスピーカーを持っている
- RaspberryPiに接続できるマイクを持っている
ちなみにぼくはこういう環境です。
- RaspberryPi3 ModelB+
- Raspblian (Desktop)
- amazonの格安PCスピーカー(USBでもなくBluetoothでもなく3.5mmのやつ)
- どこかで買った300円のusbマイク
- 多分中華製
1. amazonで開発者アカウント作成・アプリケーション登録
まずこちらから。https://developer.amazon.com/ でアカウントを作成してください。
今回僕は日本のamazonのアカウントでAmazonPrimeに入会しているので、そのアカウントのemail/passで登録しました。
![]() amazon.comとamazon.co.jpで複数アカウントを持つ人は、どのアカウントを使用するか注意してください。まじでハマります。
amazon.comとamazon.co.jpで複数アカウントを持つ人は、どのアカウントを使用するか注意してください。まじでハマります。
https://dev.classmethod.jp/voice-assistant/solution-of-a-problem-amazon-com-account-conflict/
まず、トップ右上のDeveloper Consoleに飛びます

次に、AlexaVoiceServiceに飛びます

製品を作成するに飛びます、
| 項目 | 入力内容 |
|---|---|
| 製品名 | 任意の製品名です、後から参照しないのでなんでもok。ぼくはraspberry_alexaにしました |
| 製品ID | 任意の製品IDです。後から参照するのでメモを忘れず |
| 製品はアプリやデバイスを使用しますか ? | 必ずアプリケーションを選択。はまりますので |
| 商品カテゴリ | なんでもok,ぼくはワイヤレススピーカを選びました |
| 製品概要 | 参照しないのでなんでもok。ぼくはalexa on raspberrypiって書きました |
| エンドユーザーは、商品とどのようにやり取りするのでしょうか ? | ハンズフリーとファーフィールドを選択 |
| 画像 | しなくてもよい |
| この製品を商品として配信する予定ですか ? | プライベート用なので no
|
| これは子供向け商品、それ以外は13歳以下の子供向けですか ? | よくわからんのでnoを選択 |
これで次へを選択
セキュリティプロファイルを選択する
初めての人はセキュリティプロファイルを作成してから、それを商品に登録します。特に難しいことないです
プラットフォーム情報
プラットフォームを作成する必要があります。他のデバイスやプラットフォームを選択し Downloadボタンからバックアップを取っておきましょう。

![]() ちなみにこの
ちなみにこの一般IDってgenerate idって意味なのだろうか ![]()

そのファイルには以下の様なフォーマットでデータが入っています、必ず保管しましょう
{
 "deviceInfo": {
  "clientId": "amzn1.application-oa2-client.XXXXXXXXXXXXX",
  "productId": "raspberry_alexa"
 }
}
規約にチェックをつけて進むと完了するはずです。
2. スピーカー・マイク準備
RaspberryPiのssh環境を用意します。
まずはスピーカー。つなぐ前にスピーカーの状況を確認
# スピーカーデバイス一覧表示
aplay -L
スピーカーをつなぎもう一度実行すると項目が増えているはずです。
そしたら出力確認です
# スピーカーテスト
speaker-test -t sine -f 1000
音が聞こえなかったら徐々に音量あげましょう。
amixer sset PCM 100%
次にマイクです。同じ様にデバイスとして認識されてるかチェックします
# マイクデバイス一覧
arecord -l
んで。テスト。今回は、マイクで入力された音声がスピーカーから出力されるか確認します。
arecord -f S16_LE -r 44100 -D hw:1 | aplay
おうむ返しみたいな感じになりましたか?okなら次に行きましょう!
3. デバイス登録
いよいよラズパイにAlexaをインストールしていきます。
今回使うライブラリは こちらのalexa/avs-device-sdkです
ライブラリ選定にはこちらの記事が非常にわかりやすく書かれていました。ありがとうございます ![]()
# ディレクトリ作成
mkdir ~/raspberry_alexa
cd ~/raspberry_alexa

# 環境構築スクリプトインストール
sudo wget https://raw.githubusercontent.com/alexa/avs-device-sdk/master/tools/Install/setup.sh && sudo wget https://raw.githubusercontent.com/alexa/avs-device-sdk/master/tools/Install/config.txt && sudo wget https://raw.githubusercontent.com/alexa/avs-device-sdk/master/tools/Install/pi.sh
ここで、config.txtというファイルを開くとこんな感じ
# NOTE: The Device Serial Number can be any unique number
DEVICE_SERIAL_NUMBER="alexa_raspberry"
CLIENT_ID=""
PRODUCT_ID=""
先ほど、1でダウンロードしたファイルに書いてあるclient_idとproduct_idをここに入力します、。DEVICE_SERIAL_NUMBERは適当でok
{
 "deviceInfo": {
  "clientId": "amzn1.application-oa2-client.XXXXXXXXXXXXX",
  "productId": "raspberry_alexa"
 }
}
この設定を読み込んでセットアップします
sudo bash setup.sh config.txt
ビルドするんでめっちゃ時間かかります。30~60分ほどの感じです。。。次に、サンプルアプリケーションを実行します。
sudo bash startsample.sh
これまた時間がかかりますが、すばらくすると以下の様にブラウザからの承認待ちの状態になります。
################################################################################################
#       To authorize, browse to: 'https://amazon.com/us/code' and enter the code: B8DEA5       #
################################################################################################

2018-07-08 11:17:10.405 [  2] 5 CBLAuthDelegate:handleRequestingToken
#################################################
#       Checking for authorization (1)...       #
#################################################

2018-07-08 11:17:10.407 [  2] 5 CBLAuthDelegate:requestToken
2018-07-08 11:17:10.923 [  2] 5 HttpPost:doPostSucceeded:code=400
2018-07-08 11:17:10.923 [  2] 5 CBLAuthDelegate:receiveTokenResponse:code=400
2018-07-08 11:17:10.924 [  2] 5 CBLAuthDelegate:mapHTTPStatusToError:code=400,error=INVALID_REQUEST
2018-07-08 11:17:10.925 [  2] 5 CBLAuthDelegate:errorInLwaResponseBody:error=authorization_pending,errorCode=AUTHORIZATION_PENDING
2018-07-08 11:17:10.925 [  2] 5 CBLAuthDelegate:setAuthError:authError=AUTHORIZATION_PENDING
2018-07-08 11:17:10.926 [  2] 0 CBLAuthDelegate:receiveTokenResponseFailed:result=AUTHORIZATION_PENDING
#################################################
#       Checking for authorization (2)...       #
#################################################

2018-07-08 11:17:15.927 [  2] 5 CBLAuthDelegate:requestToken
2018-07-08 11:17:16.349 [  2] 5 HttpPost:doPostSucceeded:code=400
2018-07-08 11:17:16.349 [  2] 5 CBLAuthDelegate:receiveTokenResponse:code=400
2018-07-08 11:17:16.349 [  2] 5 CBLAuthDelegate:mapHTTPStatusToError:code=400,error=INVALID_REQUEST
2018-07-08 11:17:16.350 [  2] 5 CBLAuthDelegate:errorInLwaResponseBody:error=authorization_pending,errorCode=AUTHORIZATION_PENDING
2018-07-08 11:17:16.350 [  2] 5 CBLAuthDelegate:setAuthError:authError=AUTHORIZATION_PENDING
2018-07-08 11:17:16.350 [  2] 0 CBLAuthDelegate:receiveTokenResponseFailed:result=AUTHORIZATION_PENDING
2018-07-08 11:17:21.351 [  2] 5 CBLAuthDelegate:requestToken
#################################################
#       Checking for authorization (3)...       #
#################################################

4,5,6と続く...
この状態で、https://amazon.com/us/codeにアクセスします。日本のamazon(amazon.co.jp)のアカウントでもこちらに飛んでください。
- コードを入力します。下の例では
B8DEA5です。 - 次に進んでアカウントを確認します。ここで、必ず最初にdeveloperに登録したアカウントになっているか必ず確認してください。
- 地域は日本に
- 規約等にokをしていくと無事に登録できます、
途中で画面が進んでWoopsみたいなこと言われた場合、考えられる原因は2つです。
- 1つめは、
アカウントを間違えている可能性です。上の手順2で必ず確認してください、違った場合は右上からサインアウトしてもう一度チャレンジしてください。(もしくは、この問題かも) - 2つめは、
config.txtを間違えている可能性です。config.txtを修正した場合は、sudo bash setup.sh config.txtからやり直してください。
ブラウザでsucceedと表示された場合は成功しました!。sshに戻ってください。
########################################
#       Alexa is currently idle!       #
########################################
と、どこかで出力されているはずです!これでRaspberryPiとalexaアプリケーションが紐づけられました!
この状態ではすでにAlexaはあなたの言葉を待っています。
アメリカンな口調で Alexa how about you?と聞いてみましょう。きっと答えてくれるはずです
4. 初期設定
この状態だと英語の勉強にはなりますが、日本語を喋ってもらいましょう。
言語設定
iを押してEnterでコマンド情報が見れます。
+----------------------------------------------------------------------------+
|                                  Options:                                  |
| Wake word:                                                                 |
|       Simply say Alexa and begin your query.                               |
| Tap to talk:                                                               |
|       Press 't' and Enter followed by your query (no need for the 'Alexa').|
| Hold to talk:                                                              |
|       Press 'h' followed by Enter to simulate holding a button.            |
|       Then say your query (no need for the 'Alexa').                       |
|       Press 'h' followed by Enter to simulate releasing a button.          |
| Stop an interaction:                                                       |
|       Press 's' and Enter to stop an ongoing interaction.                  |
| Privacy mode (microphone off):                                             |
|       Press 'm' and Enter to turn on and off the microphone.               |
| Echo Spatial Perception (ESP): This is for testing purpose only!           |
|       Press 'e' followed by Enter at any time to adjust ESP settings.      |
| Playback Controls:                                                         |
|       Press '1' for a 'PLAY' button press.                                 |
|       Press '2' for a 'PAUSE' button press.                                |
|       Press '3' for a 'NEXT' button press.                                 |
|       Press '4' for a 'PREVIOUS' button press.                             |
| Settings:                                                                  |
|       Press 'c' followed by Enter at any time to see the settings screen.  |
| Speaker Control:                                                           |
|       Press 'p' followed by Enter at any time to adjust speaker settings.  |
| Firmware Version:                                                          |
|       Press 'f' followed by Enter at any time to report a different        |
|       firmware version.                                                    |
| Info:                                                                      |
|       Press 'i' followed by Enter at any time to see the help screen.      |
| Reset device:                                                              |
|       Press 'k' followed by Enter at any time to reset your device. This   |
|       will erase any data stored in the device and you will have to        |
|       re-register your device.                                             |
|       This option will also exit the application.                          |
| Quit:                                                                      |
|       Press 'q' followed by Enter at any time to quit the application.     |
+----------------------------------------------------------------------------+
-
c押してEnter -
1押してEnter -
6を押してEnter
すると以下の様に日本語になりました!
###################################
#       locale set to ja-JP       #
###################################
この状態で Alexa 明日の天気は!?というときちんと日本語で返してくれます!
ですが、いくらAlexa! Alexa! A・L・E・X・A・!といっても反応がありませんでした。。中華製マイクだしこんなもんですかね ![]()
こういうときは、tを押しましょう。呼びかけをする必要なく、スマートに明日の天気は?と聞くことができました(スマートとはいっていない)
その他環境設定
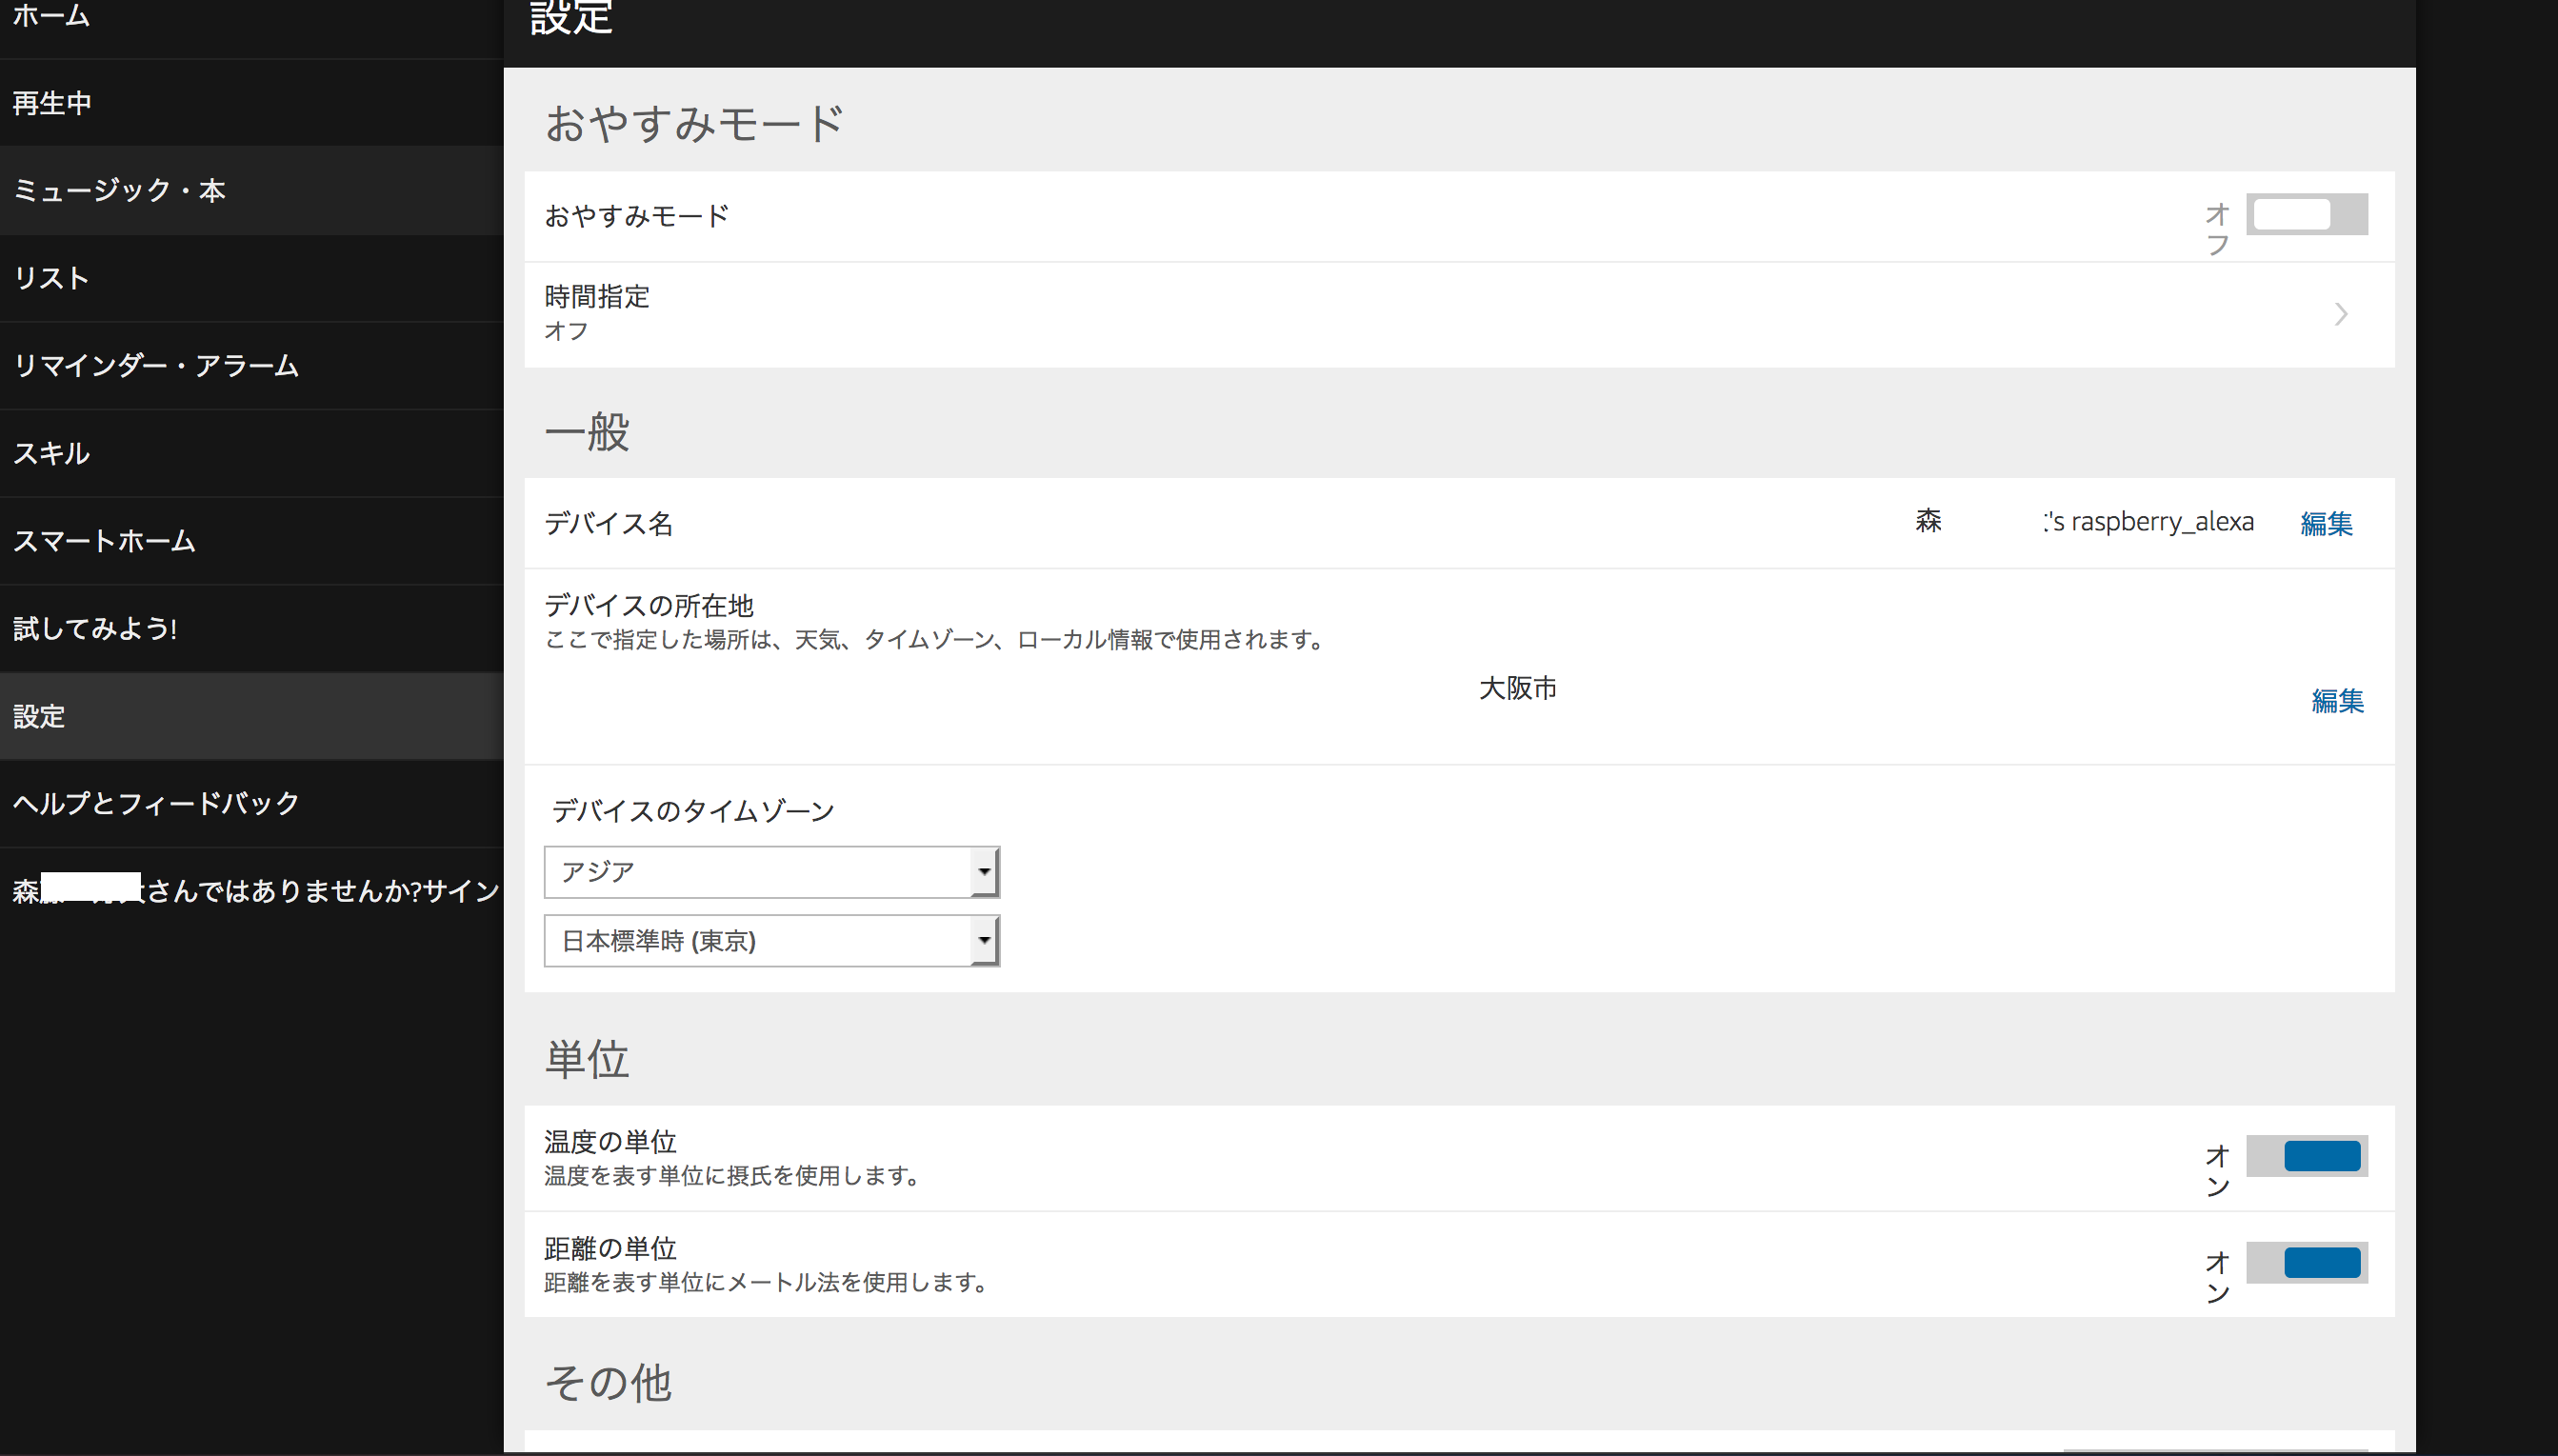
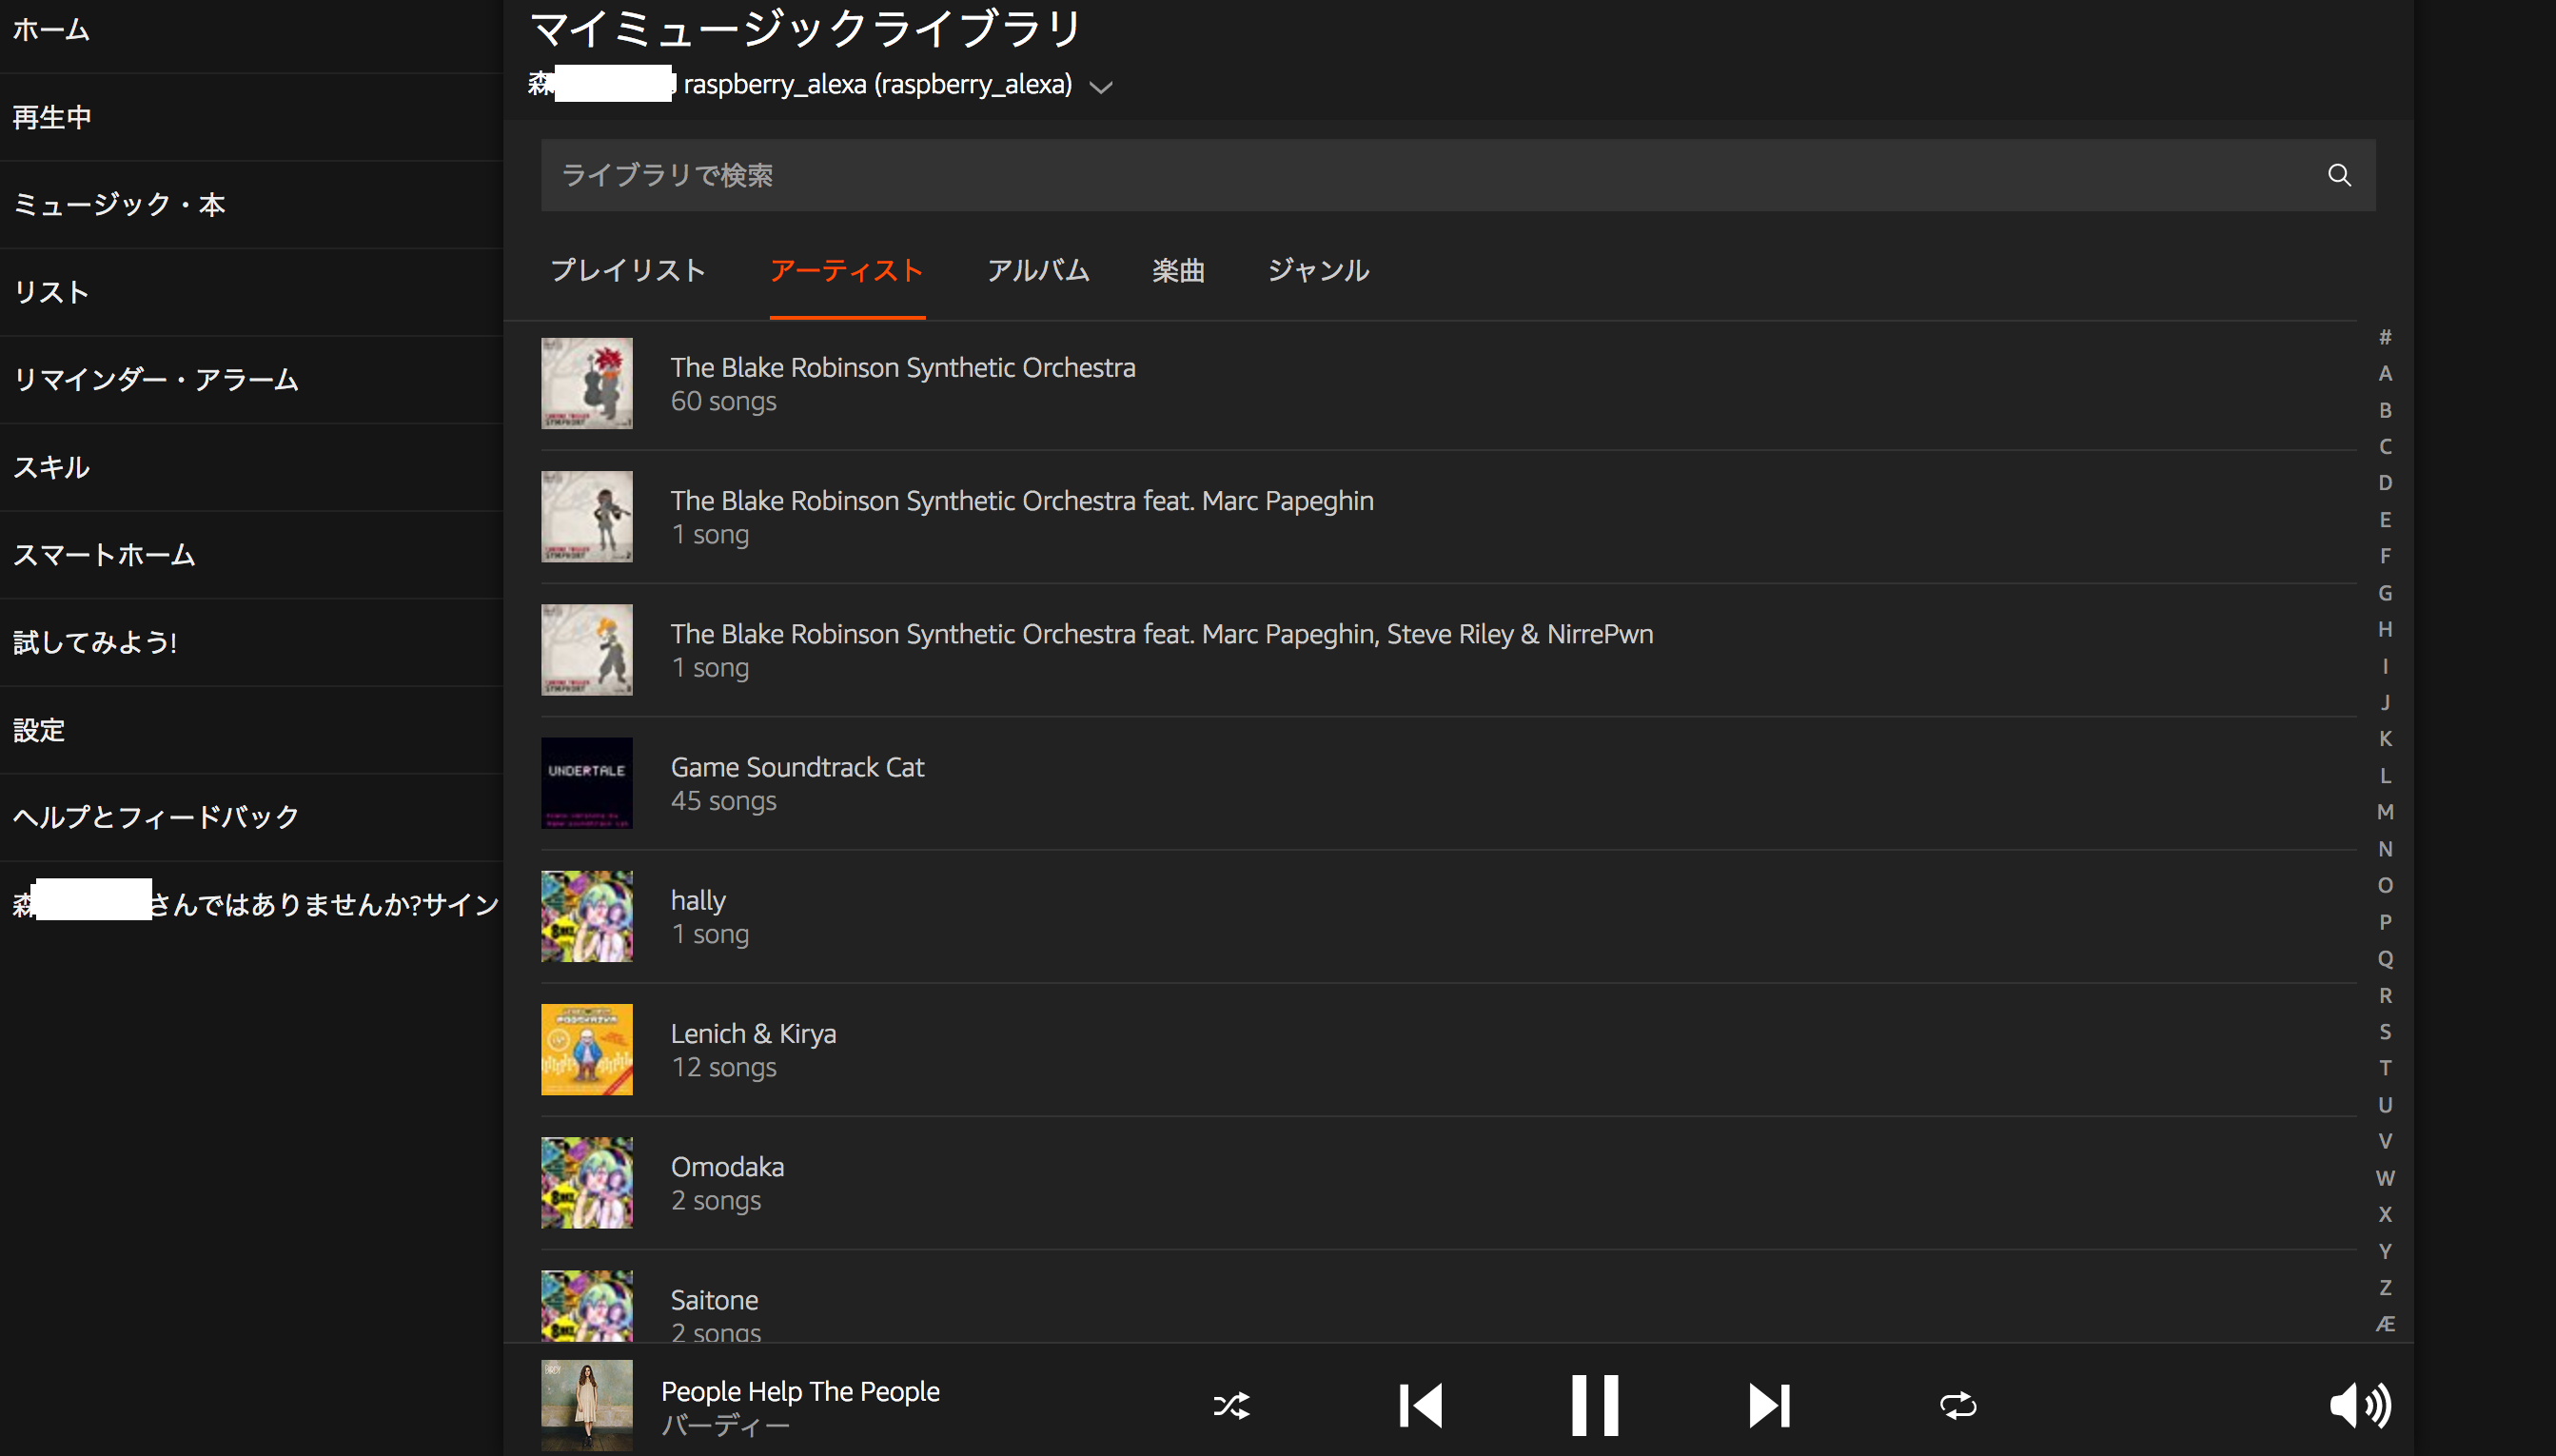
http://alexa.amazon.com/または https://alexa.amazon.co.jp(アカウントによる??)にアクセスし、アカウント情報を入力すると、現在つないでいるAlexaの設定や命令をブラウザ上で行えます。

ぼくはAmazonPrime会員なので、ここにAmazpnMusicが自動でインポートされていました!!感動!!

ということは、Alexaに喋りかけて、ぼくの珠玉のプレイリストをかけることもできるはず!と確信したので呼びかけました
ぼく:アレクサ 音楽を流して
Alexa:この端末ではAmazonMusicに対応しておりません
ぼく:![]()
![]()
![]()
![]()
![]()
![]()
![]()
![]()
![]()
![]()
![]()
![]()
ぼく:なんでや!管理画面からはAmazonPrimeの音楽流せたやん!!!

ぼく:![]()
所管
- すごい便利
- 一時期ゆっくりさんで、目覚ましアプリをつくってた時期を思い出した
- それよりはるかに高機能すぎて嬉しい
- スキル選び楽しい ヽ(゚∀゚ヽ 三 ノ゚∀゚)ノ
- 自動起動の設定はまた今度かな
- AmazonMusicの件に関しては金の亡者だと思った。
- alexaの仕様よく読めよとか言わないでください
- かわりにradikoを召喚した(代わりになってない)
- いいマイク買ったほうがいい
- 5000円くらいの買って試してみる予定
- だれかうまくいった機種教えてください!!!
- 試したら追記します
参考サイト
https://github.com/alexa/avs-device-sdk
https://github.com/alexa/avs-device-sdk/wiki/Raspberry-Pi-Quick-Start-Guide-with-Script
https://qiita.com/Dimeiza/items/182c4847d7c1ead7df54
http://blog.saboh.net/raspberrypiusbmaiku/
https://dev.classmethod.jp/voice-assistant/solution-of-a-problem-amazon-com-account-conflict/