0. 本稿について
@BrandonPotter 氏の__SimpleTCP__(github)を用いたソケットサーバー、ソケットクライアントアプリケーションを作成する。
1. 環境 ~Environment~
- Microsoft Visual Studio 2019 Community
- .Net Framework 4.7.2
- SimpleTCP 1.0.24
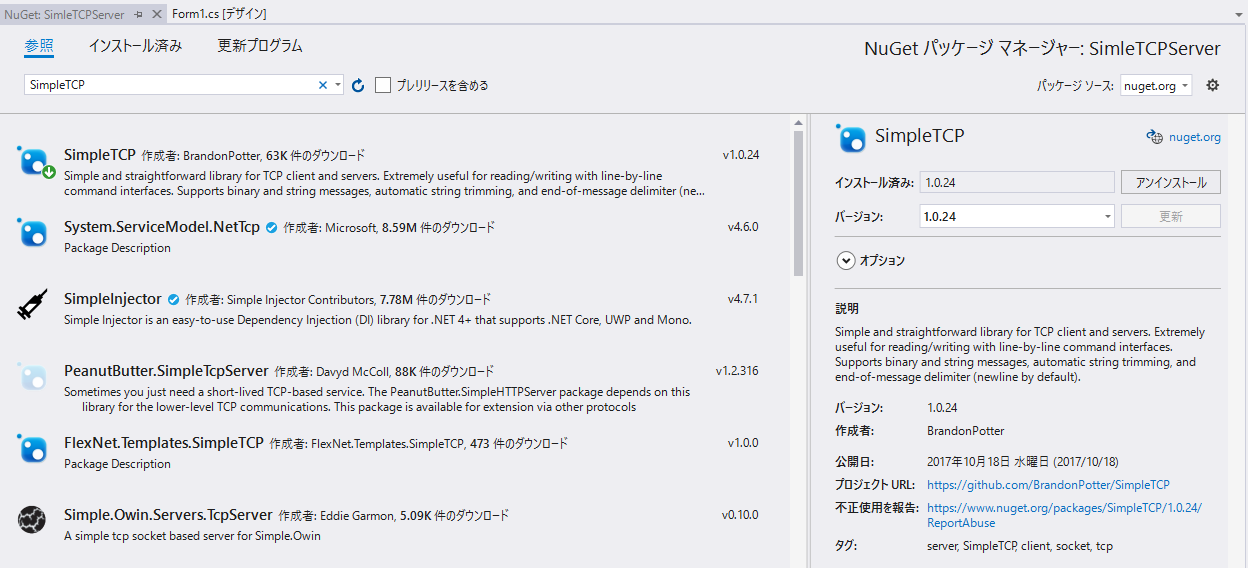
2. 導入 ~Installing SimpleTCP~
NuGetパッケージの管理から__「SimpleTCP」__をインストールする。
3. ソケットサーバを作成
下記のソケットサーバをフォームアプリケーションで作成する
- IPアドレス:__すべてのIPアドレス__からの通信を受信する
- 通信ポート:55555
- 終端文字:0x00
- 受信した電文メッセージに__「_Reply」__を追加し、送信先に返却する
- 受信した電文メッセージをテキストボックスに表示する
SimpleTCPServerForm
using System.Windows.Forms;
using SimpleTCP;

namespace SimleTCPServer
{
    public partial class Form1 : Form
    {
        SimpleTcpServer server;
        const byte NULL_TERMINATED = 0x00;
        const int PORT = 55555;

        public Form1()
        {
            InitializeComponent();
            server= new SimpleTcpServer().Start(PORT);
            server.Delimiter = NULL_TERMINATED;
            server.DelimiterDataReceived += (sender, msg) => {
                 msg.ReplyLine(msg.MessageString + "_Reply");
                 textBox1.Text += "Receive::" + msg.MessageString;
            };
        }
    }
}
4. ソケットクライアントを作成
下記のソケットクライアントをフォームアプリケーションで作成する
- 特定のIPアドレス,ポートでListen接続待機しているソケットサーバに接続する。
- 接続したソケットサーバにメッセージに終端文字__0x00__を付与した文字列データを送信する。
- 送信後、返答を__3__秒間待機する。
- 返答メッセージをテキストボックスに表示する。
SimpleTCPClientForm
using System;
using System.Windows.Forms;
using SimpleTCP;

namespace SimpleTCPClient
{
    public partial class SimpleTCPClientForm : Form
    {
        public SimpleTCPClientForm()
        {
            InitializeComponent();
        }

        private void button_SendMsg_Click(object sender, EventArgs e)
        {
            var client = new SimpleTcpClient().Connect(textBox_IP.Text, int.Parse(textBox_Port.Text));
            textBox_RecieveMsg.Text += "Send::" + textBox_SendMsg.Text + Environment.NewLine;
            //終端文字を追加する。
            var replyMsg = client.WriteLineAndGetReply(textBox_SendMsg.Text + '\0', TimeSpan.FromSeconds(3));
            textBox_RecieveMsg.Text += "Reply::" + replyMsg.MessageString;
        }
    }
}
5.検証
ソケットクライアントからソケットサーバへ電文メッセージ("test")を送信し、応答メッセージ("test_Reply")を受信していることが分かる
