はじめに
フロントエンドをNext.js 13(TypeScript)、バックエンドをRuby on RailsのAPIモードで構成するアプリケーションをDockerで環境構築しJSONを返すアプリを作ってみました。
参考にしたもの
-
Next.js + Ruby on Rails(APIモード) on Docker 構築手順
ありがとうございます。とても参考になりました。 -
【Next.js13入門】新しくなったNext.jsをキャッチアップしてみよう
Next.js 13を理解する上で参考になりました。
ディレクトリ構成
以下の通りになります。
コマンドもしくはGUI操作でディレクトリとファイルを作成してください。
next-rails
├── backend
│   ├── Dockerfile
│   ├── Gemfile
│   └── Gemfile.lock
├── docker-compose.yml
└── frontend
    └── Dockerfile
Dockerを準備
docker-compose.ymlの作成
データベースはMySQLを採用しています
version: '3.8'

services:
  db:
    image: mysql:8.0
    command: --character-set-server=utf8mb4 --collation-server=utf8mb4_unicode_ci
    environment:
      MYSQL_ROOT_PASSWORD: password
      MYSQL_DATABASE: sample
      MYSQL_PASSWORD: password
    ports:
      - 4306:3306
    volumes:
      - mysql-db:/var/lib/mysql
  backend:
    tty: true
    depends_on:
      - db
    build:
      context: ./backend/
      dockerfile: Dockerfile
    ports:
      - 3000:3000
    volumes:
      - ./backend:/app
    command: rails server -b 0.0.0.0
  frontend:
    build:
      context: ./frontend/
      dockerfile: Dockerfile
    volumes:
      - ./frontend/app:/usr/src/app
    command: 'yarn dev'
    ports:
      - '8000:3000'
volumes:
  mysql-db:
    driver: local
フロントエンド(Next.js)のDockerfileの作成
FROM node:18
WORKDIR /usr/src/app
バックエンド(Rails)のDockerfileの作成
FROM ruby:3.2

ENV LANG=C.UTF-8 \
  TZ=Asia/Tokyo

WORKDIR /app
RUN apt-get update -qq && apt-get install -y nodejs default-mysql-client
COPY Gemfile /app/Gemfile
COPY Gemfile.lock /app/Gemfile.lock
RUN bundle install

CMD ["rails", "server", "-b", "0.0.0.0"]
Gemfileの作成
source 'https://rubygems.org'
gem 'rails', '~> 7.0.5'
ビルドする
以上のファイルの準備ができたらビルドのコマンドを実行
docker compose build
Next.jsを作成する
yarn createでfrontendディレクトリにNext.jsを作成する
docker compose run --rm frontend yarn create next-app .
アプリの生成が完了した後
以下コマンドでコンテナを起動
docker compose up
localhost:8000にアクセスしNext.jsの画面が表示されていれば成功です。

Ruby on Rails APIモード環境の作成
backendディレクトリにRails APIモードのアプリを作成する
docker compose run --rm backend bundle exec rails new . --api -d mysql
生成途中でGemfileのConfilictが生じるがyを入力し進める
database.ymlの編集
Rails APIアプリケーションの作成が完了した後にdatabase.ymlを以下の通り編集する
default: &default
  adapter: mysql2
  encoding: utf8mb4
  pool: <%= ENV.fetch("RAILS_MAX_THREADS") { 5 } %>
  username: root
  password: password  #passwordと設定
  host: db #localhostからdbに設定

development:
  <<: *default
  database: sample #app_developmentからsampleと設定

test:
  <<: *default
  database: app_test

production:
  <<: *default
  database: app_production
  username: app
  password: <%= ENV["APP_DATABASE_PASSWORD"] %>
Railsアプリを起動
docker compose up --build -d
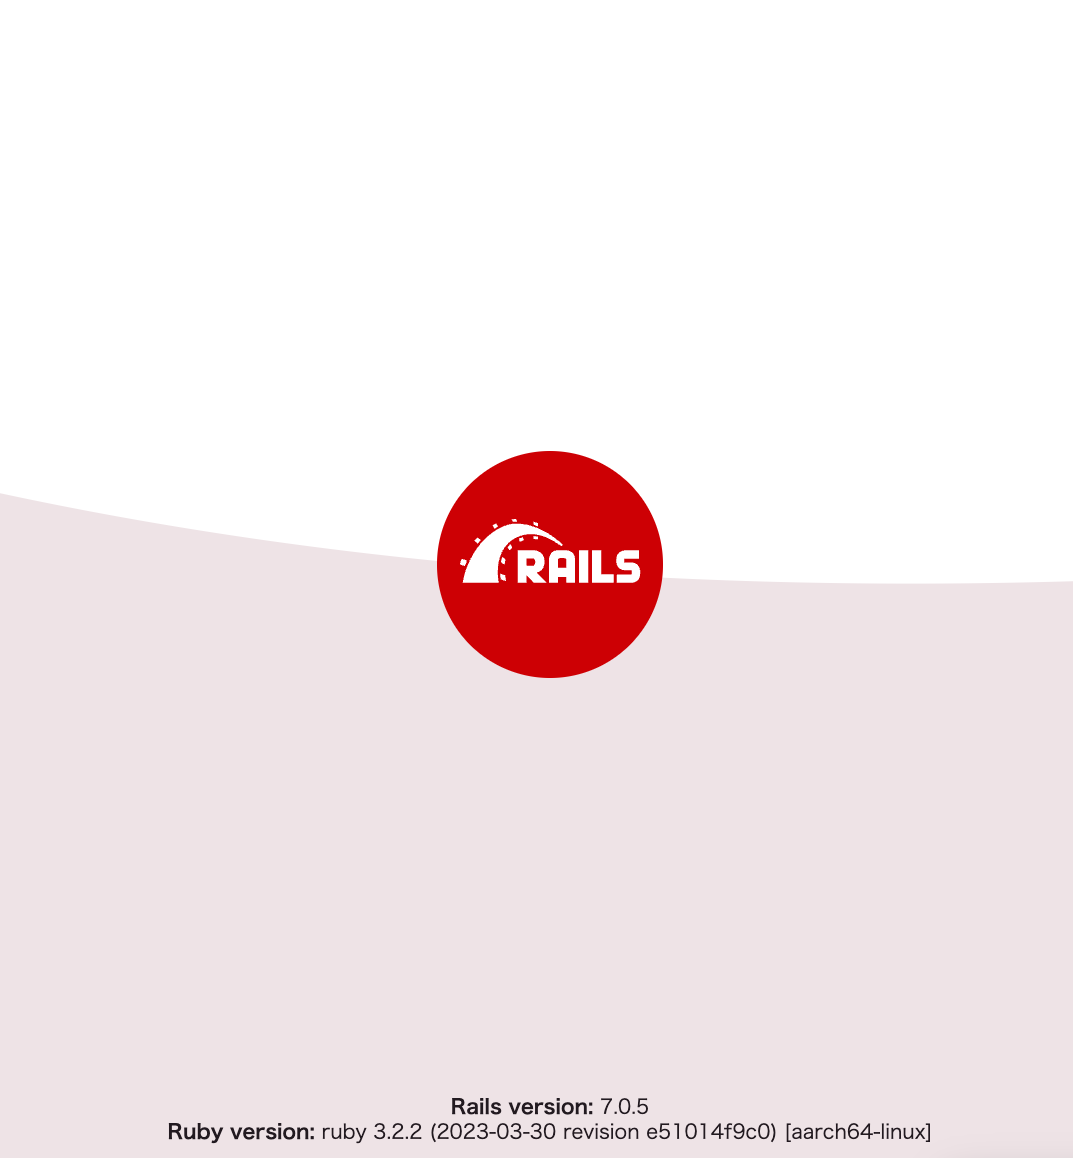
localhost:3000にアクセスしてRailsの画面が表示されていれば成功です。

JSONを返すAPIを作る
rails g scaffoldで必要なファイルを作成
docker compose run --rm backend bundle exec rails g scaffold post title:string
マイグレートする
POSTSテーブルが作成されます
docker compose run --rm backend bundle exec rails db:migrate
seeds.rbを編集
titleの部分にダミーテキストを入力
Post.create!(
    [
      {
        title: 'Lorem ipsum dolor sit amet.'
      },
      {
        title: 'Id velit nesciunt et adipisci vitae aut eligendi sunt eum minima totam.'
      },
      {
        title: 'Et cumque maiores eos voluptate tempore ut tempora dignissimos et soluta corrupti est nihil beatae.'
      },
      {
        title: 'Et commodi quam non dolorem quia ea cumque distinctio qui exercitationem voluptate cum iusto distinctio vel modi pariatur et doloremque officiis.'
      },
      {
        title: 'In saepe unde sed obcaecati similique quo beatae amet et Quis incidunt eos molestiae nobis et nihil tenetur?'
      },
    ]
  )
テーブルにテストデータを取り込む
docker compose run --rm backend bundle exec rails db:seed
localhost:3000/postsにアクセスしseeds.rbで入力したダミーテキストのJSONデータが表示されていれば成功です。
Next.jsでAPIから取得したデータを表示する
development.rbを編集
backend/config/environments/development.rbにconfig.hosts << "backend"を追加する
require "active_support/core_ext/integer/time"

Rails.application.configure do
・・・

+ config.hosts << "backend"
end
Page.tsxを編集
Tailwind CSSがデフォルト設定されているので多少カスタマイズしています。
import { FC } from 'react';

type Post = {
  id: number;
  title: string;
};

async function getPost() {
  const res = await fetch('http://backend:3000/posts');

  if (!res.ok) {
    throw new Error('Failed to fetch Post');
  }

  return res.json();
}

const Home: FC = async () => {
  const posts: Post[] = await getPost();

  return (
    <div className="m-4">
      <h1 className="text-4xl mb-4 underline">Post List</h1>
      {posts.map((post) => (
        <p className="mb-1" key={post.id}>
          {post.title}
        </p>
      ))}
    </div>
  );
};

export default Home;
完成
localhost:8000にアクセスして以下のように表示されていれば成功です。

