はじめに
wxPython と gsnodegraph を使用してノードエディターを表示します。
開発環境
python 3.10.0
概要
表示する、といっても各種パッケージをインストールしてサンプルコードを実行するだけなのですが、
gsnodegraph を正しく動作する状態にするにはいくつか設定をいじらなければならず、
少々面倒な手順だったので一通りまとめることにしました。
wxPython
pip install wxPython で入手できます。が、macではこの方法でインストールしても動きません。
以下のような手順でまずはフレームワークビルドの python を入手してください。
env PYTHON_CONFIGURE_OPTS="--enable-framework" pyenv install 3.10.0
pyenv global 3.10.0
参考: wxPython の 'This program needs access to the screen. Please run with a' に対処する
そうしたら、あとは venv の環境をセットアップします。
mkdir editor
cd editor
python -m venv .venv
通常通り wxPython をインストールします。
. .venv/bin/activate
pip install wxPython
pip freeze > requirements.txt
deactivate
ここでリポジトリとして初期化しておきます。
curl https://raw.githubusercontent.com/github/gitignore/main/Python.gitignore > .gitignore
git init
git add .
git commit -m "Add: 最初のコミット"
gsnodegraph
gsnodegraph は wxPython 上でノードエディタを実装するためのライブラリです。
pip install gsnodegraph でインストールできます。
しかしこちらのライブラリは wxPython 4.1.1 にのみ対応しています。(wxPython==4.1.1)
では wxPython 4.1.1 をインストールすればよいのでは、と最初は考えました。
しかし tiff.h が見つからないというエラーが発生してしまい 4.1.1 はインストールできませんでした。
※ --global-option="build_ext" なんかも試してみましたが効果なし...
そこで wxPython は 4.2.0 のままで、gsnodegraph 側を 4.2.0 対応させることにしました。
実は pip install はローカルのファイルを指定してインストールさせることも可能です。
ですので、gsnodegraphをローカルにコピーしてそれを改変したのちにそちらを参照してインストールすればいいわけです。
まずは元ソースを editor/external におきます。
mkdir external
cd external
git submodule add https://github.com/GimelStudio/gsnodegraph
git commit -m "Add: gsnodegraph を追加"
setup.py の wxPython のバージョン指定を以下のように変更します。
install_requires = [
      'wxpython>=4.1.1'
    ],
加えて pyproject.toml を削除します。
これをやっておかないと、インストール時に setuptools が見つからないというエラーが出てしまいます。
※ 参考: (TestPyPI) "ERROR: No matching distribution found for setuptools" if pyproject.toml is present in a very basic package
rm gsnodegraph/pyproject.toml
最後に、ソースコードにいくらか修正を加えます。
どうやら整数型しか与えてはいけないいくつかの場面で float が渡っており、実行時にエラーとなる箇所があるようです。
以下パッチを external/gsnodegraph/a.patch として置いておいて、 git apply a.patch のように適用できます。
diff --git a/gsnodegraph/graph/base.py b/gsnodegraph/graph/base.py
index d3c7ea6..8fa43df 100644
--- a/gsnodegraph/graph/base.py
+++ b/gsnodegraph/graph/base.py
@@ -496,7 +496,7 @@ class NodeGraphBase(wx.ScrolledCanvas):
         """ Calculate the mouse coordinates, taking into account
         the current scroll position and zoom level. """
         pnt = self.ConvertWindowToScene(self.ConvertCoords(pnt))
-        return wx.Point(pnt[0], pnt[1])
+        return wx.Point(int(pnt[0]), int(pnt[1]))

     def ConvertCoords(self, pnt):
         """ Convert coords to account for scrolling.
diff --git a/gsnodegraph/node/socket.py b/gsnodegraph/node/socket.py
index 810e00c..e2c54fc 100644
--- a/gsnodegraph/node/socket.py
+++ b/gsnodegraph/node/socket.py
@@ -80,4 +80,4 @@ class NodeSocket(object):
             x = pos.x - w - 12

         # Draw the label
-        dc.DrawText(self.label, x, pos.y - h / 2)
+        dc.DrawText(self.label, x, int(pos.y - h / 2))
一応ブランチを変えてコミットしておきます。
cd gsnodegraph
git checkout -b my-editor
git add .
git commit -m "Update: wxPython 4.2.0 のための修正"
cd ..
一通り変更が終わったら、*.tar.gz として固めます。
ここの 0.5.3 は、setup.pyのバージョンと同じにしてください。
tar -zcvf gsnodegraph-0.5.3.tar.gz gsnodegraph
これでローカルの external フォルダから gsnodegraph をインストールできます。
cd ..
. .venv/bin/activate
pip install --no-index --find-links=external --verbose gsnodegraph
pip freeze > requirements.txt
deactivate
サンプルコードを持ってきます。
cp external/gsnodegraph/main.py main.py
cp -r external/gsnodegraph/nodes nodes
cp external/gsnodegraph/nodegraph.py nodegraph.py
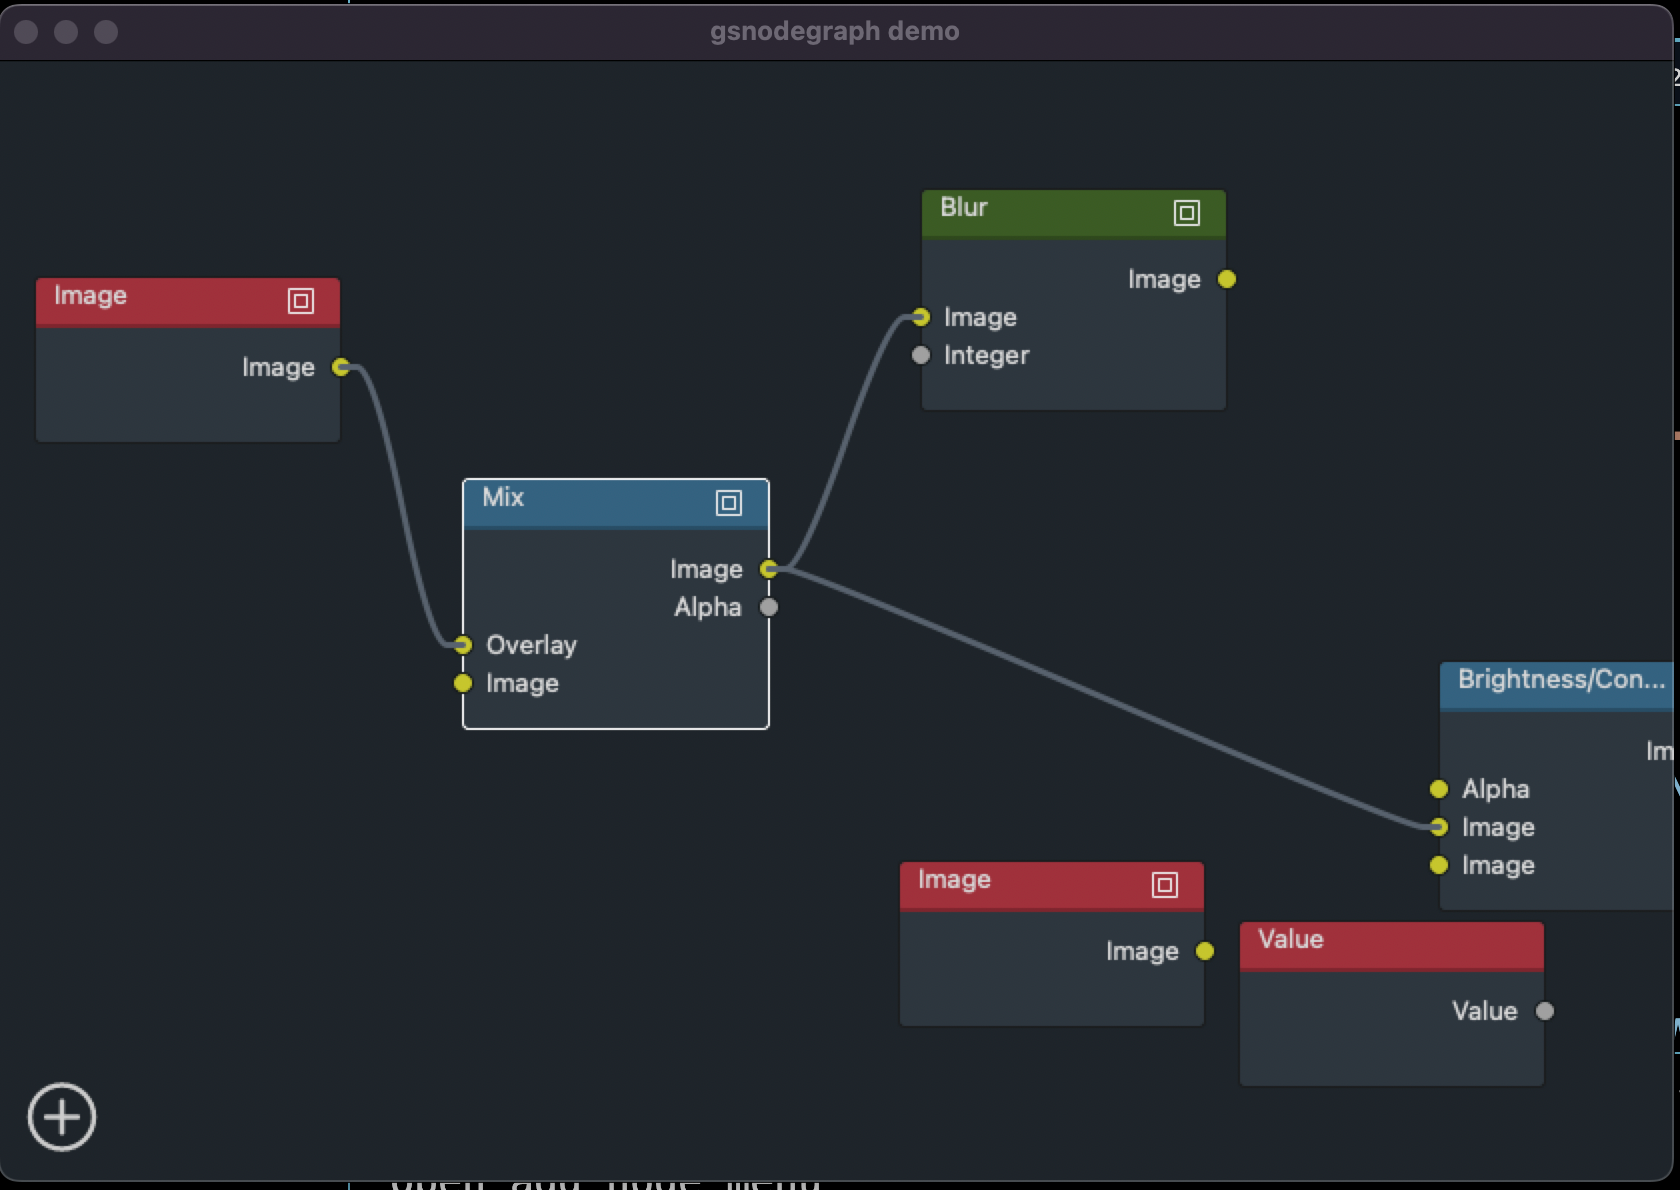
あとは vscode からデバッガを動作させるなり直接起動するなりしてノードエディタを表示できます。
.venv/bin/python main.py