Introduction
I had an almost unused laptop laying around, so I recently decided to run an hypervisor to run virtual machines on it instead of running them on my main machine. I wanted something convenient that I could manage through the network and people commonly use fully-featured virtualization management platforms such as vSphere Hypervisor, Proxmox or oVirt for that purpose.
I went through a different approach and decided to use Cockpit to manage KVM virtual machines on the host instead. Differently from the options mentioned above, it is not a virtualization focused application, but a web-based interface to manage servers that happens to have a module to manage VMs.
There’s not a strong reason for that choice and I may test the other options in the future. It’s just that it seemed faster to get started since I've already had Pop_OS! (Ubuntu base) installed on that laptop, so I just needed to install Cockpit on top of that. I knew it lacked features compared to the other options, but I was OK with that as one of my goals was to learn more about KVM and I thought it would be good to do things manually whenever Cockpit didn't support some feature.
Preparation
Lid
My idea was to manage the laptop remotely so, apart from setting up SSH on it, I've also done the changes below to make it work with its lid closed to save on space by putting it on a stand that keeps the laptop in the vertical position.
I just had to edit the /etc/systemd/logind.conf file and make sure HandleLidSwitch is uncommented with the ignore value as below:
HandleLidSwitch=ignore
And restart the corresponding service:
$ systemctl restart systemd-logind.service
Checking Virtualization Support
Most CPUs from the last decade should have support for virtualization, but it's a good idea to make it sure since the feature may be disabled in the BIOS. This can be done as following:
# if the command below returns 1 or more, it means virtualization is supported.
$ egrep -c '(vmx|svm)' /proc/cpuinfo

# Another alternative is to use the following command:
$ kvm-ok
In my case, as virtualization is supported, kvm-ok returned an output like this:
INFO: /dev/kvm exists
KVM acceleration can be used
kvm-ok shows an alert in the case virtualization is supported by the CPU, but it’s disabled in the BIOS. In this case, we need to activate it to enable virtualization at full speed.
Installation
The Cockpit installation itself was extremely simple:
$ sudo apt update
$ sudo apt install cockpit
I've also needed to install the following package, so I could manage virtual machines:
$ sudo apt install cockpit-machines
The corresponding service should already be started after the installation and we can confirm it through the command below:
$ systemctl status cockpit
Compared to the Ubuntu KVM installation tutorial, this procedure didn’t install the bridge-utils package, required to allow virtual machines to access the local network directly.
That same tutorial also mentions the need to add the user to the libvirtd group, but it was already done after the installation without me having to do anything.
We may need to complement our installation later but, for now, this should be enough for us to start creating new virtual machines.
Session Timeout
Cockpit automatically log us out after 15 minutes of inactivity. We can configure this session timeout, in minutes, by editing the /etc/cockpit/cockpit.conf file (it may be necessary to create it) with a content like the following:
[Session]
IdleTimeout=180
Using Cockpit
We can access Cockpit through the port 9090 on the host:
The browser will display a warning since we are dealing with a self-signed certificate. I safely skipped it since I'm only accessing Cockpit on my local network. Then, the login screen was displayed:
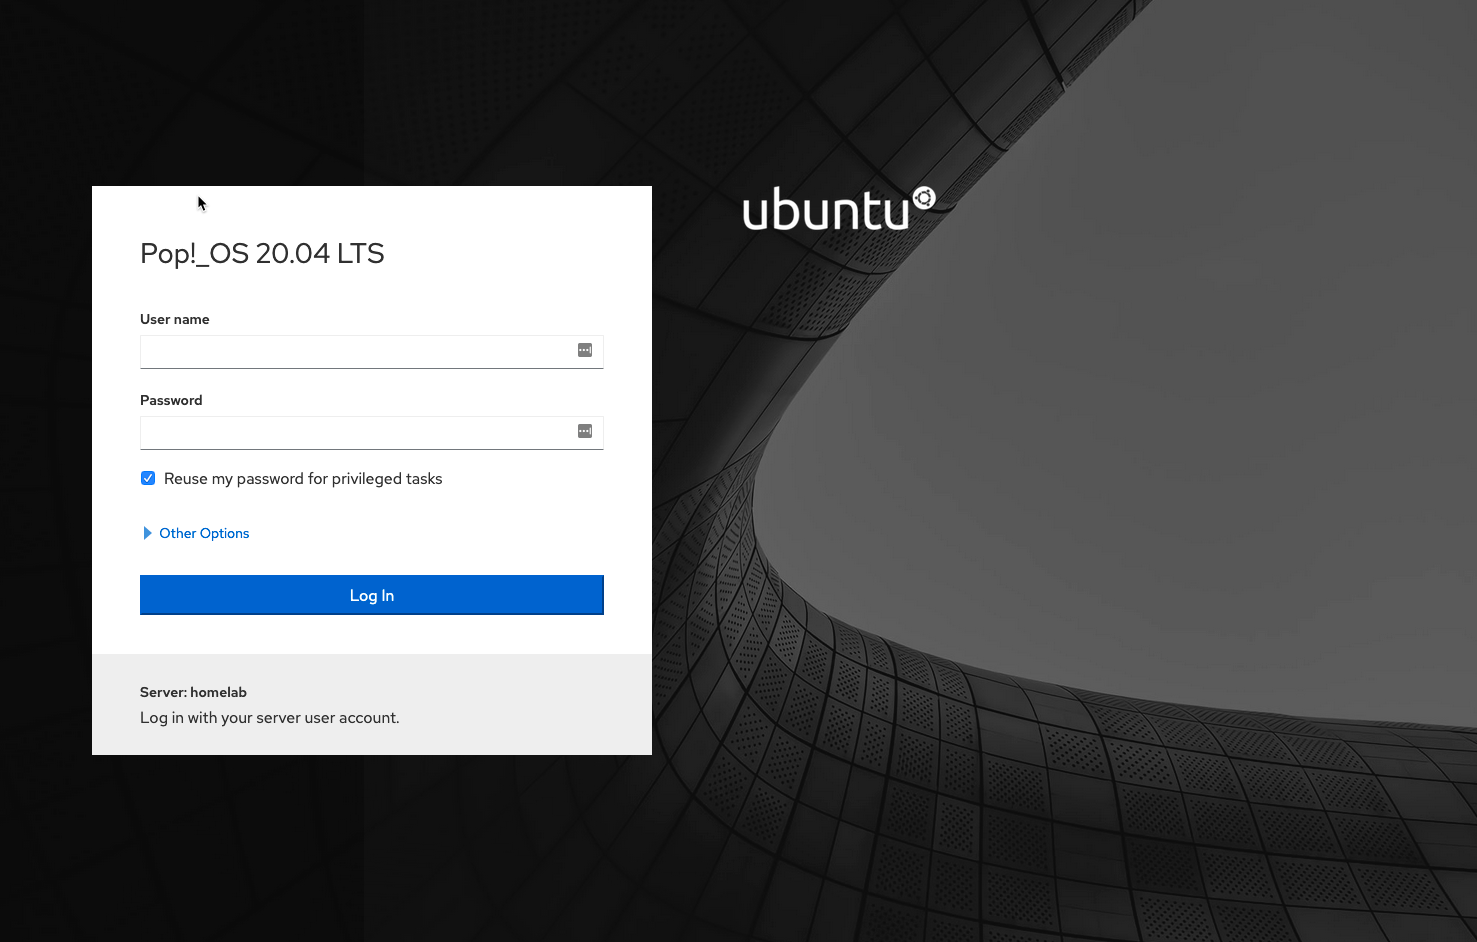
We just need to provide our credentials on that machine. The Reuse my password for privileged tasks option, as it suggests, makes the same credentials to be used for tasks such as installing updates, so we don’t have to provide the same credentials again.
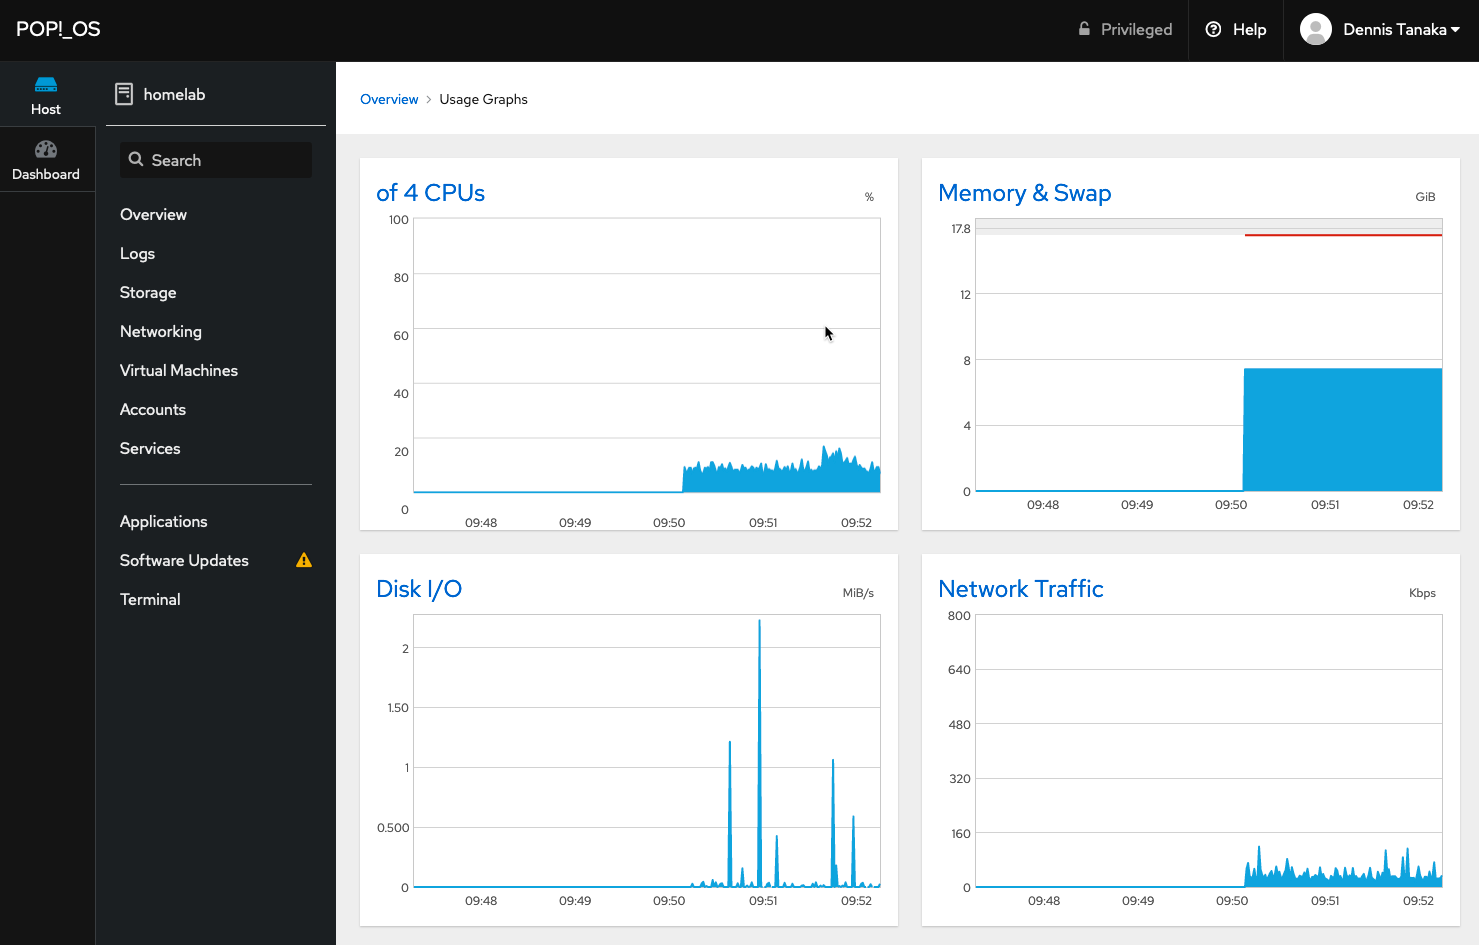
Once logged in, we have access to plenty of features to monitor and manage our server:
One particularly convenient feature is the access to a terminal session from the browser.
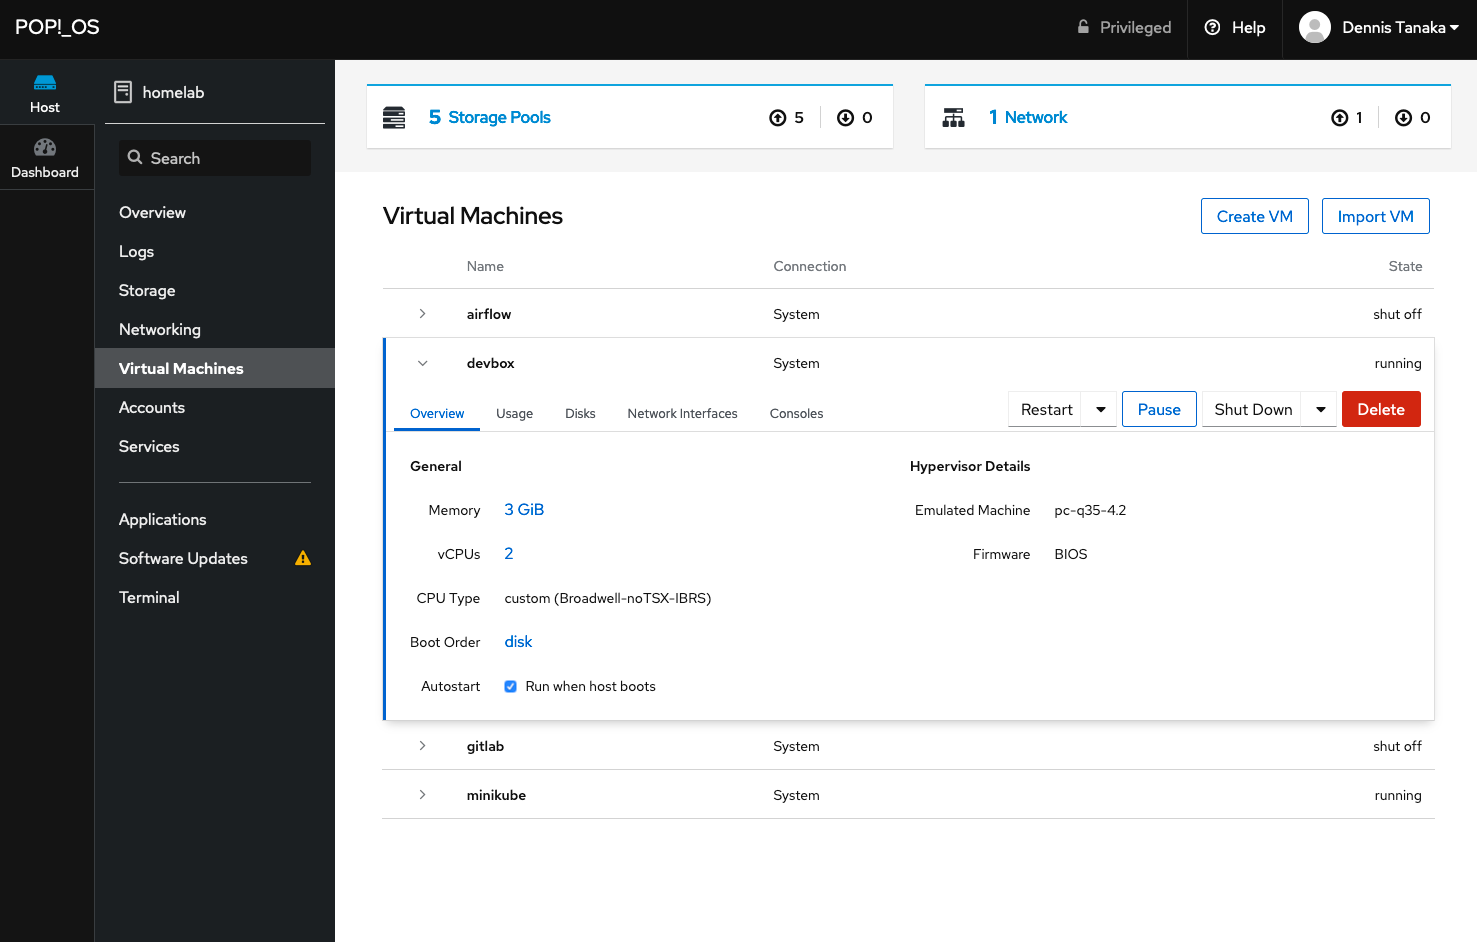
The Virtual Machines management screen looks like this:
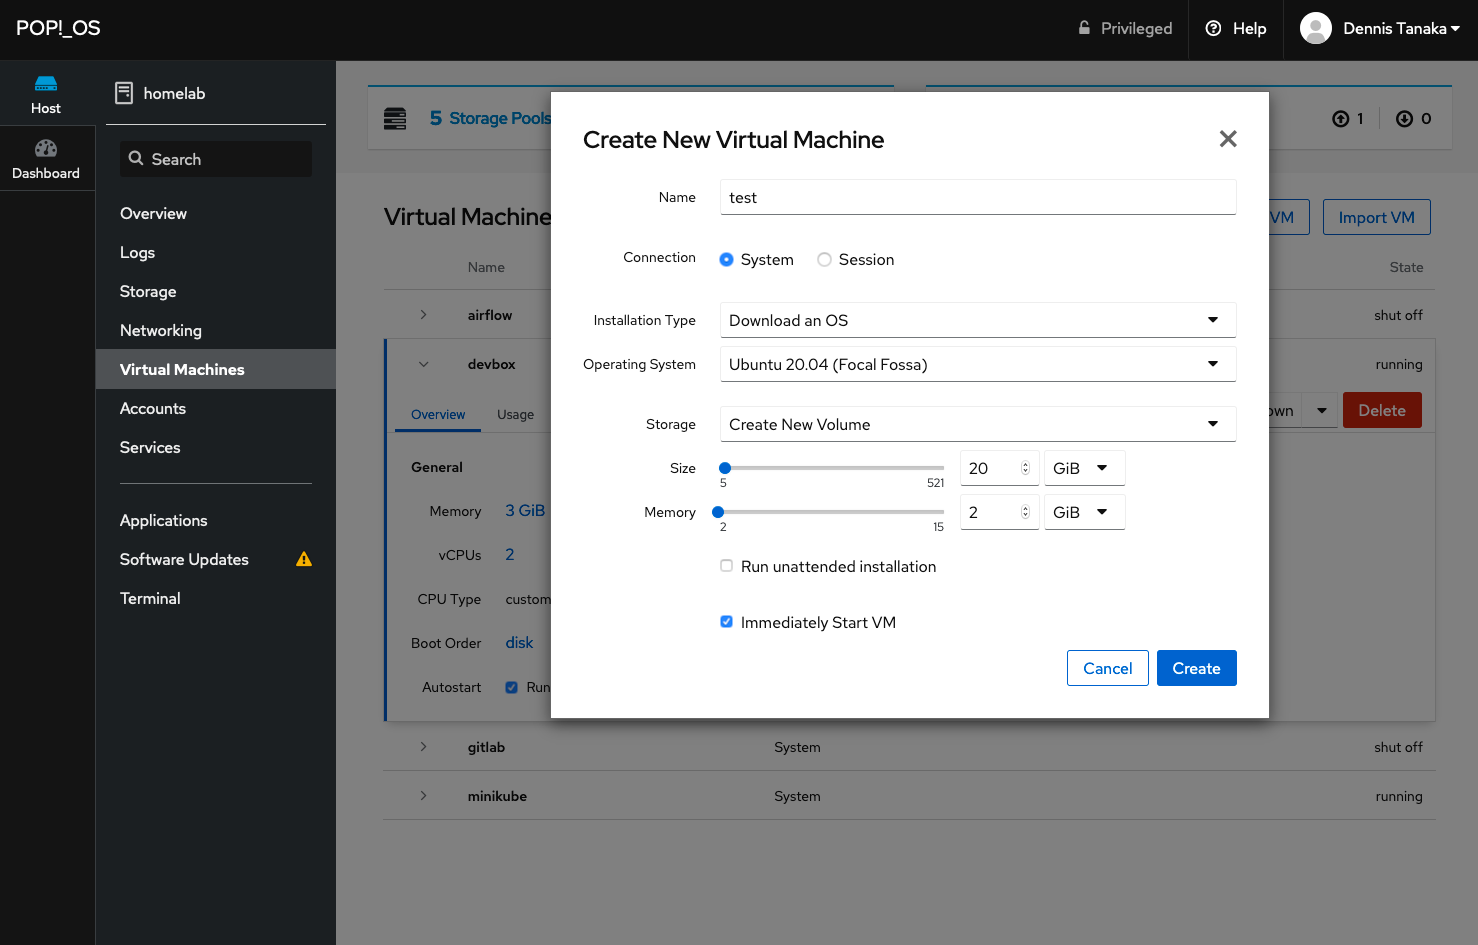
And this is how the dialog to create new virtual machines looks like. With the Download an OS selected as the Installation Type, we have plenty of Linux distributions to choose from. Alternatively, we can also provide a URL or specify a local install media.
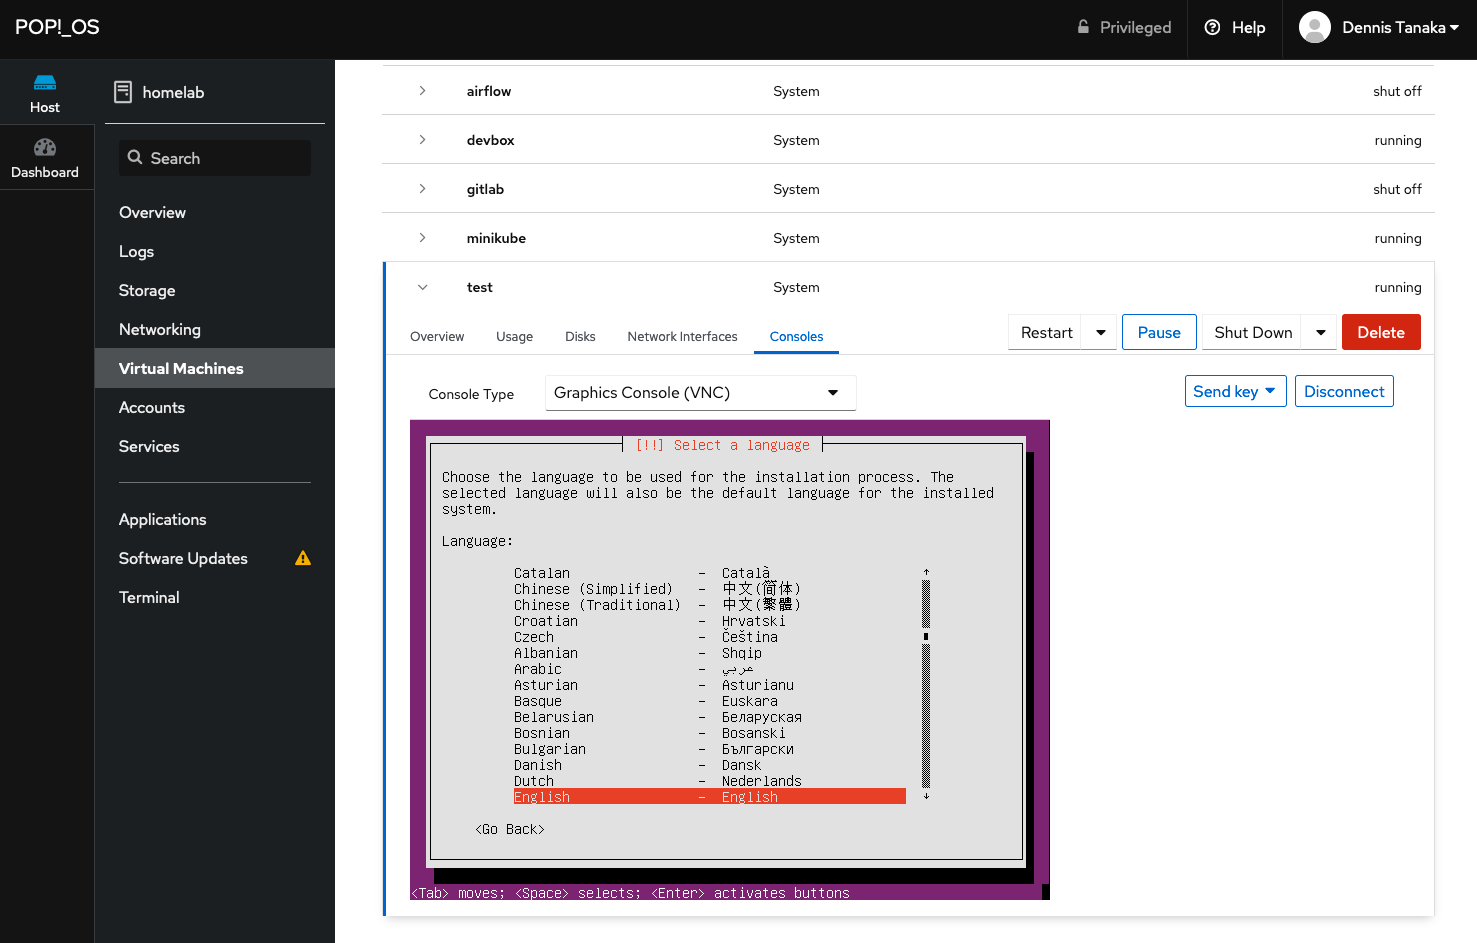
Once the machine is started, we can go to the Consoles tab of the new VM where we can execute the installation through a VNC session:
In the Create New Virtual Machine dialog, we also have the Run unattended installation option that makes the installation process mostly automatic.
Conclusion
I still haven't used the virtualization focused options for comparison but, for now, Cockpit is doing enough for me. Especially in terms of managing virtual machines, it's been very helpful to have visibility on what VMs are running on the host and their states, as well as checking their resource usage and quickly turn them on/off.
Although it's convenient to be able to create virtual machines through the web-based interface, setting up virtual machines as presented here is not very productive (even when using the unattended installation) if the idea is to create and destroy VMs frequently. So, in a future post, I want to show a quicker way to spin up new virtual machines by using cloud images.