決済機能実装について
- 前章ではpayjpを利用したクレジットカードの登録と保存を実装しました。
今回は登録されたクレジットカードを利用し、商品購入時のpayjpを利用した決済機能について見ていきましょう!
〜商品の購入と支払時のコントローラー〜
class CreditCardsController < ApplicationController
  before_action :set_item, only: [:buy, :pay]

  def buy
    card = CreditCard.where(user_id: current_user.id).first
    if @card.blank?
    redirect_to action: :new #カード登録できてなければ登録画面に遷移
    else
      #秘密鍵のAPIを取得
      Payjp.api_key = Rails.application.credentials[:PAYJP_SECRET_KEY]
      customer = Payjp::Customer.retrieve(@card.customer_id)
      @card_info = customer.cards.retrieve(@card.card_id)
      case @card_info.brand
      when "Visa"
        @card_src = "logo_visa_ph001.png"
      when "JCB"
        @card_src = "jcb-logomark-img-01.gif"
      when "MasterCard"
        @card_src = "mc_vrt_pos.svg"
      when "American Express"
        @card_src = "amex-logomark-img-04.gif"
      when "Diners Club"
        @card_src = "diners-logomark-img-01.gif"
      end
    end
  end
  def pay
    Payjp.api_key = Rails.application.credentials[:PAYJP_SECRET_KEY]
    customer = Payjp::Customer.retrieve(@card.customer_id)
    if Payjp::Charge.create(amount: @item.price, customer: customer, currency: 'jpy' )
      @item.update!(trading_status: "売却済")
    else
      render action: :buy #商品購入画面に遷移
    end
  end

  private
    def set_item
      @item = Item.find(params[:id]) #item情報の取得
    end

end
①まず実行されるのはbefore_action
・set_itemと定義した選択した商品(item)のidの取得
(商品購入時と決済時、購入したい商品情報を取得する必要があるため)
def buy ⏩
商品購入にはカード情報の取得が必要です。まず前章で記載した秘密鍵を取得するため
Payjp.api_key = Rails.application.credentials[:PAYJP_SECRET_KEY]
これでpayjpサーバーの利用権限を得ることができます。(公式のコード)
次に顧客のカード情報を取得する必要があるため
customer = Payjp::Customer.retrieveは顧客情報を取得する際の記述*(公式のコード)*
またcustomer.cards.retrieveに関してもカード情報の取得に利用します*(公式のコード)*
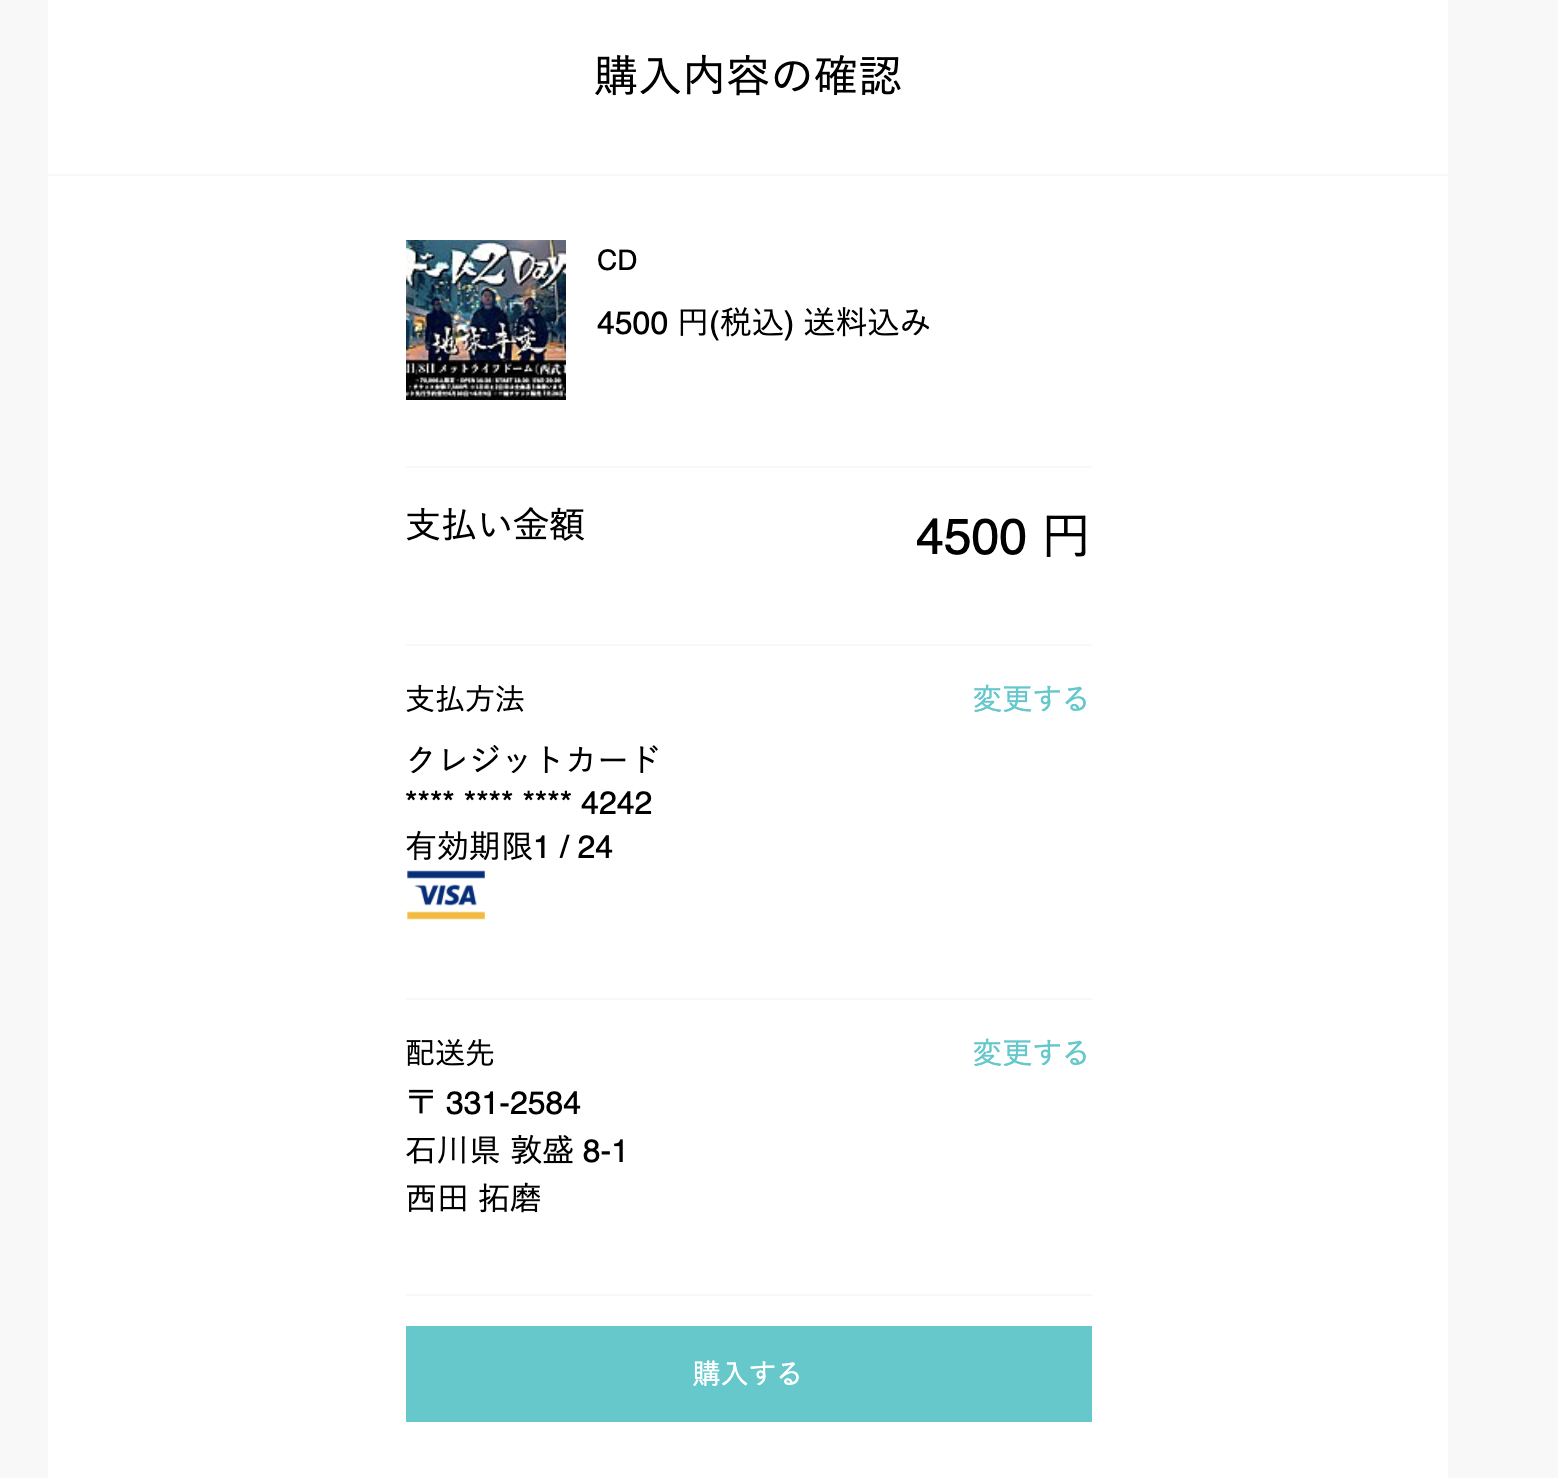
今回のdef buyのコードはview上でクレジットカードのロゴをcase @card_info.brandを利用してVisaのロゴかJCBのロゴをするかに分けるためのコードであるため、重要なポイントはdef pay(支払い時)にあります。
.user-info-text
  クレジットカード
.form-group--card-number
  .card-number
    = "**** **** **** " + @card_info.last4
  .card__body__main__data
    = "有効期限" + @card_info.exp_month.to_s + " / " + @card_info.exp_year.to_s.slice(2,3)
  .form-group--credit_logo
    = image_tag "/#{@card_src}", alt: @card_info.brand, width:"40", height: "25"
def pay ⏩
①上記と同様に秘密鍵取得、顧客情報取得していきます。
  def pay
    Payjp.api_key = Rails.application.credentials[:PAYJP_SECRET_KEY]
    customer = Payjp::Customer.retrieve(@card.customer_id)
    if Payjp::Charge.create(amount: @item.price, customer: customer, currency: 'jpy' )
      @item.update!(trading_status: "売却済")
    else
      render action: :buy #商品購入画面に遷移
    end
  end
②条件分岐 if記載の
Payjp::Charge.create(amount: @item.price, customer: customer, currency: 'jpy' )
を見ていきましょう!
payjp::Charge.create()ではトークンIDまたはカードを保有している顧客IDを指定して支払いを作成する公式の記述方法です。
customerで顧客情報は取得できているので、その他商品の購入代金及び日本円の通貨を利用して決済する事を示すコードを記述していく必要があります。
③支払いが完了し、商品の購入完了できたら
@item.update!(trading_status: "売却済")
でitemのtrading_statusカラムを「出品中」➡︎「売却済」に変更できる設定を示しておきます。


以上でクレジットカードを用いた決済機能が実装できました。
終わりに
今回のpayjp実装にていくつかのポイントを書いておきます!
①今回のコードはpayjpのv1というバージョンに対応しています。
バージョンはv1・v2と二つ存在し、v1は旧型でクレジットカードの登録フォームは自分で実装しなければならない。
対してv2は新型のバージョンであり、登録フォームが予め用意されています。
登録フォームを自分で実装したい方はv1を利用し、登録済みのフォームを利用したい方はv2を利用する見解で問題ないかと思われます。
②payjpを利用する初めての方へ
私はQittaの記事を参考にして実装を進めておりましたが、それぞれのQitta記事がv1・v2を利用したり、APIの取得方法も様々で公式のリファレンスに関してもverアップする事で記述方法が異なります。
なので参考にするのは半年から1年以内のpayjpに関するQitta記事で流れを確認してから
**PAY.JP公式リファレンス**でコードの書いていく方法をオススメします。Qitta記事に関しても多くての2つの記事に絞って参考にするのが良いでしょう!
以上で終了です。初学者ゆえ、何か間違い等ございましたら、ご指摘頂けると幸いです。
ありがとうございました!