はじめに
自分の学習の記録、忘備録としての内容になります。
Qiita初投稿のため、見にくい箇所、不備等があると思います。
内容: AzureBotServiceを使い、LINEBOTからobnize学習リモコンを操作し用としましたが、うまくいかず次回持越し。
その代わり、LINE-AzureBotService-obnizeを連携させてLINEからLED操作の確認をしてみました。
 [完成動画](https://www.youtube.com/watch?v=o1KuKXoKFgc)
単純に右と言うと、右方向にLEDが流れ、サウンドもそれに合わせて段階的に鳴るという簡単なものになっています。
学習リモコン失敗
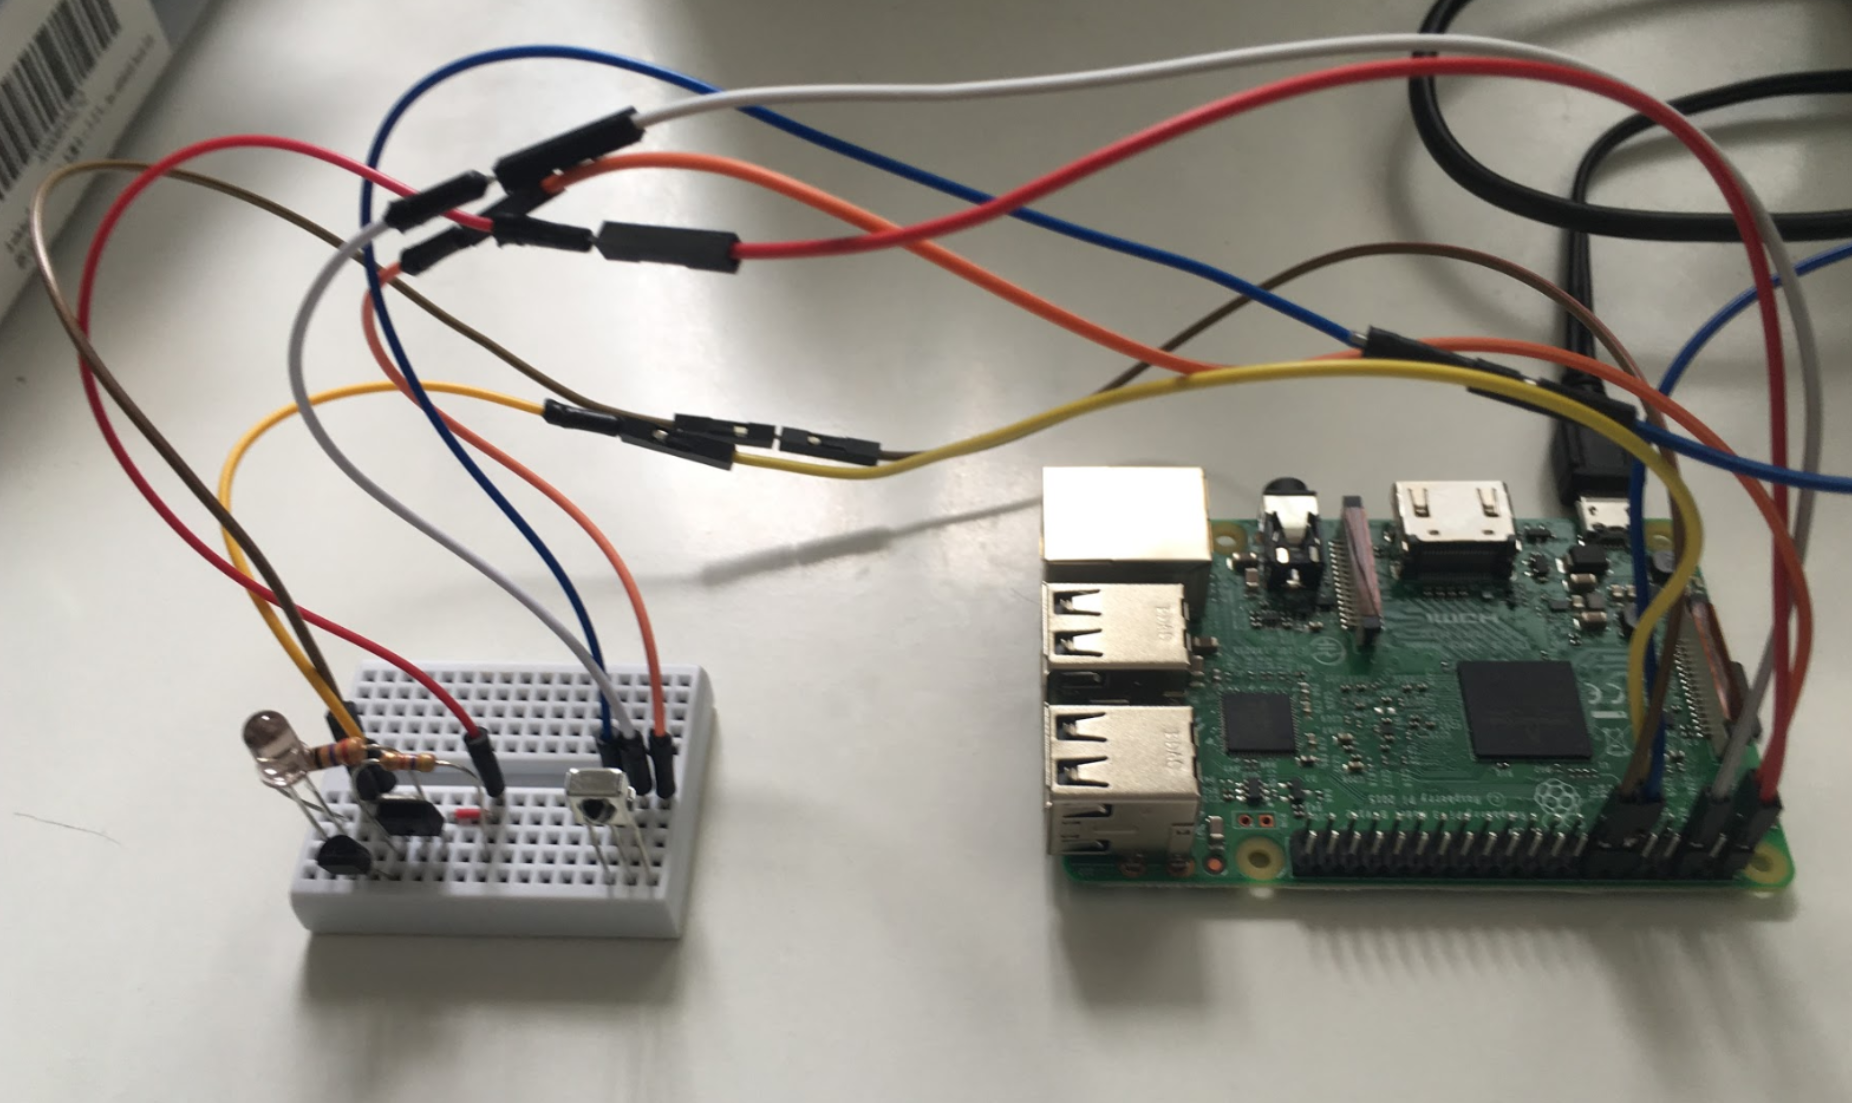
以前、ラズパイで学習リモコンを作り、動作確認できていたため、これをobnizを使ってLINEからBotで登録、送信をできるようにしようと考えたのですが、失敗しました。 以前は下記記事を参考にPython+hubotで作成していました。今回obnizのパーツライブラリのページを参考にやってみました。
受信側
https://obniz.io/ja/sdk/parts/IRSensor/README.md
IRSensor
リモコンで使われる赤外線の信号を検出します。
信号を読み込むことはできました。
送信側
https://obniz.io/ja/sdk/parts/InfraredLED/README.md
InfraredLED
赤外線LEDを操作します。特に、リモコンのような赤外線で信号を送るためのクラスです。
回路を変えてみたりして、試したのですがどうしても上手く送信されず今回は断念しました。
また再チャレンジします。


このIoTホームキットを使った方が早い気がします。
https://obniz.io/ja/lessons/iothome/lessons_iothome_ir
基本に返りobnizでLEDを点灯するところから行いました。
まずは準備です!AzureBotService、LINEの設定
前回同様この記事を参考にさせていただきました。 [祝 LINE チャンネル追加!Azure Bot Service で翻訳チャットボット作成 (1)Azure Bot Service から LINE 接続 編](https://qiita.com/annie/items/1926fc16731fcaad0666#%E6%BA%96%E5%82%99)Install obniz.js
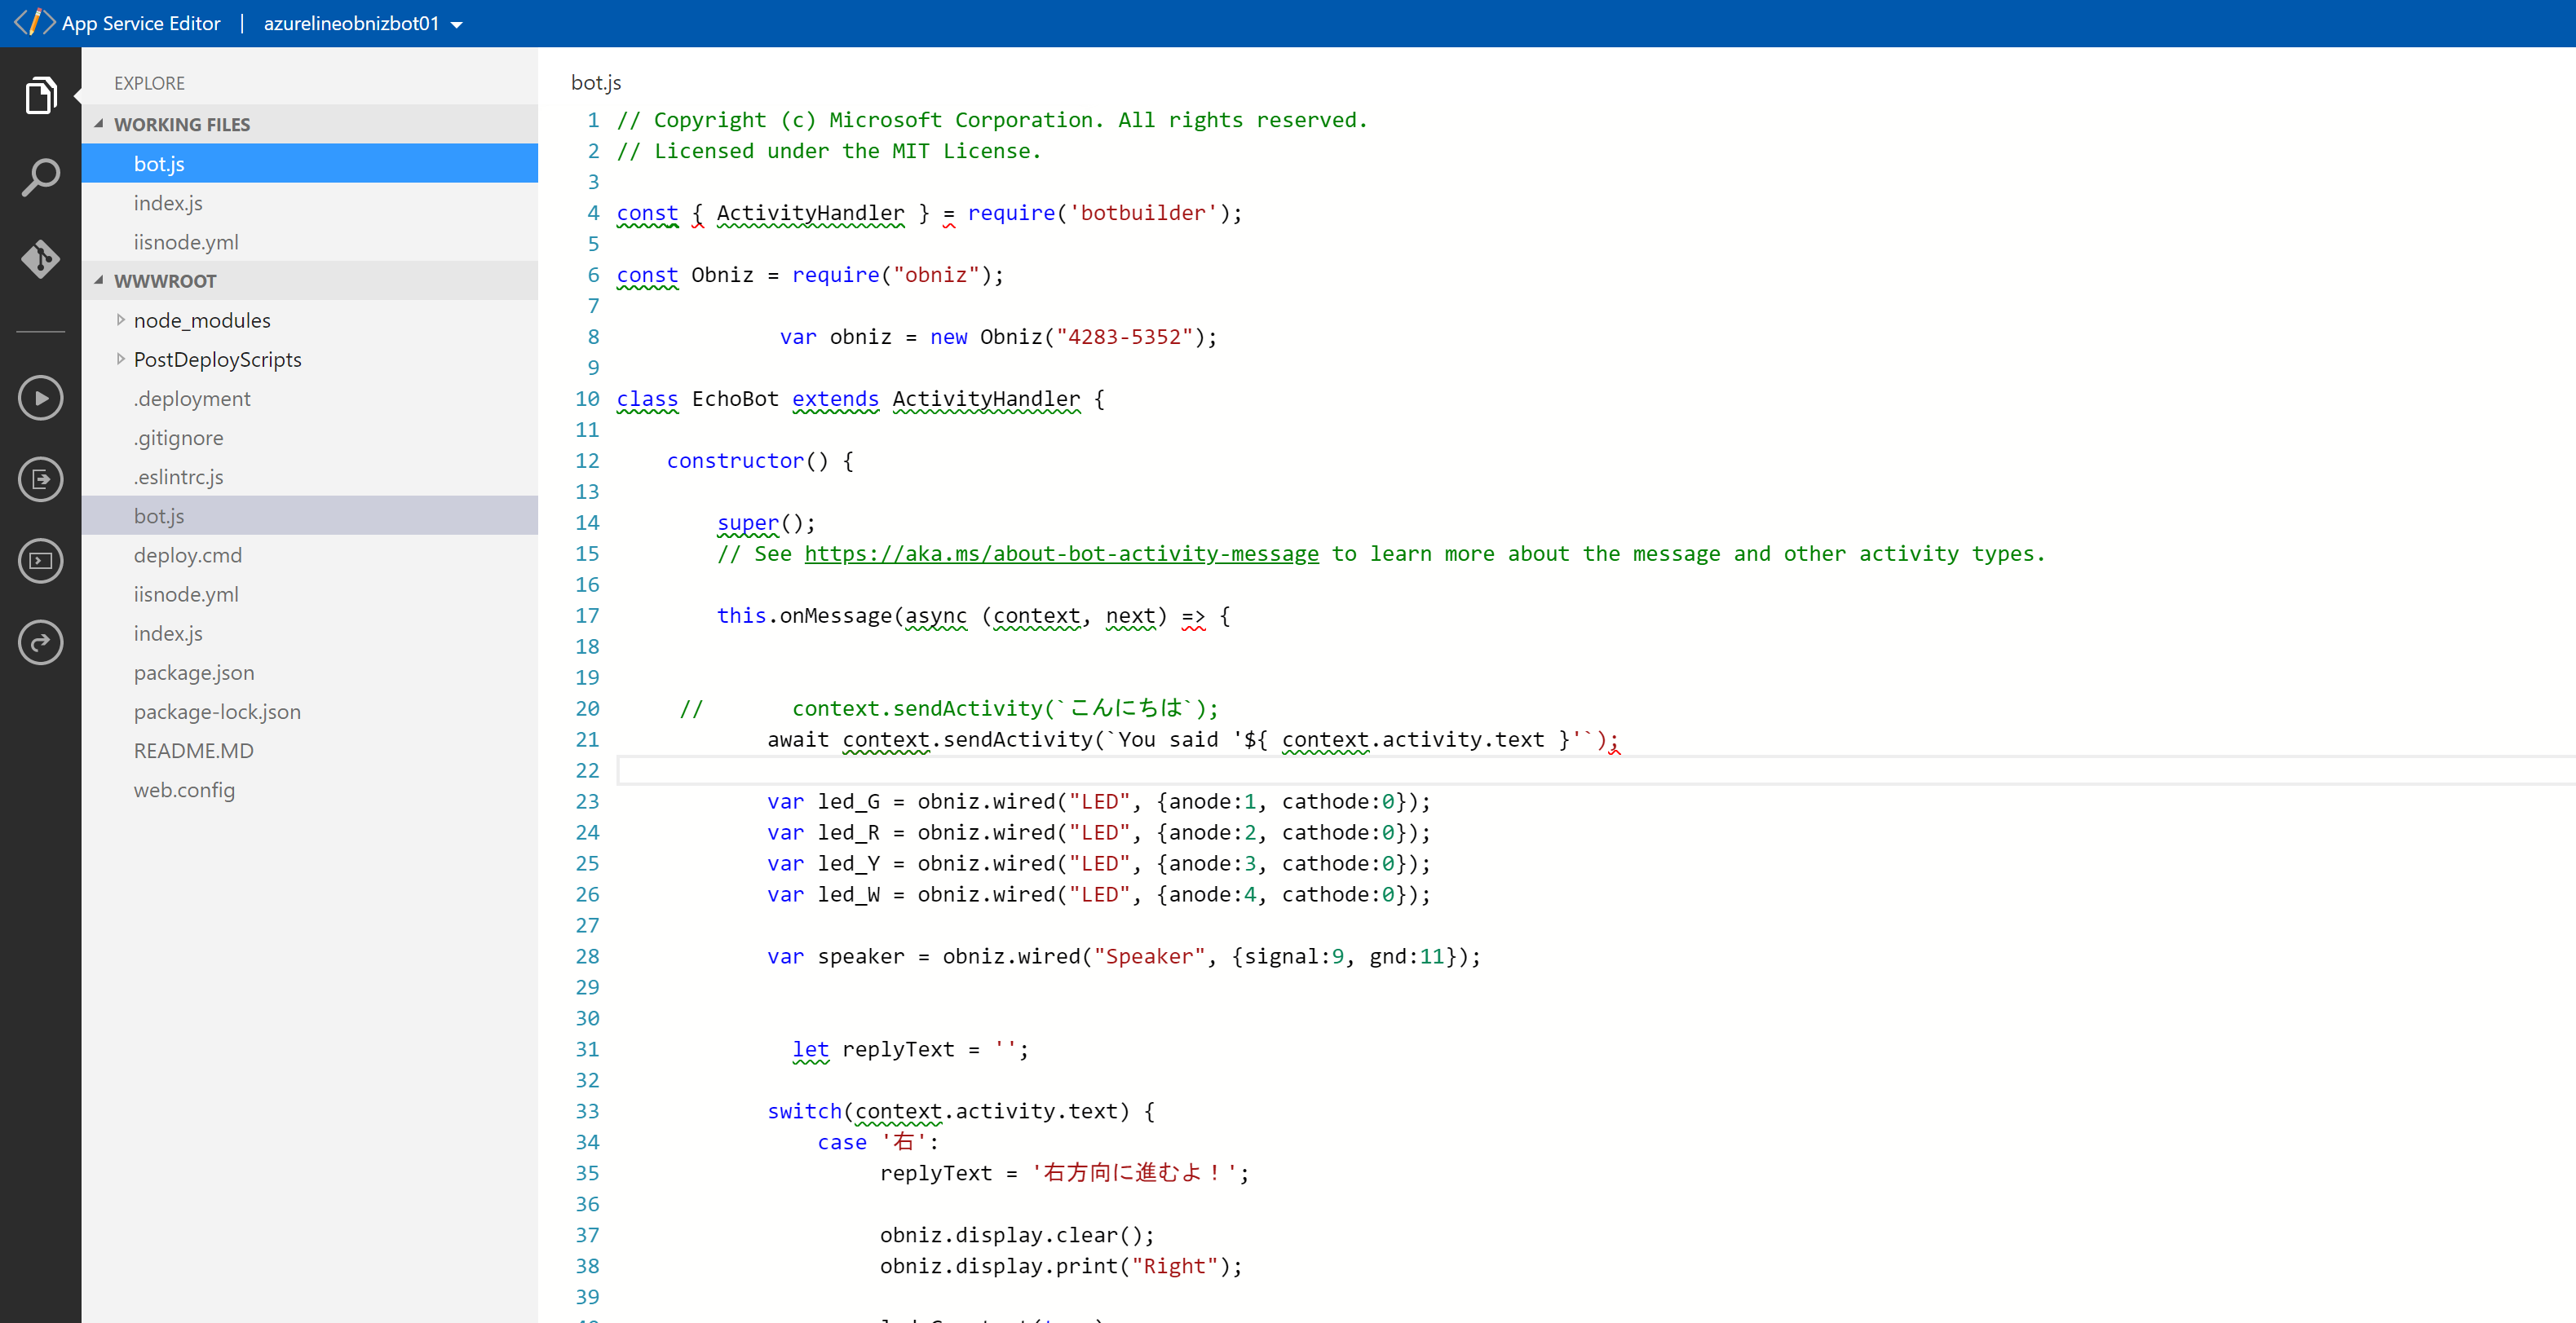
一通り連携ができたらobnizをnpmからインストールします。 AppServiceEditorのconsole画面を開いてインストールします。 AppServiceEditorのbot.jsを編集します。
// Copyright (c) Microsoft Corporation. All rights reserved.
// Licensed under the MIT License.

const { ActivityHandler } = require('botbuilder');
const Obniz = require("obniz");
var obniz = new Obniz("自分のobniz ID");

class EchoBot extends ActivityHandler {
    constructor() {
         super();
        // See https://aka.ms/about-bot-activity-message to learn more about the message and other activity types.

        this.onMessage(async (context, next) => {
            await context.sendActivity(`You said '${ context.activity.text }'`);

            var led_G = obniz.wired("LED", {anode:1, cathode:0});
            var led_R = obniz.wired("LED", {anode:2, cathode:0});
            var led_Y = obniz.wired("LED", {anode:3, cathode:0});
            var led_W = obniz.wired("LED", {anode:4, cathode:0});
            var speaker = obniz.wired("Speaker", {signal:9, gnd:11});
            let replyText = '';

            switch(context.activity.text) {
                case '右':
                     replyText = '右方向に進むよ!';

                     obniz.display.clear();
                     obniz.display.print("Right");

                     led_G.output(true);
                     speaker.play(1000); //1000hz
                     await obniz.wait(500);
                     led_R.output(true);
                     speaker.play(1300); //1300hz
                       await obniz.wait(500);
                     led_Y.output(true);
                     speaker.play(1600); //1600hz
                       await obniz.wait(500);
                     led_W.output(true);
                     speaker.play(1900); //1900hz
                       await obniz.wait(500);

                     speaker.stop();
                     await obniz.wait(500);

                     led_G.output(false);
                     led_R.output(false);
                     led_Y.output(false);
                     led_W.output(false);

                     await obniz.wait(500);

                     led_G.output(true);
                     led_R.output(true);
                     led_Y.output(true);
                     led_W.output(true);
                     await obniz.wait(500);

                     led_G.output(false);
                     led_R.output(false);
                     led_Y.output(false);
                     led_W.output(false);
                     break

                case '左':

              //右の反対なので省略します//

                     break

                case 'OFF':
                     replyText = 'OFFにしたよ!';

                     obniz.display.clear();
                     obniz.display.print("OFF");
                     led_R.output(false);
                     led_G.output(false);
                     break
                case 'おしまい':
                       replyText = 'obniz OFFにしたよ!';

                       await obniz.wait(2000);
                       obniz.display.clear();
                        obniz.close();
                    break
                default:
                     replyText = '理解できません!';

                        obniz.display.print("XXXXXXXXXX");
                        led_R.output(false);
                        led_G.output(false);
                        break
             }

             const responseMessage =replyText;
             await context.sendActivity(responseMessage);

            // By calling next() you ensure that the next BotHandler is run.
            await next();
        });

        this.onMembersAdded(async (context, next) => {
            const membersAdded = context.activity.membersAdded;
            for (let cnt = 0; cnt < membersAdded.length; ++cnt) {
                if (membersAdded[cnt].id !== context.activity.recipient.id) {
                    await context.sendActivity('Hello and welcome!');
                }
            }
            // By calling next() you ensure that the next BotHandler is run.
            await next();
        });
    }
}

module.exports.EchoBot = EchoBot;
やってみた感想
リモコンの信号の発信で時間がかかってしまいました。LINE-AzureBotService-obnizeの連携に関しては、簡単ですが一通りの流れはつかめたかと思います。
色々繋がってくると、できる事がどんどん広がってきますね。
この先、obnizのセンサー側の値をとってLINEに反映させる部分はまだやっていませんので、学習リモコンのリベンジと合わせ、やっていきたいと思います。
また、技術的な部分に時間がかかり、もっと楽しいモノづくりに行けていないので、もう少し切り替えを早くしていきたいと思っています。

