事前準備
1. アプリケーション
- GitHubにリポジトリを作成します、「lambda_github_action_test」とします
- ※1のようなディレクトリとファイルを作成 (deploy.ymlはこの時点では空ファイルとしておく)
- lambda_function.pyは※2のような内容で作成
※1
lambda_github_action_test
├─ .github
│  └─ workflows
│     └─ deploy.yml
└─ src
   └─ lambda_function.py
※2
lambdaの関数にアクセスすると、json形式でHello from Lambda!が返却される関数を作成する
import json

def lambda_handler(event, context):
    return {
        'statusCode': 200,
        'body': json.dumps('Hello from Lambda! GitHubActionでデプロイ')
    }
2. lambda
(1) 関数の作成
わかりやすくリポジトリと同じ名前で作成
- 関数名;lambda_github_action_test
- ランタイム:Python3.10
- アーキテクチャ:x86_64
- 関数 URL を有効化 (認証タイプはNONEとします、あまりよくないかもしれませんが😅)
- オリジン間リソース共有 (CORS) を設定を有効化
(2) 動作確認
"Hello from Lambda!"と表示される

手順
1. IAM IDプロバイダの登録
(1) IAMを選択する
(2) IDプロバイダを選択する
(3) [IDプロバイダを追加]を選択する
(4) 下記を入力する
- プロバイダのタイプ:OpenID Connect
- プロバイダの URL:https://token.actions.githubusercontent.com
- 対象者:sts.amazonaws.com
URL入力後、[サムプリントを取得]をクリックします。
すべて完了後、[プロバイダを追加]にて登録操作を完了します。

2. IAMポリシーの登録
(1) 左メニューから[ポリシー]を選択する
(2) [ポリシーの作成]をクリックする
(3) JSONタブをクリックして下記情報を入力する
(4) 入力後は次のステップをクリックしてポリシー名を設定して登録を完了する
ポリシー名は「lambda_github_action_deploy_policy」としました
※Resourceは[]としました、今後デプロイ対象のlambdaが増えた際に追加しやすくするためです
{
    "Version": "2012-10-17",
    "Statement": [
        {
            "Effect": "Allow",
            "Action": [
                "lambda:UpdateFunctionCode"
            ],
            "Resource": [
                "arn:aws:lambda:ap-northeast-1:{ACCOUNT_ID}:function:lambda_github_action_test"
            ]
        }
    ]
}
3. IAMロールの登録 (こちらは後程修正します)
(1) 左メニューから[ロール]を選択する
(2) [ロールの作成]を選択する
(3) 下記を入力し次へ
- エンティティタイプ:ウェブアイデンティティ
- プロバイダー:token.actions.githubusercontent.com
- Audience:sts.amazonaws.com

(4) 先ほど作成したポリシーを選択する
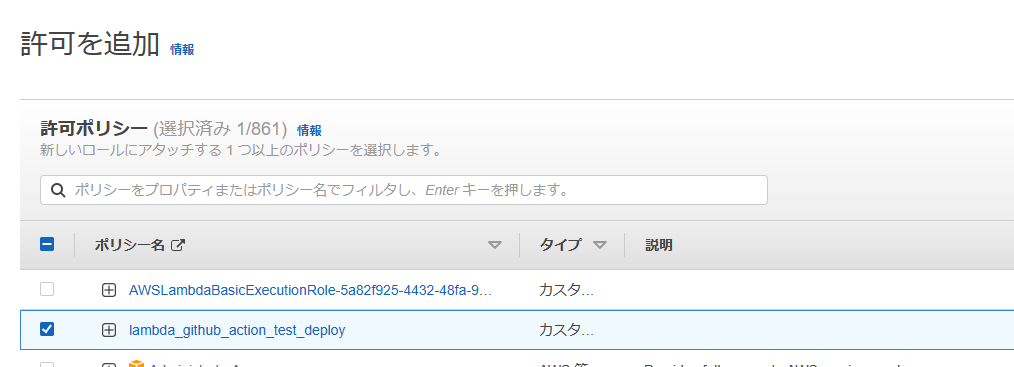
(5) ロール名を入力し後は次のステップをクリックしてポリシー名を設定して登録を完了する
ロール名は「lambda_github_action_test_deploy_role」としました

4. ロールを修正
(1) 先ほど作成したロールを選択する
(2) 信頼関係タブを選択し[信頼ポリシーを編集]を選択
(3) 以下のような値に修正し、更新ボタンを選択する
GITHUB_ORGANIZATION_NAMEとありますが
組織に所属していない場合はGitHubのユーザ名を入力します
{
    "Version": "2012-10-17",
    "Statement": [
        {
            "Effect": "Allow",
            "Principal": {
                "Federated": "arn:aws:iam::{ACCOUNT_ID}:oidc-provider/token.actions.githubusercontent.com"
            },
            "Action": "sts:AssumeRoleWithWebIdentity",
            "Condition": {
                "StringLike": {
                    "token.actions.githubusercontent.com:sub": "repo:{GITHUB_ORGANIZATION_NAME}/{GITHUB_REPO_NAME}:*"
                }
            }
        }
    ]
}
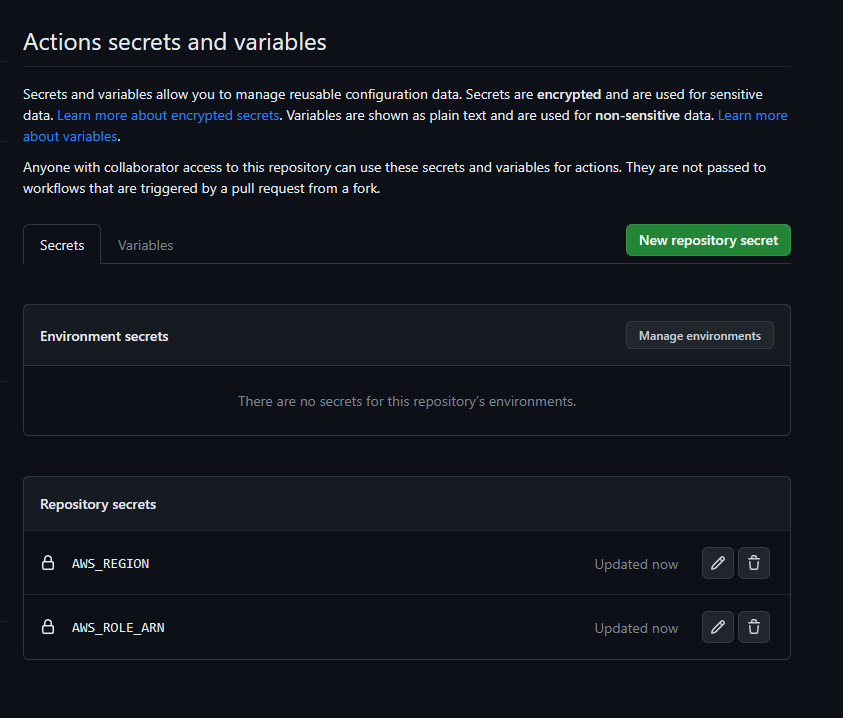
5. Github Actionsへのシークレット情報登録する
(1) Githubの対象リポジトリ画面を開く
(2) [Settings] > [Secrets] > [Actions]クリックする
(3) 画面内の[New repository secret]をクリックする
(4) 以下を登録する
<1点目>
Name : AWS_ROLE_ARN
Value : IAMロールのARN (IAMロール作成時に取得)
<2点目>
Name : AWS_REGION
Value : Lambdaの保管されているリージョン (例:ap-northeast-1)
6. deploy.ymlを作成
(1) 以下のような値を記入する (参考サイトを元に関数名をlambda_github_action_testに修正)
name: lambda_github_action_test_deploy deploy
on:
  push:
    branches:
      - master
jobs:
  deploy:
    runs-on: ubuntu-latest
    permissions:
      id-token: write
      contents: read

    steps:
      - name: checkout
        uses: actions/checkout@v3

      - name: configure-aws-credentials
        uses: aws-actions/configure-aws-credentials@master
        with:
          aws-region: ${{ secrets.AWS_REGION }}
          role-to-assume: ${{ secrets.AWS_ROLE_ARN }}
          role-session-name: GitHubActions

      - name: get-caller-identity is allowed to run on role.
        run: aws sts get-caller-identity

      - name: setup-python
        uses: actions/setup-python@v3
        with:
          python-version: '3.x'

      - name: lambda update
        run: |
          pip3 install awscli
          cd src && zip -r package.zip ./*
          aws lambda update-function-code --function-name lambda_github_action_test --zip-file fileb://package.zip --publish
7. デプロイする
echo "# lambda_github_action_test" >> README.md
git init
git add README.md
git commit -m "first commit"
git branch -M master
git remote add origin git@github.com:daruma30610/lambda_github_action_test.git
git push -u origin master
8. 動作確認
関数のURLにアクセスし以下のようになっていれば成功

参考サイト