Android Library(aar)の作成手順とgradle、proguard設定の個人的なまとめです。
プロジェクトの作成
-
新規プロジェクトを作成する。
-
既存のappモジュールは削除する。
(削除はOpen Module Settingsから除外してからでないと行えない) -
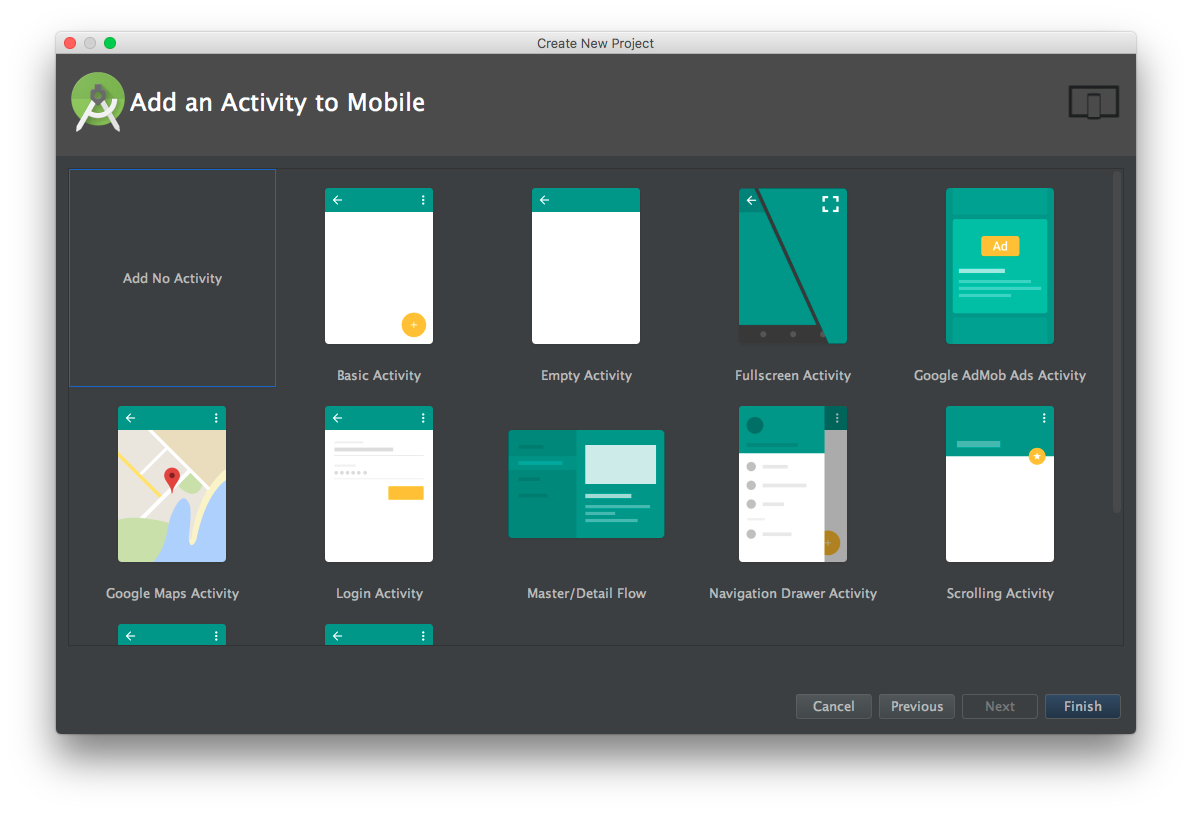
File > New > New ModuleからAndroid Libraryを選択する。
build.gradleの設定
今回作った最終的なファイルはこちら。
apply plugin: 'com.android.library'

android {
    compileSdkVersion 25
    buildToolsVersion "25.0.2"

    defaultConfig {
        minSdkVersion 9
        targetSdkVersion 25
        versionCode 1
        versionName "1.0.0"
        version = android.defaultConfig.versionName
        testInstrumentationRunner "android.support.test.runner.AndroidJUnitRunner"

    }
    buildTypes {
        release {
            minifyEnabled true
            proguardFiles getDefaultProguardFile('proguard-android.txt'), 'proguard-rules.pro'
        }
    }
    packagingOptions {
        exclude 'assets/*'
    }
    libraryVariants.all { variant ->
        variant.outputs.each { output ->
            output.packageLibrary.exclude("libs/*")
            if (variant.name == android.buildTypes.release.name) {
                output.outputFile = new File(
                        output.outputFile.parent,
                        output.outputFile.name.replace(("-release.aar"), "-${version}.aar"))
            } else if (variant.name == android.buildTypes.debug.name) {
                output.outputFile = new File(
                        output.outputFile.parent,
                        output.outputFile.name.replace((".aar"), "-${version}.aar"))
            }
        }
    }
}

dependencies {
    provided fileTree(dir: 'libs', include: ['*.jar'])
    androidTestCompile('com.android.support.test.espresso:espresso-core:2.2.2', {
        exclude group: 'com.android.support', module: 'support-annotations'
    })
    compile 'com.android.support:appcompat-v7:25.1.1'
    testCompile 'junit:junit:4.12'
}
以下デフォルトから変更した点などを説明します。
apply plugin
apply plugin: 'com.android.library'
これは変更していませんが、ライブラリの場合は、com.android.applicationではなく、com.android.libraryになる。
defaultConfig.versionName
defaultConfig {
    ...
    versionName "1.0.0"
    ...
最初は1.0となっているが、追々セマンティックバージョニングに従うため、1.0.0とする。
defaultConfig.version
defaultConfig {
    ...
    version = android.defaultConfig.versionName
    ...
ファイル名にバージョンを付けるために使用する。
buildTypes.release.minifyEnabled
buildTypes {
    release {
        minifyEnabled true
        ...
    }
}
proguardを有効にする。
packagingOptions.exclude
packagingOptions {
    exclude 'assets/*'
}
ライブラリによるが、作成したaar内のclasses.jarに画像ファイルを含める必要がなければこれで除外できる。
libraryVariants.all
libraryVariants.all { variant ->
    variant.outputs.each { output ->
        output.packageLibrary.exclude("libs/*")
        if (variant.name == android.buildTypes.release.name) {
            output.outputFile = new File(
                    output.outputFile.parent,
                    output.outputFile.name.replace(("-release.aar"), "-${version}.aar"))
        } else if (variant.name == android.buildTypes.debug.name) {
            output.outputFile = new File(
                    output.outputFile.parent,
                    output.outputFile.name.replace((".aar"), "-${version}.aar"))
        }
    }
}
この設定では、まずoutput.packageLibrary.exclude("libs/*")で、このライブラリが別ライブラリを参照している場合、aarを作成した際、その別ライブラリを内包しないように除外している。
次にファイル名を最終的に、
- リリース用: {library name}-x.x.x.aar
- デバッグ用: {library name}-debug-x.x.x.aar
となるよう置換している。
dependencies.provided
dependencies {
    provided fileTree(dir: 'libs', include: ['*.jar'])
    ...
compileではなく、providedにすることで、proguardで難読化したあとでも、参照しているjarライブラリのクラスがclasses.jarに含まれなくなります。
proguard-rules.proの設定
まず自分のクラスは、keep指定します。
-keep public class com.exsample.mylibrary.** { public *; }
これで、publicクラスと、publicメンバー、メソッドを難読化しないようにしています。
-keepattributesは理解がまだちゃんと出来て無く、細かく説明できないので、後で理解できたら追記します。
補足
ビルド時にlintのエラーが出た場合
Ran lint on variant release: 1 issues found
Ran lint on variant debug: 1 issues found
Wrote HTML report to file:///Users/xxx/AndroidProjects/MavenRepoLib/mylibrary/build/reports/lint-results.html
Wrote XML report to file:///Users/xxx/AndroidProjects/MavenRepoLib/mylibrary/build/reports/lint-results.xml
:mylibrary:lint FAILED

FAILURE: Build failed with an exception.

* What went wrong:
Execution failed for task ':mylibrary:lint'.
> Lint found errors in the project; aborting build.

  Fix the issues identified by lint, or add the following to your build script to proceed with errors:
  ...
  android {
      lintOptions {
          abortOnError false
      }
  }
  ...

* Try:
Run with --stacktrace option to get the stack trace. Run with --info or --debug option to get more log output.

BUILD FAILED
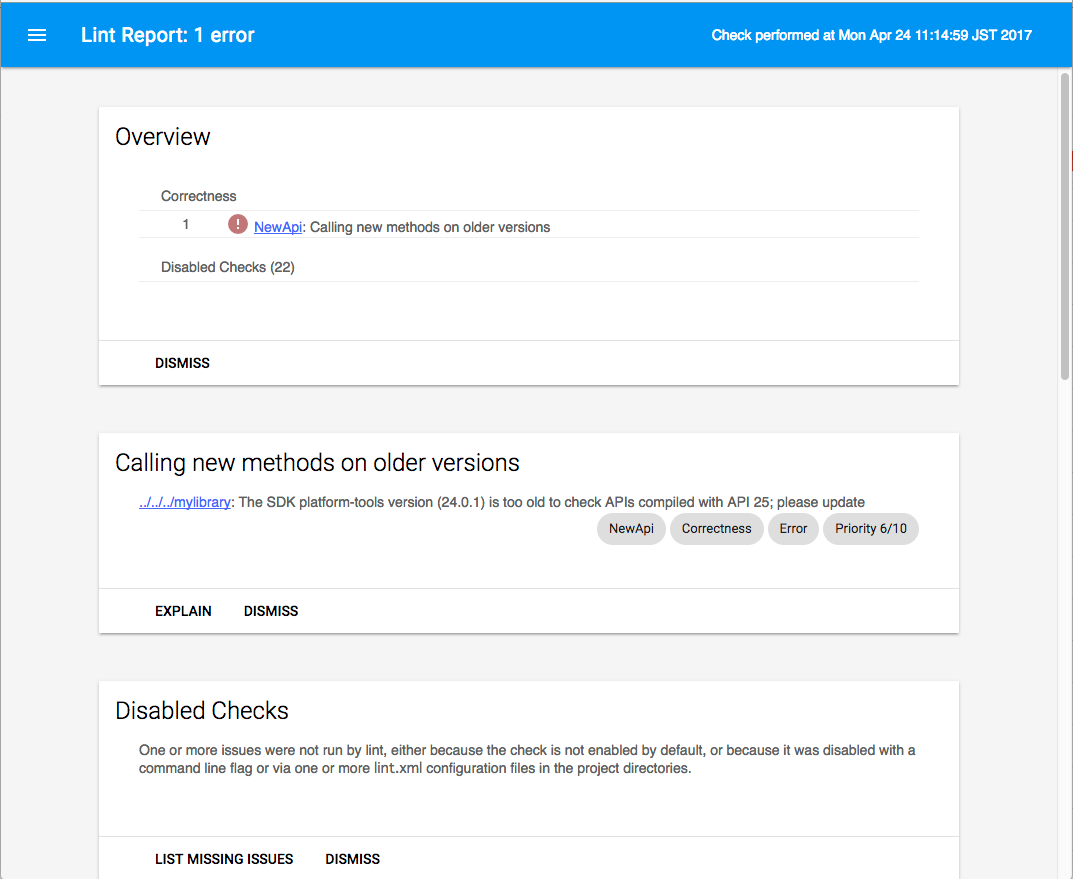
abortOnError false を設定すれば回避はできるが、ちゃんと原因を特定するにはログに出力されてるlint-results.htmlを見れば確認できる。
私の場合は、Android SDK platform-toolsが古いからでした。

