DDDでプロフィール登録を実装する流れ
1、Controllerを作成する
2、Model(Eloquent)を作成する
3、Viewを作成する
4、Eloquentを編集する
5、リポジトリを作成する
6、Providerに登録する
7、UseCaseを作成する
8、Requestを作成する
9、Controllerを編集する
10、ルーティングを編集する
それではやってみよ〜
1、Controllerを作成する
Controller:ProfileController
php artisan make:controller ProfileController
2、モデルを作成する(migrationファイルも作成する)
Model:Profile
php artisan make:model Profile --migration
■migrantionファイル
2020_mm_dd_xxxx_create_profiles_table
<?php

use Illuminate\Database\Migrations\Migration;
use Illuminate\Database\Schema\Blueprint;
use Illuminate\Support\Facades\Schema;

class CreateProfilesTable extends Migration
{
    /**
     * Run the migrations.
     *
     * @return void
     */
    public function up()
    {
        Schema::create('profiles', function (Blueprint $table) {
            $table->id();
            $table->string('nick_name');
            $table->string('introduce');
            $table->timestamps();
        });
    }

    /**
     * Reverse the migrations.
     *
     * @return void
     */
    public function down()
    {
        Schema::dropIfExists('profiles');
    }
}
■DBマイグレーションしてprofileテーブルを作成する
php artisan migrate
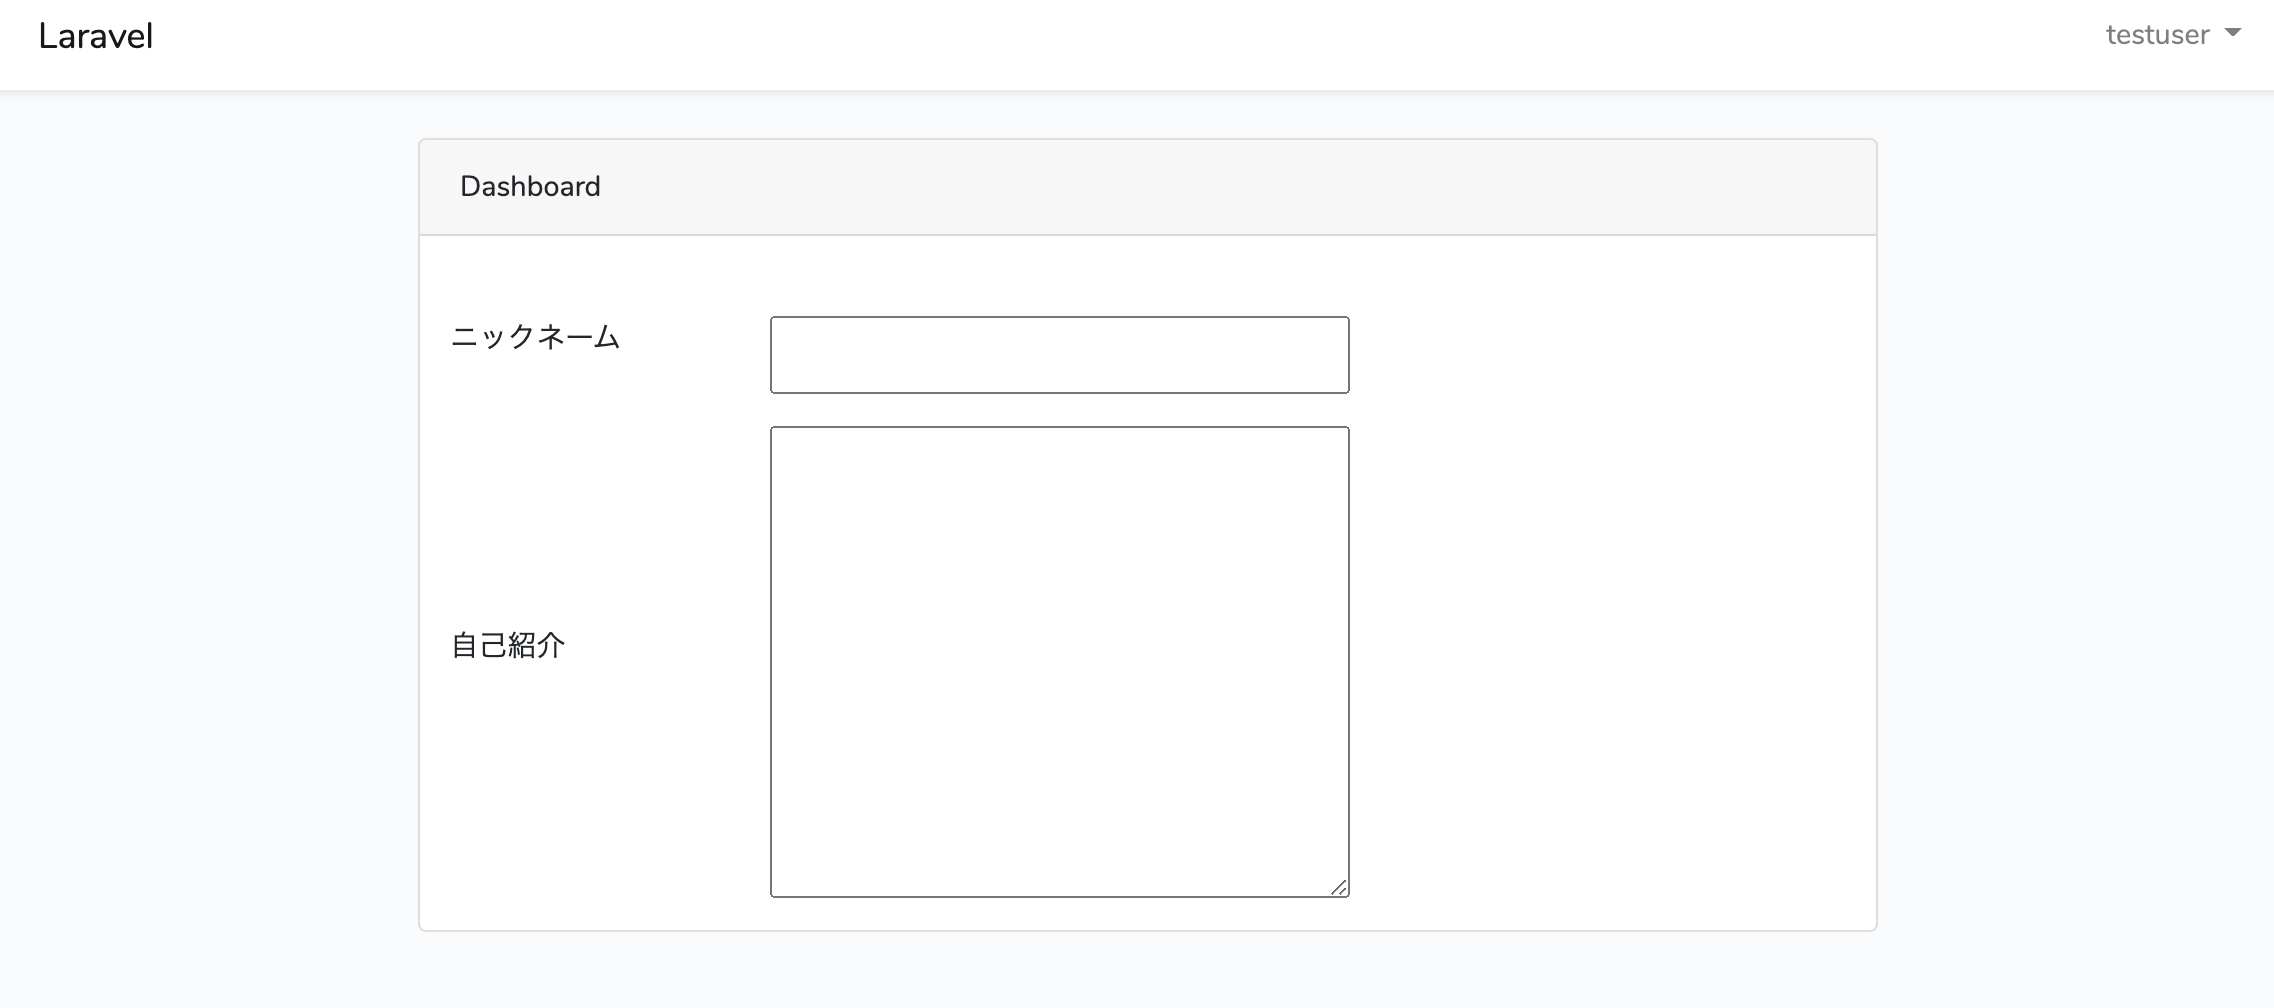
3、Viewを作成する
resources/views/profile.blade.php
@extends('layouts.app')

@section('content')
<div class="container">
    <div class="row justify-content-center">
        <div class="col-md-8">
            <div class="card">
                <div class="card-header">プロフィール</div>

                <div class="card-body">
                    @if (session('status'))
                        <div class="alert alert-success" role="alert">
                            {{ session('status') }}
                        </div>
                    @endif

                </div>
                {{ Form::open() }}
                <div class="form-group row col-12">
                    <p class="d-flex align-items-center col-3">ニックネーム</p>
                    {{Form::input('text','name', '', ['class' => 'form-controller col-5'])}}
                </div>
                <div class="form-group row col-12">
                    <p class="d-flex align-items-center col-3">自己紹介</p>
                    {{Form::textarea('introduce', '', ['class' => 'form-controller col-5'])}}
                </div>
                {{ Form::close() }}
            </div>
        </div>
    </div>
</div>
@endsection
4、Eloquentを編集する
app/Domain/RepositoryInterface/ProfileRepositoryInterface.blade.php
<?php

namespace App\Eloquent;

use Illuminate\Database\Eloquent\Model;

class EloquentProfile extends Model
{
    protected $table = 'profiles';

}
5、リポジトリを作成する
■RepositoryInterfaceを作成する
app/Domain/RepositoryInterface/ProfileRepositoryInterface.blade.php
<?php

namespace App\Domain\RepositoryInterface;

use App\Eloquent\EloquentProfile;

interface ProfileRepositoryInterface
{
    /**
     * @param $post
     * @return EloquentProfile
     */
    public function store($post): ?EloquentProfile;

}
■Repositoryを作成する
app/Domain/Repository/ProfileRepository.blade.php
<?php

namespace App\Domain\Repository;

use App\Eloquent\EloquentProfile;
use App\Domain\RepositoryInterface\ProfileRepositoryInterface;

class ProfileRepository implements ProfileRepositoryInterface
{

  public function store($post): EloquentProfile
  {
      $eloquentProfile = EloquentProfile::findOrNew($post['id']);
      $eloquentProfile -> nick_name = $post['nick_name'];
      $eloquentProfile -> introduce = $post['introduce'];

      $eloquentProfile -> save();

      return $eloquentProfile;


  }
}
6、Providerに登録する
app/Providers/AppServiceProvider.php
<?php

namespace App\Providers;

use Illuminate\Support\ServiceProvider;

class AppServiceProvider extends ServiceProvider
{
    /**
     * Register any application services.
     *
     * @return void
     */
    public function register()
    {
        $this->app->bind(
            \App\Domain\Repository\ProfileRepository::class,
            \App\Domain\RepositoryInterface\ProfileRepositoryInterface::class
        );
    }

    /**
     * Bootstrap any application services.
     *
     * @return void
     */
    public function boot()
    {

    }
}
7、UseCaseを作成する
app/Domain/UseCase/registerProfile.php
<?php

namespace App\Domain\UseCase\Profile;

use Illuminate\Foundation\Auth\Access\AuthorizesRequests;
use App\Domain\Model\Profile;
use App\Domain\Repository\ProfileRepository;
use App\Eloquent\EloquentProfile;

class RegisterProfile{

    private $profileRepo;

    public function __construct(ProfileRepository $profileRepo){
        $this->profileRepo = $profileRepo;
    }

    public function __invoke($post)
    {
        $post['id'] = 0;

        return $this->profileRepo->store($post);
    }

}
8、Requestを作成する
app/Http/Request/ProfileRequest.php
<?php

namespace App\Http\Request;

use App\Models\Profile;
use Illuminate\Foundation\Http\FormRequest;

class ProfileRequest extends FormRequest
{
    public function authorize()
    {
        return true;
    }

    public function rules()
    {
        return [
            'nick_name' => 'required|string|max:255',
            'introduce' =>'required|string|max:255',
        ];

    }

}
9、Controllerを編集する
app/Domain/UseCase/registerProfile.php
<?php

namespace App\Http\Controllers;

use Illuminate\Http\Request;
use App\Http\Controllers\Controller;
use App\Domain\UseCase\Profile\registerProfile;
use App\Http\Request\ProfileRequest;

class ProfileController extends Controller
{
    public function register(ProfileRequest $request, registerProfile $useCase){

        $result = $useCase($request->all());

        return redirect()->route('profile.result');

    }

}
10、ルーティングを編集する
web.php
<?php

use Illuminate\Support\Facades\Route;

/*
|--------------------------------------------------------------------------
| Web Routes
|--------------------------------------------------------------------------
|
| Here is where you can register web routes for your application. These
| routes are loaded by the RouteServiceProvider within a group which
| contains the "web" middleware group. Now create something great!
|
*/

Route::view('/profile/edit', 'profile.edit')->name('profile.edit');
Route::post('/profile/register', 'ProfileController@register')->name('profile.register');
Route::view('/profile/result', 'profile.result')->name('profile.result');
うごいた!!!

参考
Laravel5を使ってドメイン駆動設計で作るサンプルアプリ。
Laravelでドメイン駆動設計(DDD)を実践し、Eloquent Model依存の設計から脱却する