はじめに
筆者は長くSREをやってきたのですが、運用を簡単にするツールをごそごそするのが大好きです。今回は、IoTクラスタで有名なNode-REDを紹介しようと思います。SRE業界ではまだ無名なはずです。
筆者が最近お気に入りのOracleのAutonomous Databaseは動作中のスケールアップダウンができるとか使わないときは止めておけるとか、便利な機能がついてます。問題は、私が作業を終わらせてからちゃんとCPU数を減らしたりする操作をわすれることです。はい、よく忘れるのでツールでカバーするのです。
会社についたら、Oracle Cloudにサインインして操作して、帰りにまた操作するなんて多分無理なので、一発操作の仕組みを作ることにしました。CLIでシェルスクリプトを書けばいいのですが、他人にも簡単に使ってもらいたいということでNode-REDでグラフィカルにブラウザ操作できるようにします。
今回はDocker上に構築しています。将来的にはOKE上に管理用コンテナとして転がしておこうと思います。手元のMacbook Proに設定する方法もあったのですが、長く使っていて環境がごちゃごちゃのためoci cliがうまくセットアップできなかったので、Docker container上に構築しました。
Node-REDに似たものに、Apache NiFiなどがあります。データフロー開発で高速に簡単なツールを作ることができますので、SREのかたには有効活用していただきたいと思います。コマンドやAPI戻り値のjsonを解析して必要なものを取り出して別の処理にかける、みたいなことが簡単にできるのがメリットです。まずはNode-REDでいじりまわして、やり方がわかったらjqなどのコマンドでスクリプト化するのが良いのではないのでしょうか。
簡単セットアップ
以下から、git cloneして、make buildimage ; make createcontainer すれば使えるはずです。
最初にmake attach してからOCI CLIのセットアップをしてください。
Docker Containerのセットアップ(手動)
DockerいりローカルPCで実行
docker pull oraclelinux
docker run -it -p 1880:1880 --name oci_cli_nodered oraclelinux
Docker内で実行 ※あとでDockerfile化します。
yum groupinstall -y "development tools"
yum install -y bzip2-devel gdbm-devel libffi-devel   libuuid-devel ncurses-devel openssl-devel readline-devel   sqlite-devel tk-devel wget xz-devel zlib-devel
yum install -y vim
git clone https://github.com/pyenv/pyenv.git ~/.pyenv
echo 'export PYENV_ROOT="$HOME/.pyenv"' >> ~/.bash_profile
echo 'export PATH="$PYENV_ROOT/bin:$PATH"' >> ~/.bash_profile
echo -e 'if command -v pyenv 1>/dev/null 2>&1; then\n  eval "$(pyenv init -)"\nfi' >> ~/.bash_profile
exec "$SHELL"
source .bash_profile
pyenv install 3.7.2
pyenv global 3.7.2
OCI_CLIのセットアップ
こちらの手順書に従って設定します。
Node-REDのセットアップ(手動:Docker内)
Docker内のコマンドラインから設定していきます。
curl -sL https://rpm.nodesource.com/setup_11.x | bash -

yum install -y nodejs
npm install -g --unsafe-perm node-red
node-red &

===中略===

9 Feb 01:39:33 - [warn] rpi-gpio : Cannot find Pi RPi.GPIO python library
9 Feb 01:39:34 - [info] Settings file  : /root/.node-red/settings.js
9 Feb 01:39:34 - [info] Context store  : 'default' [module=memory]
9 Feb 01:39:34 - [info] User directory : /root/.node-red
9 Feb 01:39:34 - [warn] Projects disabled : editorTheme.projects.enabled=false
9 Feb 01:39:34 - [info] Flows file     : /root/.node-red/flows_14daa05f828b.json
9 Feb 01:39:34 - [warn]

---------------------------------------------------------------------
Your flow credentials file is encrypted using a system-generated key.

If the system-generated key is lost for any reason, your credentials
file will not be recoverable, you will have to delete it and re-enter
your credentials.

You should set your own key using the 'credentialSecret' option in
your settings file. Node-RED will then re-encrypt your credentials
file using your chosen key the next time you deploy a change.
---------------------------------------------------------------------

9 Feb 01:39:34 - [info] Starting flows
9 Feb 01:39:34 - [info] Started flows
9 Feb 01:39:34 - [info] Server now running at http://127.0.0.1:1880/
これでNode-REDが動き出しました。
個人用備忘録 操作メモ。これから自動起動を仕込みます。
Docker起動  docker start <container_id>
Dockerに入る docker exec -it oci_cli_nodered bash
動作確認
localhostの1880に、dockerの1880をバインドしてあるので、 以下URLをブラウザで叩きます。
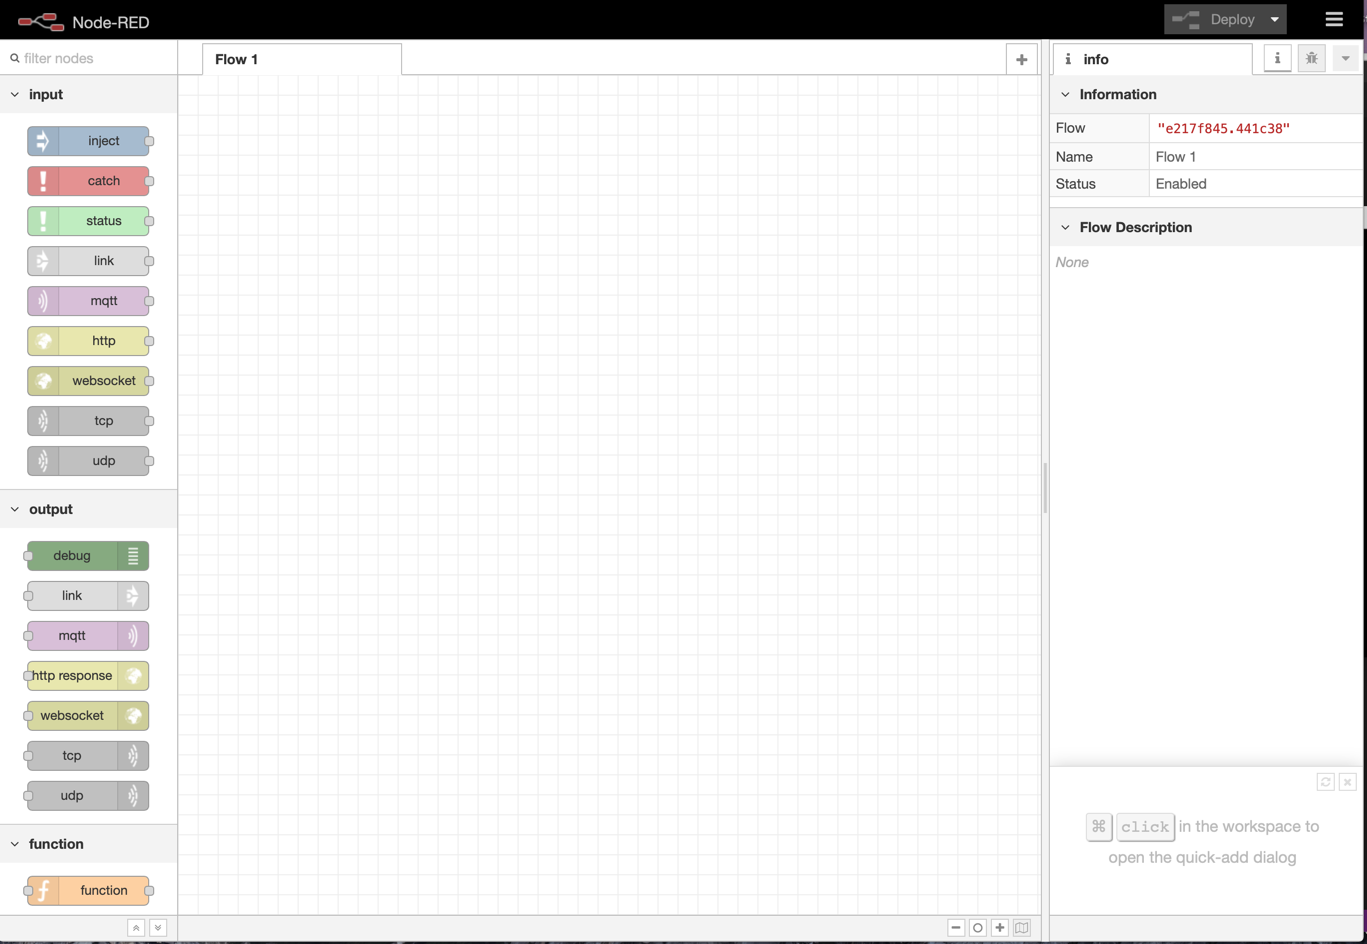
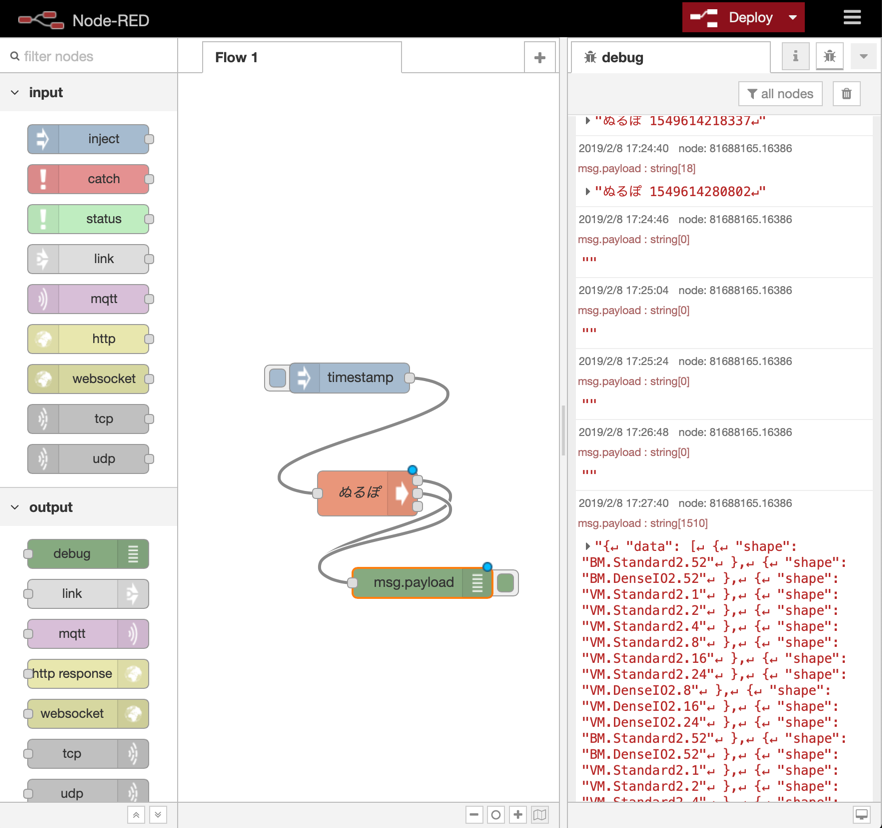
コンソール画面が出てきたら、簡単なフローを書きましょう。Execノードで oci compute shape list を実行するサンプルです。コマンドの戻り値をdebugノードで表示しているので、右下にcompute shape名がずらっと出てきました。
あとはこの調子で、コマンドを書き換えれば操作をtimestampノードからボタン化したり定期実行ができるようになります。
Exec nodeはこんな感じです。ociコマンドがpyenvで動いているので、場所を指定してあげます。
+Append msg.payloadはチェックボックスを外しましょう。

あとは、コマンドの部分を書き換えてあげて、timestampノードを定期実行か特定の時間に実行してあげればボタン操作でも定期実行でも簡単に設定ができます。実際には何らかの外部アクションを元に動かすのが良いでしょう。