はじめに
Amazon Managed Service for Prometheus(以下AMP) を設定してみたのでそのメモ。
設定の流れ
1. AMPのworkspaceを作成する
AWSマネージドコンソールからサクっと作成可能。
workspace名を選択するぐらいで、悩むポイントは無かった。
2. AMP用のIAMロールやServiceAccountとの紐付け設定
以下のAWSドキュメントに記載されている手順を実施した。
2-1. メトリクス収集用IAMロールを作成
上述のAWSドキュメントに記載されている内容をcreateIRSA-AMPIngest.sh に保存して実行した。
CLUSTER_NAME と SERVICE_ACCOUNT_NAMESPACE をそれぞれEKSクラスタ名、PrometheusのNamespaceに記載変更する必要あり。
ec2-user:~/environment $ chmod a+x createIRSA-AMPIngest.sh
ec2-user:~/environment $ ./createIRSA-AMPIngest.sh
arn:aws:iam::XXXXXXXXXXXX:role/amp-iamproxy-ingest-role
2021-12-28 10:15:05 [?]  eksctl version 0.62.0
2021-12-28 10:15:05 [?]  using region ap-northeast-1
2021-12-28 10:15:06 [?]  will create IAM Open ID Connect provider for cluster "eks-work-cluster" in "ap-northeast-1"
2021-12-28 10:15:06 [?]  created IAM Open ID Connect provider for cluster "eks-work-cluster" in "ap-northeast-1"
これでAMPがメトリクスを取得するためのIAMロールが作成される。
-
ロール名: amp-iamproxy-ingest-role
-
ポリシー名: AMPIngestPolicy
-
ポリシーの中身:
    {
        "Version": "2012-10-17",
        "Statement": [
            {
                "Effect": "Allow",
                "Action": [
                    "aps:RemoteWrite",
                    "aps:GetSeries",
                    "aps:GetLabels",
                    "aps:GetMetricMetadata"
                ],
                "Resource": "*"
            }
        ]
    }
2-2. クエリ用IAMロールを作成
上述のAWSドキュメントに記載されている内容をcreateIRSA-AMPQuery.shに保存して実行した。
CLUSTER_NAME と SERVICE_ACCOUNT_NAMESPACE をそれぞれEKSクラスタ名、PrometheusのNamespaceに記載変更する必要あり。
ec2-user:~/environment $ ./createIRSA-AMPQuery.sh
arn:aws:iam::XXXXXXXXXXXX:role/amp-iamproxy-query-role
2021-12-28 10:38:20 [?]  eksctl version 0.62.0
2021-12-28 10:38:20 [?]  using region ap-northeast-1
2021-12-28 10:38:21 [?]  IAM Open ID Connect provider is already associated with cluster "eks-work-cluster" in "ap-northeast-1"
-
ロール名: amp-iamproxy-query-role
-
ポリシー名: AMPQueryPolicy
-
ポリシーの中身:
    {
        "Version": "2012-10-17",
        "Statement": [
            {
                "Effect": "Allow",
                "Action": [
                    "aps:QueryMetrics",
                    "aps:GetSeries",
                    "aps:GetLabels",
                    "aps:GetMetricMetadata"
                ],
                "Resource": "*"
            }
        ]
    }
3. Prometheusのインストール & AMP向けの設定変更
3-1. Prometheusのインストール
まずは、Helmを利用してPrometheusをインストールする。
ec2-user:~ $ helm install prometheus -n prometheus --create-namespace prometheus-community/prometheus
NAME: prometheus
LAST DEPLOYED: Wed Dec 29 05:44:17 2021
NAMESPACE: prometheus
STATUS: deployed
REVISION: 1
TEST SUITE: None
NOTES:
The Prometheus server can be accessed via port 80 on the following DNS name from within your cluster:
prometheus-server.prometheus.svc.cluster.local


Get the Prometheus server URL by running these commands in the same shell:
  export POD_NAME=$(kubectl get pods --namespace prometheus -l "app=prometheus,component=server" -o jsonpath="{.items[0].metadata.name}")
  kubectl --namespace prometheus port-forward $POD_NAME 9090


The Prometheus alertmanager can be accessed via port 80 on the following DNS name from within your cluster:
prometheus-alertmanager.prometheus.svc.cluster.local


Get the Alertmanager URL by running these commands in the same shell:
  export POD_NAME=$(kubectl get pods --namespace prometheus -l "app=prometheus,component=alertmanager" -o jsonpath="{.items[0].metadata.name}")
  kubectl --namespace prometheus port-forward $POD_NAME 9093
#################################################################################
######   WARNING: Pod Security Policy has been moved to a global property.  #####
######            use .Values.podSecurityPolicy.enabled with pod-based      #####
######            annotations                                               #####
######            (e.g. .Values.nodeExporter.podSecurityPolicy.annotations) #####
#################################################################################


The Prometheus PushGateway can be accessed via port 9091 on the following DNS name from within your cluster:
prometheus-pushgateway.prometheus.svc.cluster.local


Get the PushGateway URL by running these commands in the same shell:
  export POD_NAME=$(kubectl get pods --namespace prometheus -l "app=prometheus,component=pushgateway" -o jsonpath="{.items[0].metadata.name}")
  kubectl --namespace prometheus port-forward $POD_NAME 9091

For more information on running Prometheus, visit:
https://prometheus.io/
3-2. PrometheusのHelm chartダウンロード
AMP向けの設定を追加するためHelm chartをダウンロードする。
ec2-user:~ $ helm repo add prometheus-community https://prometheus-community.github.io/helm-charts
"prometheus-community" already exists with the same configuration, skipping
ec2-user:~ $ helm pull prometheus-community/prometheus --untar
ec2-user:~ $ ll |  grep prometheus
drwxr-xr-x 4 ec2-user ec2-user      128 Dec 29 05:22 prometheus
ec2-user:~ $ ll prometheus/
total 80
-rw-r--r-- 1 ec2-user ec2-user   247 Dec 29 05:22 Chart.lock
drwxr-xr-x 3 ec2-user ec2-user    32 Dec 29 05:22 charts
-rw-r--r-- 1 ec2-user ec2-user   956 Dec 29 05:22 Chart.yaml
-rw-r--r-- 1 ec2-user ec2-user  9348 Dec 29 05:22 README.md
drwxr-xr-x 6 ec2-user ec2-user   117 Dec 29 05:22 templates
-rw-r--r-- 1 ec2-user ec2-user 57644 Dec 29 05:22 values.yaml
3-3. Helm設定ファイルにAMP用設定追加
prometheus/values.yaml 末尾に以下の設定を追加した。
serviceAccounts:
        server:
            name: "amp-iamproxy-ingest-service-account"
            annotations:
                eks.amazonaws.com/role-arn: "arn:aws:iam::XXXXXXXXXXXX:role/amp-iamproxy-ingest-role"
server:
    remoteWrite:
        - url: https://aps-workspaces.ap-northeast-1.amazonaws.com/workspaces/#{AMPのworkspace ID}/api/v1/remote_write
          sigv4:
            region: ap-northeast-1
          queue_config:
            max_samples_per_send: 1000
            max_shards: 200
            capacity: 2500
3-3. AMP用設定の反映
helm upgradeコマンドでPrometheus k8sリソースにAMP用設定を反映させる。
ec2-user:~ $helm upgrade prometheus prometheus-community/prometheus -n prometheus -f ./prometheus/values.yaml --version 15.0.1
Release "prometheus" has been upgraded. Happy Helming!
NAME: prometheus
LAST DEPLOYED: Wed Dec 29 06:25:44 2021
NAMESPACE: prometheus
STATUS: deployed
REVISION: 2
TEST SUITE: None
NOTES:
The Prometheus server can be accessed via port 80 on the following DNS name from within your cluster:
prometheus-server.prometheus.svc.cluster.local


Get the Prometheus server URL by running these commands in the same shell:
  export POD_NAME=$(kubectl get pods --namespace prometheus -l "app=prometheus,component=server" -o jsonpath="{.items[0].metadata.name}")
  kubectl --namespace prometheus port-forward $POD_NAME 9090


The Prometheus alertmanager can be accessed via port 80 on the following DNS name from within your cluster:
prometheus-alertmanager.prometheus.svc.cluster.local


Get the Alertmanager URL by running these commands in the same shell:
  export POD_NAME=$(kubectl get pods --namespace prometheus -l "app=prometheus,component=alertmanager" -o jsonpath="{.items[0].metadata.name}")
  kubectl --namespace prometheus port-forward $POD_NAME 9093
#################################################################################
######   WARNING: Pod Security Policy has been moved to a global property.  #####
######            use .Values.podSecurityPolicy.enabled with pod-based      #####
######            annotations                                               #####
######            (e.g. .Values.nodeExporter.podSecurityPolicy.annotations) #####
#################################################################################


The Prometheus PushGateway can be accessed via port 9091 on the following DNS name from within your cluster:
prometheus-pushgateway.prometheus.svc.cluster.local


Get the PushGateway URL by running these commands in the same shell:
  export POD_NAME=$(kubectl get pods --namespace prometheus -l "app=prometheus,component=pushgateway" -o jsonpath="{.items[0].metadata.name}")
  kubectl --namespace prometheus port-forward $POD_NAME 9091

For more information on running Prometheus, visit:
https://prometheus.io/
4. Amazon Managed Grafana(以下AMG)のworkspaceを作成する
認証方法としてAWS Single Sign-On (SSO) かSAML認証のどちらかを選択する必要あり。
SSOを使用する場合、関連付けるユーザの1つは管理者に設定あり!
でないと後述のDatasouceとしてAMPを登録するとこでPermission Deniedで弾かれてしまった。
データソースとしてAmazon Managed Service for Prometheus を選択する。
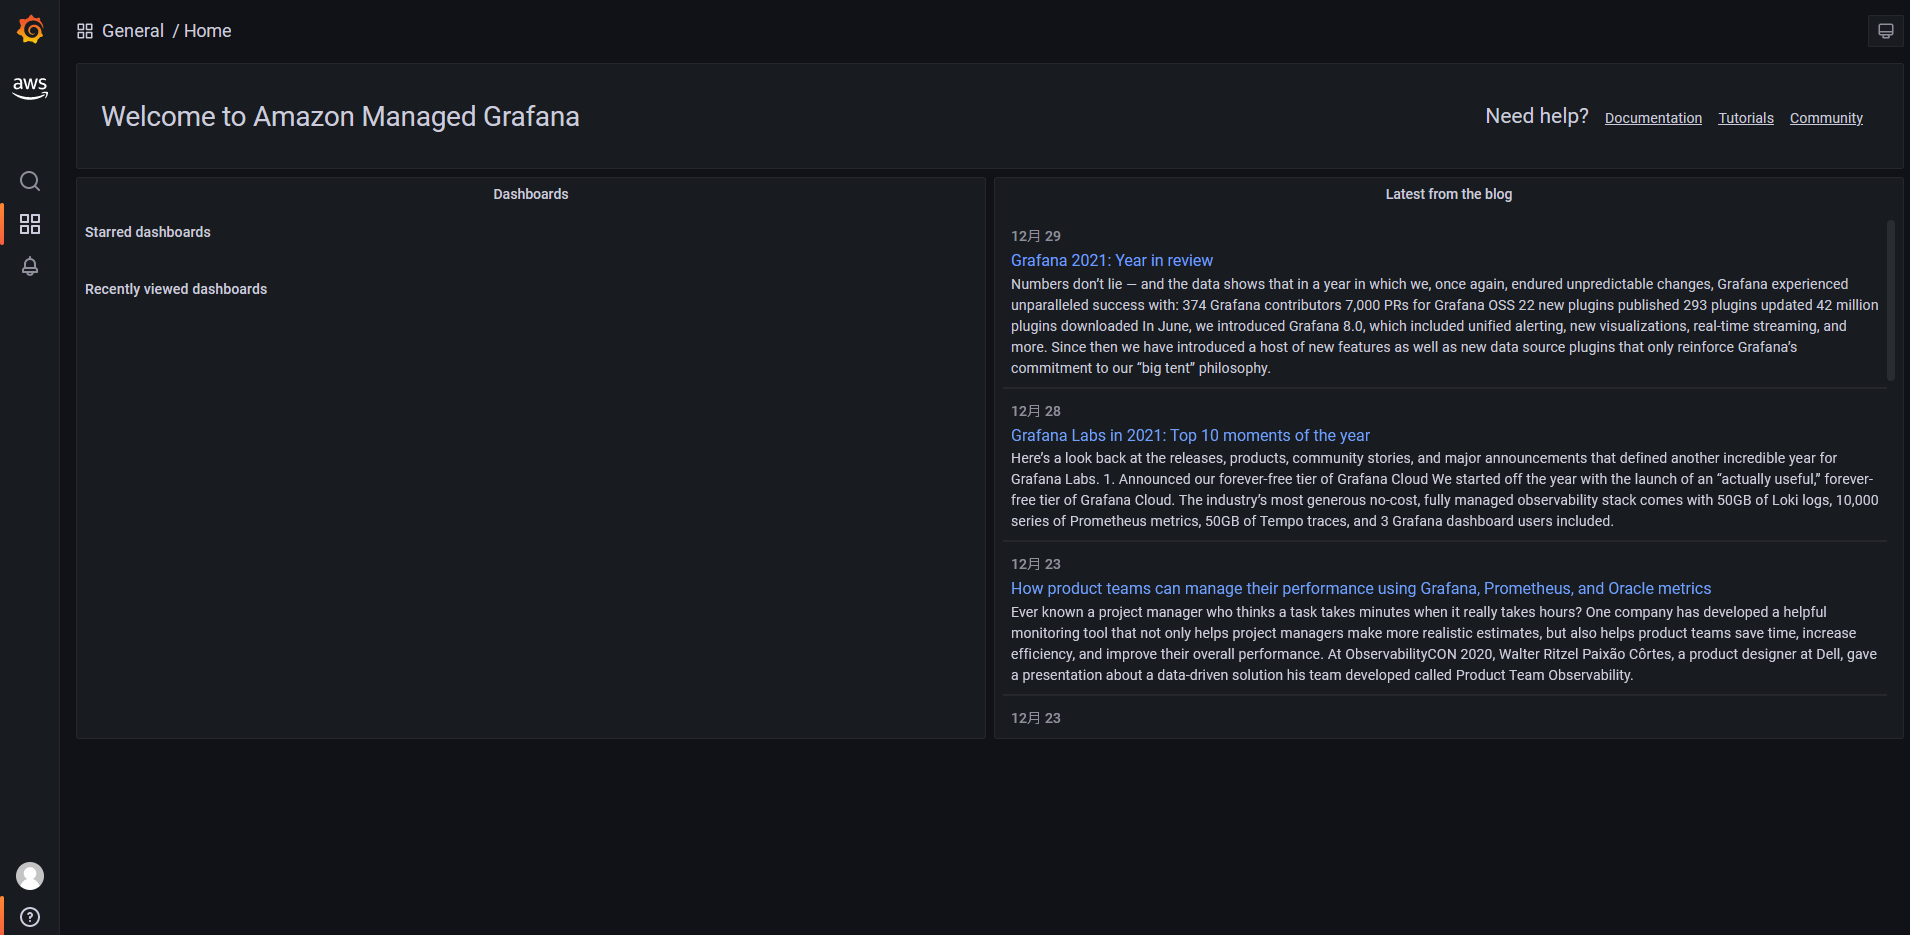
5. AMGにログイン
Workspaceを作成すると Grafana ワークスペース URL が払出されるのでそれにブラウザから接続。
6. AMGの設定画面でAMPのworkspaceを選択
これでAMPのメトリクスをAMGで参照できるようになる!
