4
4

Delete article

Deleted articles cannot be recovered.

Draft of this article would be also deleted.

Are you sure you want to delete this article?

超簡単に、Windows11にDifyをインストールする手順

Last updated at Posted at 2024-10-22

はじめに

Difyやっぱり便利ですね!最近、生成AI界隈で話題になっているDifyをWindows PCにインストールする手順を紹介します。Windowsで使うことができれば、自分の環境であれやこれや試せますのでとっても便利です。

必要な作業

  1. Gitをインストールする
  2. DifyをGitHubからクローンする
  3. Dockerをインストールする
  4. DifyをDockerで起動する

1. Gitのインストール

  1. Git公式サイトにアクセスし、「Download for Windows」をクリックします。
  2. ダウンロードしたインストーラーを実行し、指示に従ってインストールを完了します。gitコマンドが使えるようになったらOKです。

2. DifyのGitHubリポジトリをクローン

  1. コマンドプロンプトを開きます。

  2. 以下のコマンドを実行してDifyをクローンします:

    >git clone https://github.com/langgenius/dify.git
    Cloning into 'dify'...
    remote: Enumerating objects: 97024, done.
    remote: Counting objects: 100% (15709/15709), done.
    remote: Compressing objects: 100% (2549/2549), done.
    remote: Total 97024 (delta 14270), reused 13686 (delta 13146), pack-reused 81315    (from 1)
    Receiving objects: 100% (97024/97024), 52.09 MiB | 13.74 MiB/s, done.
    Resolving deltas: 100% (69344/69344), done.
    Updating files: 100% (6108/6108), done.
    

3. Dockerのインストール

  1. Docker Desktop for Windowsをダウンロードします。本稿では使っているPCに合わせて、AMD64版を使いました。
  2. ダウンロードしたインストーラーを実行し、指示に従ってインストールを完了します。

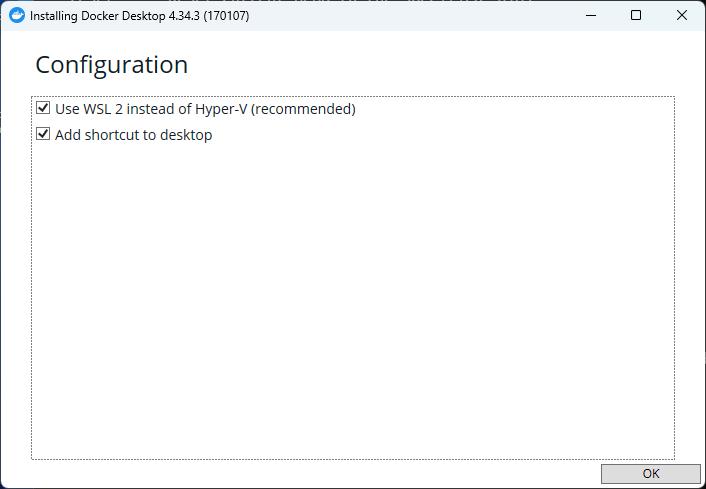
以下は、インストールの最初の画面です。

image.png

インストール後に、以下の画面になります。

image.png

ここで再起動しておきましょう。以下は再起動後の画面。Finishしましょう。

image.png

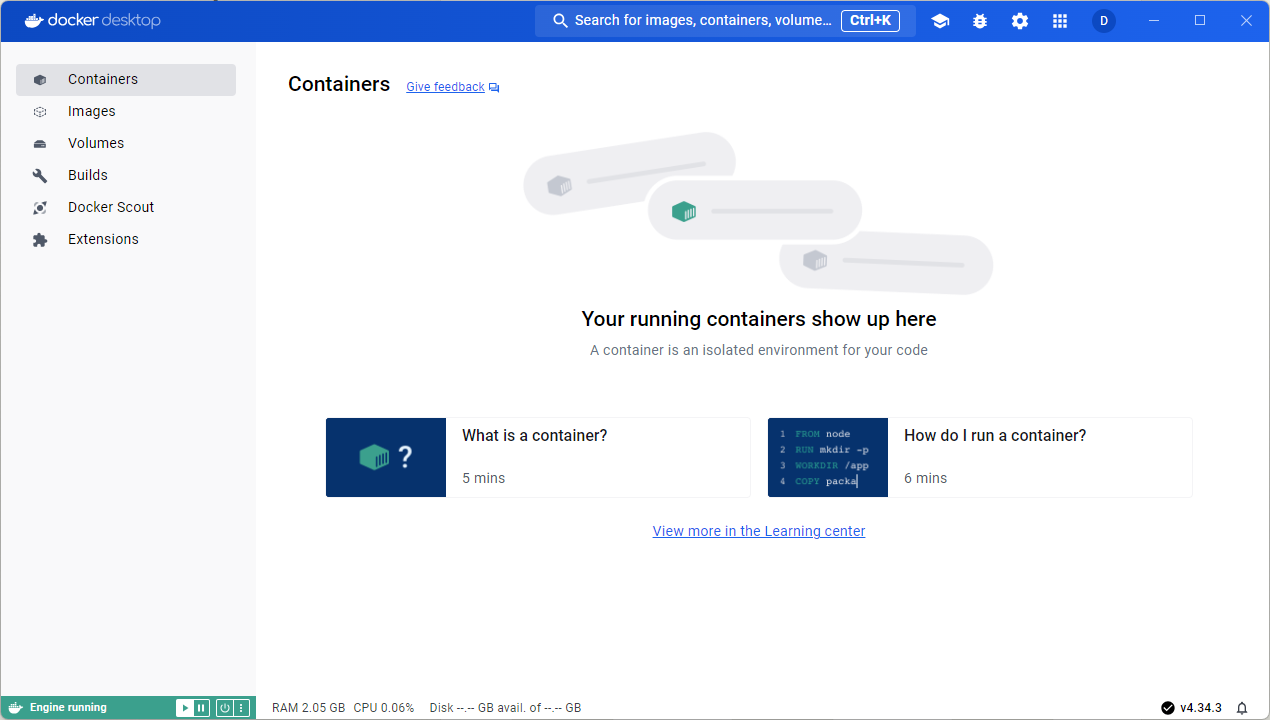
この後にDocker用のアカウントを作って、サインインしましょう。無事サインインできると以下の初期画面が確認できます。

image.png

4. DifyをDockerで起動

  1. Docker Desktopを起動します。

  2. コマンドプロンプトで、クローンしたDifyリポジトリのdockerフォルダに移動します:

    >cd dify/docker
    
  3. 環境設定ファイルをコピーします:

    >copy .env.example .env
    
  4. Dockerコンテナを起動します:

    >docker compose up -d
    [+] Running 74/9
     ✔ sandbox Pulled                                                                                                 52.0s
     ✔ ssrf_proxy Pulled                                                                                              72.7s
     ✔ weaviate Pulled                                                                                                53.8s
     ✔ worker Pulled                                                                                                 198.1s
     ✔ redis Pulled                                                                                                   69.6s
     ✔ api Pulled                                                                                                    198.1s
     ✔ web Pulled                                                                                                     98.7s
     ✔ nginx Pulled                                                                                                   65.5s
     ✔ db Pulled                                                                                                      88.5s
    [+] Running 11/11
     ✔ Network docker_ssrf_proxy_network  Created                                                                      0.1s
     ✔ Network docker_default             Created                                                                      0.1s
     ✔ Container docker-redis-1           Started                                                                      2.6s
     ✔ Container docker-sandbox-1         Started                                                                      2.3s
     ✔ Container docker-ssrf_proxy-1      Started                                                                      3.2s
     ✔ Container docker-web-1             Started                                                                      2.7s
     ✔ Container docker-db-1              Started                                                                      3.0s
     ✔ Container docker-weaviate-1        Started                                                                      2.5s
     ✔ Container docker-api-1             Started                                                                      3.2s
     ✔ Container docker-worker-1          Started                                                                      3.3s
     ✔ Container docker-nginx-1           Started                                                                      4.1s
    

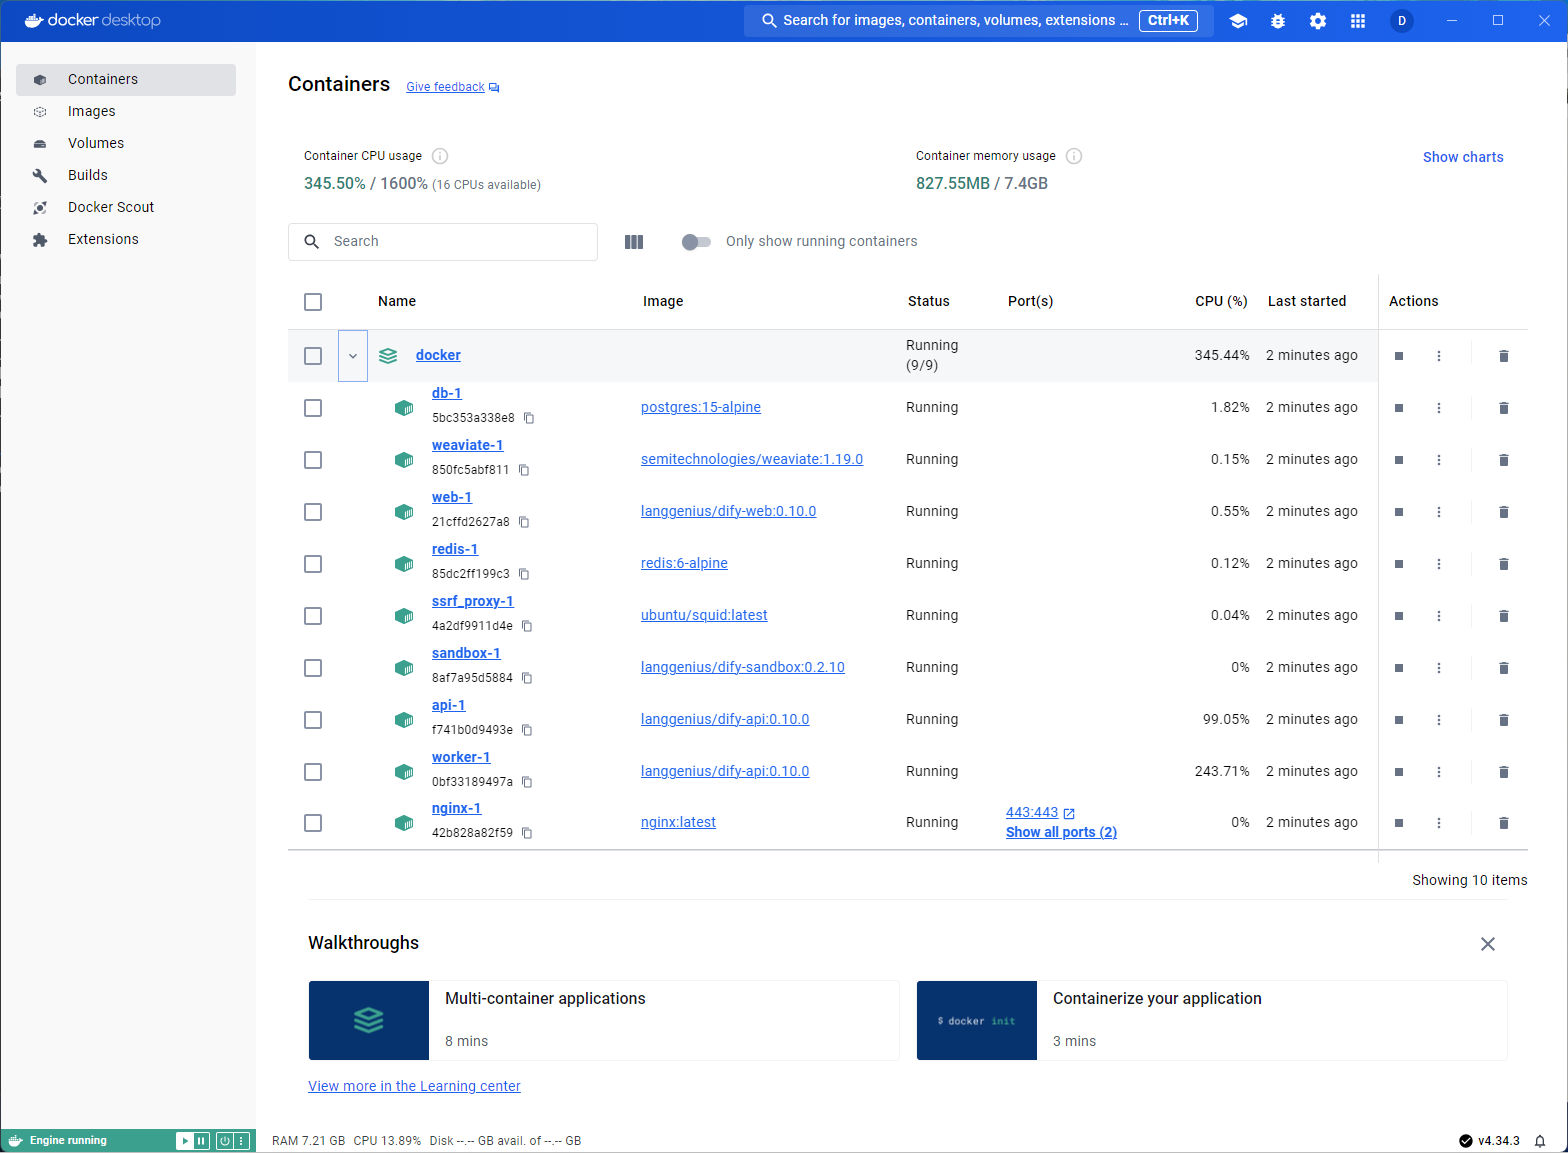
    Docker Desktopはこんな画面になっています。Runnningになっていますので、うまく動作していますね。(dockerのツリーを開いたところです)

    image.png

  5. ブラウザで http://localhost/install にアクセスし、初期設定を行います。

    image.png

  6. 次に、管理者アカウントを作成しましょう。

    image.png

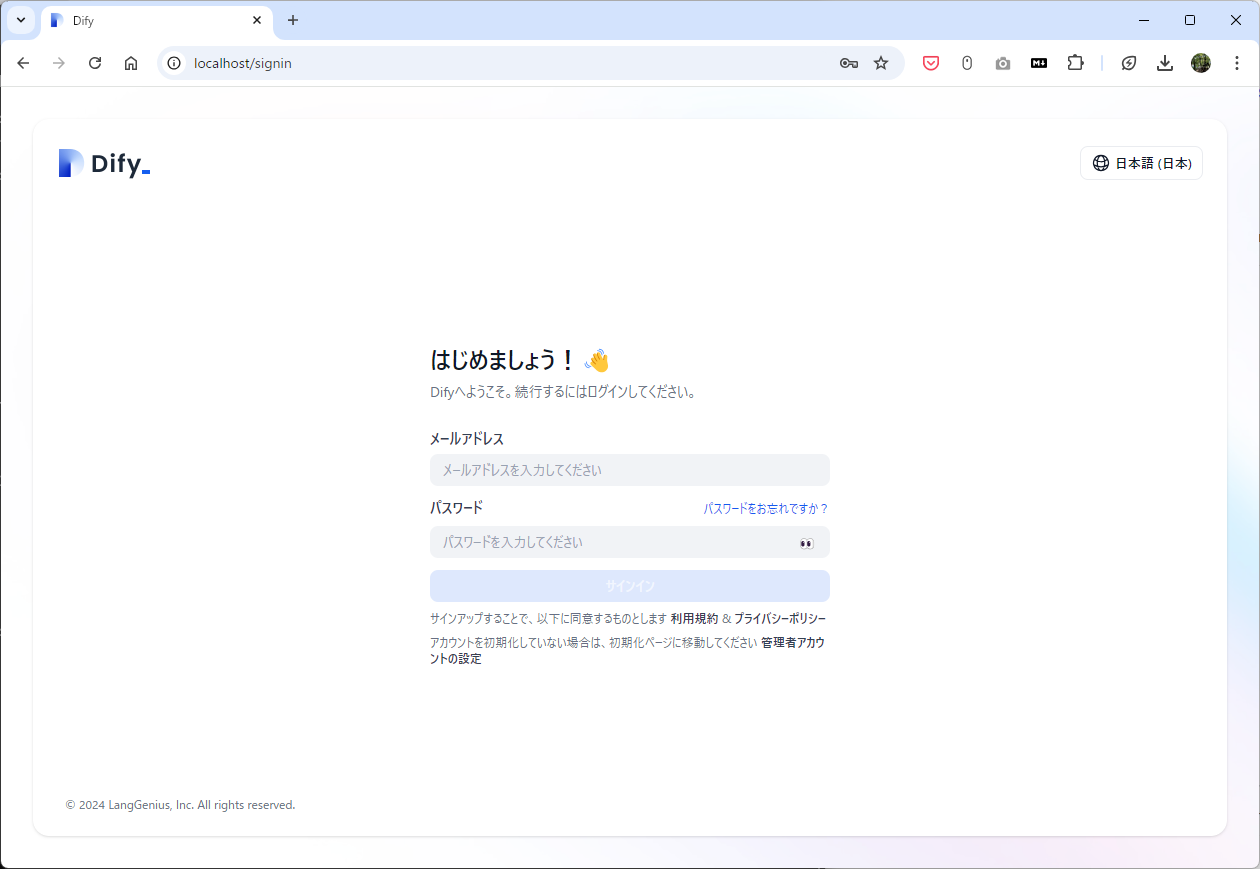
    そうすると、すぐにログイン画面に遷移しますので、先ほど作った管理者アカウントでログインをしましょう。

    image.png

あら、意外にすんなり。うまくいきました!ばっちり初期画面になりましたね。

まとめ

無事、WindowsでDifyが使えるようになりました。これで、ローカルであれやこれや行うことができますね。素晴らしい!

個人的には、クラウドAPIを使うのはお金がかかって仕方ないので、性能の良いローカルLLMをつなげて処理できるようにしたく思っています。ちょうど0.10.0でファイルも使えるようになりましたし、できることが広がりますね。ちなみにライセンス関係はちゃんと注意しましょう。

人の役に立てる価値あるものを!これからもいろいろとDify周りを探っていきたく思います!
4
4
0

Register as a new user and use Qiita more conveniently

  1. You get articles that match your needs
  2. You can efficiently read back useful information
  3. You can use dark theme
What you can do with signing up
4
4

Delete article

Deleted articles cannot be recovered.

Draft of this article would be also deleted.

Are you sure you want to delete this article?