相互認証利用し、1つのエンドポイントでクライアント証明書を各ユーザーごとに分けたい場合の設定
- 相互認証用のサーバーとクライアントの証明書とキーを生成
- クライアント VPN エンドポイントの作成
- クライアントの設定
- ログの確認
- クライアント証明書失効リストを利用した、接続の取り消し
相互認証用のサーバーとクライアントの証明書とキーを生成
手順は、一部を除いてこの通りに作っていきます
https://docs.aws.amazon.com/ja_jp/vpn/latest/clientvpn-admin/authentication-authrization.html#mutual
OpenVPN Easy-RSA レポジトリのクローンを作成し、新しい PKI 環境を初期化します
以後、証明書や鍵の管理はこの環境で実施します。
$ git clone https://github.com/OpenVPN/easy-rsa.git
$ cd easy-rsa/easyrsa3
$ ./easyrsa init-pki
新しい認証機関 (CA) を構築します
Common Name を聞かれるので、管理しやすい名前を指定します。デフォルトでも構いません。
$ ./easyrsa build-ca nopass
Using SSL: openssl LibreSSL 2.8.3
Generating RSA private key, 2048 bit long modulus
..........................................+++
...................................................................................................................+++
e is 65537 (0x10001)
You are about to be asked to enter information that will be incorporated
into your certificate request.
What you are about to enter is what is called a Distinguished Name or a DN.
There are quite a few fields but you can leave some blank
For some fields there will be a default value,
If you enter '.', the field will be left blank.
-----
Common Name (eg: your user, host, or server name) [Easy-RSA CA]:Private CA

CA creation complete and you may now import and sign cert requests.
Your new CA certificate file for publishing is at:
/xxx/yyyy/easy-rsa/easyrsa3/pki/ca.crt
サーバー証明書とキーを生成します
$ ./easyrsa build-server-full server.example.com nopass
クライアント証明書とキーを生成します
今回はクライアントごとに証明書とキーを作成するので、名前を変えて複数枚作ります
とりあえず Common Name を client1.example.com と client2.example.com にします
100ユーザー分欲しいなら100個作ってください
パスフレーズなしでないとインポートできないので、いったん nopass で作ります
$ ./easyrsa build-client-full client1.example.com nopass
$ ./easyrsa build-client-full client2.example.com nopass
サーバー証明書とキー、およびクライアント証明書とキーを適当なフォルダにコピーして移動します
$ cp pki/ca.crt /custom_folder/
$ cp pki/issued/server.crt /custom_folder/
$ cp pki/private/server.key /custom_folder/
$ cp pki/issued/client1.domain.tld.crt /custom_folder
$ cp pki/private/client1.domain.tld.key /custom_folder/
$ cd /custom_folder/
サーバー証明書とキーを ACM にアップロードします
$ aws import-certificate --certificate file://server.example.com.crt --private-key file://server.example.com.key --certificate-chain file://ca.crt --region us-east-1
クライアント証明書とキーを ACM にアップロードします
注意:client1.example.com の証明書とキーのみアップロードします。何枚作成したとしてもそのうち1枚のみで構いません。
$ aws acm import-certificate --certificate file://client1.example.com.crt --private-key file://client1.example.com.key --certificate-chain file://ca.crt --region us-east-1
以上で、サーバーとクライアントの証明書とキー準備が完了です。
ポイントは、VPN エンドポイント作成時に必要な1つだけアップロードすれば良いところです。
クライアント VPN エンドポイントの作成
Management Console でエンドポイントを作成してきます。
こちらの公式blogを参考にしてます。差異は、認証の部分です。公式の記事ではAD認証を利用しています。
https://aws.amazon.com/jp/blogs/news/introducing-aws-client-vpn-to-securely-access-aws-and-on-premises-resources/
- 下記以外の項目はデフォルト
- そのほかのオプションパラメーターは任意で設定ください
- CloudWatch Logs のロググループとログストリームは事前に作成してください
| 設定項目 | 値 |
|---|---|
| 名前タグ | 適当に |
| 説明 | 適当に |
| クライアント IPv4 CIDR | 172.24.0.0/22 |
| サーバ証明書 ARN | 先ほどアップロードした server.example.com を指定 |
| 認証オプション | 相互認証の使用 |
| クライアント証明書 ARN | 先ほどアップロードした client1.example.com を指定 |
| クライアント接続の詳細を記録しますか? | はい |
| CloudWatch Logs ロググループ名 | /aws/clientvpn |
| CloudWatch Logs ログストリーム名 | example |

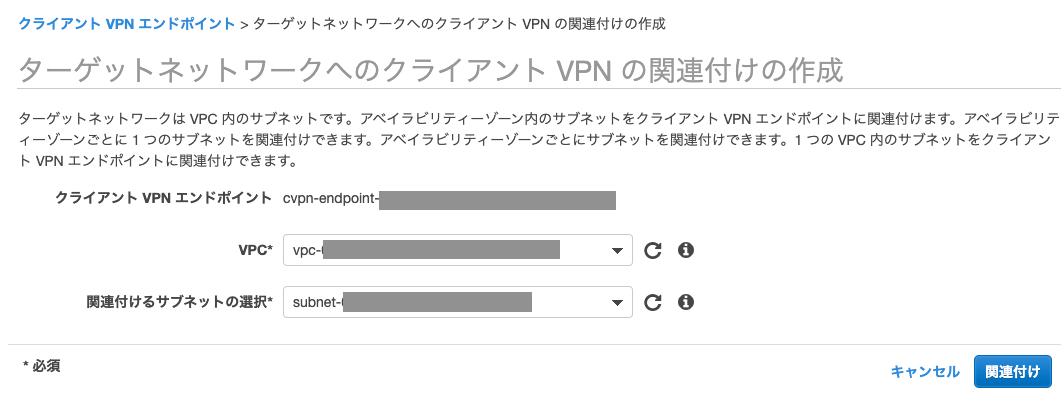
VPN エンドポイントに、VPC を紐付けます
これにより VPC 内に ENI が作成されます
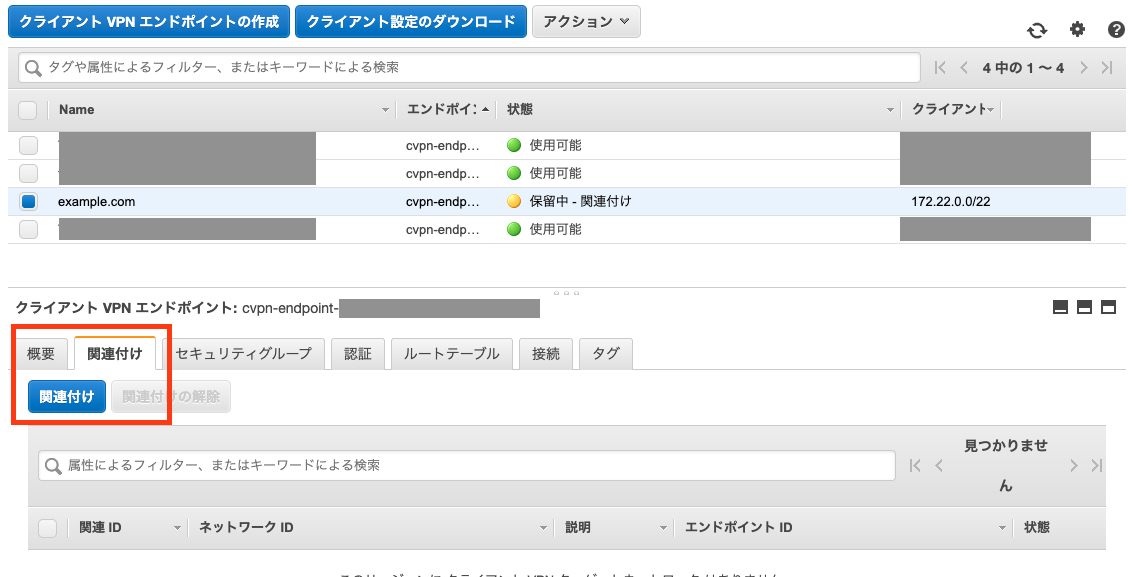
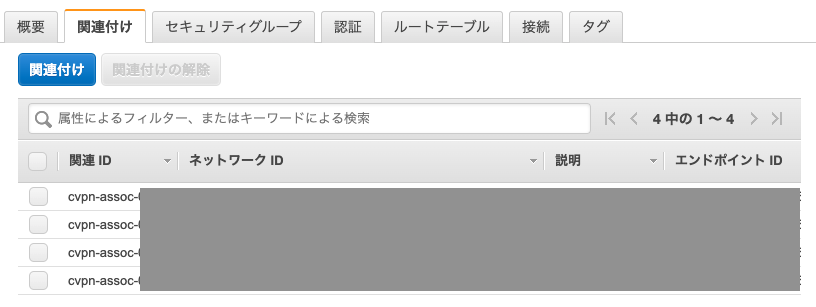
既存のVPCとそのサブネットを選択して関連付けします
環境によって違いますが、今回は4つほど関連づけてみました。
VPCへのエンドユーザーアクセスを有効ににします(承認ルールを追加)
承認ルールは、クライアントVPNエンドポイントを介して指定されたネットワークにアクセスできるユーザーのセットを制御します。
いったん 0.0.0.0/0 を追加して、全てアクセスできるようにしてみます。


セキュリティグループの設定をします
公式サイトの情報によると、このセキュリティグループは以下のような動きになっているようです。
クライアントVPNエンドポイントはセキュリティグループをサポートします。セキュリティグループを使用して、アプリケーションへのアクセスを制限できます。セキュリティグループは、VPCに関連付けられたENIからの下りトラフィックのみを制御することに注意してください。
今回は検証用なので、いったんアウトバウンドを全て許可する設定の Security Group を利用してみます。
基本的な Security Group を作って設定するだけなので、手順は割愛させていただきます。
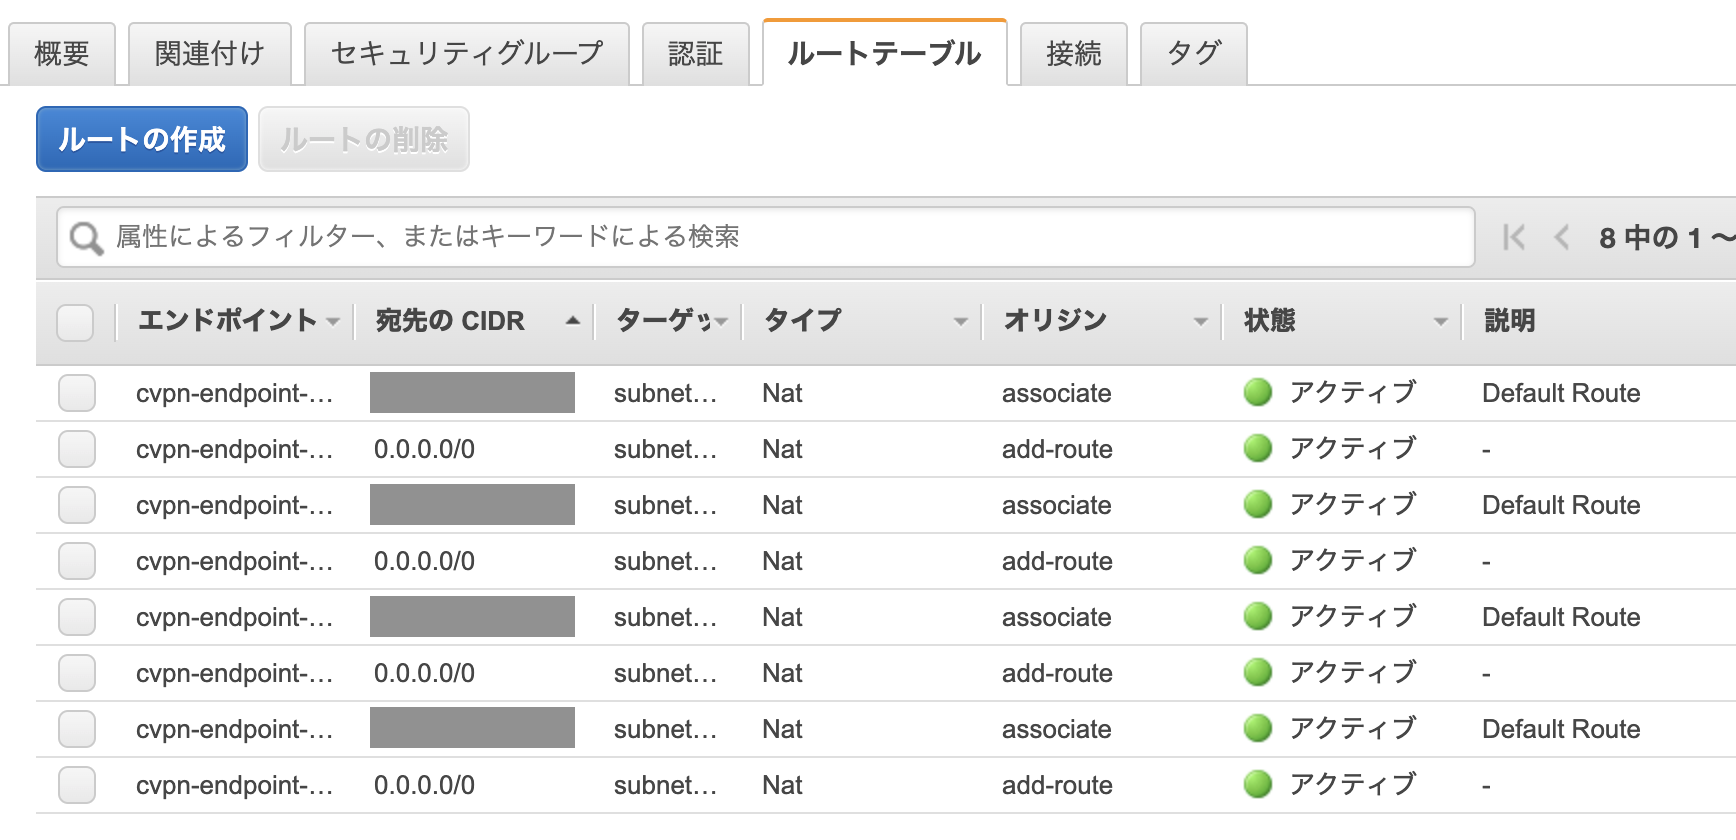
ルートを作成します
関連付けられたVPCのルートは、クライアントVPNルートテーブルに自動的に追加されます。
今回は4つ関連づけたので、4つ追加されています。

もし、このVPCがVPNクライアントにインターネット接続を提供するようにしたい場合は、0.0.0.0/0 を追加し、[ターゲットVPCのサブネットID] はそれぞれ関連づけたVPCサブネットにして登録します。今回の場合であれば都合4つです。

4つ追加したあと
いったんこれで VPN エンドポイント の設定を終わります。
クライアントの設定
公式サイトの情報では、Tunnelblick を使っていたので、VPN接続クライアントはこれを使ってみます。
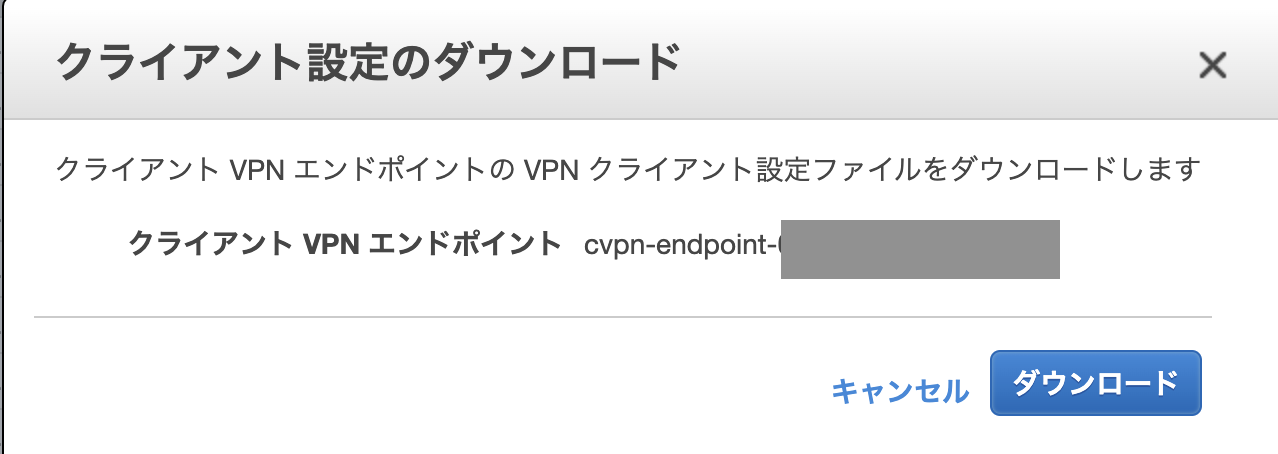
クライアント構成(設定ファイル)をダウンロードします

作成したクライアントキーにパスフレーズを追加します
client1.example.com と client2.example.com の秘密鍵作成時に、パスフレーズを設定していませんでしたので、パスフレーズを追加しておきます
openssl rsa -aes256 -in client1.example.com.key -out client1.example.com.pass-ari.key
openssl rsa -aes256 -in client2.example.com.key -out client2.example.com.pass-ari.key
設定ファイルの最後に、クライアントクライアント証明書とキーの設定を追加します
client1.example.com と client2.example.com の2つの設定ファイルを作るので、ダウンロードした設定ファイルはコピーして、それぞれ次のような設定を追加します。
cert /path/client1.example.com.crt
key /path/client1.example.com.pass-ari.key
cert /path/client2.example.com.crt
key /path/client2.example.com.pass-ari.key
あとは、出来上がった設定ファイルを Tunnelblick で読み込んで接続するだけです。
クライアントの秘密鍵にパスフレーズを設定している場合は、次のようにパスフレーズを要求されます。

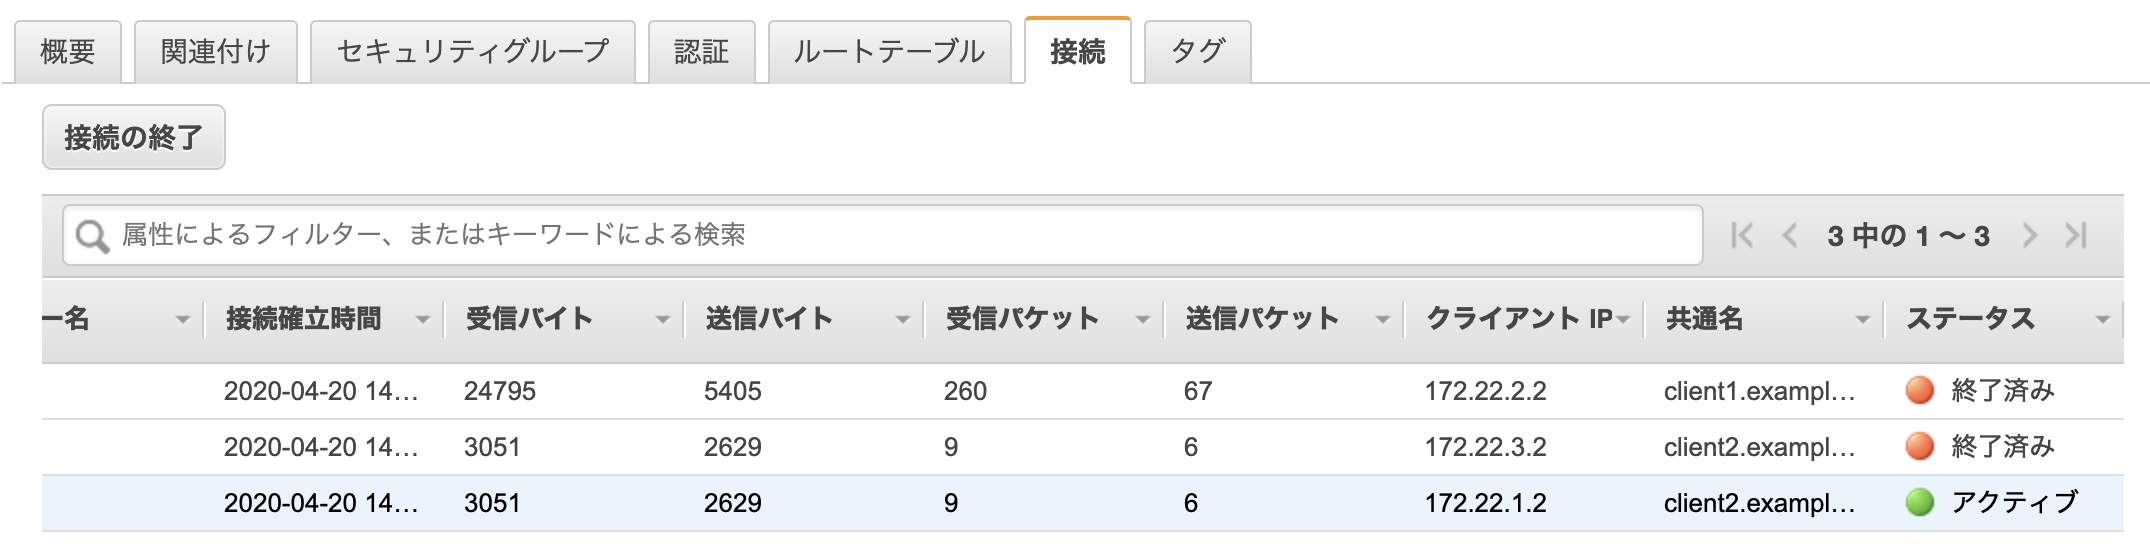
接続の確認
実際に接続したあと、管理画面から 共通名 の項目を見ると Common Name を確認できます。
CloudWatch Logs でログの内容を確認してみます
common-name が記録されるので、接続したクライアントを確認することができます。
{
    "connection-log-type": "connection-reset",
    "connection-attempt-status": "NA",
    "connection-attempt-failure-reason": "NA",
    "connection-id": "cvpn-connection-xxxxxxxxxxxxxxxxx",
    "client-vpn-endpoint-id": "cvpn-endpoint-yyyyyyyyyyyyyyyyy",
    "transport-protocol": "udp",
    "connection-start-time": "2020-04-20 14:30:00",
    "connection-last-update-time": "2020-04-20 14:31:02",
    "client-ip": "172.22.3.2",
    "common-name": "client2.example.com",
    "device-type": "mac",
    "device-ip": "xxx.xx.xx.xx",
    "port": "23771",
    "ingress-bytes": "3051",
    "egress-bytes": "2629",
    "ingress-packets": "9",
    "egress-packets": "6",
    "connection-end-time": "2020-04-20 14:31:02",
    "connection-reset-status": "NA"
}
クライアント証明書失効リストを利用した、接続の取り消し
何らかの理由で、クライアント証明書を紛失した場合やアクセスをブロックしたい場合に備え、クライアント証明書失効リスリストの動作も確認しておきます。
こちらの方法で、client2.example.com を失効リストに追加し、特定クライアントのクライアント VPN エンドポイントへのアクセスを取り消してみます。
証明書作成時に使った、easyrsa の環境で失効作業を実施します
./easyrsa revoke client2.example.com
プロンプトが表示されたら、yes と入力します。
証明書失効リストを作成します
$ ./easyrsa gen-crl
Using SSL: openssl LibreSSL 2.8.3
Using configuration from /Users/h-matsu/Documents/code/easy-rsa/easyrsa3/pki/easy-rsa-40453.izPBCL/tmp.BwkfBg

An updated CRL has been created.
CRL file: /path/to/easy-rsa/easyrsa3/pki/crl.pem
クライアント証明書失効リストをインポートします
VPN エンドポイントをチェックしたら、[アクション]で[クライアント証明書CRLのインポート]を選択します
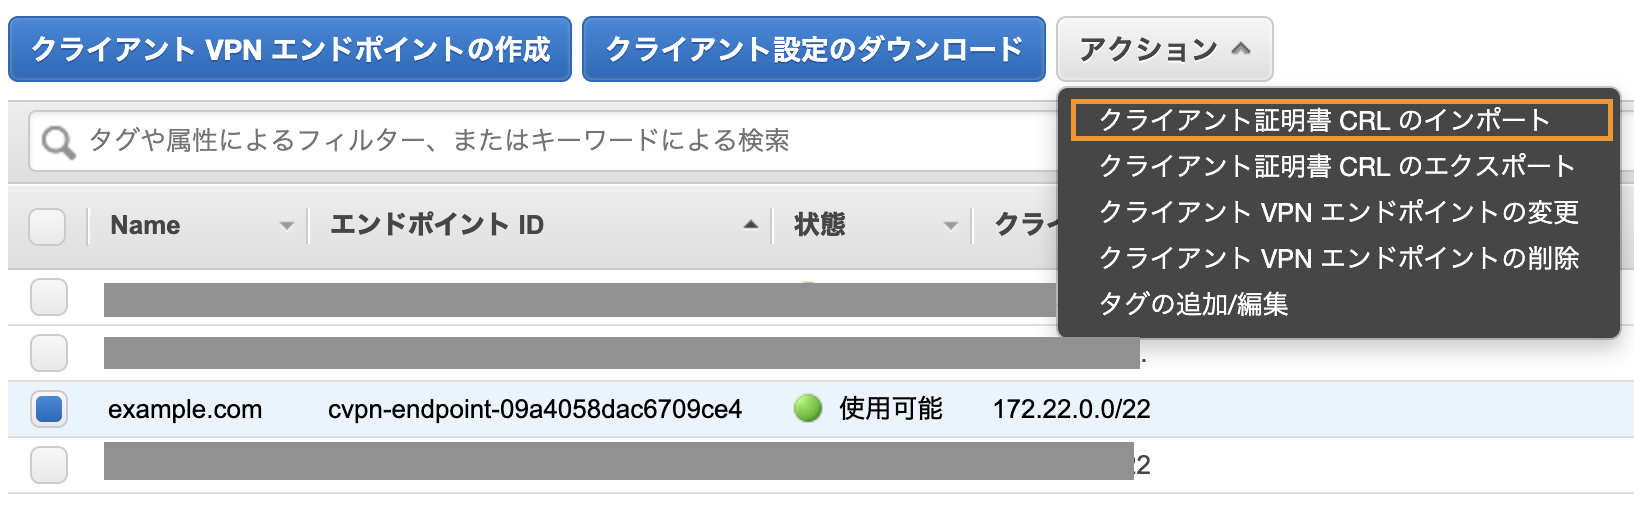
先ほど作成した /path/to/easy-rsa/easyrsa3/pki/crl.pem の中身をテキストで貼り付けインポートします。

client2.example.com で再度接続してみます
Tunnelblick で、次のようなログが出て接続に失敗しているのが確認できます。
2020-04-21 00:17:46.684079 TLS Error: TLS key negotiation failed to occur within 60 seconds (check your network connectivity)
2020-04-21 00:17:46.684190 TLS Error: TLS handshake failed
以上です。