はじめに
Angularで作るSPAにCognito認証を組み込むサンプルを作りました。
ログイン・ログアウトだけではつまらないので、ログイン時に使えるS3ファイルアップロード機能も追加しています。
awslabsから公開されているaws-cognito-angular2-quickstartというサンプルが大変参考になりました。
作っていく
AWS側の準備
S3バケットの作成
Cognito Identity Pool に設定するロールの設定に、アクセス許可をするS3の情報を記載する必要があるので、事前にS3バケットを作成しておきます。
今回は、 angular-cognito-s3-file-uploader という名前のバケットを作成しました。
バケットポリシーと、CORSの設定は以下のとおりです。
{
    "Version": "2008-10-17",
    "Id": "PolicyForCloudFrontPrivateContent",
    "Statement": [
        {
            "Sid": "1",
            "Effect": "Allow",
            "Principal": {
                "Federated": "cognito-identity.amazonaws.com"
            },
            "Action": [
                "s3:ListBucket",
                "s3:DeleteObject",
                "s3:GetObject",
                "s3:PutObject"
            ],
            "Resource": [
                "arn:aws:s3:::angular-cognito-s3-file-uploader/*",
                "arn:aws:s3:::angular-cognito-s3-file-uploader"
            ]
        }
    ]
}
<?xml version="1.0" encoding="UTF-8"?>
<CORSConfiguration xmlns="http://s3.amazonaws.com/doc/2006-03-01/">
<CORSRule>
    <AllowedOrigin>*</AllowedOrigin>
    <AllowedMethod>GET</AllowedMethod>
    <AllowedMethod>PUT</AllowedMethod>
    <AllowedMethod>POST</AllowedMethod>
    <AllowedMethod>DELETE</AllowedMethod>
    <MaxAgeSeconds>3000</MaxAgeSeconds>
    <AllowedHeader>*</AllowedHeader>
    <AllowedHeader>Authorization</AllowedHeader>
</CORSRule>
</CORSConfiguration>
Cognito User Pool作成
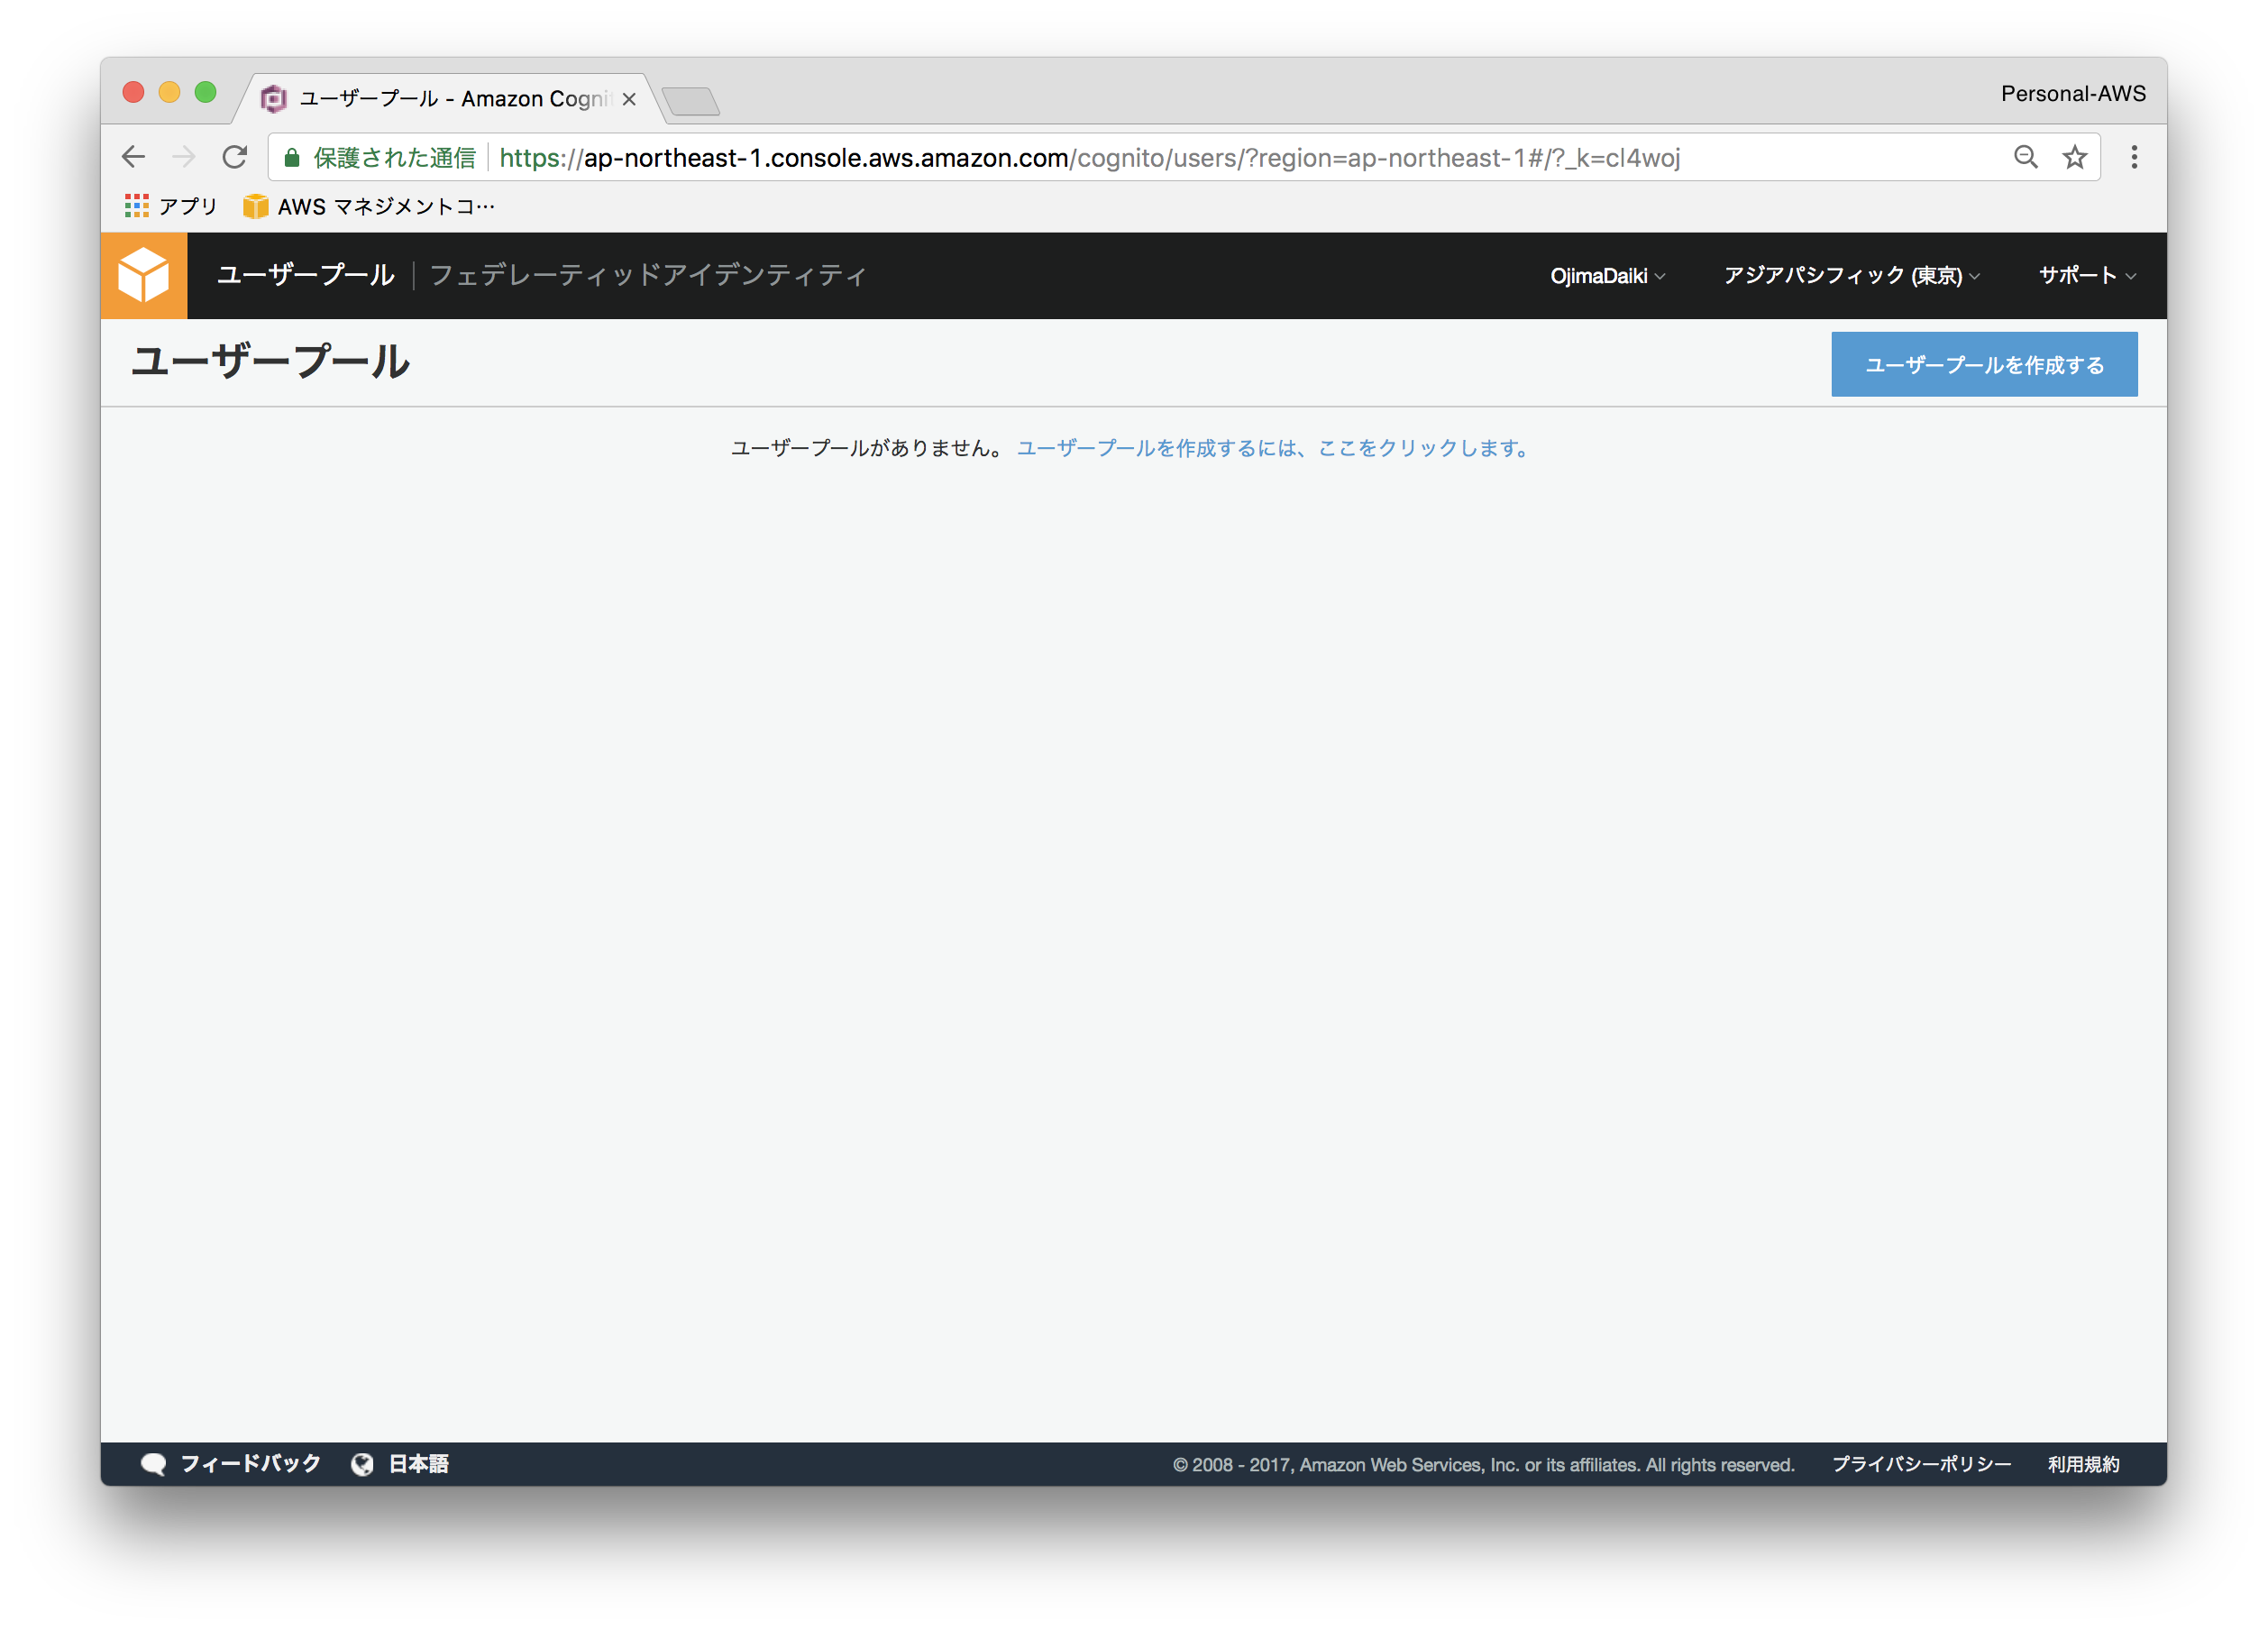
AWS Consoleにログインし、Cognito -> 「ユーザープールの管理」-> 「ユーザープールを作成する」を選択します。
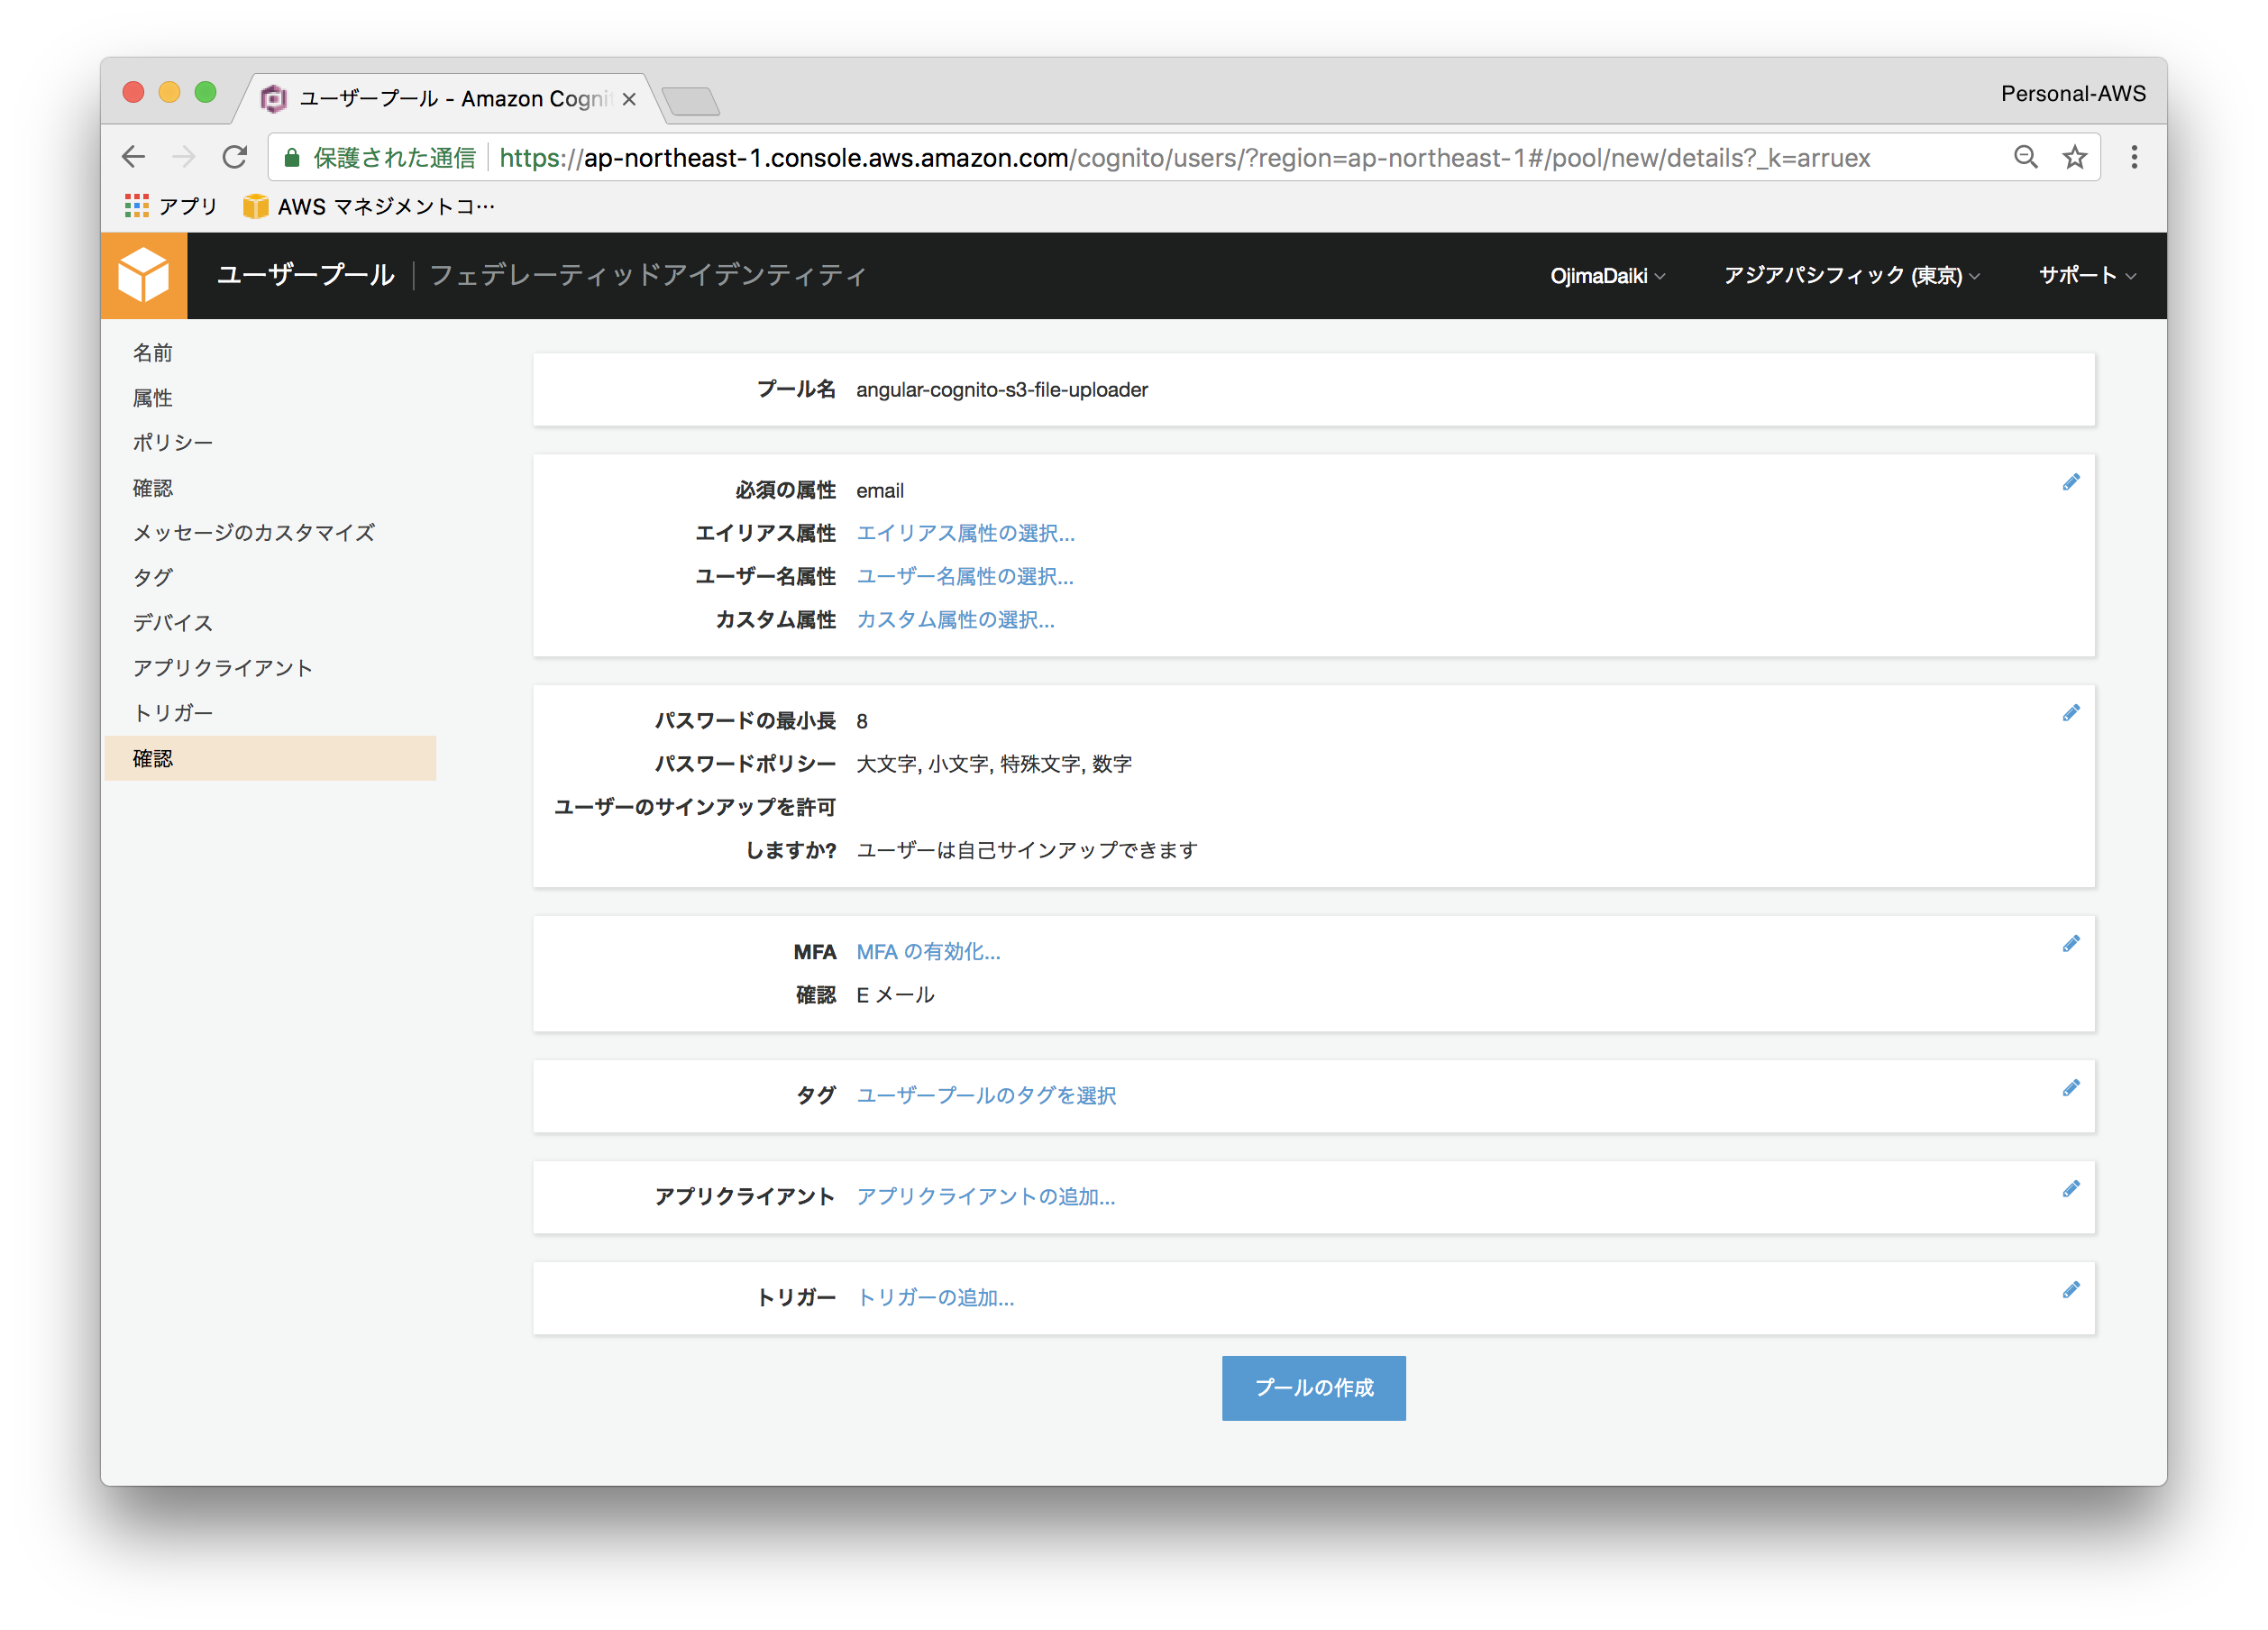
今回は作成するアプリケーション名と同様の名前でユーザープールを作成しました。「angular-cognito-s3-file-uploader」
「ユーザープールをどのように作成しますか?」では、「デフォルトを確認する」を選択しました。
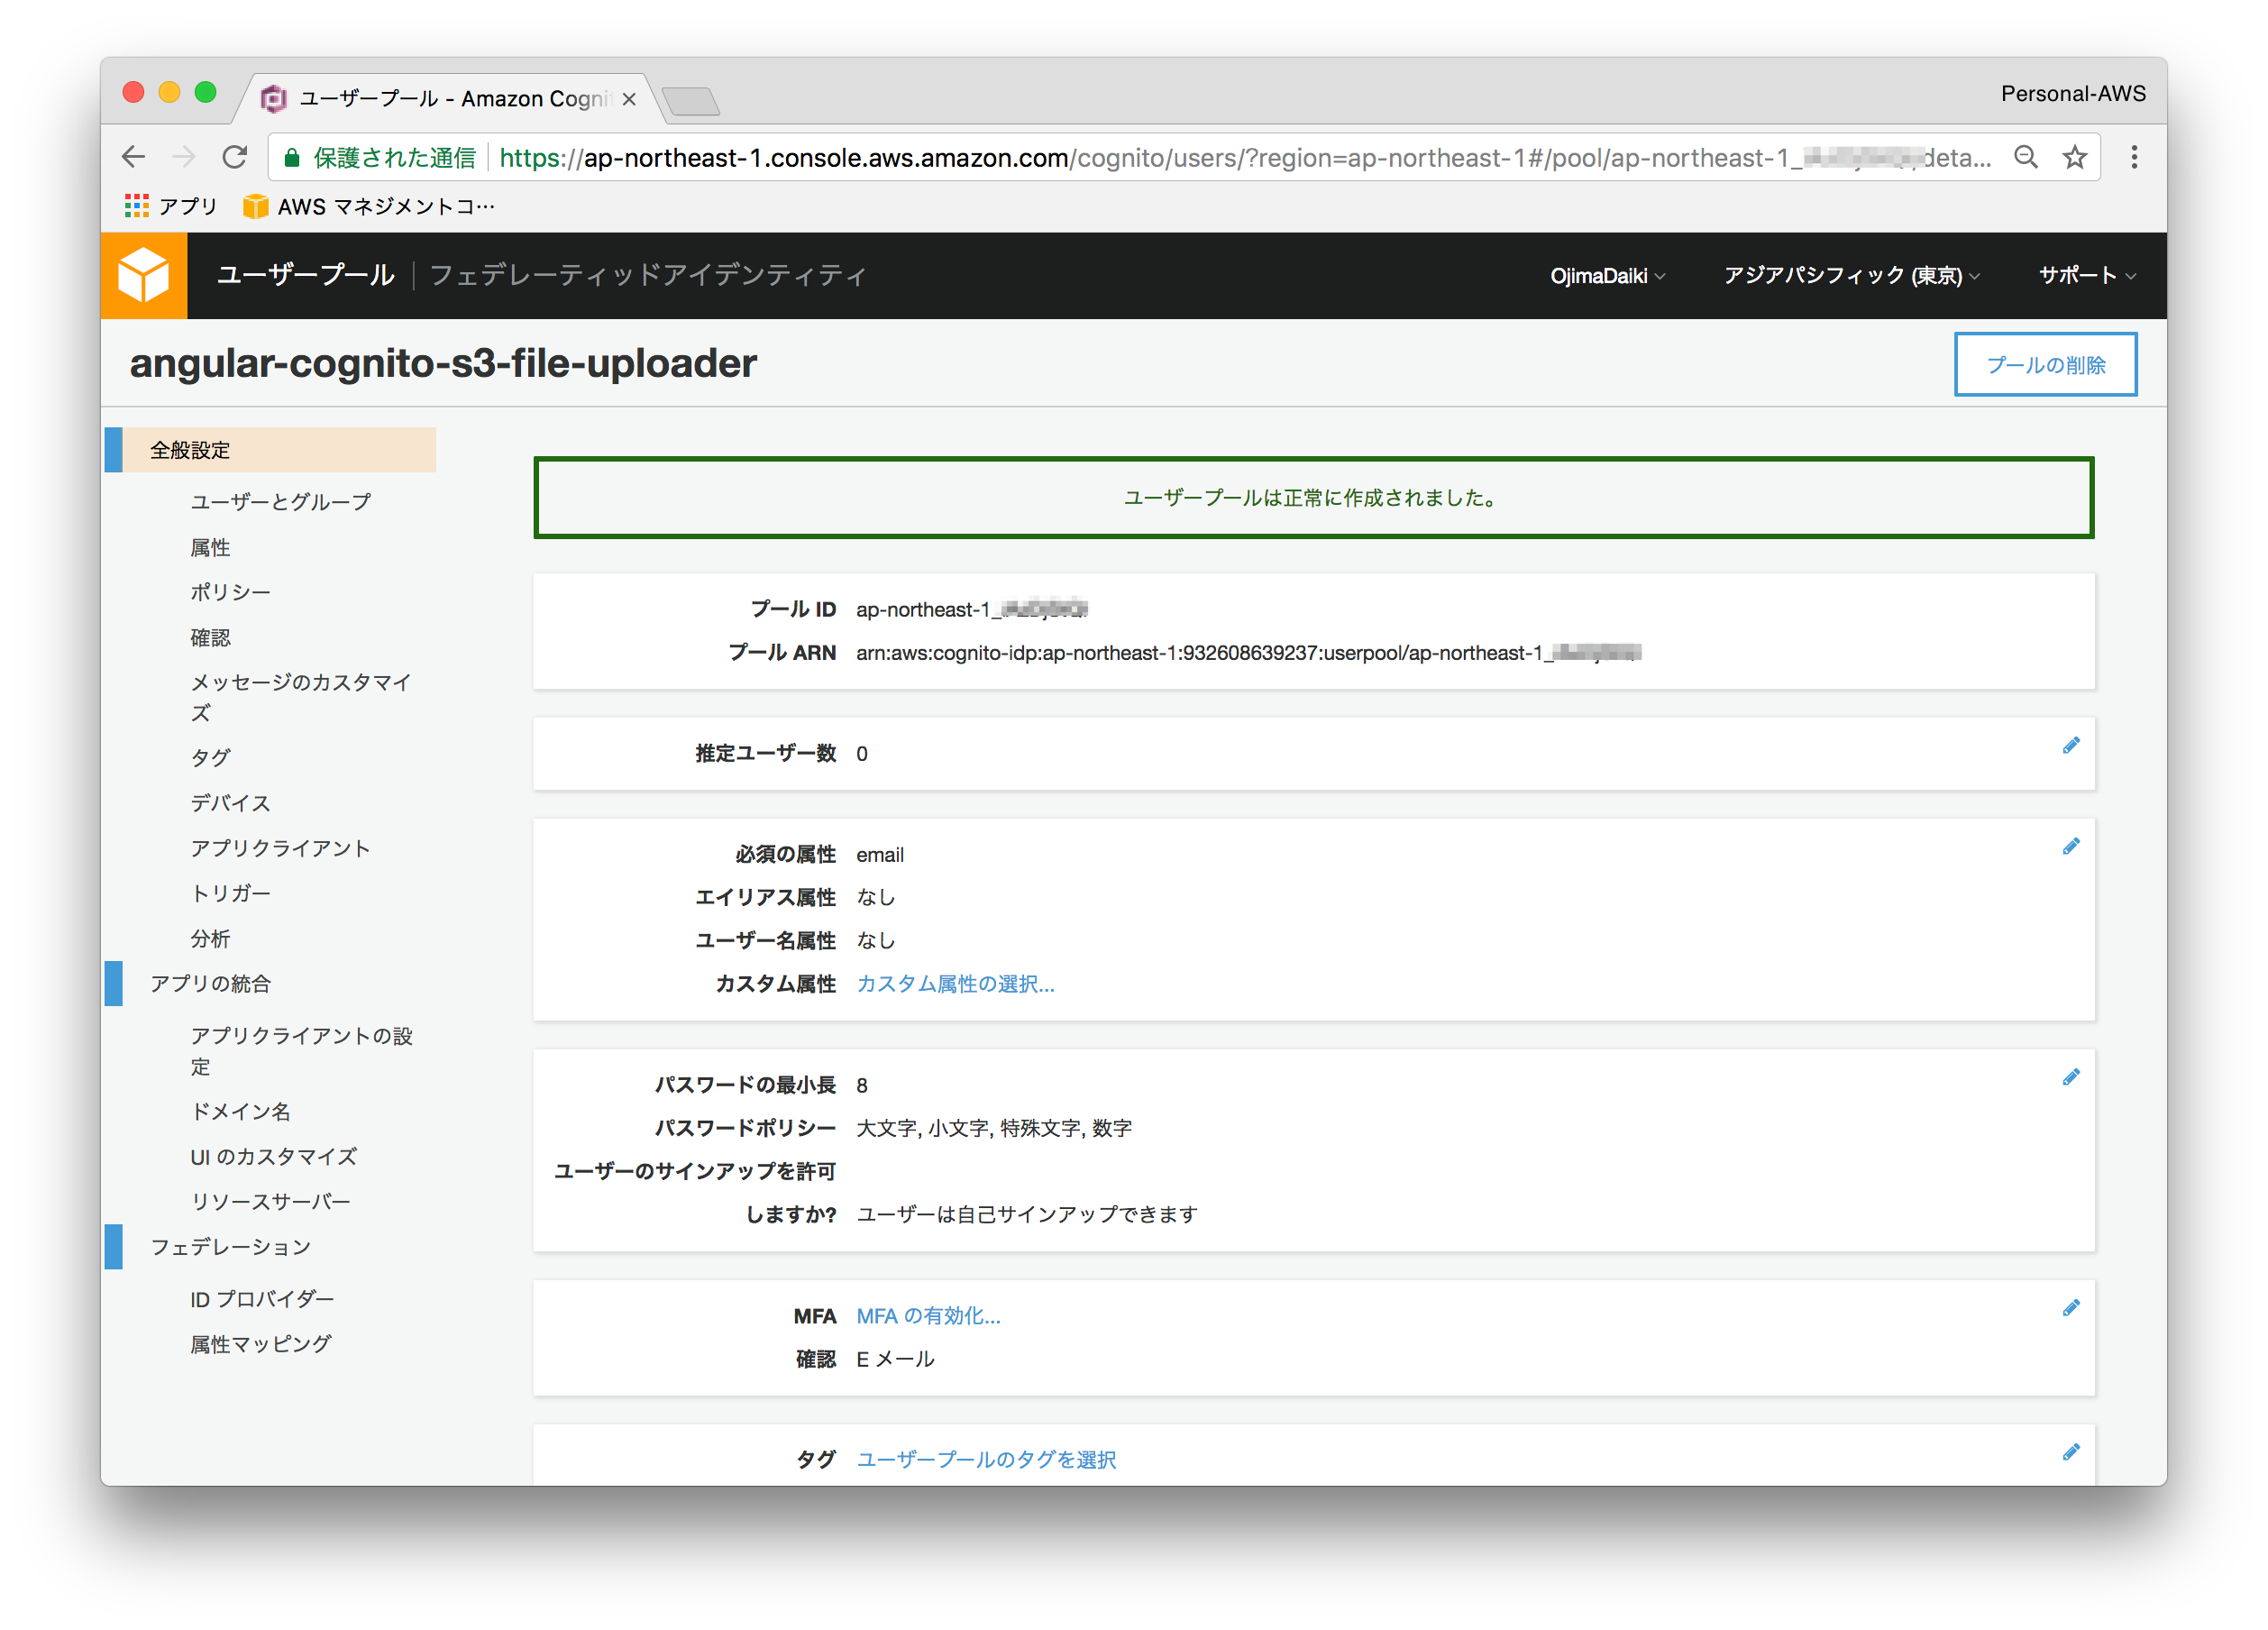
内容を確認して、「プールの作成」をクリックします。
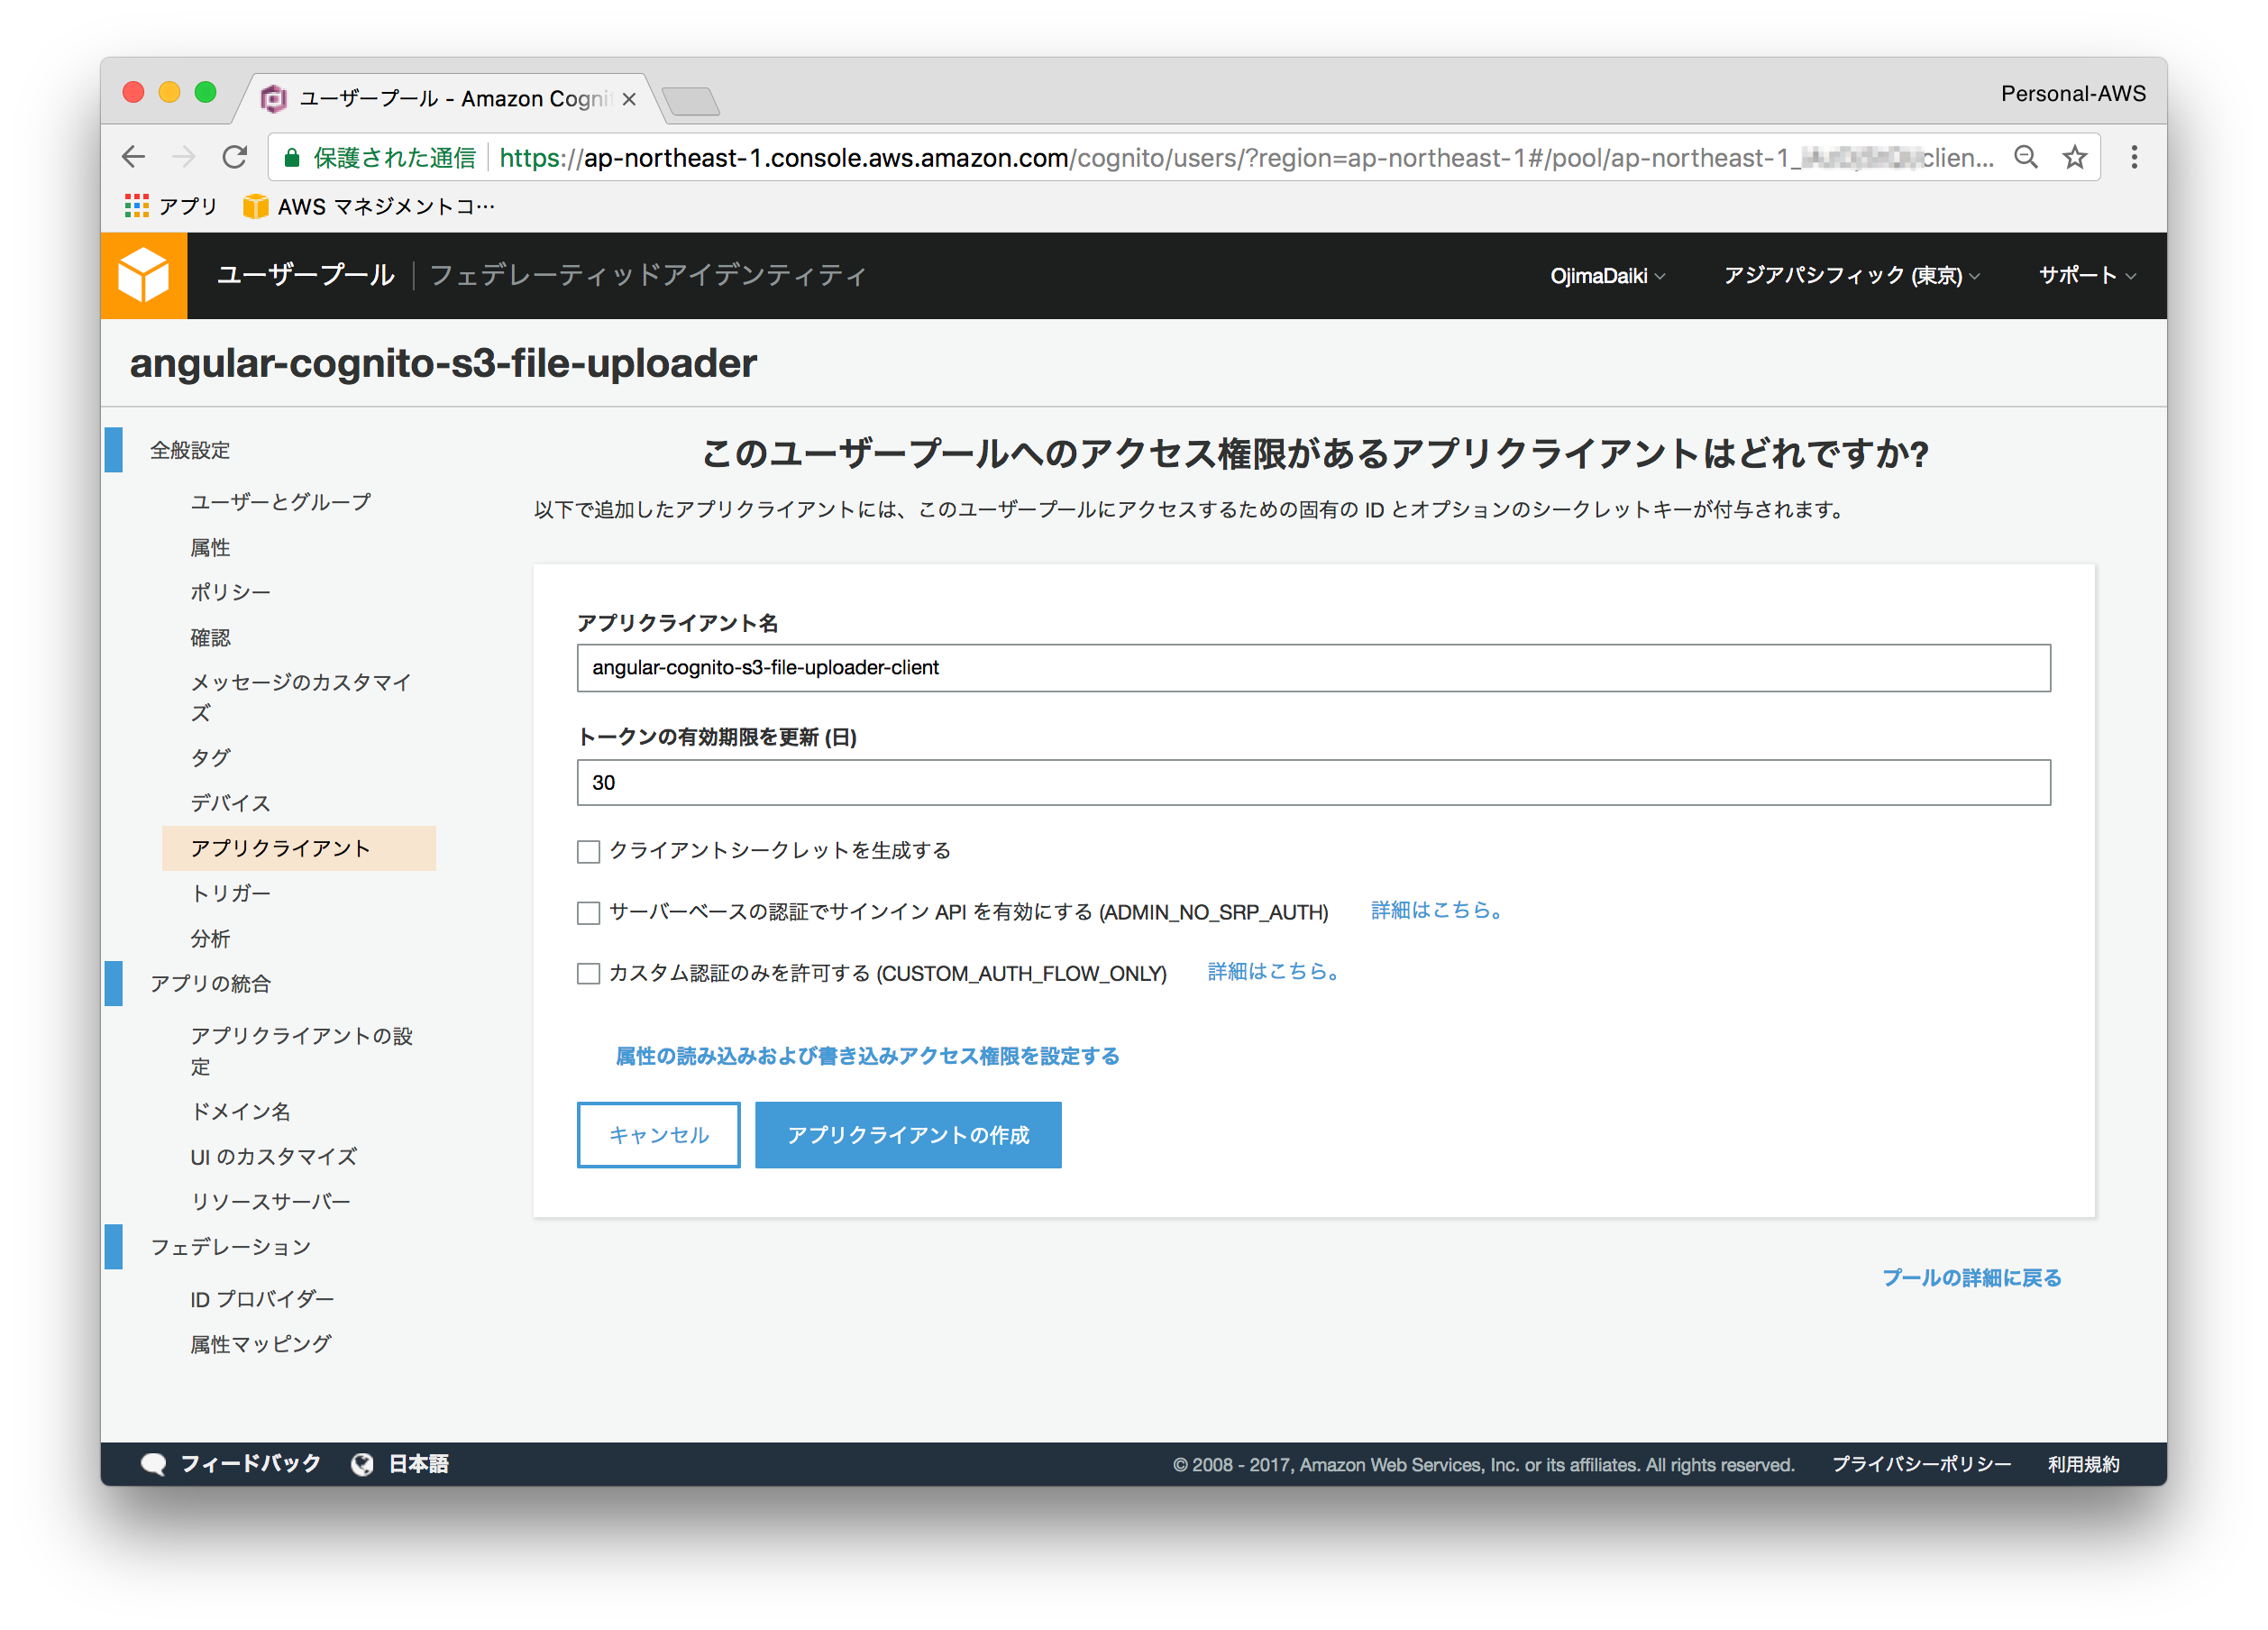
「アプリクライアント」-> 「アプリクライアントの追加」からアプリクライアントを追加します。今回は「angular-cognito-s3-file-uploader-client」という名前にしました。
次のように内容を入力して、「アプリクライアントの作成」をクリックします。
Cognito Identity Pool の作成
Cognito -> 「フェデレーテッドアイデンティティの管理」を選択します。
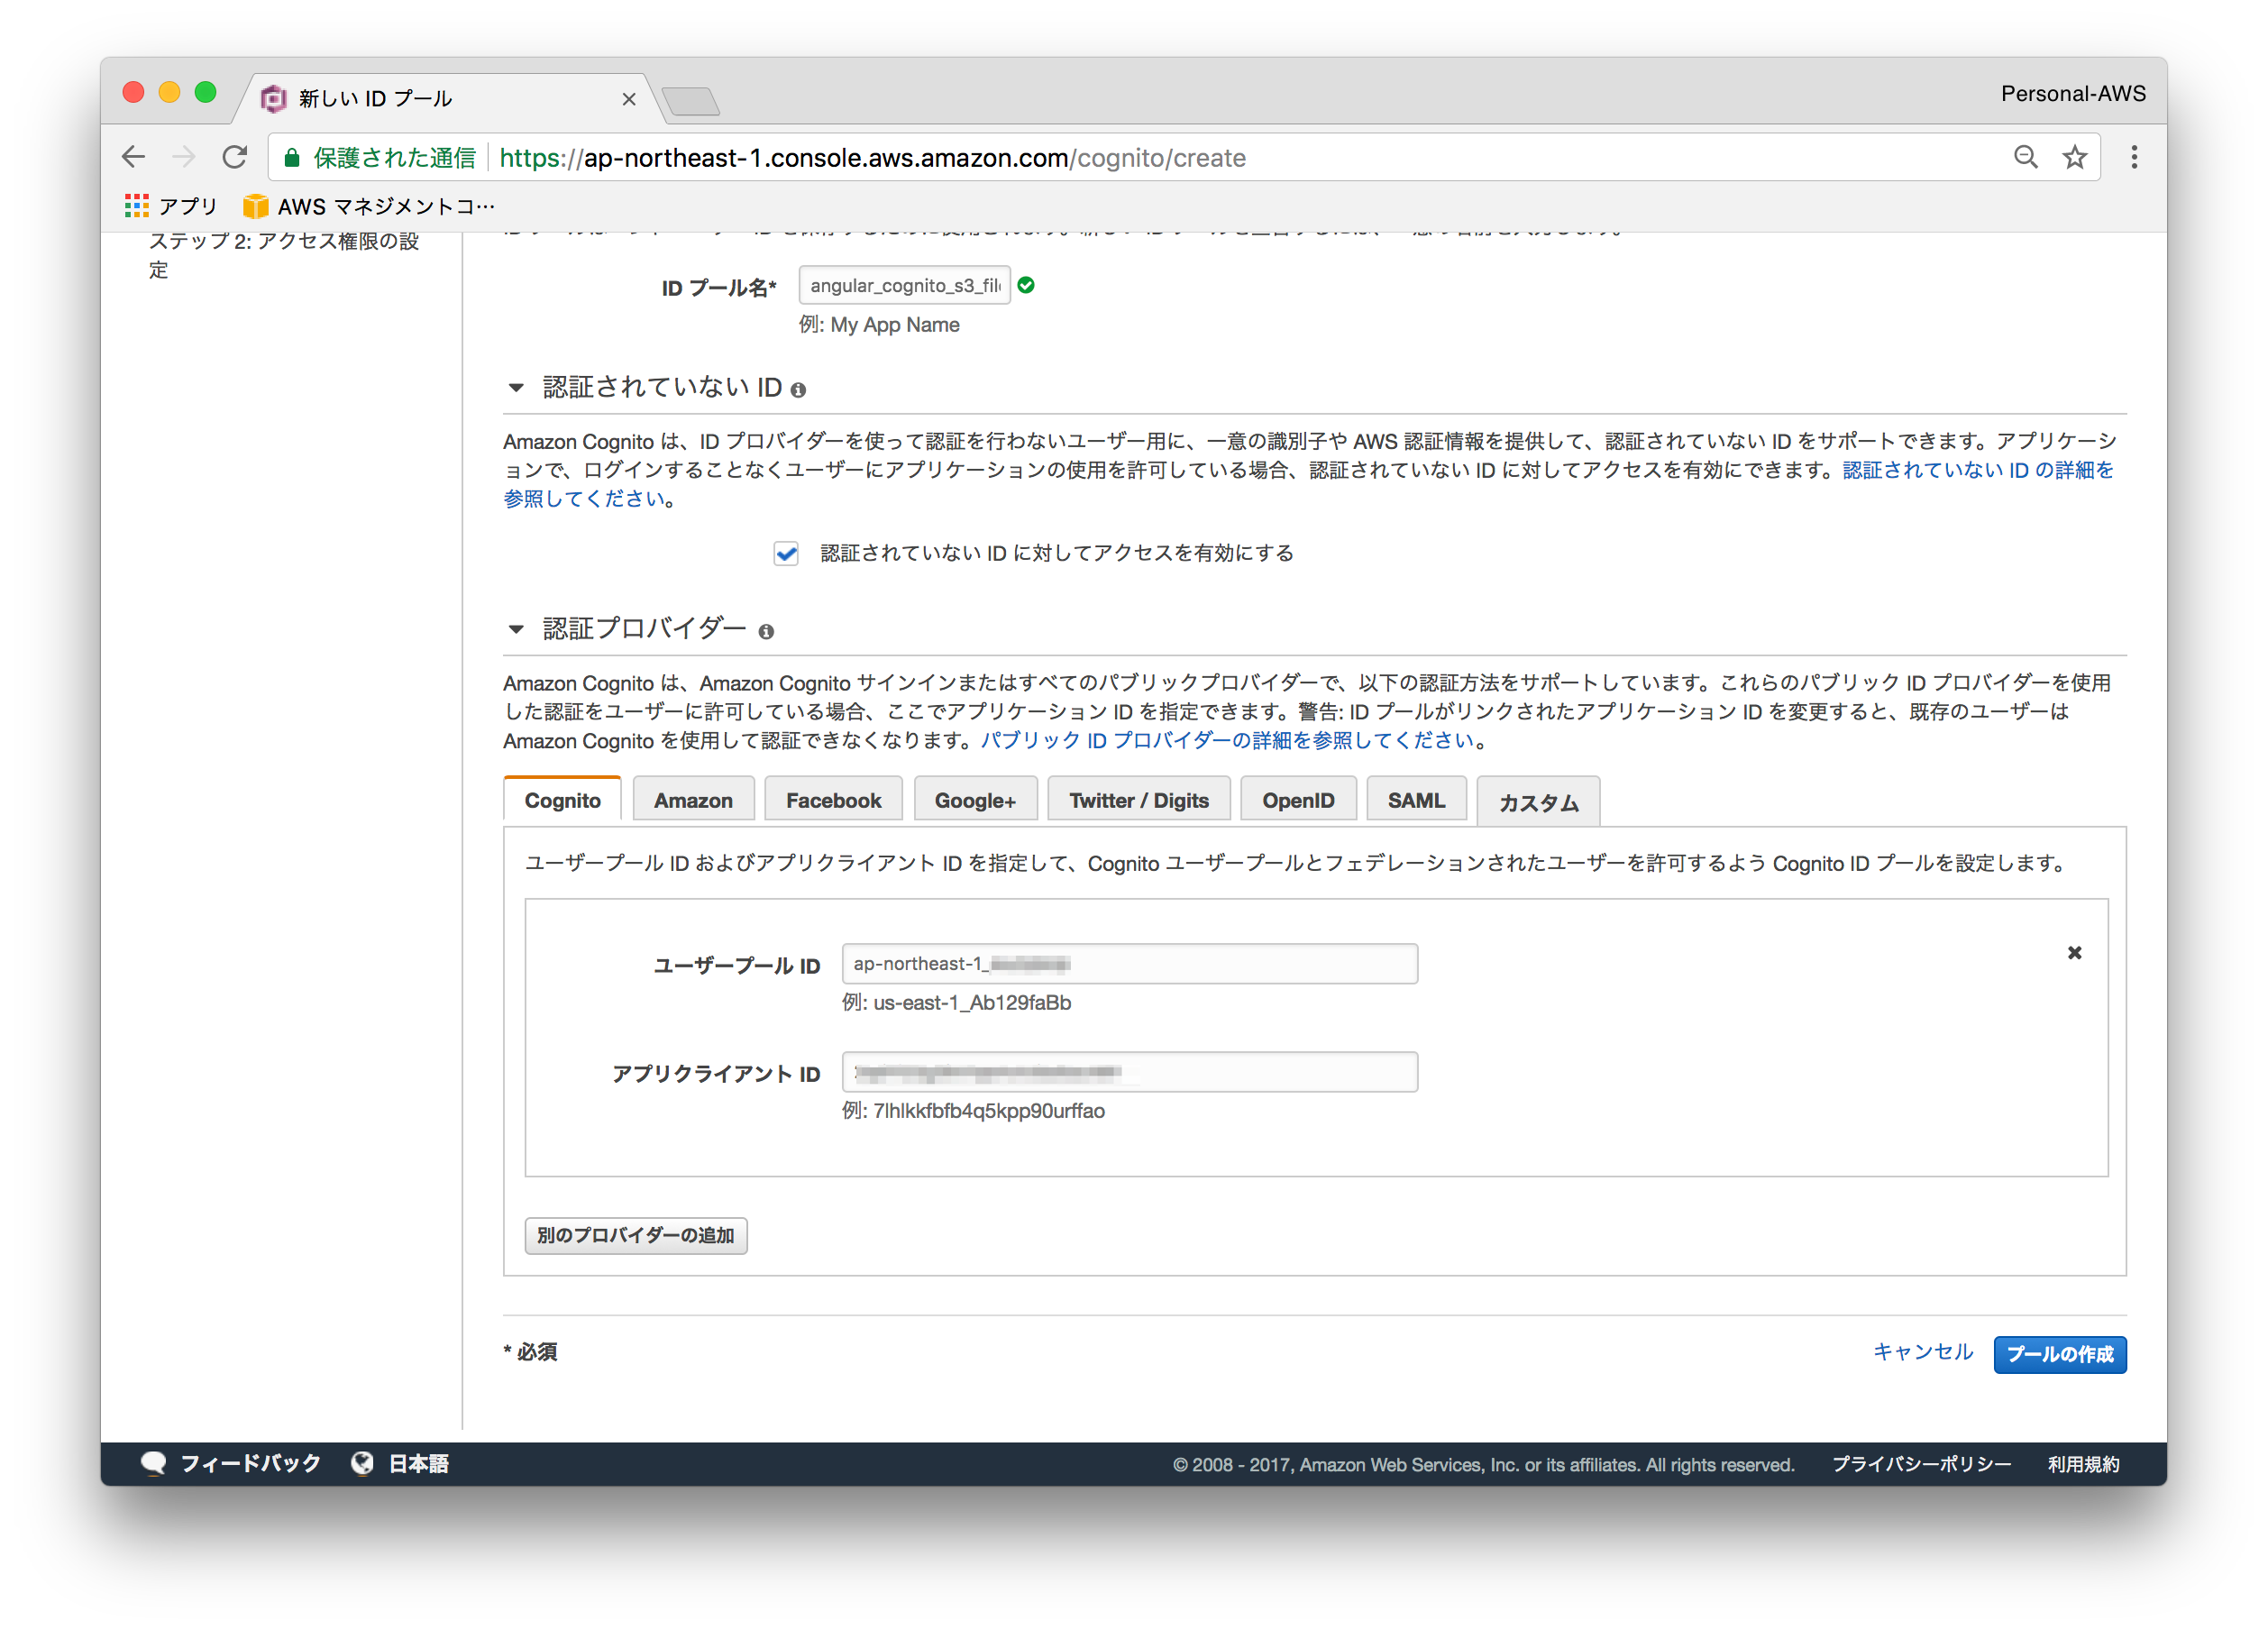
選択すると、「新しい ID プールの作成」の画面が表示されるので、次のように設定して、「プールの作成」をクリックします。
認証プロバイダーにはCognitoを選択して、先ほど作成したユーザープールIDとアプリクライアントIDを入力します。
割り当てるIAMロールを設定する画面が表示され、新規で作成するか既存のロールを割り当てるかを選択することが出来ます。今回は、次のようなIAMロールを新規で作成しました。
s3:ListBucket、s3DeleteObject、GetObject、PutObjectを新たに追加しています。Resourceには対象のS3バケットを指定します。
{
    "Version": "2012-10-17",
    "Statement": [
        {
            "Effect": "Allow",
            "Action": [
                "mobileanalytics:PutEvents",
                "cognito-sync:*",
                "cognito-identity:*",
                "s3:ListBucket"
            ],
            "Resource": [
                "*"
            ]
        },
        {
            "Effect": "Allow",
            "Action": [
                "s3:GetObject",
                "s3:DeleteObject",
                "s3:PutObject"
            ],
            "Resource": [
                "arn:aws:s3:::angular-cognito-s3-file-uploader/",
                "arn:aws:s3:::angular-cognito-s3-file-uploader/*"
            ]
        }
    ]
}
ここまでの手順で作成したリソースの次の情報を今後の手順で使用します。
- S3バケット名
- Pool ID
- アプリクライアント ID
- IdentityPoolId
Angular側の実装
雛形作成
angular-cliを使って、アプリの雛形を作成していきます。
ng new angular-cognito-s3-file-uploader
必要なパッケージをインストールします。
$ npm i --save amazon-cognito-identity-js
$ npm i --save aws-sdk
必要なサービスを作成
- cognito.service (cognito関連のサービス)
- s3.service (s3操作関連のサービス)
$ ng g service service/cognito
$ ng g service service/s3
必要なコンポーネントを作成
- signup.component (サインアップ画面)
- login.component (ログイン画面)
- upload.component (ファイルアップロード画面)
- filelist.component (ファイルリスト表示画面)
$ ng g component signup
$ ng g component login
$ ng g component upload
$ ng g component files
プロジェクトの設定
type定義を追加
(aws-sdkを使うためにnodeを定義)
{
  "extends": "../tsconfig.json",
  "compilerOptions": {
    "outDir": "../out-tsc/app",
    "baseUrl": "./",
    "module": "es2015",
    "types": [
      "node"
    ]
  },
  "exclude": [
    "test.ts",
    "**/*.spec.ts"
  ]
}
AWSのリソース情報を設定ファイルに記述します。
- IdentityPoolId
- Pool ID
- アプリクライアント ID
- S3バケット名
export const environment = {
  production: false,

  region: 'ap-northeast-1',

  identityPoolId: 'ap-northeast-1:XXXXXXXX-YYYY-XXXX-YYYY-XXXXXXXXXXXX',
  userPoolId: 'ap-northeast-1_XXXXXXXXX',
  clientId: 'YYYYYYYYYYYYYYYYYYYYYYYYYY',

  bucketName: 'angular-cognito-s3-file-uploader'
};
cognito.service
Cognito認証関連を行うサービスを実装します。
amazon-cognito-identity-jsと、aws-sdkからそれぞれ必要なモジュールをインポートします。
コンストラクタでは、AWS SDKのconfigにCognito関連の情報を設定します。
import { Injectable } from '@angular/core';
import { environment } from './../../environments/environment';
import {
  CognitoUserPool,
  CognitoUserAttribute,
  CognitoUser,
  AuthenticationDetails,
  CognitoIdentityServiceProvider } from 'amazon-cognito-identity-js';
import * as AWS from 'aws-sdk';

@Injectable()
export class CognitoService {
  private userPool: CognitoUserPool;
  private poolData: any;
  public cognitoCreds: AWS.CognitoIdentityCredentials;

  constructor() {
    AWS.config.region = environment.region;
    AWS.config.credentials = new AWS.CognitoIdentityCredentials({
      IdentityPoolId: environment.identityPoolId
    });
    this.poolData = {
      UserPoolId: environment.userPoolId,
      ClientId: environment.clientId
    };
    this.userPool = new CognitoUserPool(this.poolData);
  }
}
...
続きは、以後順を追って実装していきます。
s3.service
s3操作を行うサービスを実装します。
コンストラクタでは、AWS SDKのconfigにCognito関連の情報を設定します。
また、cognitoサービスをDIして、getCredentials() というメソッドから認証情報を受け取るようにしました。
import { Injectable } from '@angular/core';
import { environment } from './../../environments/environment';
import { CognitoUserPool, CognitoUserAttribute, CognitoUser, AuthenticationDetails } from 'amazon-cognito-identity-js';
import * as AWS from 'aws-sdk';
import { CognitoService } from './cognito.service';

@Injectable()
export class S3Service {
  private s3: AWS.S3;

  constructor(
    private cognito: CognitoService
  ) {
    this.cognito.getCredentials().then((data) => {
      AWS.config.credentials = data;
    }).catch((err) => {
      console.log(err);
    });
    const clientParams: any = {
      region: environment.region,
      apiVersion: '2006-03-01',
      params: { Bucket: environment.bucketName }
    };
    this.s3 = new AWS.S3(clientParams);
  }
}
...
こちらも続きは、以後順を追って実装していきます。
signup.compnent
次にサインアップページを作成します。
まずは、cognito.service認証関係のメソッドを実装していきます。
signUpメソッドは、formから受け取ったメールアドレスとパスワードでをCognitoUserPoolに登録します。
戻り値として実行結果をPromiseで返します。
正常に実行された場合、入力したメールアドレスに次のような確認コードが送信されます。
  signUp(username: string, password: string): Promise<any> {
    const dataEmail = { Name: 'email', Value: username };
    const attributeList = [];
    attributeList.push(new CognitoUserAttribute(dataEmail));
    return new Promise((resolve, reject) => {
      this.userPool.signUp(username, password, attributeList, null, (err, result) => {
        if (err) {
          reject(err);
        } else {
          resolve(result);
        }
      });
    });
  }

  confirmation(username: string, confirmation_code: string): Promise<any> {
    const userData = { Username: username, Pool: this.userPool };
    const cognitoUser = new CognitoUser(userData);
    return  new Promise((resolve, reject) => {
      cognitoUser.confirmRegistration(confirmation_code, true, (err, result) => {
        if (err) {
          reject(err);
        } else {
          resolve(result);
        }
      });
    });
  }
属性を持つ配列attributeListには、必須属性となっているemailを設定しています。
参考にしたaws-cognito-angular2-quickstartでは、Signup画面と確認コード入力画面をroutringで別画面にしていますが、今回は同一の画面で画面遷移無しで確認コードの入力を求めるように作りました。
「あとで確認コードの入力する」といったことは考えていないので、必要であれば別途実装する必要があります。

confirmationメソッドは、前記の手順で受信した確認コードformから受取、アカウントの確認を行います。
ビュー側は、次のように至ってシンプルです。
<div class="signup" *ngIf="!successfullySignup">
  <form [formGroup]="signupForm" (ngSubmit)="onSubmitSignup(signupForm.value)">
    <label>Email: </label>
    <input type="email" formControlName="email">
    <label>Password: </label>
    <input type="password" formControlName="password">
    <button type="submit">Submit</button>
  </form>
</div>

<div class="confirmation" *ngIf="successfullySignup">
  <form [formGroup]="confirmationForm" (ngSubmit)="onSubmitConfirmation(confirmationForm.value)">
      <label>Email: </label>
      <input type="email" formControlName="email">
    <label>Confirmation Code: </label>
    <input type="text" formControlName="confirmationCode">
    <button type="submit">Confirm</button>
  </form>
</div>
先ほど実装した、signUp、confirmationメソッドを呼び出すビューモデル部分です。
  onSubmitSignup(value: any) {
    const email = value.email, password = value.password;
    this.cognito.signUp(email, password)
    .then((result) => {
      console.log(result);
      this.successfullySignup = true;
    }).catch((err) => {
      console.log(err);
    });
  }

  onSubmitConfirmation(value: any) {
    const email = value.email, confirmationCode = value.confirmationCode;
    console.log(email);
    this.cognito.confirmation(email, confirmationCode)
    .then((result) => {
      return console.log(result) || this.router.navigate(['/login']);
    }).catch((err) => {
      console.log(err);
    });
  }
login.component
まずは、cognito.service認証関係のメソッドを実装していきます。
  login(username: string, password: string): Promise<any> {
    const userData = { Username: username, Pool: this.userPool };
    const cognitoUser = new CognitoUser(userData);
    const authenticationData = { Username : username, Password : password };
    const authenticationDetails = new AuthenticationDetails(authenticationData);
    return new Promise((resolve, reject) => {
      cognitoUser.authenticateUser(authenticationDetails, {
        onSuccess: (result) => {
          const creds = this.buildCognitoCreds(result);
          AWS.config.credentials = creds;
          this.cognitoCreds = creds;
          resolve(result);
        },
        onFailure: (err) => {
          reject(err);
        }
      });
    });
  }

  buildCognitoCreds(session: any): AWS.CognitoIdentityCredentials {
    const logins: AWS.CognitoIdentity.LoginsMap = {};
    const url = `cognito-idp.${environment.region}.amazonaws.com/${environment.userPoolId}`;
    logins[url] = session.getIdToken().getJwtToken();
    return new AWS.CognitoIdentityCredentials({
      IdentityPoolId: environment.identityPoolId,
      Logins: logins
    });
  }

  logout() {
    this.userPool.getCurrentUser().signOut();
  }

  getCredentials(): Promise<AWS.CognitoIdentityCredentials> {
    const cognitoUser = this.userPool.getCurrentUser();
    return new Promise((resolve, reject) => {
      if (cognitoUser === null) { reject(cognitoUser); }
      cognitoUser.getSession((err, session) => {
        if (err) {
          reject(err);
        } else {
          const creds = this.buildCognitoCreds(session);
          AWS.config.credentials = creds;
          resolve(creds);
        }
      });
    });
  }

  isAuthenticated(): Promise<any> {
    const cognitoUser = this.userPool.getCurrentUser();
    return new Promise((resolve, reject) => {
      if (cognitoUser === null) { reject(cognitoUser); }
      cognitoUser.getSession((err, session) => {
        if (err) {
          reject(err);
        } else {
          if (!session.isValid()) {
            resolve(session);
          }
        }
      });
    });
  }
upload.component
s3.serviceにファイルアップロードを行うメソッドを作成します。
  uploadFile(file: any): Promise<any> {
    const params = {
      Bucket: environment.bucketName,
      Key: file.name,
      ContentType: file.type,
      Body: file,
      StorageClass: 'STANDARD',
      ACL: 'private' };
    return this.s3.upload(params).promise();
  }
ファイルインプットが変更されたときに実行されるonInputChange、アップロードボタンが押されたときに実行されるonClickUpload、ログアウトを行うonClickLogoutを作成します。
  onInputChange(event: any) {
    const files = event.target.files;
    this.uploadFile = files[0];
  }

  onClickUpload() {
    if (this.uploadFile) {
    this.s3.uploadFile(this.uploadFile).then((data) => {
      if (data) {
        this.uploadResult = 'アップロードが完了しました。';
      }
    }).catch((err) => {
      console.log(err);
    });
    } else {
      this.uploadResult = 'ファイルが選択されていません。';
    }
  }

  onClickLogout() {
    this.cognito.logout();
    this.router.navigate(['/login']);
  }
ビュー側は次のような感じです。
<div class="usermenu">
  <h2>ユーザーメニュー</h2>
  <button [routerLink]="['/files']">ファイル一覧</button>
  <button (click)="onClickLogout()">ログアウト</button>
</div>

<div class="fileupload">
  <h2>アップロード</h2>
  <input type="file" accept="*/*" (change)="onInputChange($event)">
  <button (click)="onClickUpload()">アップロード</button>
  <p *ngIf="uploadResult !== ''">アップロード結果: {{uploadResult}}</p>
</div>
filelist.component
s3.serviceにファイル一覧を取得するgetFileListとファイルをダウンロードするgetFileメソッドを作成します。ココらへんは、AWS SDKにPromiseを返すAPIが用意されているので、パラメータを渡して呼ぶだけです。
  getFileList(): Promise<AWS.S3.ListObjectsOutput> {
    const params = { Bucket: environment.bucketName };
    return this.s3.listObjects(params).promise();
  }

  getFile(key: string): Promise<AWS.S3.GetObjectOutput> {
    const params = { Bucket: environment.bucketName, Key: key };
    return this.s3.getObject(params).promise();
  }
ngOnInitでページが表示されるタイミングで、アップロード済みのファイル一覧を取得します。
ファイル一覧のファイル名をクリックした際に呼ばれるonClickFileメソッドでは、s3から取得したデータをhtml5リンクのdownload属性を使ってダウンロードさせます。
  ngOnInit() {
    this.s3.getFileList().then((data) => {
      if (data) {
        this.remoteFiles = data.Contents;
      }
    }).catch((err) => {
      console.log(err);
    });
  }

  onClickFile(item: any) {
    this.s3.getFile(item.Key).then((data) => {
      const blob = new Blob([data.Body], { type: data.ContentType });
      const url = window.URL.createObjectURL(blob);
      const linkElement = document.createElement('a');
      linkElement.download = item.Key;
      linkElement.href = url;
      linkElement.click();
    }).catch((err) => {
      console.log(err);
    });
  }
ビュー側は次のような感じです。
<div class="usermenu">
  <h2>ユーザーメニュー</h2>
  <button [routerLink]="['/upload']">アップロード</button>
  <button (click)="onClickLogout()">ログアウト</button>
</div>

<div class="filelist">
  <h2>ファイル一覧</h2>
  <table class="filelist-table">
    <thead>
      <tr>
        <th>ファイル名</th>
        <th>更新日</th>
        <th>サイズ</th>
      </tr>
    </thead>
    <tbody>
      <tr *ngFor="let item of remoteFiles">
        <td><a (click)="onClickFile(item)">{{item.Key}}</a></td>
        <td>{{item.LastModified}}</td>
        <td>{{item.Size}}</td>
      </tr>
    </tbody>
  </table>
</div>
ここまでで、必要な実装が完了しました✨
動作確認
起動
$ npm start
ブラウザから http:localhost:4200にアクセス
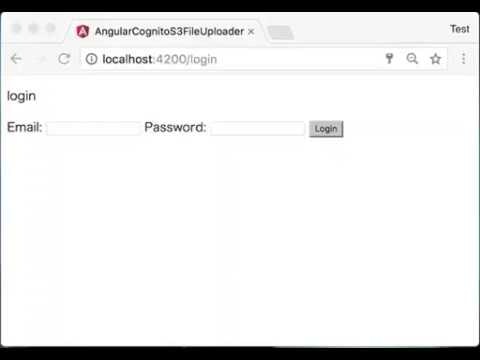
動画を見ても分かるように、ログイン後にページ遷移してもログイン状態が保たれていることが分かるかと思います。
また、ログアウト後に直URLでファイル一覧にアクセスした場合も、内容が表示されないことが分かるかと思います。
所感
今回はフロントエンドのフレームワークにAngularを使いましたが、AWS SDK自体はjavascript実装なので、他のフロントエンドのフレームワークとの組み合わせも簡単にできるかと思います。ただ、AngularCLIで作るDI可能なサービスはこの規模のでもアプリを作る際にもかなり重宝するので、Cognito+Angularで認証付きSPAを作るのはかなりオススメです🐣
参考
冒頭でも書いたaws-cognito-angular2-quickstartというサンプル
https://github.com/awslabs/aws-cognito-angular2-quickstart
amazon-cognito-identity-jsの詳細解説
http://tarepan.hatenablog.com/entry/cognito_UserPools_session_management
シンプルな実装でわかりやすかったです
https://qiita.com/jobbin/items/d2fc0f714eb1f1cfc965