AngluarからFirebase SDKを使ってファイル(画像)のアップロードを試してみます。
AngularにはAngluarFireという公式ライブラリが用意されていいますが、今のところCloud Storageを扱えるAPIは用意されていないので、JavaScriptのSDKを使いました。
Proposal: AngularFireStorage #940を見る限りもうすぐ実装されそうな気もしますが...
前提
- Firebaseのアカウントを取得済み(無料枠で可)
- Firebaseのプロジェクトは作成済み
- Angularのプロジェクトは作成済み
サンプル実装
Firebaseの設定
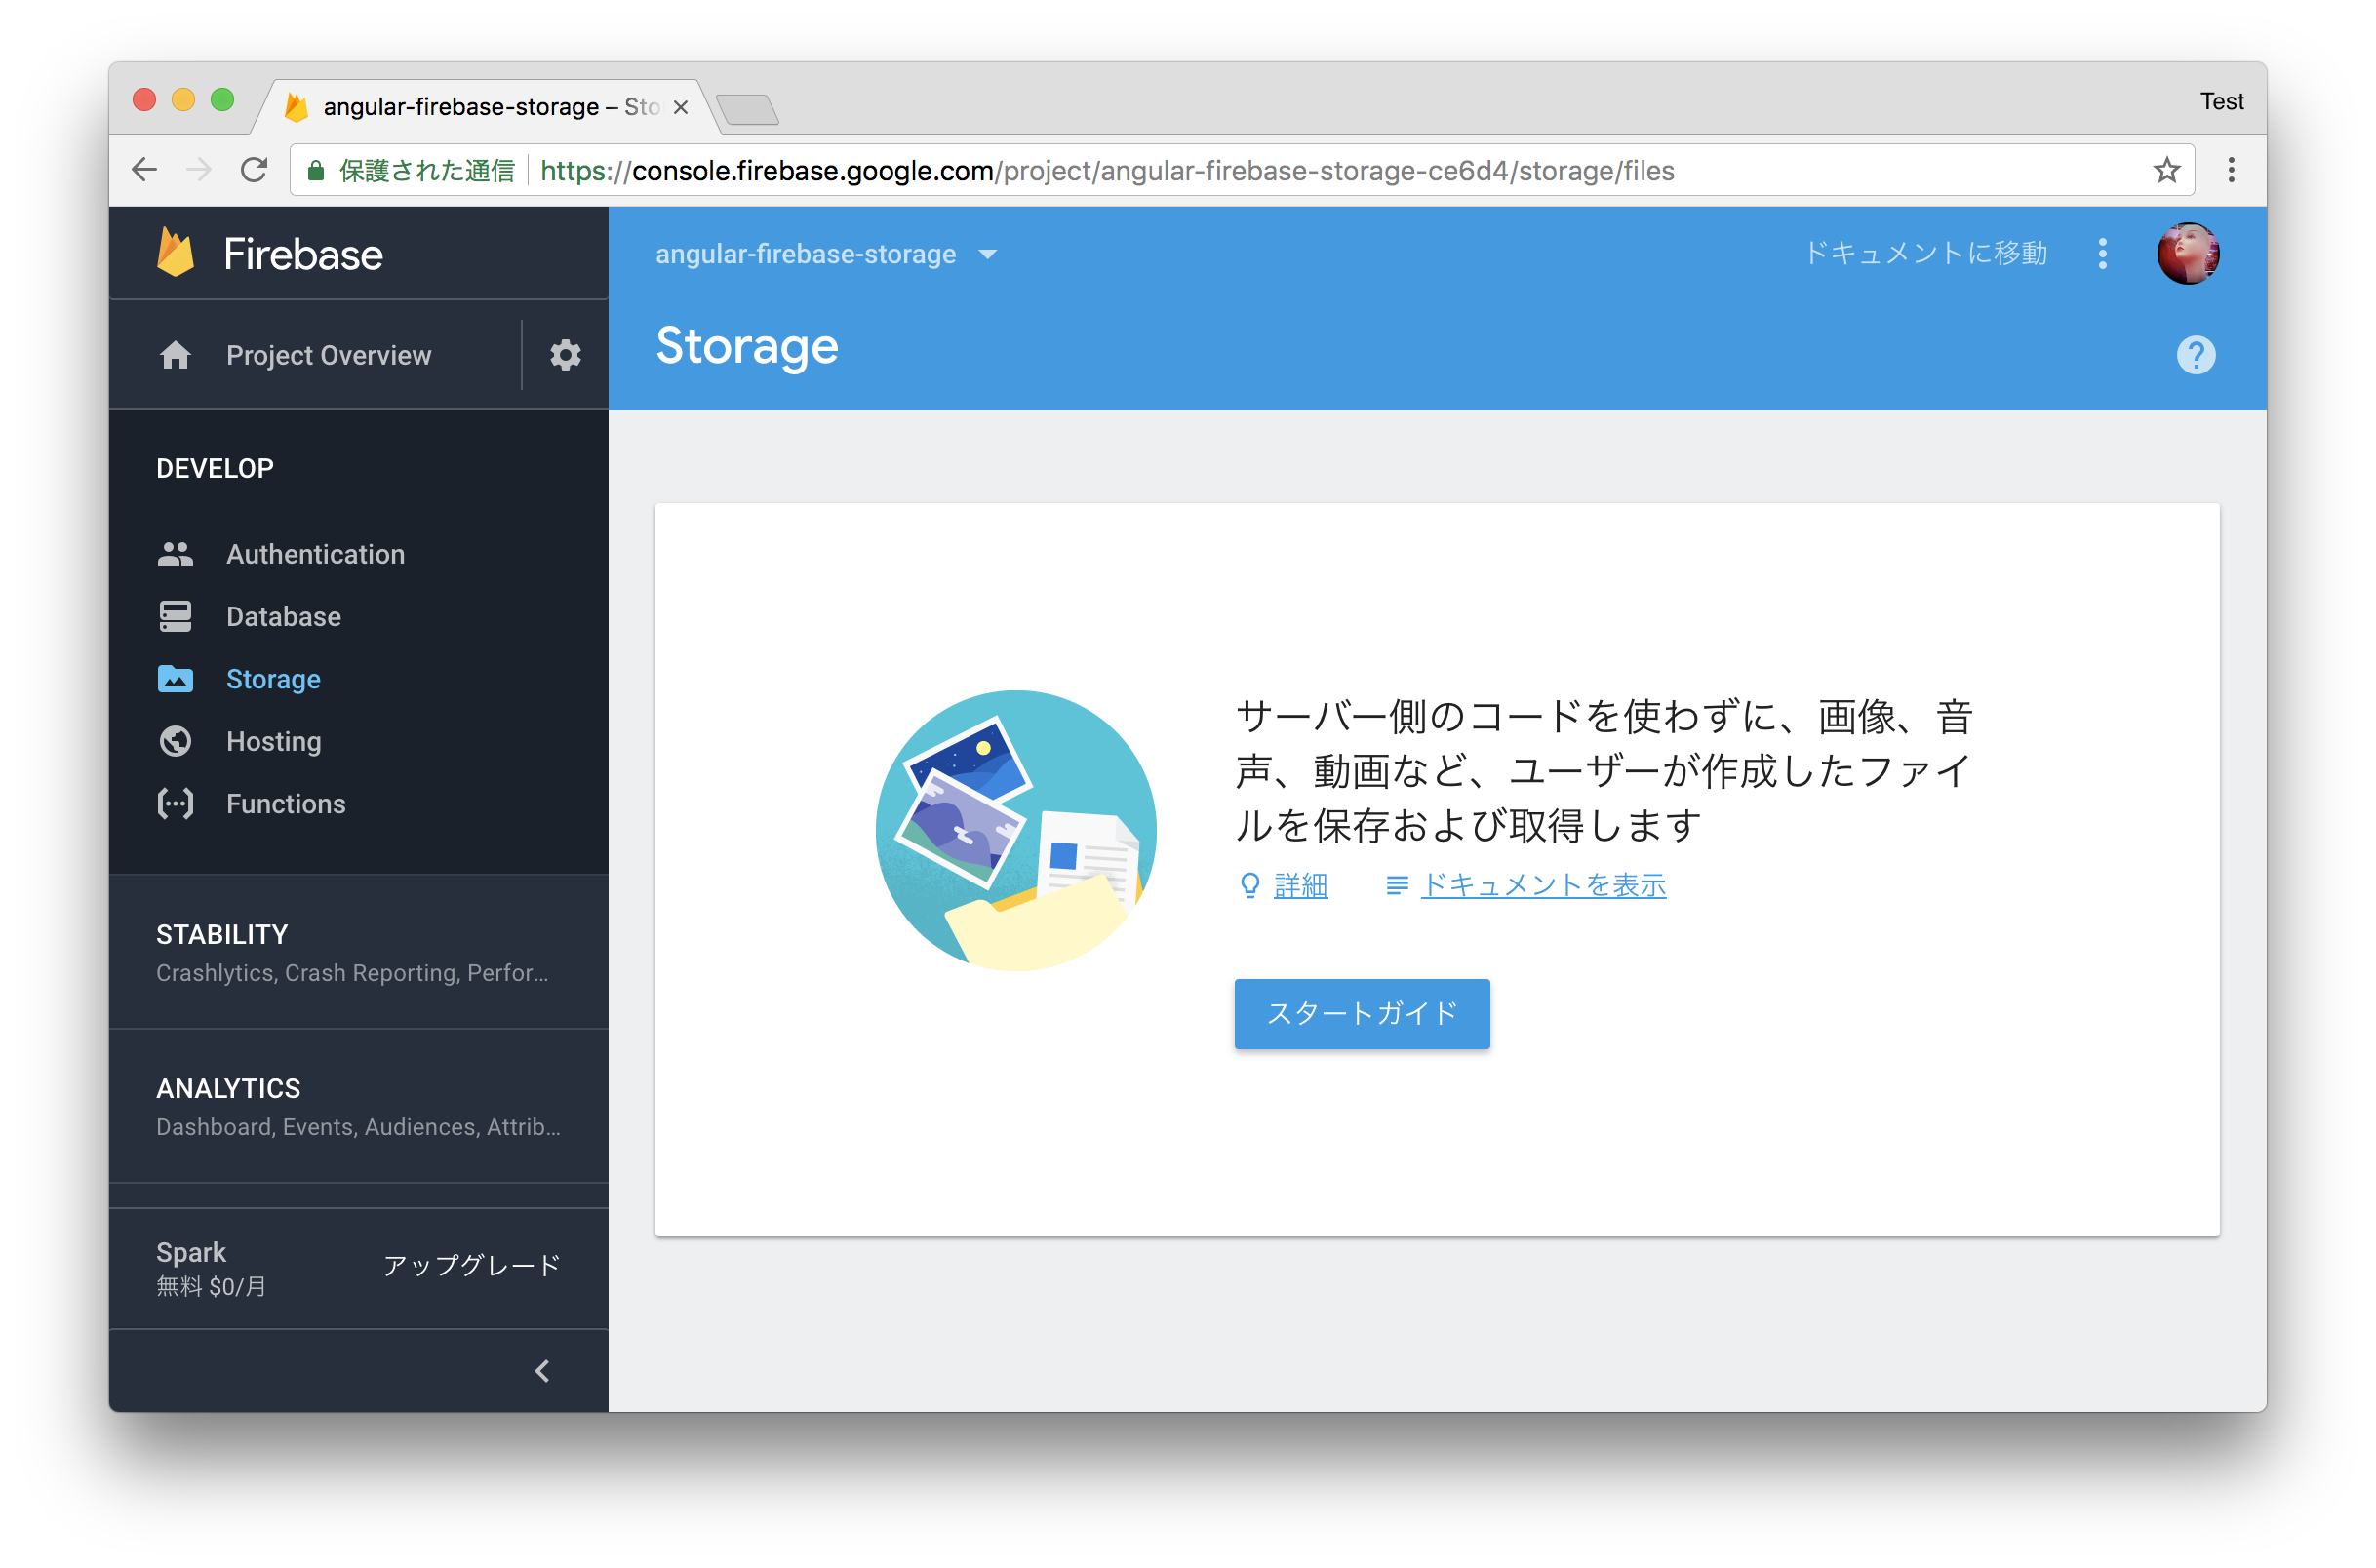
事前にCloud Storageを利用を有効にしておく必要があるので、コンソールの「Storage」から「スタートガイド」を選択します。
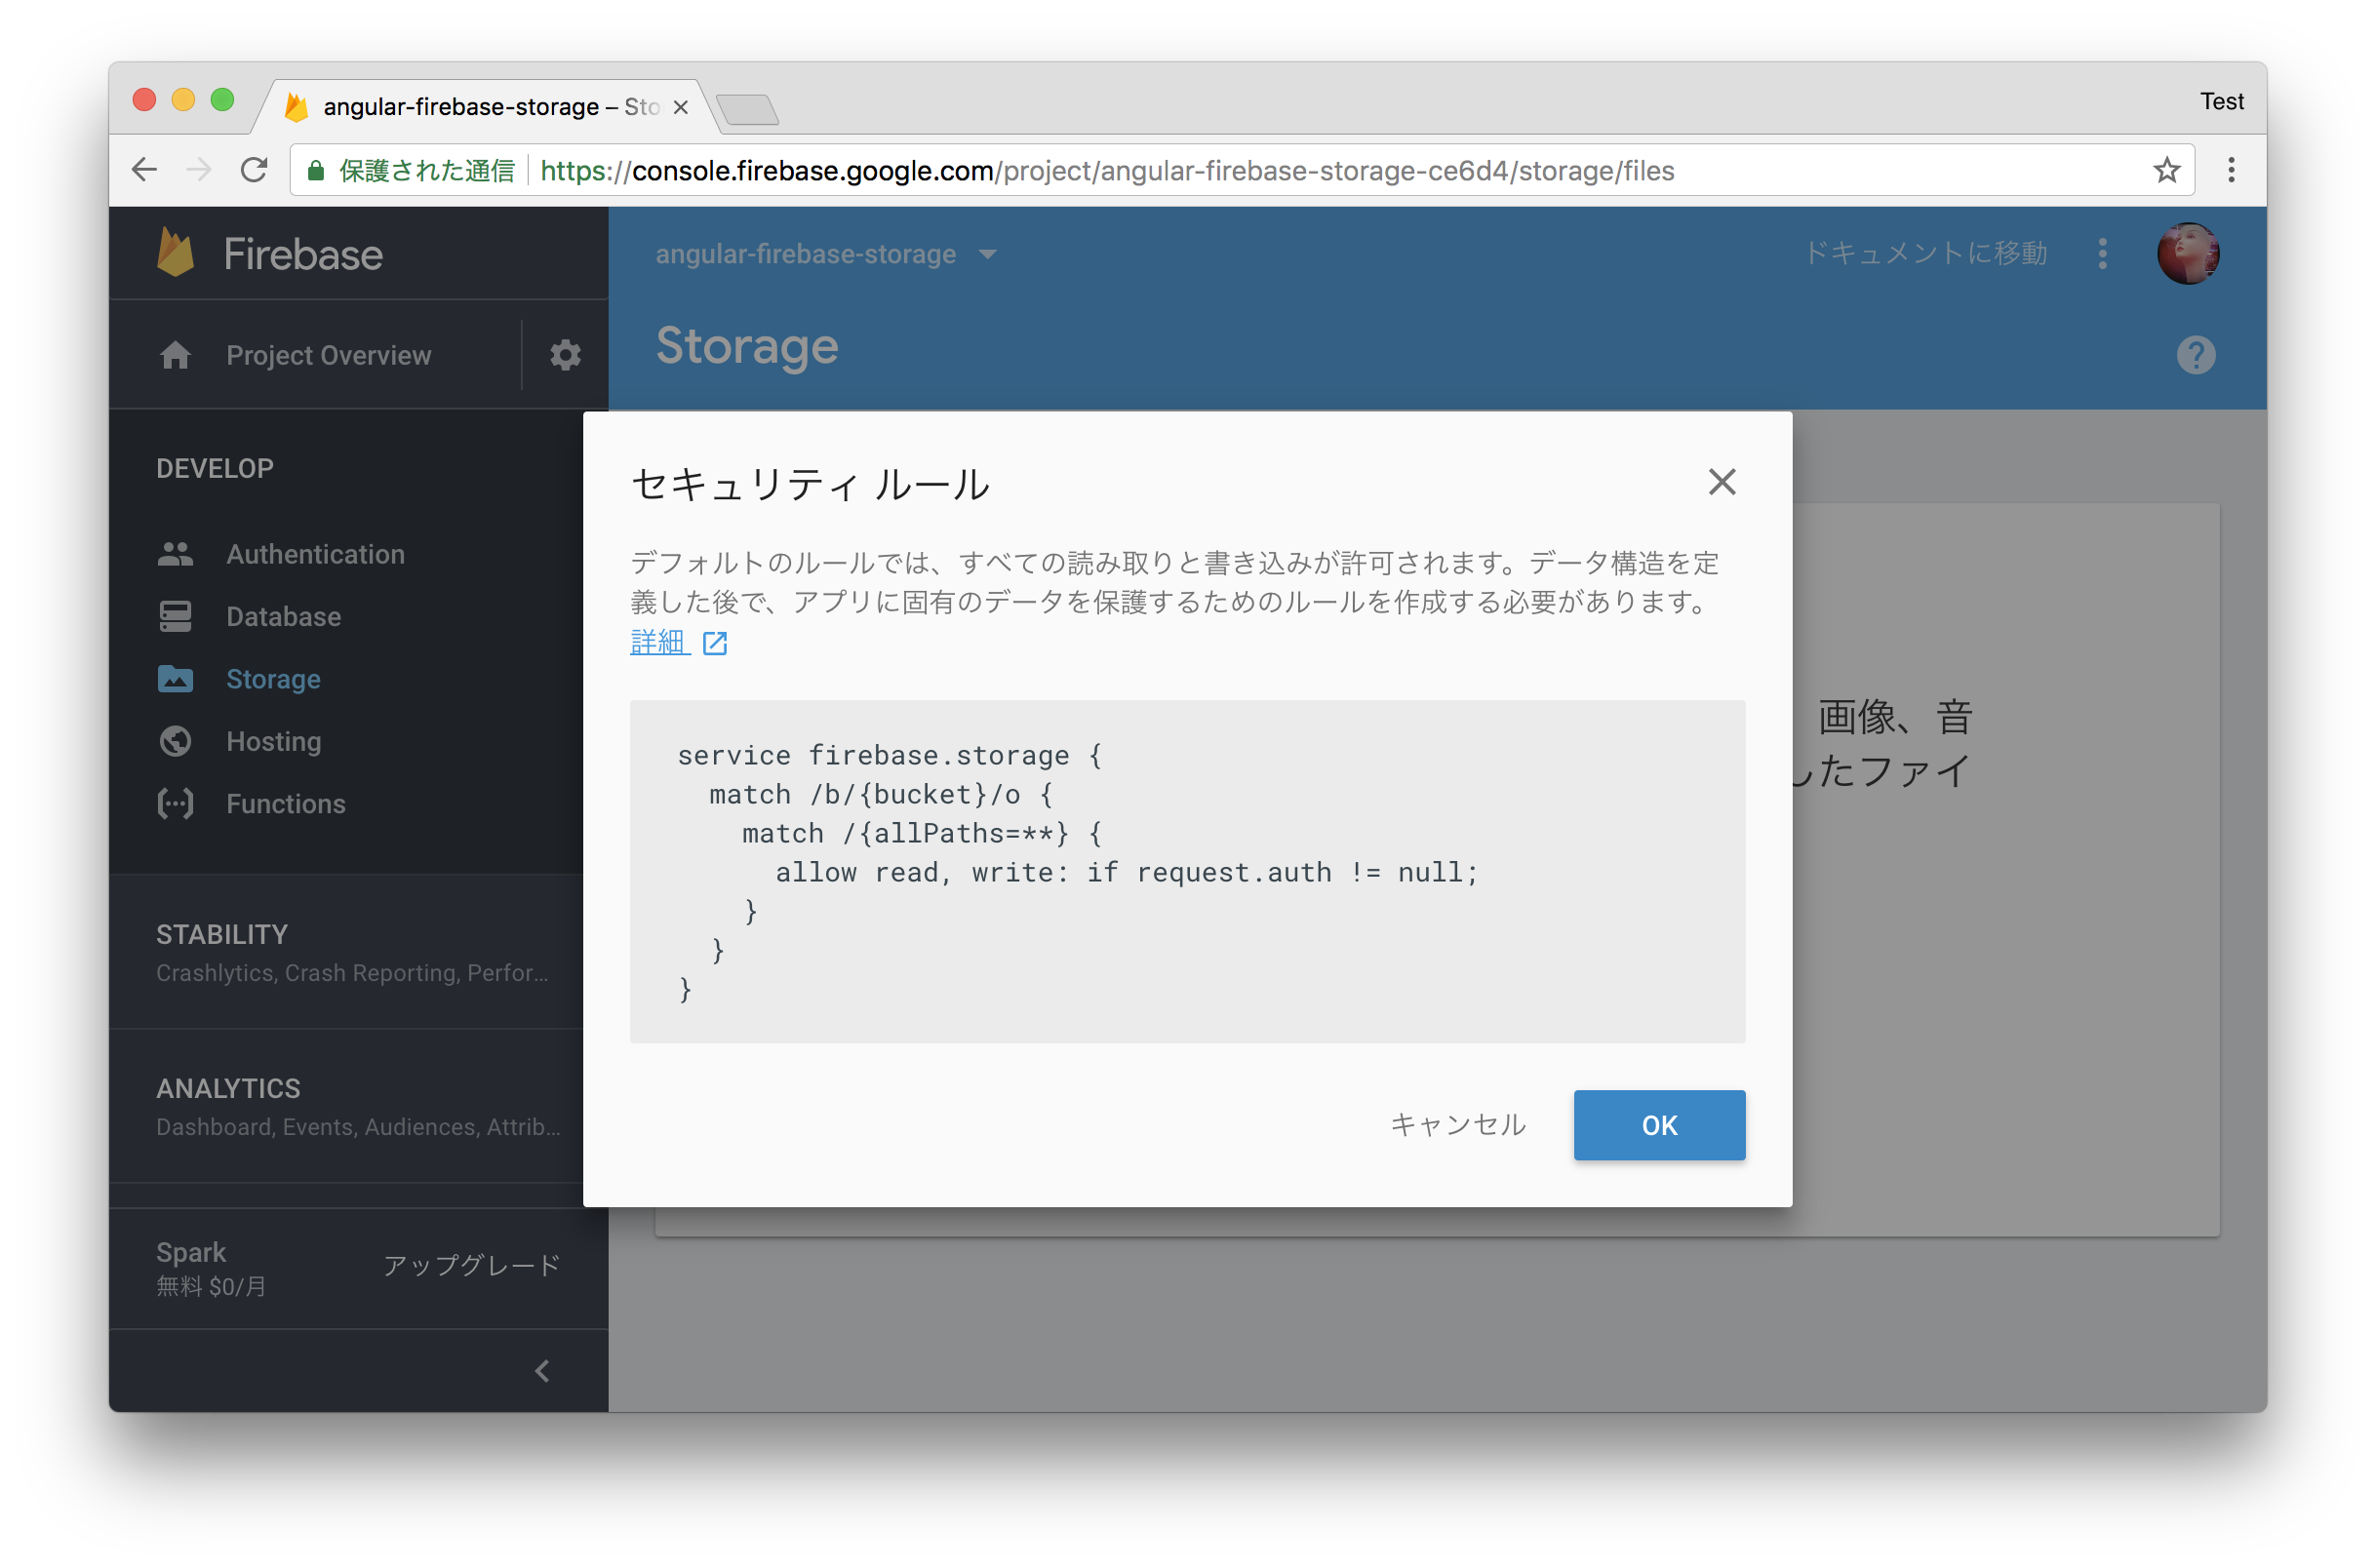
セキュリティルールの確認画面が表示されるので、「OK」をクリックします。
次に、「ルール」タブからセキュリティルールを次のように編集します。
※ テスト的に認証無しでバケットのRead、Writeが行えるように修正
service firebase.storage {
  match /b/{bucket}/o {
    match /{allPaths=**} {
      // allow read, write: if request.auth != null;
      allow read, write: if true;
    }
  }
}
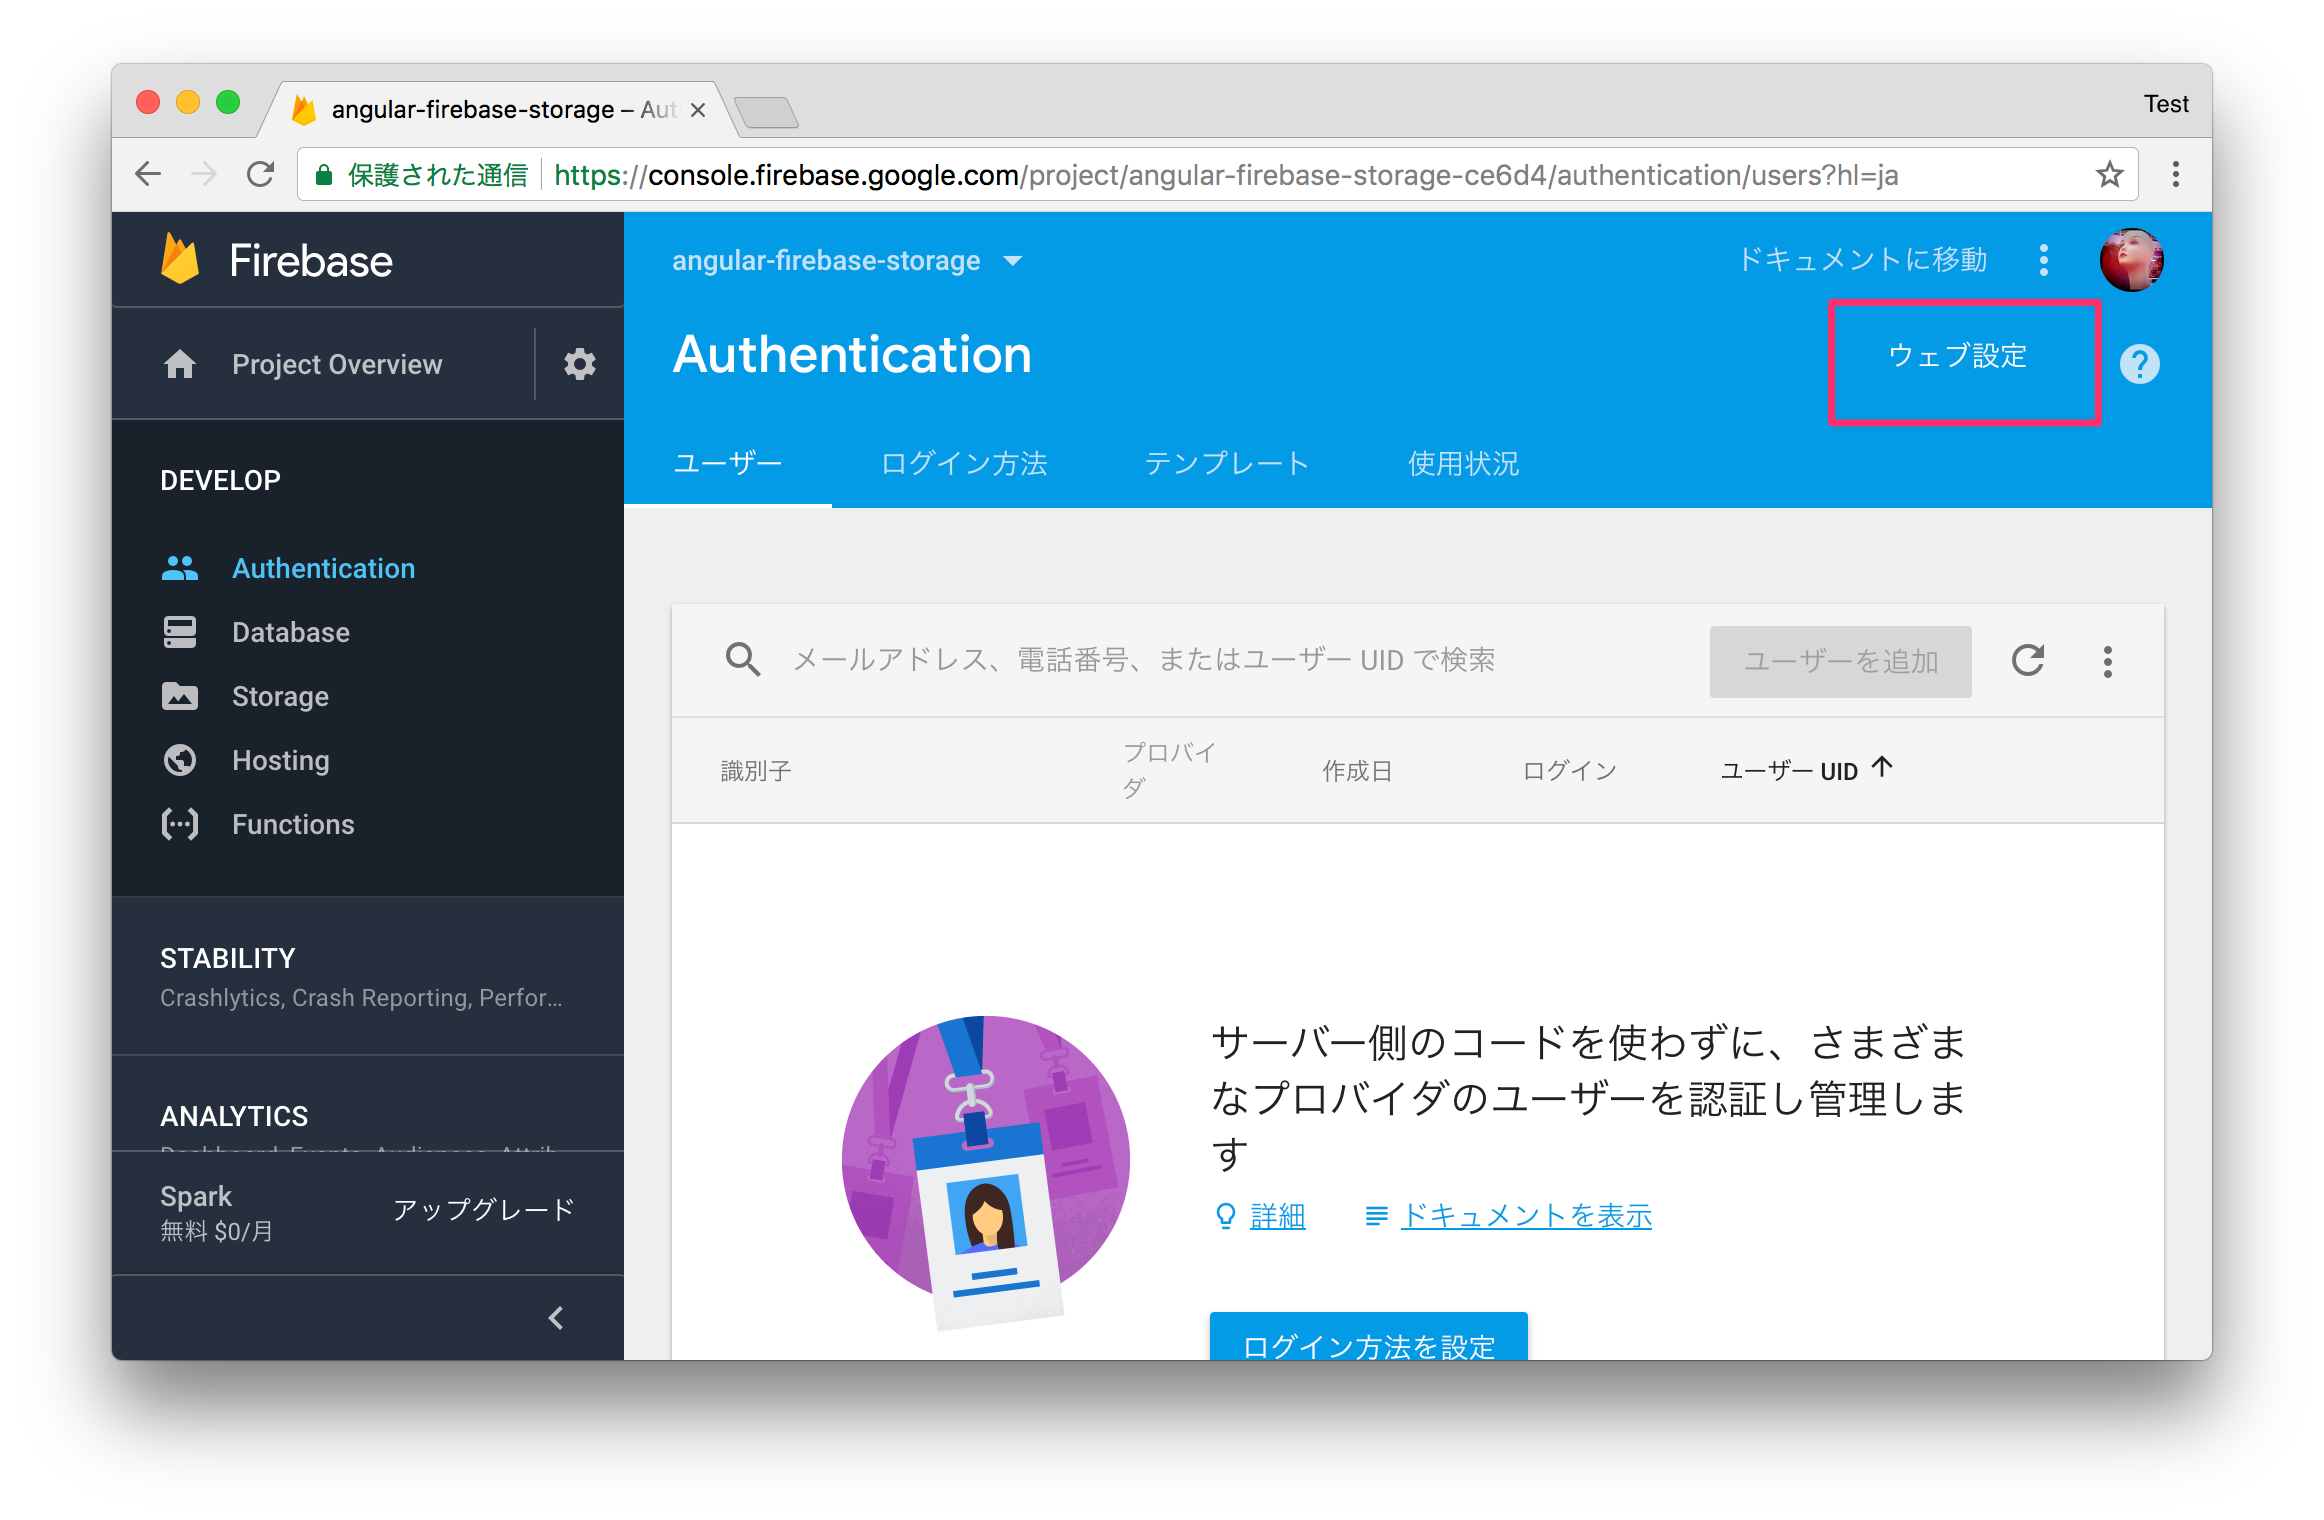
最後に、画面右上の「ウェブ設定」をクリックし表示される設定情報のスニペットのうち次の部分をコピーしておきます。
今回試すCloud Storageとは関係ない設定項目も含まれていますが、ガスっとコピーしてしまいます。
    apiKey: '<your-key>',
    authDomain: '<your-project-authdomain>',
    databaseURL: '<your-database-URL>',
    projectId: '<your-project-id>',
    storageBucket: '<your-storage-bucket>',
    messagingSenderId: '<your-messaging-sender-id>'
firebaseのインストール
冒頭にもある通りAngluarFireではなく、JavaScriptのSDKのfirebaseを使います。
$ npm install --save firebase
アップロード機能を実装するコンポーネントで次のようにインポートしておきます。
import * as firebase from 'firebase';
src/environments/environment.tsを開き、「Firebaseの設定」で取得した設定情報を次のように設定しておきます。
export const environment = {
  production: false,
  firebase: {
    apiKey: '<your-key>',
    authDomain: '<your-project-authdomain>',
    databaseURL: '<your-database-URL>',
    projectId: '<your-project-id>',
    messagingSenderId: '<your-messaging-sender-id>'
  }
};
ファイルアップロードの実装
まずは、コンストラクタ内でfirebaseにプロジェクト情報を設定します。
...
import * as firebase from 'firebase';
import { environment } from './../../environments/environment';

...
  constructor() {
    firebase.initializeApp(environment.firebase);
  }
...
コンポーネントのHTMLテンプレート側です。
inputのchangeイベントにonChangeInput()メソッドをバインドして、ファイル選択がされた際は、即時アップロード処理が呼ばれるようにしています。
<h1>ファイルアップロード🐶</h1>

<!-- テキストファイルを選択するinput -->
<div id="input-area">
  <input type="file" accept="image/*" (change)="onChangeInput($event)">
</div>

<!-- アップロードしたファイルを表示するエリア -->
<a [href]="uploadFileUrl$ | async">{{ uploadFileUrl$ | async }}</a>
次に、コンポーネントのクラス側です(一部省略)。
import { Component } from '@angular/core';
import { Observable } from 'rxjs/Observable';
import { AngularFireStorage } from 'angularfire2/storage';

@Component({
  selector: 'app-file-upload',
  templateUrl: './file-upload.component.html',
  styleUrls: ['./file-upload.component.css']
})
export class FileUploadComponent {
  // ファイルのURL
  public uploadFileUrl$: Observable<string>;

  constructor(private storage: AngularFireStorage) {}

  onChangeInput(evt) {
    const file = evt.target.files[0];

    // フォルダ名を指定
    const filePath = 'upload_files';

    // uploadメソッドでファイルをアップロード
    const task = this.storage.upload(filePath, file);

    // アップロード完了後にダウンロードURLを取得
    this.uploadFileUrl$ = task.downloadURL();
  }
}
確認
開発サーバーでAngularアプリを立ち上げて、確認してみます。
$ ng serve
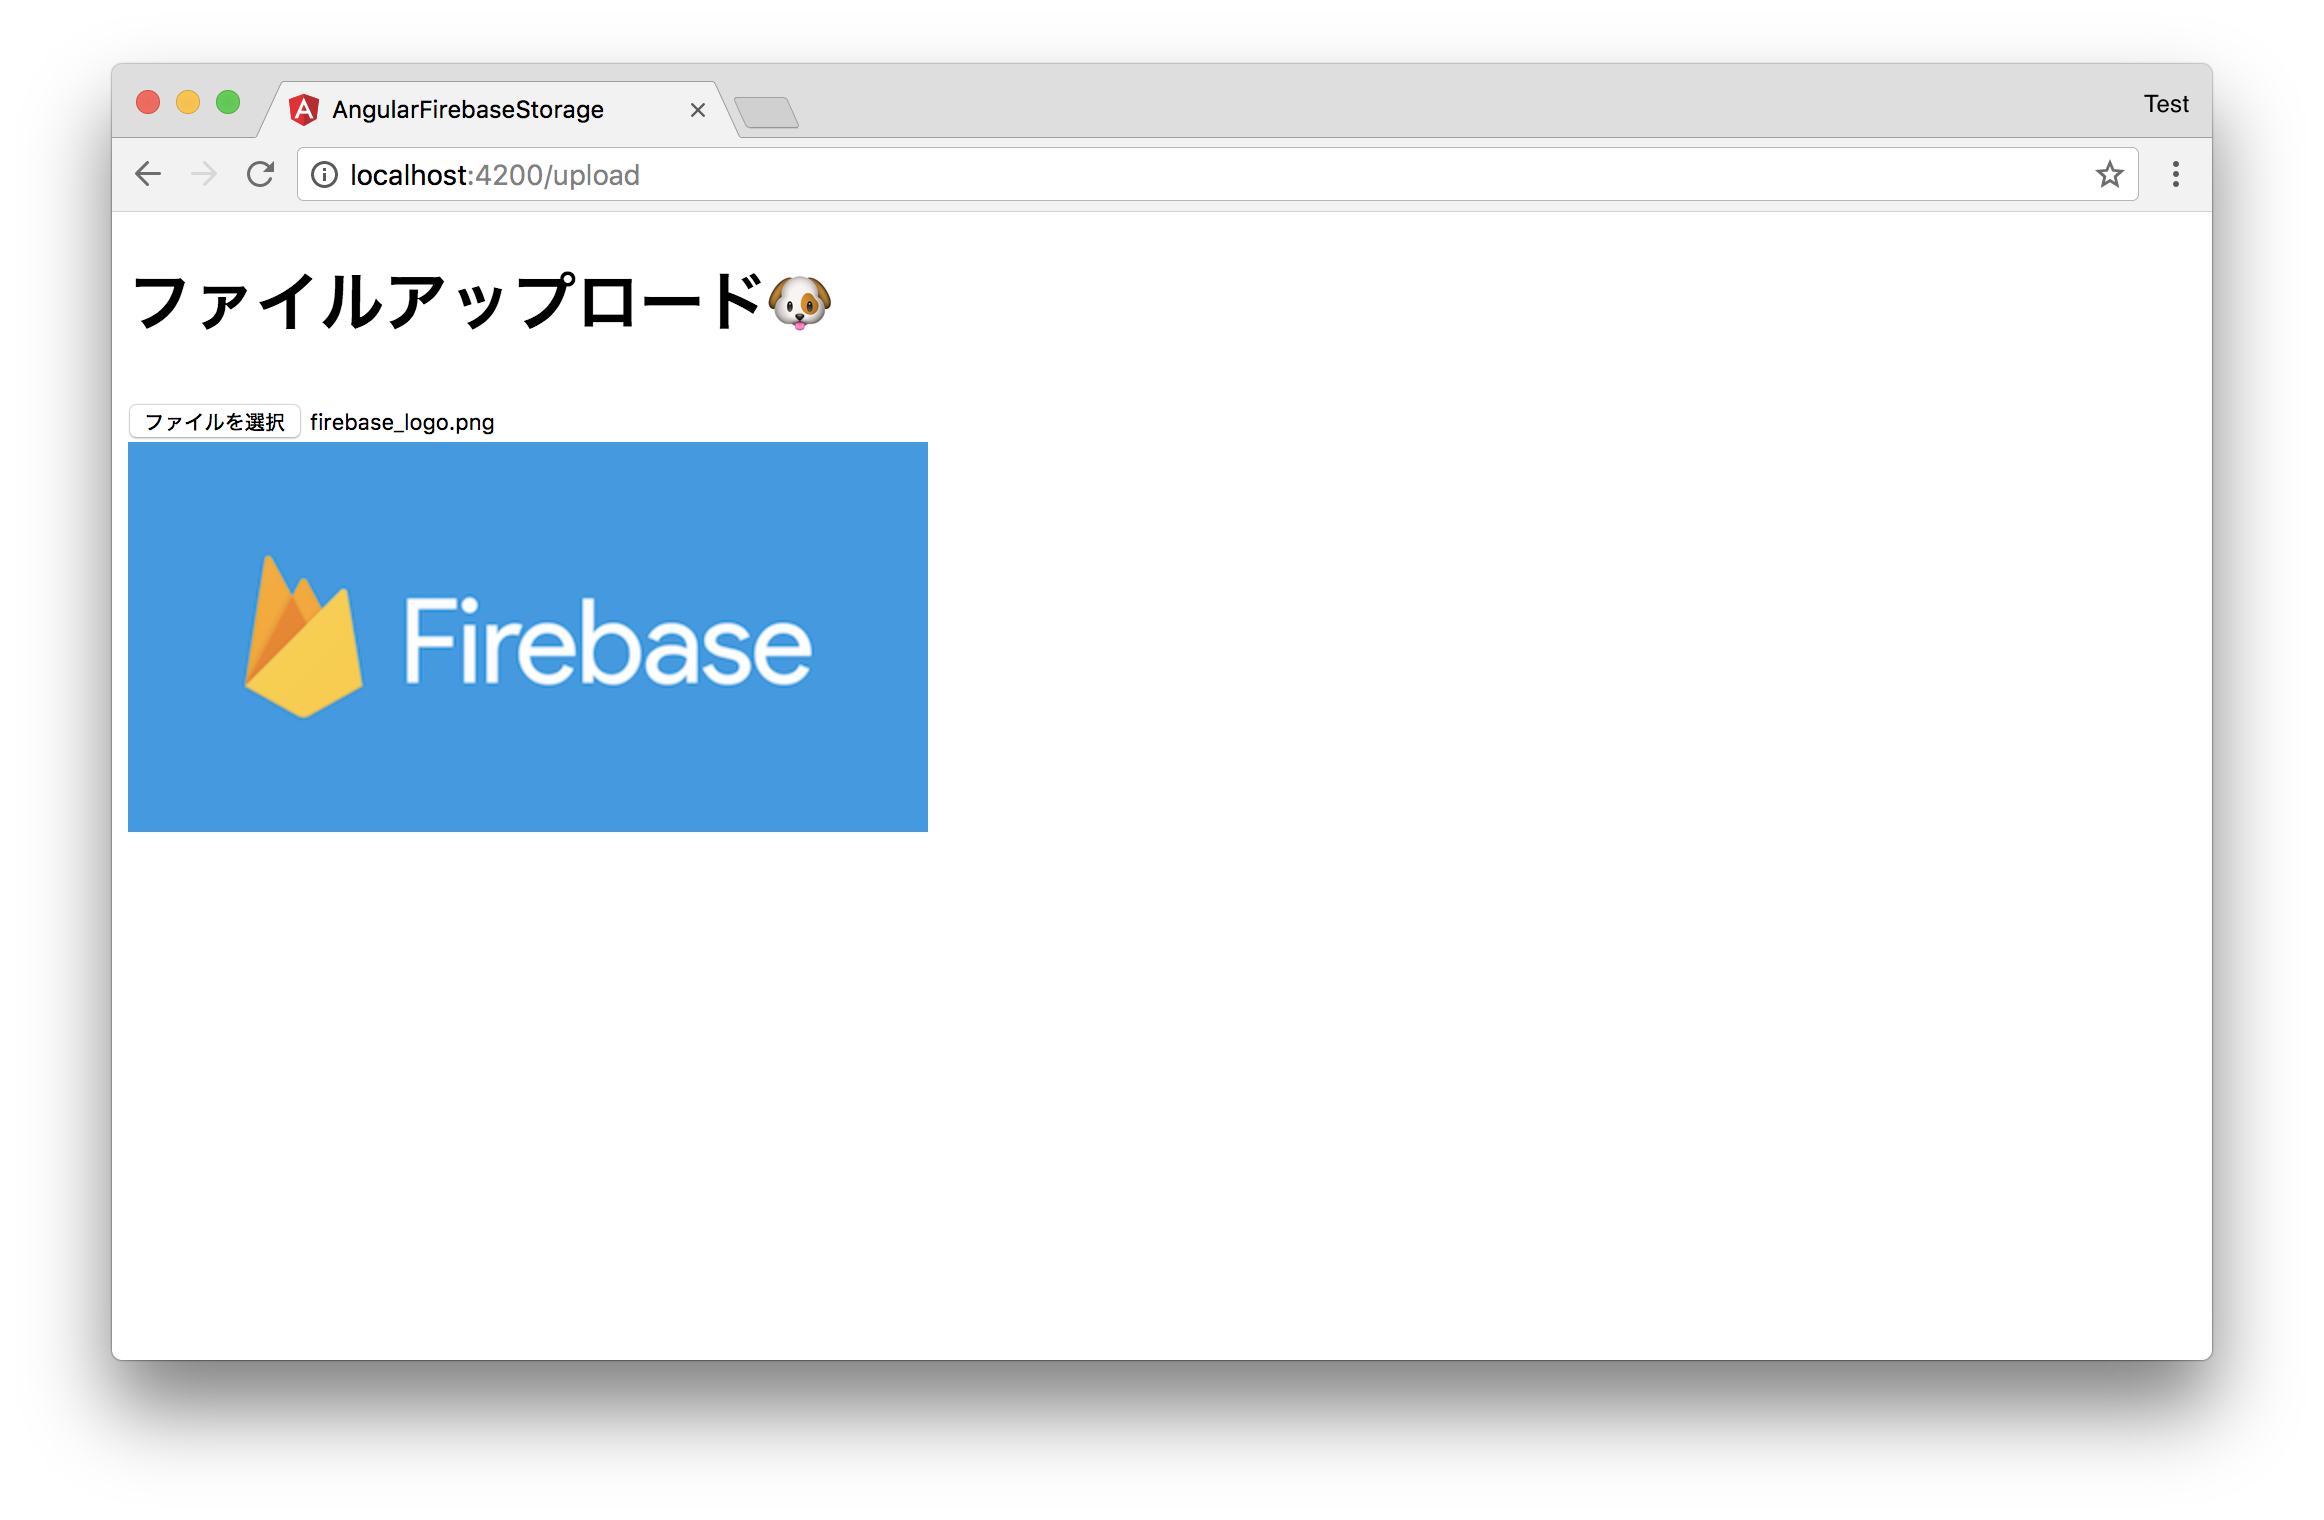
適当な画像ファイルを選択すると...
アップロード結果に含まれるダウンロードURLから読み込んだ画像が表示されます。
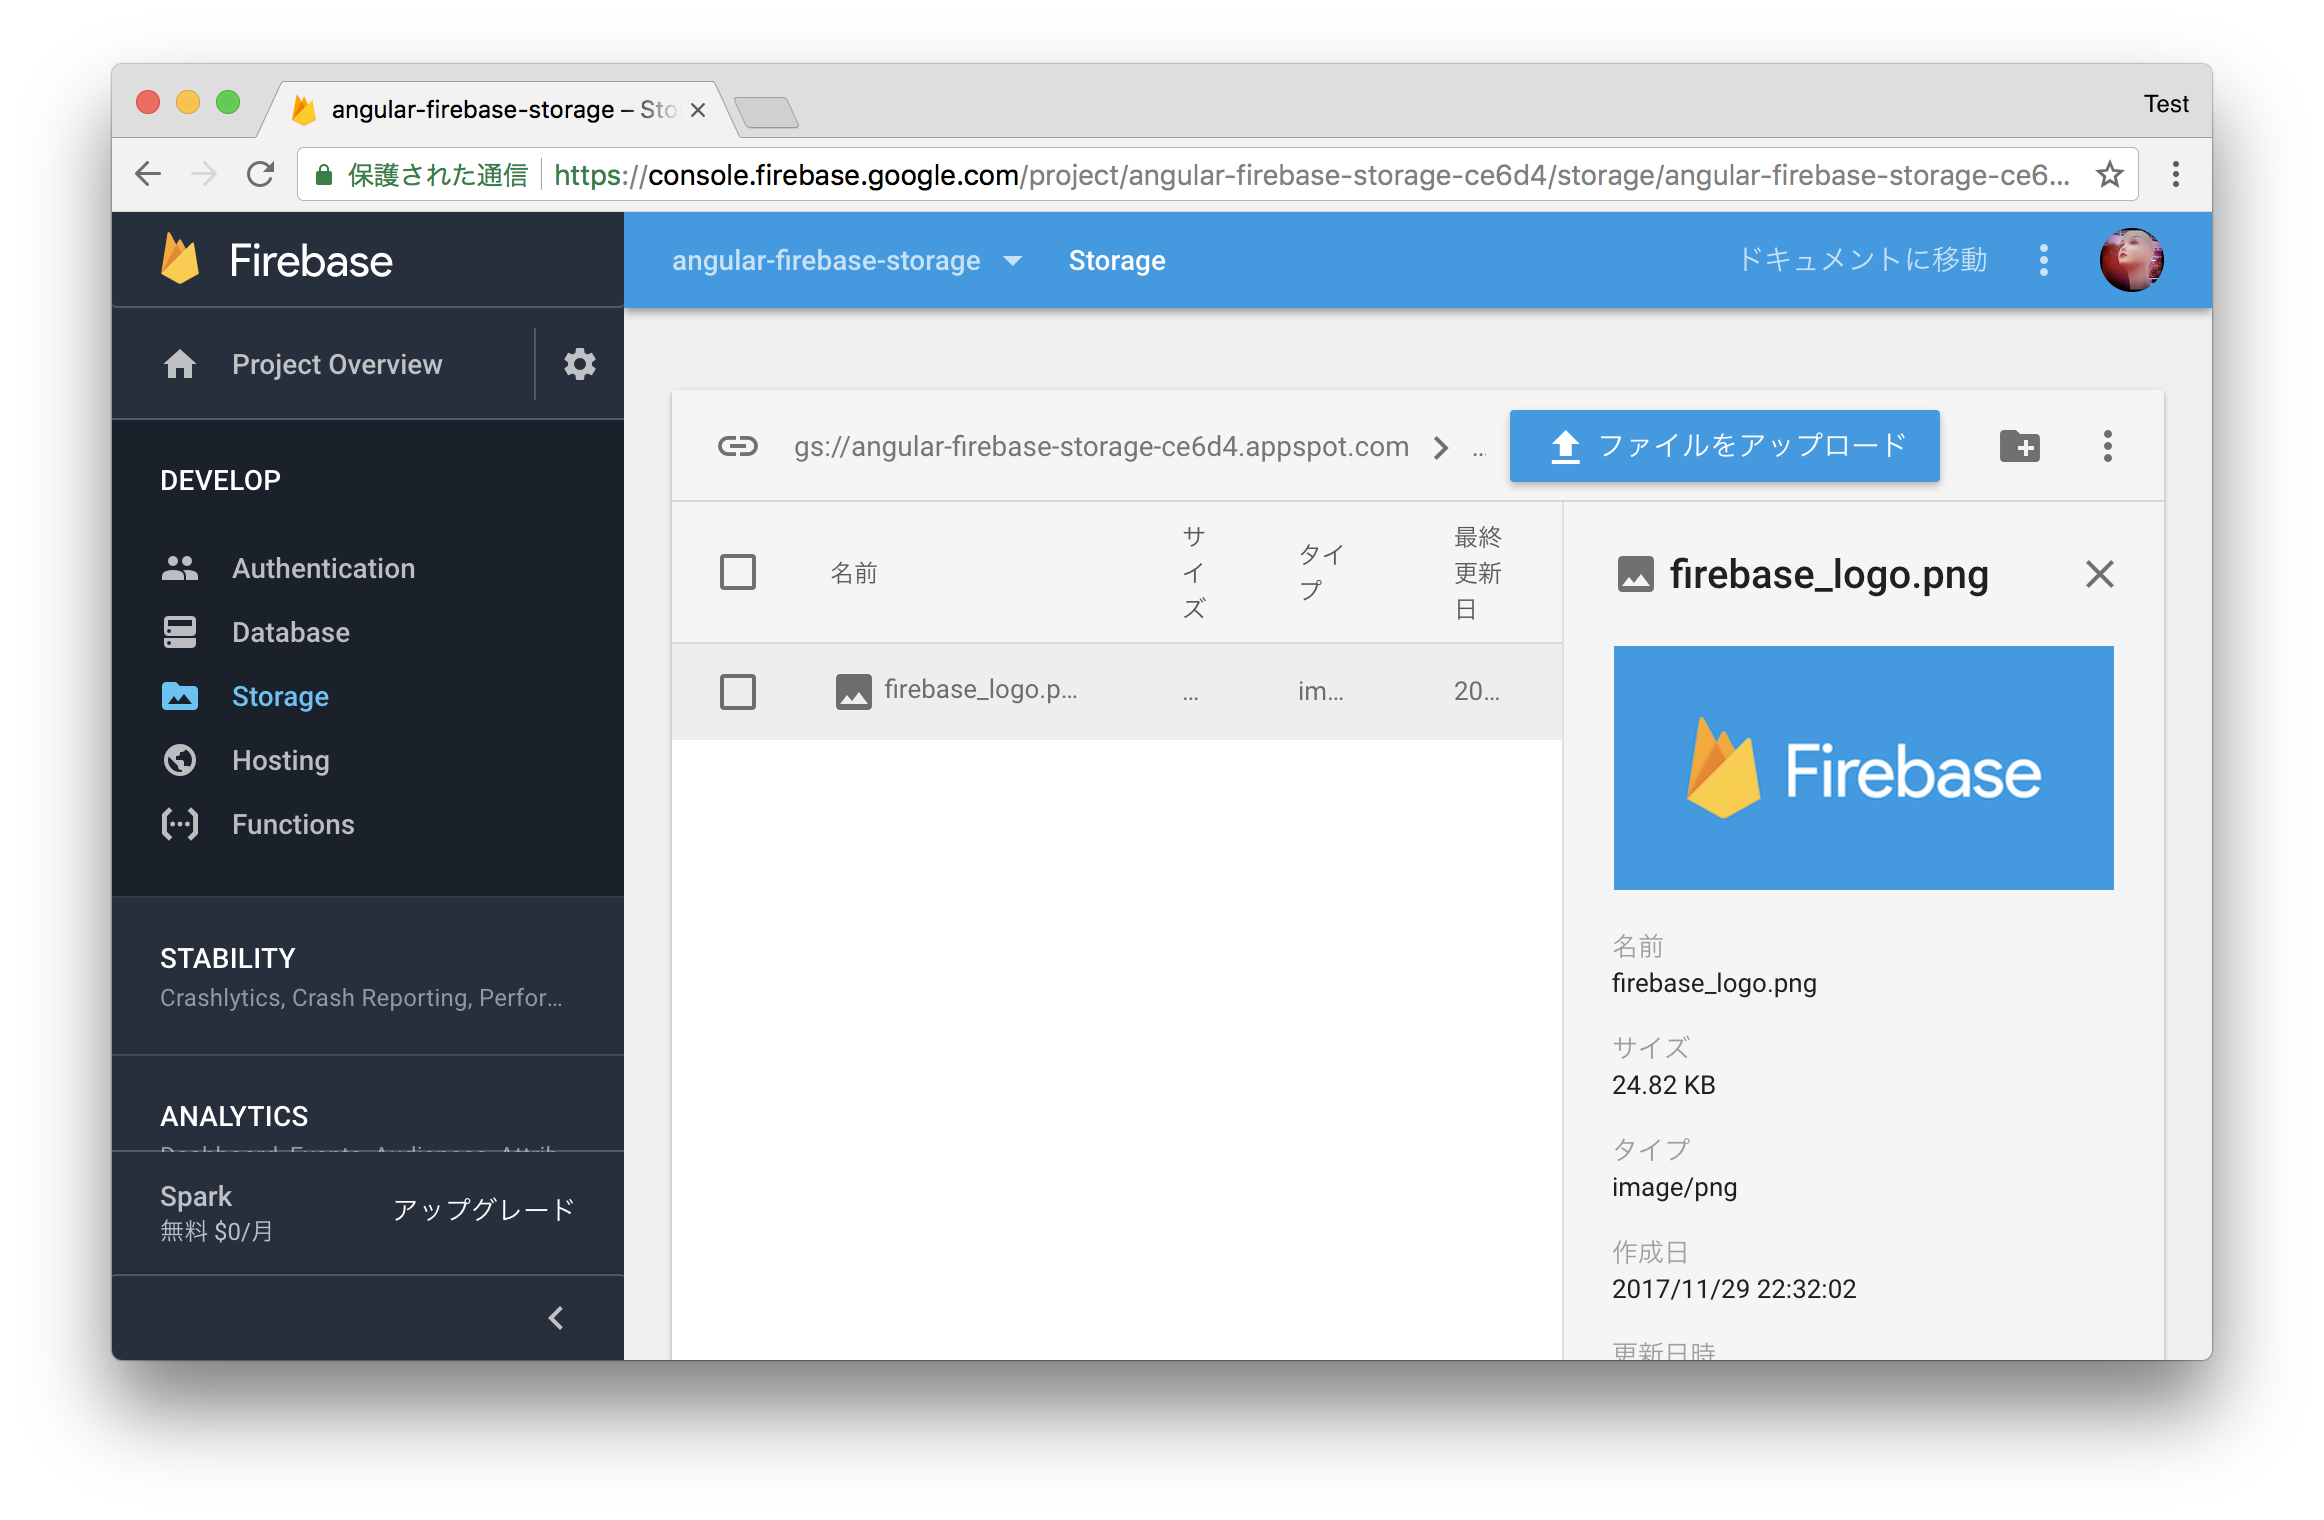
Firebaseのコンソールからも、アップロード済みのファイルが確認できました。
ほんの数行でファイルアップロードが実装できるのすごい...
今回はAngularで試しましたが、使っているはJavaScriptのSDKなので、ピュアのJavaScriptや他のJavaScriptフレームワークでも同様に実装できるかと思います。
以上です。
参考
