はじめに
最近、光沢のあるアニメーションを実装する機会があったので「CoreAnimation で光るコンポーネントを実装してみた」と題して、CoreAnimation による Shimmer Effect の実装と、綺麗にアニメーションを走らせるために手探りしたポイントを記載していきます。
Shimmer Effect とは
一般に Shimmer Effect と聞くと画像のようにスケルトンスクリーンをキラキラと光らせるエフェクトのことを連想します。
主にこのエフェクトは Loading Indicator が欲しい画面に使用されており、コンテンツのロード中であることがより視覚的にわかるので UX 向上が期待できるとされています。
今回はこのエフェクトを、すでに完成された静的な UI コンポーネントに対して後からハイライトをあてる実装のために転用していきたいと思います。
実装方針
UIKit では、Shimmer Effect について次のようにいくつかの実装方針が考えられます。
- 光沢素材を UIView で作成し、対象の View の上でアニメーションさせる
- 対象の View の layer にグラデーションを mask して、アニメーションさせる
- 対象の View の layer にグラデーションを addSublayer してアニメーションさせる
今回は「対象の View の layer にグラデーションを mask してアニメーションさせる」方針で実装を進めます。
既存コンポーネントにどんな view / layer が乗っているかを考慮する必要がある他の選択肢に比べて、既存 UI への副作用が小さいと判断しました。
まず手始めに、CAGradientLayer と CABasicAnimation を組み合わせて、シンプルなものを実装していきましょう。
画像のように、CAGradientLayer を使って view にグラデーションを重ね、CABasicAnimation を使ってグラデーションを動かしていきます。
コードは以下のようになります。
func shimmer() {

    let gradient = CAGradientLayer()
    gradient.colors = [
      UIColor.white.withAlphaComponent(1).cgColor,
      UIColor.white.withAlphaComponent(0).cgColor,
      UIColor.white.withAlphaComponent(1).cgColor
    ]
    gradient.startPoint = CGPoint(x: 0.0, y: 0.5)
    gradient.endPoint = CGPoint(x: 1.0, y: 0.5)
    gradient.locations = [1, 1, 1]

    gradient.frame = CGRect(
      x: 0,
      y: 0,
      width: shimmerView.bounds.width, // shimmerView = 対象の view
      height: shimmerView.bounds.height
    )
    shimmerView.layer.mask = gradient

    let locationsAnimation = CABasicAnimation(keyPath: #keyPath(CAGradientLayer.locations))
    locationsAnimation.fromValue = [0.0, 0.3, 0.3]
    locationsAnimation.toValue = [0.7, 1.0, 1.0]
    locationsAnimation.duration = 1.0
    locationsAnimation.repeatCount = .infinity

    gradient.add(locationsAnimation, forKey: "shimmer")
}
通常の速度
1/3 倍速
カスタム可能なプロパティ
簡単なものが実装できたところで、実現したい挙動に合わせてプロパティに指定する値を変えてみましょう。 ここでは CAGradientLayer / CABasicAnimation のそれぞれについてカスタム可能なプロパティを確認していきます。
CAGradientLayer のプロパティ
グラデーションの色(colors)と位置(location)、配置やサイズ指定(frame)の構成については、基本的に自由度高く設定できますが、特殊な shimmer をかける意図がなければ、以下のように設定します。
func shimmer() {

    let gradient = CAGradientLayer()
    gradient.colors = [
      UIColor.white.withAlphaComponent(1).cgColor,
      UIColor.white.withAlphaComponent(0.3).cgColor, // ここがハイライトカラーになるので、透明度を調整する。
      UIColor.white.withAlphaComponent(1).cgColor
    ]
    gradient.locations = [1, 1, 1] // オール 0 or 1

    gradient.frame = CGRect(
      x: 0,
      y: 0,
      width: shimmerView.bounds.width, // shimmerView = 対象の view
      height: shimmerView.bounds.height
    )
    shimmerView.layer.mask = gradient

    //...
}
ここで、グラデーションの開始 / 終了位置(start/endPoint)が対象の view(shimmerView)の外側になるように x を調整することで、グラデーションが view の途中から始まったり、途中で終わったりするような違和感のある挙動を解消できます。
func shimmer() {
    //...

    // gradation の start 位置. x < 0 (対象の view の左外) となる値を設定する.
    gradient.startPoint = CGPoint(x: -1, y: 0)
    // gradation の end 位置. 1 < x (対象の view の右外) となる値を設定する.
    gradient.endPoint = CGPoint(x: 2, y: 1.5)

    //...
}
CABasicAnimation のプロパティ
基本的なアニメーションについては、回数(repeatCount)や持続時間(duration)、タイミングカーブの種類(timingFunction)を指定できます。
特に、アニメーション開始 / 終了時に取る値(from/toValue)としての、(keyPath に指定した)CAGradientLayer.location を用いて、ハイライトの幅を調整することができます。
func shimmer() {

    //...

    let locationsAnimation = CABasicAnimation(keyPath: #keyPath(CAGradientLayer.locations))
    locationsAnimation.fromValue = [0.0, 0.2, 0.2]  // animation 開始時における gradation color の分岐点. 幅を調整できる.
    locationsAnimation.toValue = [0.8, 1.0, 1.0]  // ... 終了時 ...
    locationsAnimation.duration = 0.4 // animation の持続時間
    locationsAnimation.repeatCount = 1  // animation の回数
    locationsAnimation.timingFunction = CAMediaTimingFunction(name: .easeIn) // animation のタイミングカーブ

    gradient.add(locationsAnimation, forKey: "shimmer")
}
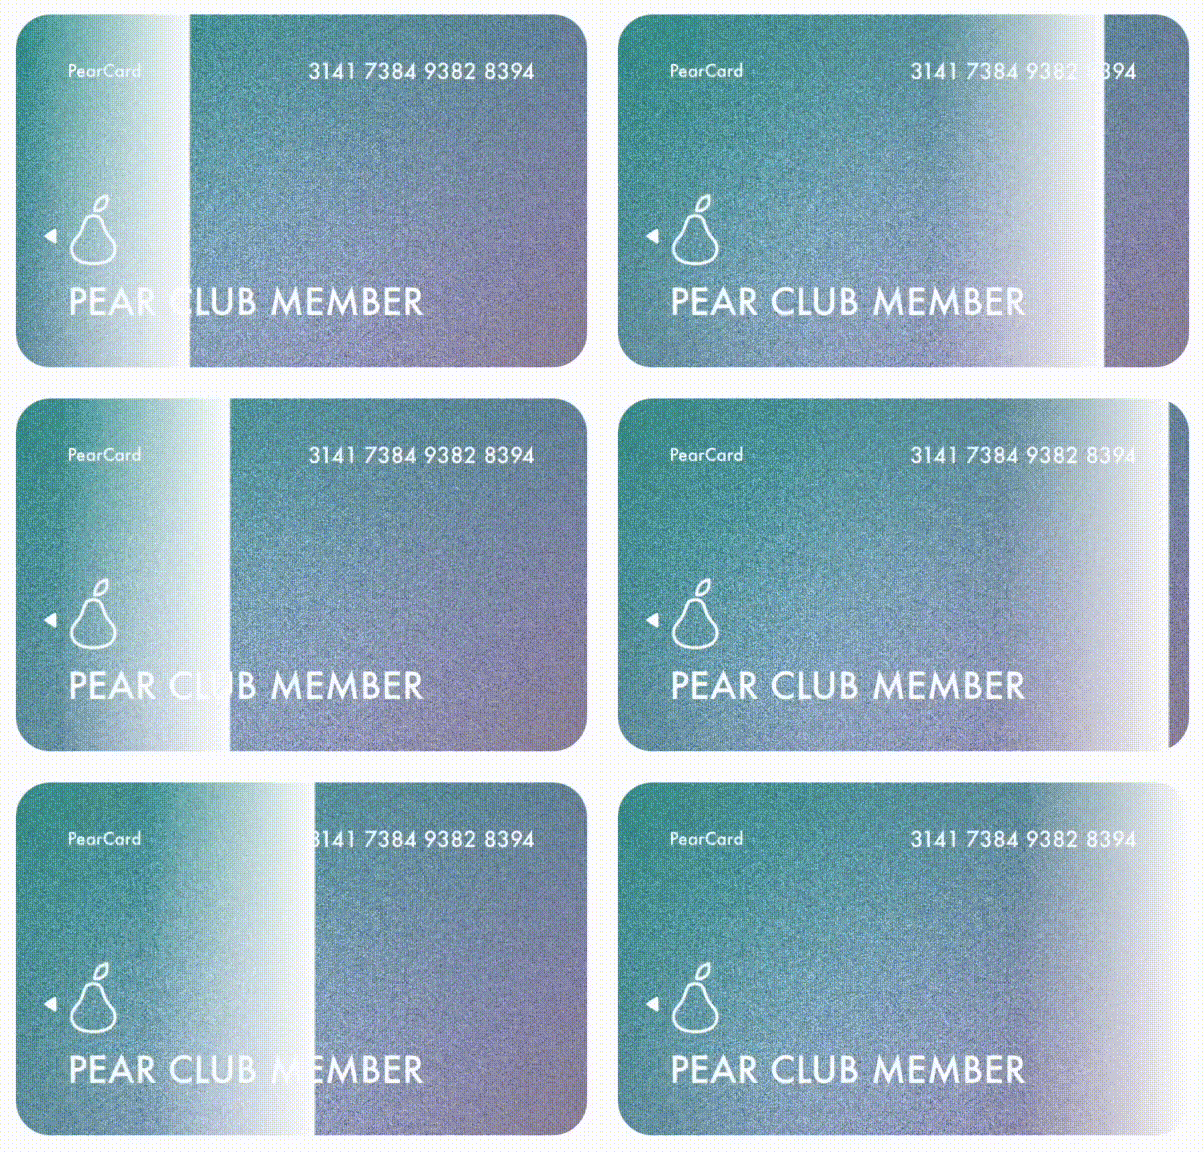
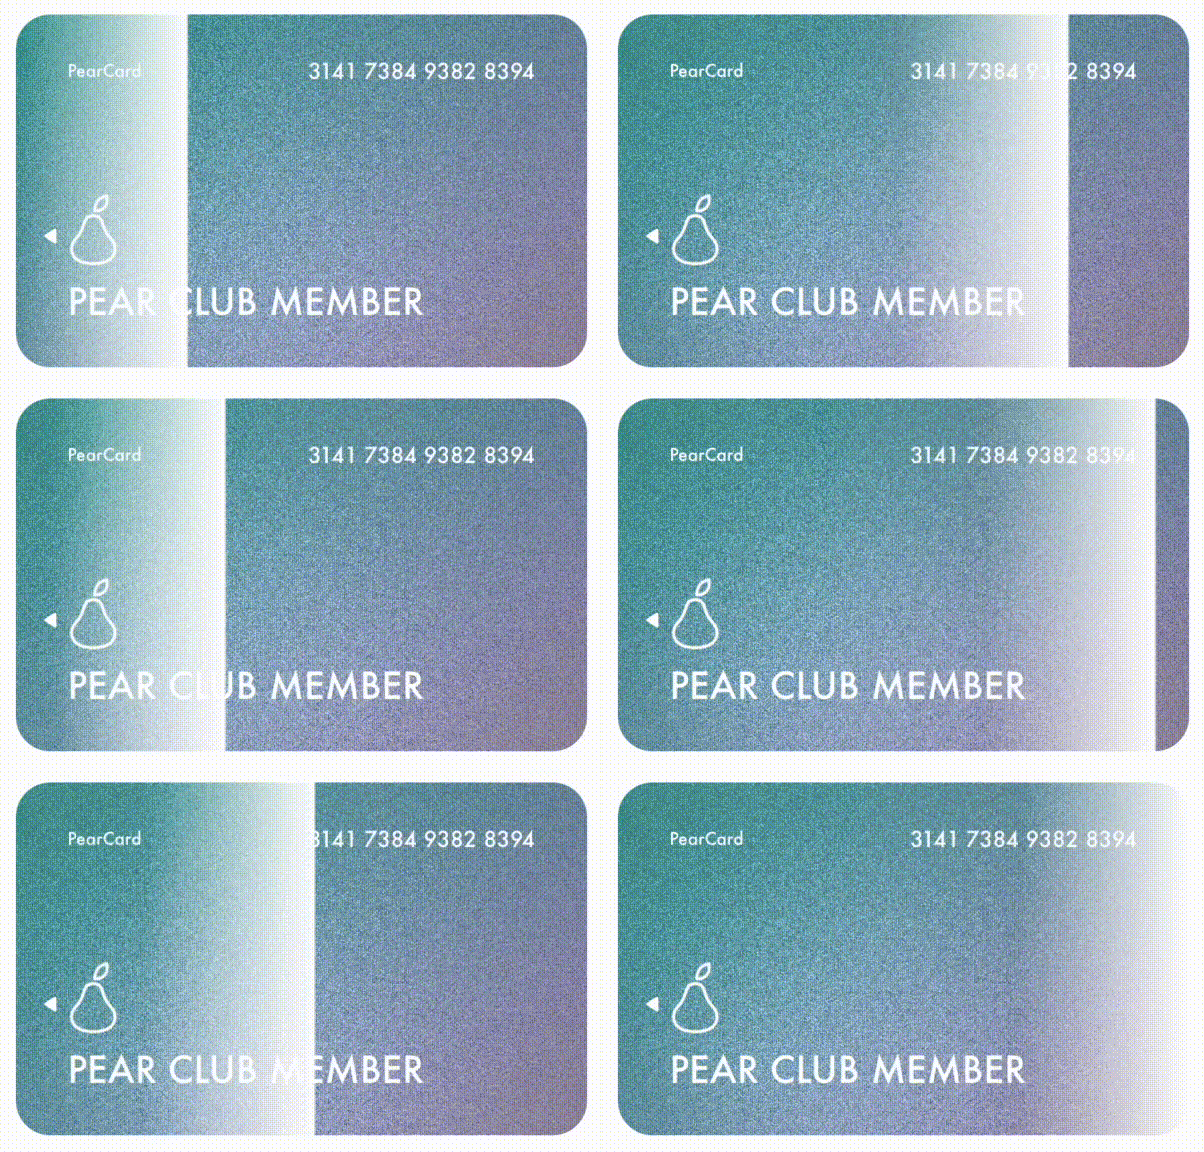
前述のプロパティ変更を反映すると、以下のようなエフェクトになります。 漫画の線のようなパキッとしたエフェクトができました。
通常の速度
1/3 倍速
ぼやけたエフェクトも実装してみた
いま、漫画の線のようなパキッとしたエフェクトを実装しましたが、カードを光らせる表現としては、次のような柔和なエフェクトもあり得ると思ったので、こちらも実装してみました。
実装方針
ポイント1: ハイライトの境目が分からないようにする
先ほどはハイライトの境目を強調するために、隣り合った location に同じ値を設定していました。 今度は逆に隣り合った location に十分な差分を持たせることで、ハイライトの境目を曖昧にします。
CAGradientLayer の直線的な補完はやや強いハイライトの線を作ってしまうため、colors の要素数を増やして、緩やかなグラデーションとします。
ポイント2: ハイライトがカードの隅に行くほど弱く、中心に行くほど強くなるようにする
光量を、アニメーション開始時に弱く、カードの中心線で強く、アニメーション終了時に弱くなるように、加減します。
この時、光量について 弱 - 強 - 弱 の 3 段階の変化が必要になりますが、from/toValue の 2 段階しか変化を持たない CABasicAnimation 単体では、これを実現できません。
なので、ハイライト開始時に弱く、カードの中心線で強くなるアニメーション(appearAnimation)と、カードの中心線で強く、ハイライト終了時に弱くなるアニメーション(disappearAnimation)の 2 種類のアニメーションを実装し、CAAnimationGroup でまとめます。
func shimmer() {

  // colors の要素数を増やして、緩やかなグラデーションにする.
  // 細かな数値は任意.
  let highlightColors: [CGColor] = [
    UIColor.white.withAlphaComponent(1).cgColor,
    UIColor.white.withAlphaComponent(1).cgColor,
    UIColor.white.withAlphaComponent(0.9).cgColor,
    UIColor.white.withAlphaComponent(0.8).cgColor,
    UIColor.white.withAlphaComponent(0.75).cgColor,
    UIColor.white.withAlphaComponent(0.8).cgColor,
    UIColor.white.withAlphaComponent(0.9).cgColor,
    UIColor.white.withAlphaComponent(1).cgColor,
    UIColor.white.withAlphaComponent(1).cgColor
  ]

  let baseColors: [CGColor] = highlightColors.map { _ in
    UIColor.white.withAlphaComponent(1).cgColor
  }

  let gradient = CAGradientLayer()
  gradient.colors = highlightColors
  gradient.startPoint = CGPoint(x: -1, y: 0)
  gradient.endPoint = CGPoint(x: 2, y: 1.5)
  gradient.locations = [1, 1, 1]

  gradient.frame = CGRect(
    x: 0,
    y: 0,
    width: displayView.bounds.width,
    height: displayView.bounds.height
  )
  displayView.layer.mask = gradient

  let locationsAnimation = CABasicAnimation(keyPath: #keyPath(CAGradientLayer.locations))
  locationsAnimation.fromValue = [0.0, 0.04, 0.07, 0.1, 0.12, 0.14, 0.17, 0.2, 0.24]
  locationsAnimation.toValue = [0.76, 0.8, 0.83, 0.86, 0.88, 0.9, 0.93, 0.96, 0.1]

  // カードの中心線を境目に 「appear/dissapear」 させる 2種類のアニメーションを実装することで、実際にカードが傾いているような光量の加減を作る.

  let appearAnimation = CABasicAnimation(keyPath: #keyPath(CAGradientLayer.colors))
  appearAnimation.fromValue = baseColors
  appearAnimation.toValue = highlightColors
  appearAnimation.duration = 0.5

  let disappearAnimation = CABasicAnimation(keyPath: #keyPath(CAGradientLayer.colors))
  disappearAnimation.fromValue = highlightColors
  disappearAnimation.toValue = baseColors
  disappearAnimation.beginTime = 0.5
  disappearAnimation.duration = 0.5

  let animationGroup = CAAnimationGroup()
  animationGroup.duration = 1
  animationGroup.repeatCount = 1
  animationGroup.animations = [locationsAnimation, appearAnimation, disappearAnimation]
  animationGroup.timingFunction = CAMediaTimingFunction(name: .easeInEaseOut)
  gradient.add(animationGroup, forKey: "shimmer")
}
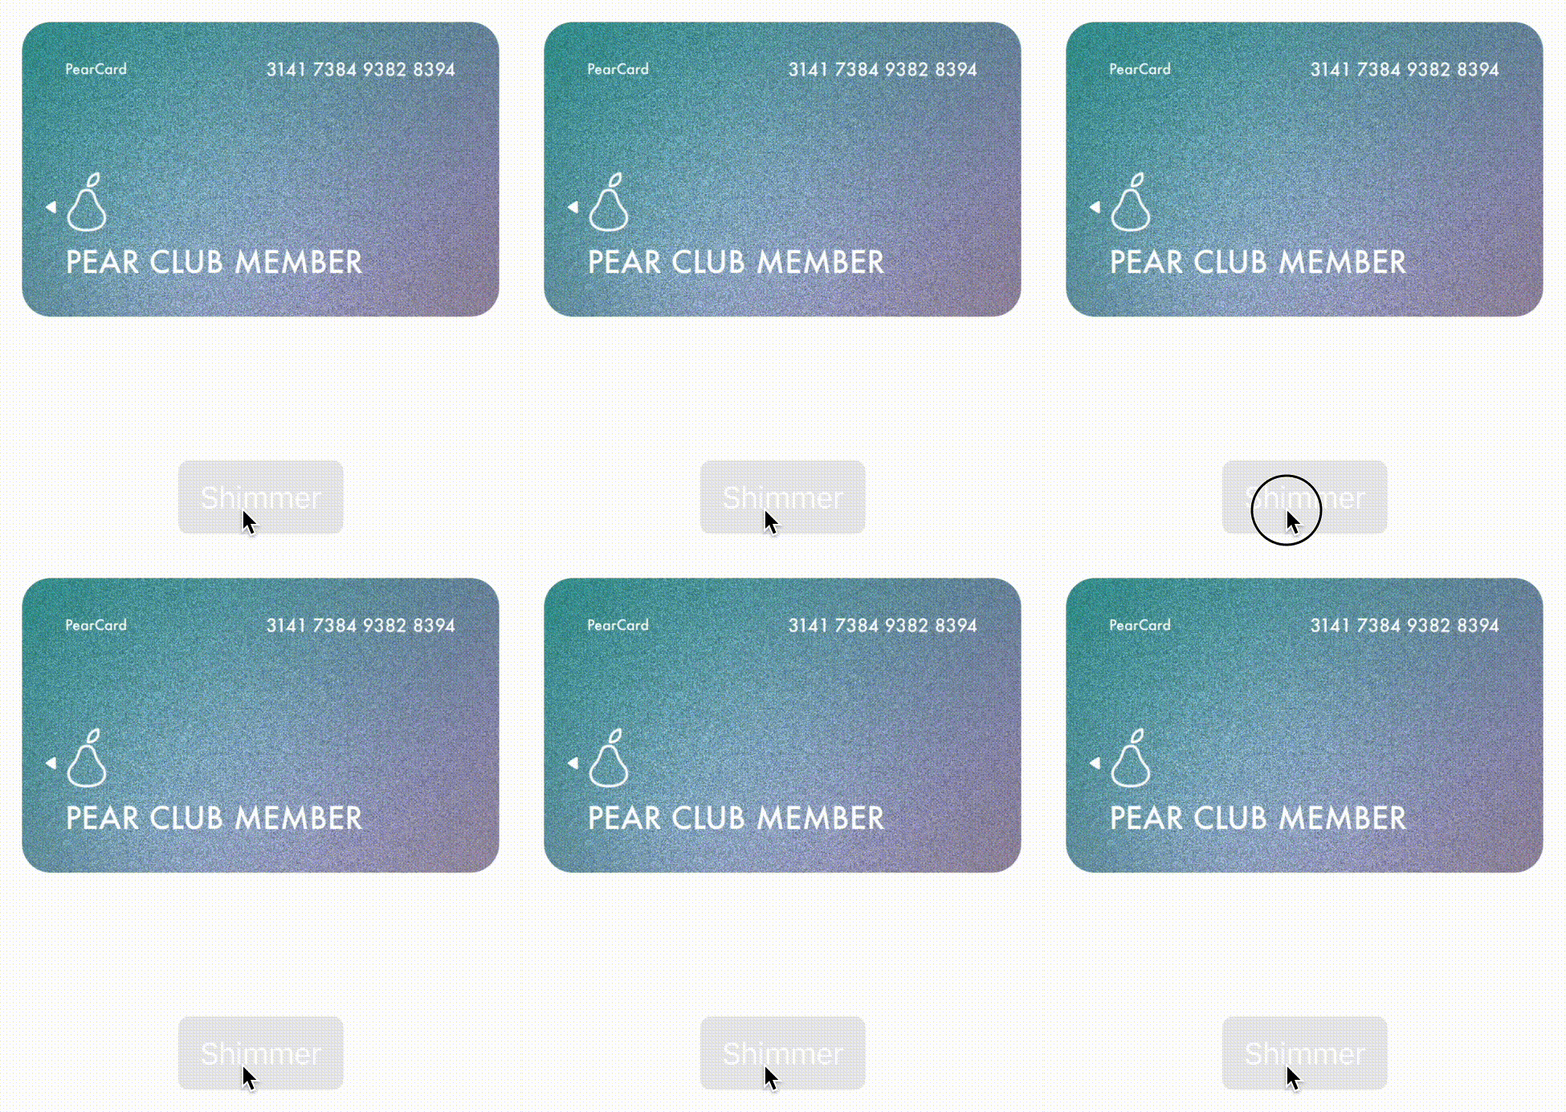
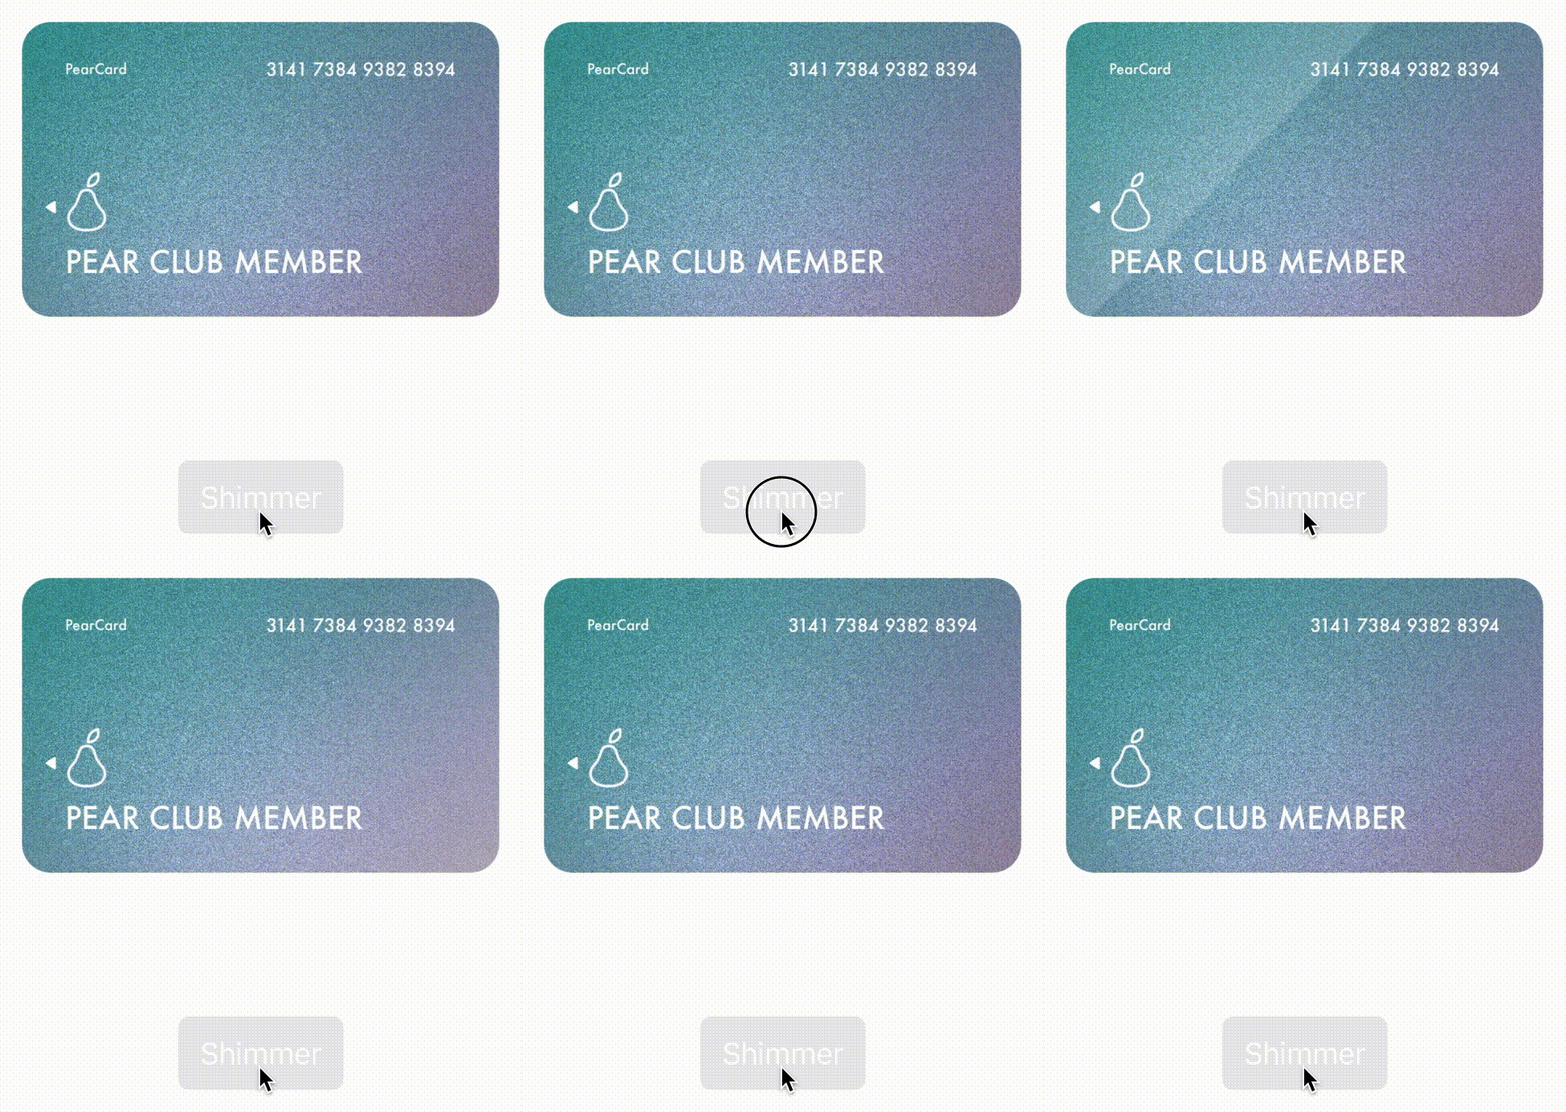
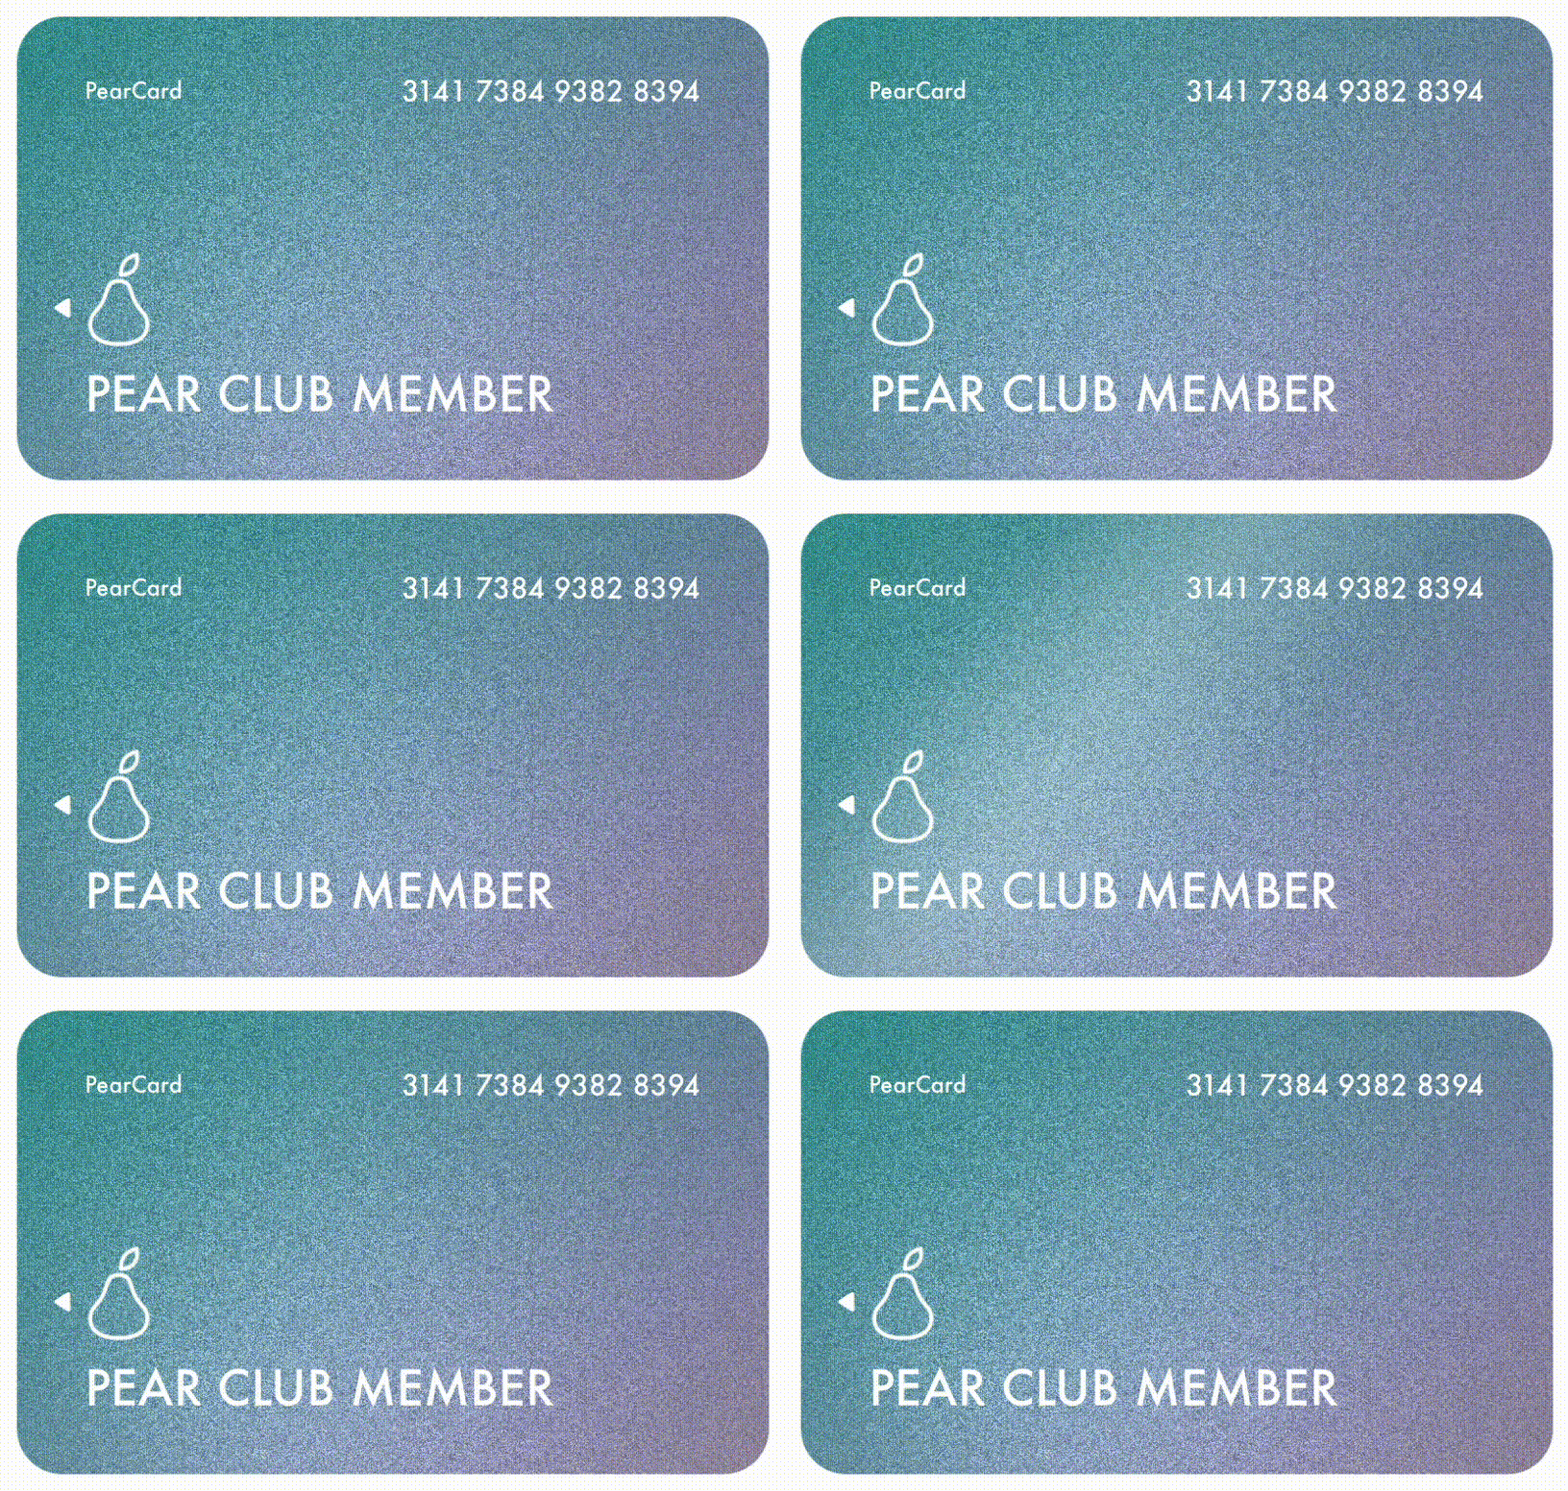
前述の実装を反映すると、以下のようなエフェクトになります。 かすかに実際のカードの反射光を思わせるぼやけたエフェクトができました。
通常の速度
1/3 倍速
まとめ
今日は、光るカードを題材にして Core Animation による Shimmer Effect の実装を紹介してきました。
切断線のようなパキッとしたエフェクトと柔和でぼやけたエフェクトの 2 種類を作成しましたが、漫画のような線と、かすかに実際のカードの反射光を思わせる線と、どちらにも表現としての面白さがあったのではないかと思います。
参考リンク
元記事


