事前開発環境
PC: Ubuntu 16.04.6 LTS
ここからPetalinux ツール インストーラーをDownload して、
https://japan.xilinx.com/support/download/index.html/content/xilinx/ja/downloadNav/embedded-design-tools.html
このコマンドでインストール
sudo apt-get install -y gcc git make net-tools libncurses5-dev tftpd zlib1g-dev   libssl-dev flex bison libselinux1 gnupg wget diffstat chrpath socat xterm autoconf   libtool tar unzip texinfo zlib1g-dev gcc-multilib build-essential libsdl1.2-dev   libglib2.0-dev zlib1g:i386 screen pax gzip
./petalinux-v2019.2-final-installer.run
source ./settings.sh
petalinux-util --webtalk off
~/.bashrc に以下を追加しておく
source ./settings.sh
やったこと
Xilinx Vitis IDE 2019.02版に関する情報が不足してたので、やったことをまとめてみた。
まずは、Projectの作成
Ultra96v2 の場合は、templateにzynqMPを指定する。nameは何でも良くて、作業directoryができる。
$ petalinux-create --type project --template zynqMP --name SimplePS
INFO: Create project: SimplePS
INFO: New project successfully created in /home/xxx/work/SimplePS
petalinux-createで作成したプロジェクトのフォルダに移動
cd SimplePS
次にvivadoで作成した、.xsa ファイルを含むHW Projectのフォルダごとコピーしてきて、
--get-hw-descriptionで指定する。
$ petalinux-config --get-hw-description=./HLS_sample
INFO: Getting hardware description...
INFO: Rename design_1_wrapper.xsa to system.xsa
[INFO] generating Kconfig for project
[INFO] menuconfig project
petalinux-configを実行すると、以下の画面が立ち上がる。
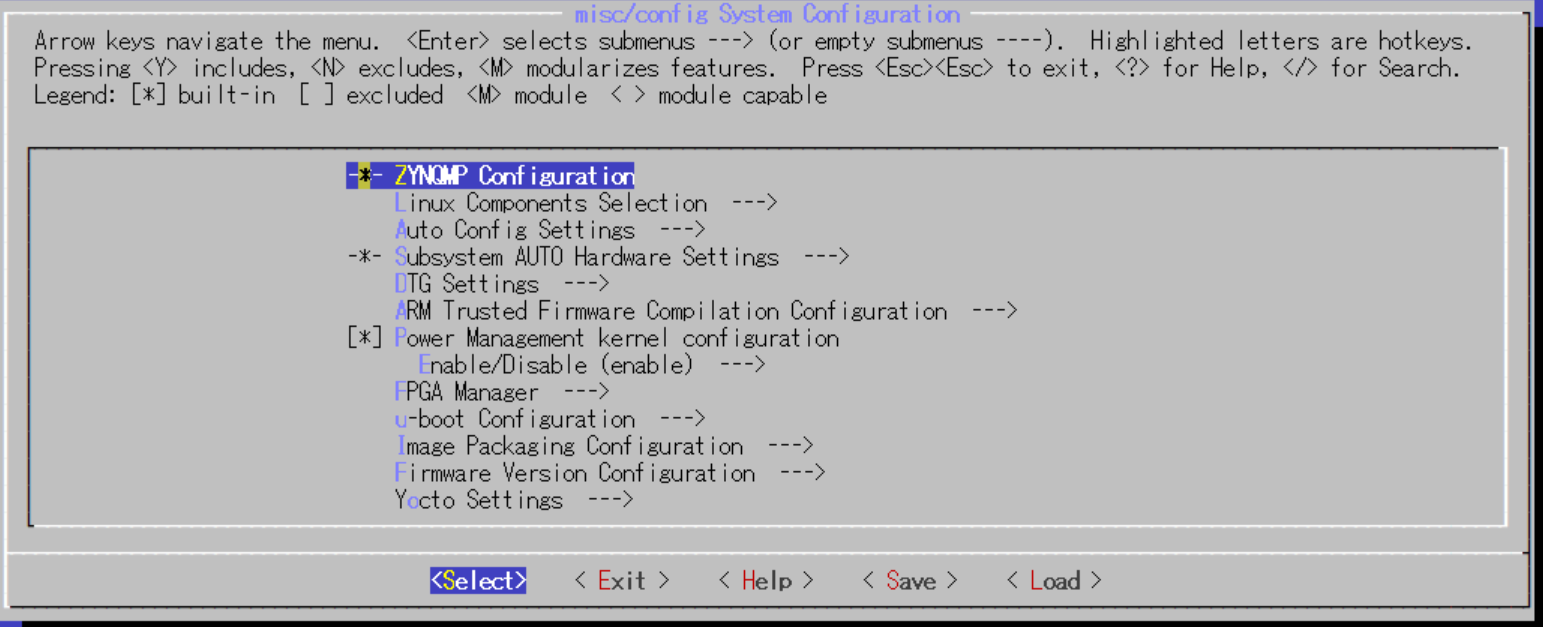
UARTの設定を変更
Subsystem AUTO Hardware Settings を選択して、その中のSerial Settingsに入る。
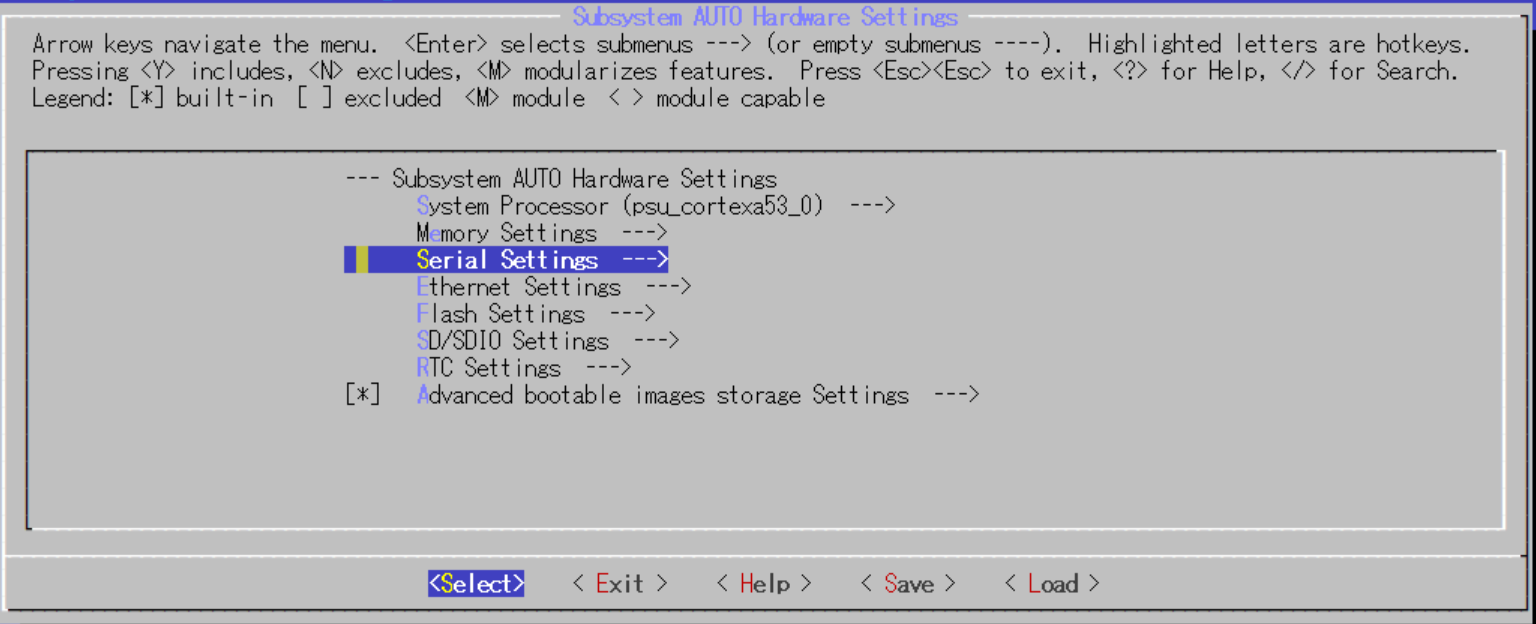
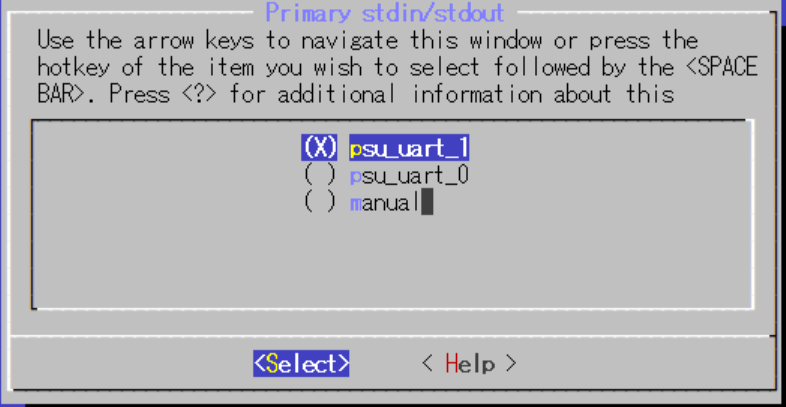
UARTの出力ポートをpsu_uart_0 からpsu_uart_1に変更する。
rootfsのfilesystemにext4を追加
Image Packaging Configuration から、
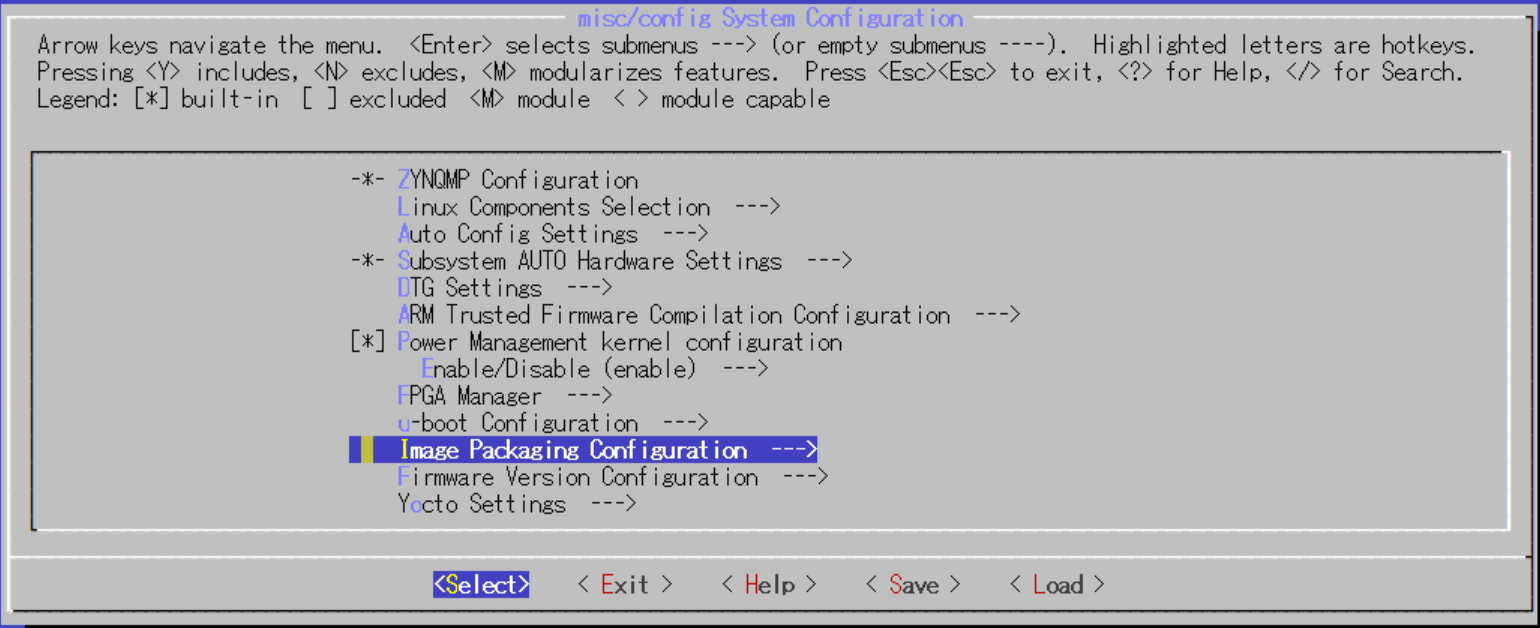
EXT (SD/eMMC/QSPI/SATA/USB)を選択。
Root filesystem type を選択して、


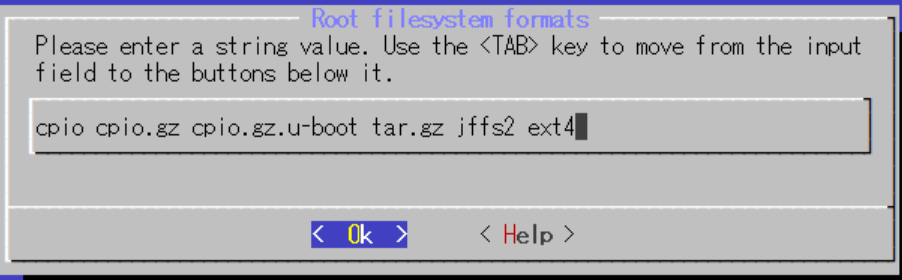
Root filesystem formatsをを選択して、
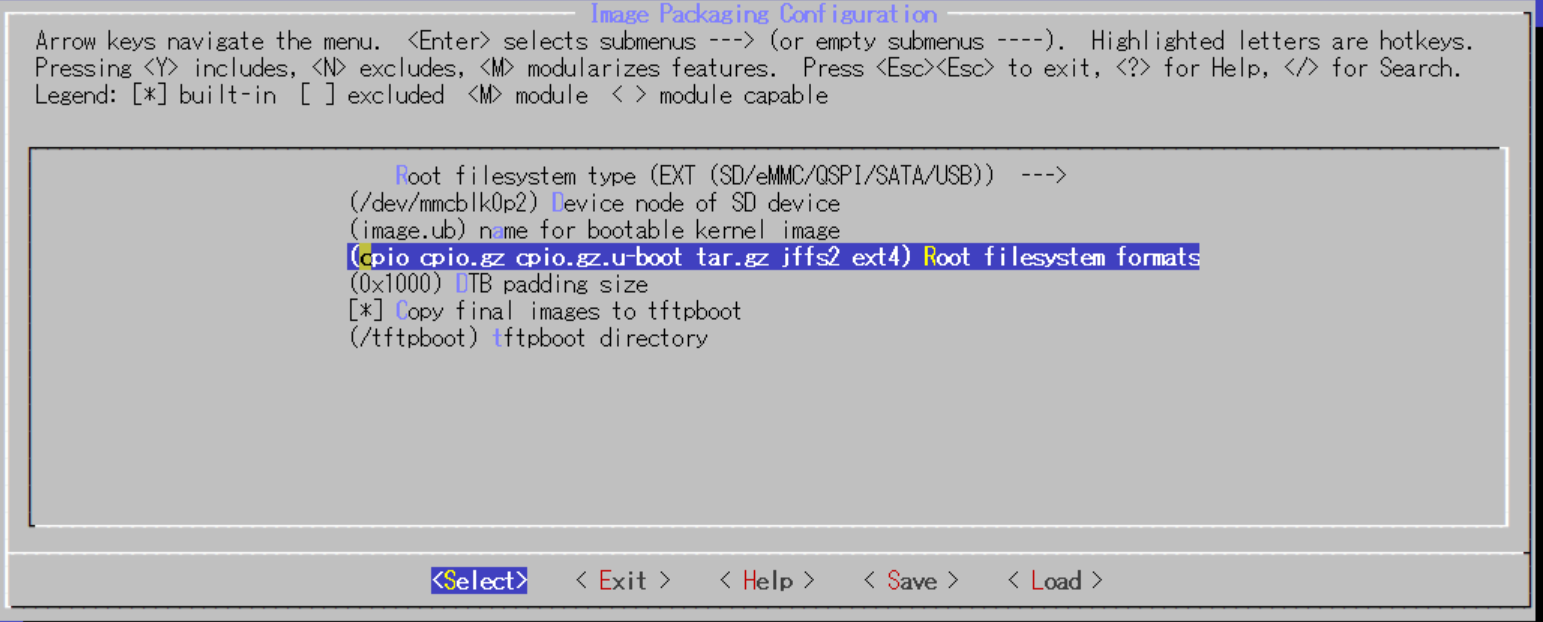
ext4を追加する。
Machine nameの変更
device tree でultra96のものが選択されるようにmachine nameを変更する。
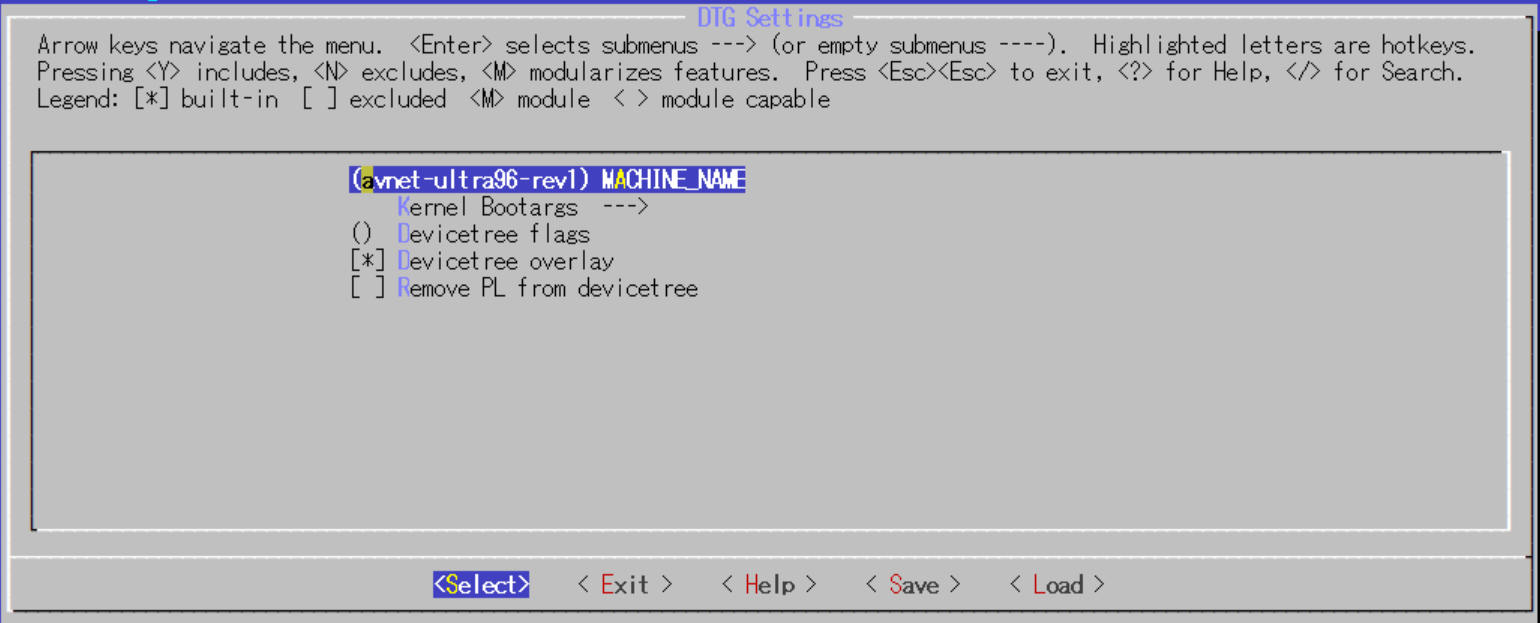
DTG Settingsを選択し、
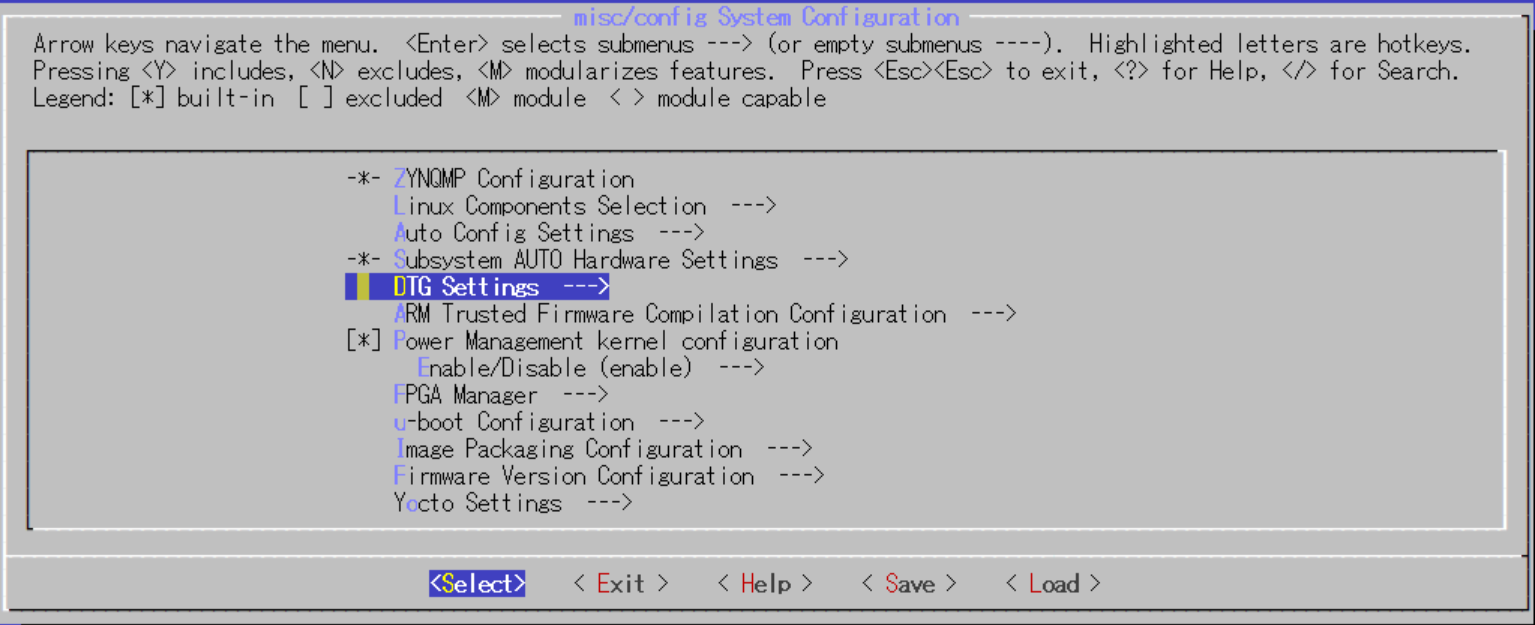
MACHINE NAMEをavnet-ultra96-rev1に変更する。
設定後build 開始
$ petalinux-build
[INFO] building project
[INFO] sourcing bitbake
[INFO] generating user layers
[INFO] generating workspace directory
INFO: bitbake petalinux-user-image
Loading cache: 100% |#################################################################################################| Time: 0:00:01
Loaded 3979 entries from dependency cache.
Parsing recipes: 100% |###############################################################################################| Time: 0:00:05
Parsing of 2893 .bb files complete (2884 cached, 9 parsed). 3980 targets, 155 skipped, 0 masked, 0 errors.
NOTE: Resolving any missing task queue dependencies
Initialising tasks: 100% |############################################################################################| Time: 0:00:04
Checking sstate mirror object availability: 100% |####################################################################| Time: 0:00:01
Sstate summary: Wanted 121 Found 19 Missed 204 Current 799 (15% match, 88% complete)
NOTE: Executing SetScene Tasks
NOTE: Executing RunQueue Tasks
NOTE: Tasks Summary: Attempted 3303 tasks of which 3295 didn't need to be rerun and all succeeded.
INFO: Copying Images from deploy to images
NOTE: Failed to copy built images to tftp dir: /tftpboot
[INFO] successfully built project
build完了後にpetalinux-pacageを実行
$ petalinux-package --boot --force --fsbl images/linux/zynqmp_fsbl.elf --fpga ./HLS_sample/design_1_
wrapper.bit --u-boot
INFO: File in BOOT BIN: "/home/xxx/work/SimplePS/images/linux/zynqmp_fsbl.elf"
INFO: File in BOOT BIN: "/home/xxx/work/SimplePS/images/linux/pmufw.elf"
INFO: File in BOOT BIN: "/home/xxx/work/SimplePS/HLS_sample/design_1_wrapper.bit"
INFO: File in BOOT BIN: "/home/xxx/work/SimplePS/images/linux/bl31.elf"
INFO: File in BOOT BIN: "/home/xxx/work/SimplePS/images/linux/u-boot.elf"
INFO: Generating zynqmp binary package BOOT.BIN...


****** Xilinx Bootgen v2019.2
  **** Build date : Oct 23 2019-22:59:42
    ** Copyright 1986-2019 Xilinx, Inc. All Rights Reserved.

INFO: Binary is ready.
WARNING: Unable to access the TFTPBOOT folder /tftpboot!!!
WARNING: Skip file copy to TFTPBOOT folder!!!
完了後に、images/linux/ 以下に、
BOOT.BIN
image.ub
rootfs.ext4
が作成されているので、これらをSDカードにコピー。
BOOT.BINとimage.ub は vfatでフォーマットされたSDカードのPartitionにコピー
rootfs.ext4はSDカードの別のPartitionにddコマンドで書き込む。