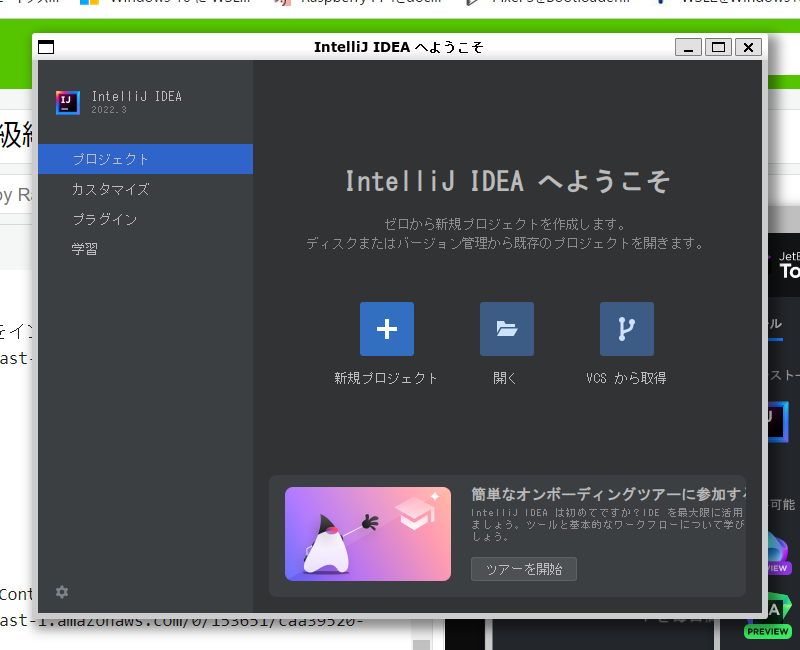
調べれば情報があふれているWSLのインストールからWSLgのインストールですが、
日本語化やinteliJのインストールまで一緒に書かれているのは数少ないかなと思っているのと、
自身や皆様の初期設定用のメモとして
手順
1.WSLのインストールがまだの場合はここから
1.1.WSLインストール
管理者権限でコマンドプロンプトを開いて、以下を実行
wsl --install
1.2.好きなDistoributionをインストール
WindowsStoreで探してインストール
ここではUbuntu

1.3.Linuxの初期設定
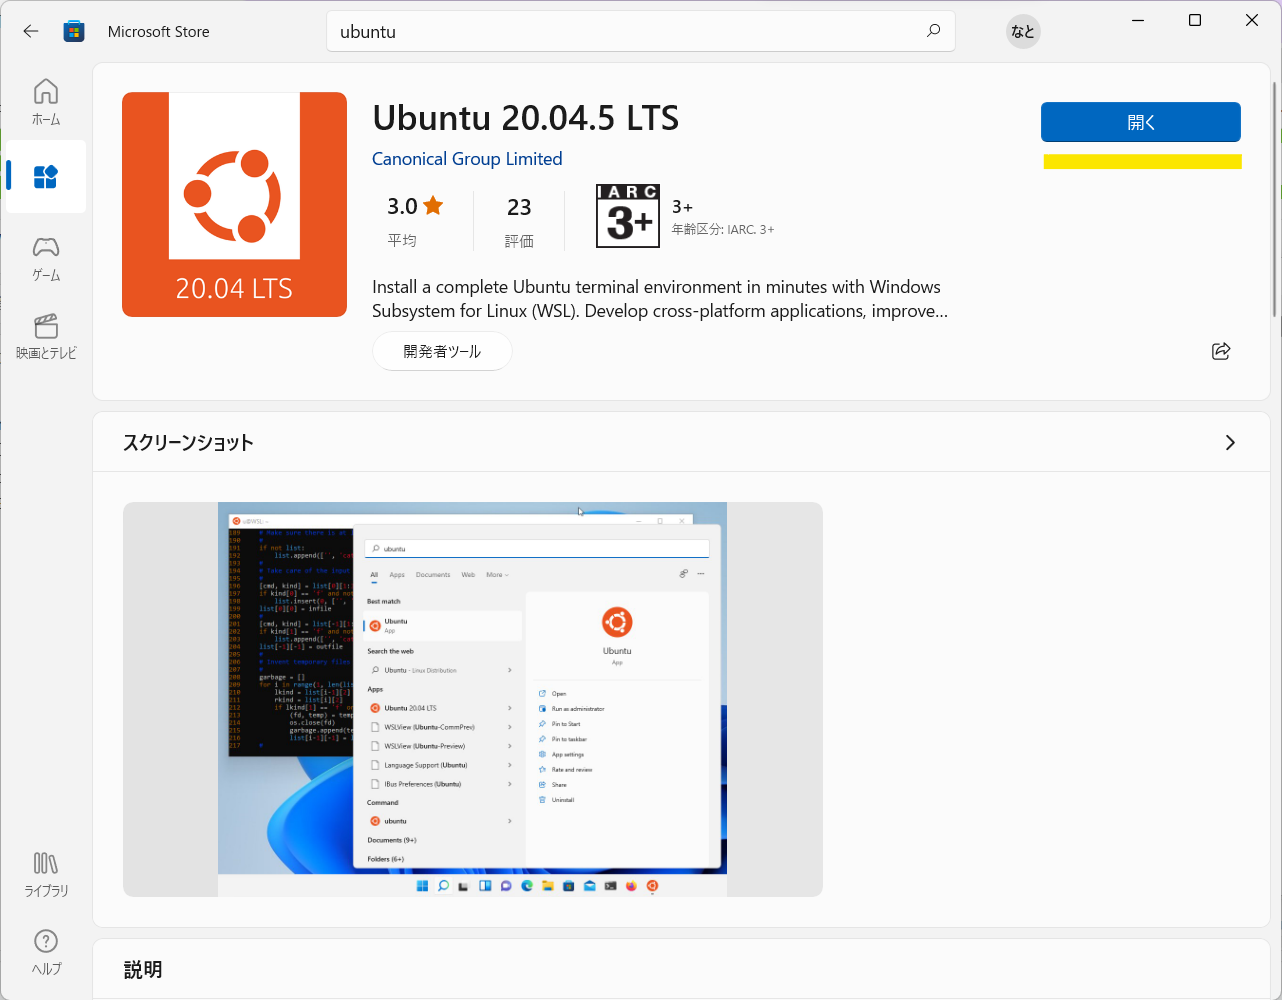
開くボタンでターミナルを開いてユーザー名、パスワードを設定して完了。
2.WSLgの設定
※ ここからはWindows 11, version 22H2が入っていることが前提なので、まだ入ってない方は先にUPDATEしましょう。
公式手順はこちら
2.1.WSLのインストールがWindows 11, version 22H2のアップデートまえの場合のみ必要な作業
wsl --update
2.2.vGPUドライバのインストール
WSL 用 Intel GPU ドライバー
WSL 用 AMD GPU ドライバー
WSL 用 NVIDIA GPU ドライバー
私のPCはAMD RADEONなのでAMDのGPUドライバをインストールしました
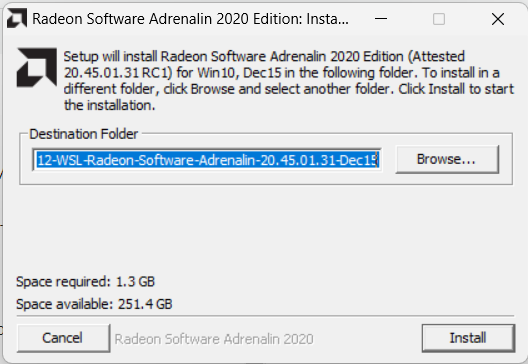
2.3. WSLgでGUIアプリが起動できるようになったか確認
ここではgvimをinstallして確認
sudo apt update
sudo apt show vim-gtk3
gvim {開きたいファイル名}
3.日本語フォントと日本語入力の設定
準備として以下を実行
sudo apt update
sudo apt upgrade -y
3.1.Windows上のフォントをWSLからも使えるようにする
/etc/fonts/local.conf ファイルに以下を書き込む(sudo で書き込む)
<?xml version="1.0"?>
<!DOCTYPE fontconfig SYSTEM "fonts.dtd">
<fontconfig>
    <dir>/mnt/c/Windows/Fonts</dir>
</fontconfig>
<!-- Created by bash script from https://astherier.com/blog/2021/07/windows11-wsl2-wslg-japanese/ -->
3.2.日本語パックとlocaleの設定
sudo apt -y install language-pack-ja
sudo update-locale LANG=ja_JP.UTF8
3.3.FcitxとMozcをインストールし、関連の設定
sudo apt install -y fcitx-mozc dbus-x11
sudo sh -c "dbus-uuidgen > /var/lib/dbus/machine-id"
~/.profileに以下を書き込む
#Added by bash script from https://astherier.com/blog/2021/07/windows11-wsl2-wslg-japanese/
export GTK_IM_MODULE=fcitx
export QT_IM_MODULE=fcitx
export XMODIFIERS=@im=fcitx
export DefaultIMModule=fcitx
if [ $SHLVL = 1 ] ; then
  (fcitx-autostart > /dev/null 2>&1 &)
  xset -r 49  > /dev/null 2>&1
fi
#Added by bash script: end
terminalの再起動
3.4.日本語入力設定
以下でGUIの設定画面を起動
fcitx-config-gtk3
以下のような画面でMozcが含まれているのを確認。含まれていなければ左下の「+」ボタンでMozcを追加

全体の設定タブで日本語入力の切り替え(Trigger Input Method)方法を使いやすいショートカットで設定

4.inteliJのインストール
4.1JetBrains Toolboxのインストール
公式の手順に沿ってインストール
Windows上にファイルをダウンロードした場合はExplorerから以下のパスを辿ってファイルの移動をおすすめします

公式の手順に沿ってバイナリを実行すると以下の画面が表示される
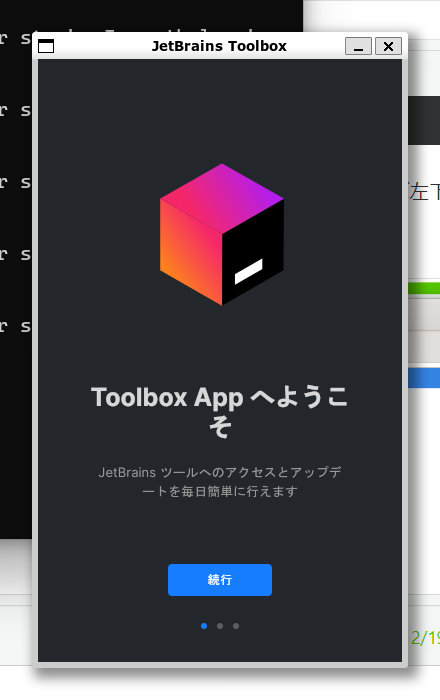
手順に沿って以下の画面まできたら、自身に必要なInteliJをインストール。ここでは Comunity Edition

4.2.inteliJ起動
以下のコマンドで起動
idea
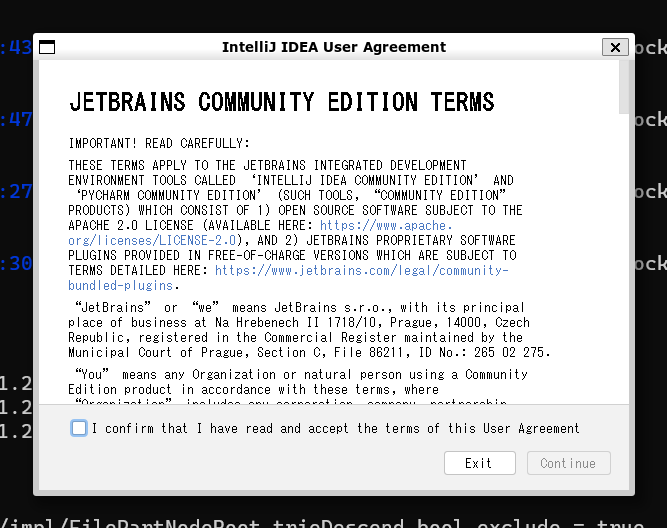
初期起動では以下のWindowが開かれるので、規約に同意してContinue
参考文献
https://learn.microsoft.com/ja-jp/windows/wsl/tutorials/gui-apps
https://astherier.com/blog/2021/07/windows11-wsl2-wslg-japanese/#


