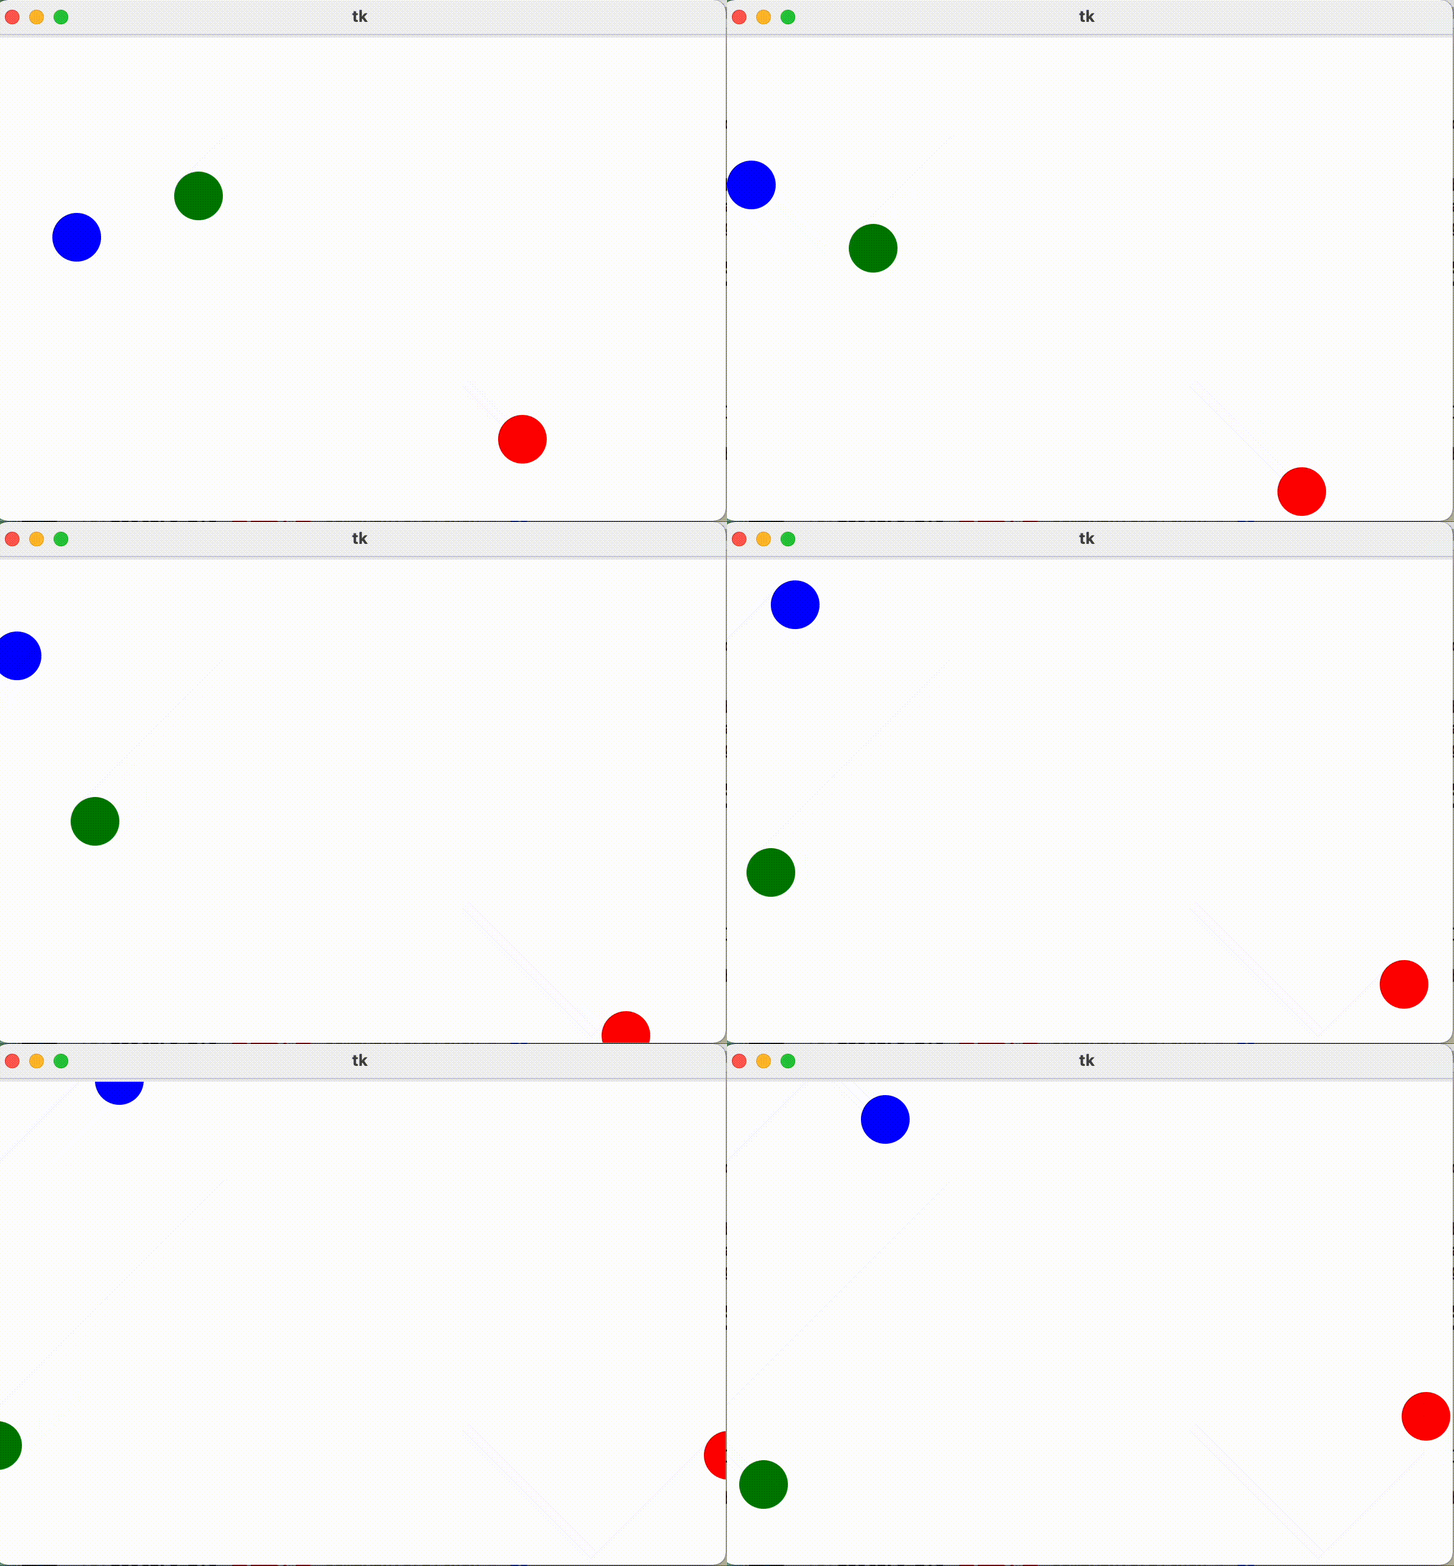
今日は「跳ね回るたまたま」を作っていきます.何か大きなものを作るのも,小さなステップの積み重ねです.小さな動く枠組みから初めて,徐々に細かい動作を付け足していく,ゲームやアニメを作るのとよく似た作業です.アーティストになったつもりで,一歩先の動作を思い描きながら,コードを少しずつ改良していってください.
- 動作がおかしい時は,その前の段階からいじったコードに間違いがあります.
- その該当するテキスト(教科書)をじっくり読み込むようにしてください.
- 作業を一つ飛ばしているとか,1行飛ばしたとか,一文字違ったとか.
- 出力されたエラーを読んでください.
- まずはエラー行と単語をチェックしてください.
これだけでもコーディング効率は格段に上がります.
課題
テキストp.211までのいくつかのボールを動かすプログラムを作成して,LUNAに提出しなさい.
発展課題(ボーナス3点)
クラス化した「跳ねる球たま」を作成しなさい.ただし,教科書のコードはあんまりよくないので,
を参照したコードを出しなさい.スピードが違います.
red:日の丸作成
 1  import tkinter as tk
 2
 3  root = tk.Tk()
 4  root.geometry("600x400")
 5
 6  canvas = tk.Canvas(root, width=600, height =400, bg="white")
 7  canvas.place(x=0,y=0)
 8
 9  canvas.create_oval(300-20, 200-20, 300+20, 200+20,fill='red',width=0)
10
11  root.mainloop()
click:クリックに反応
 1  import tkinter as tk
 2
 3  x=300
 4  y=200
 5
 6  def click(event):
 7      global x,y
 8      x = event.x
 9      y = event.y
10      canvas.create_oval(x-20, y-20, x+20, y+20,fill='red',width=0)
11
12  root = tk.Tk()
13  root.geometry("600x400")
14
15  canvas = tk.Canvas(root, width=600, height =400, bg="white")
16  canvas.place(x=0,y=0)
17
18  canvas.bind("<Button-1>", click)
19  root.mainloop()
move:動くたま
 1  import tkinter as tk
 2  from tkinter.constants import MOVETO
 3
 4  x=300
 5  y=200
 6
 7  def move():
 8      global x,y
 9      canvas.create_oval(x-20, y-20, x+20, y+20,fill='white',width=0)
10      x = x+1
11      y = y
12      canvas.create_oval(x-20, y-20, x+20, y+20,fill='red',width=0)
13      root.after(10, move)
14  root = tk.Tk()
15  root.geometry("600x400")
16
17  canvas = tk.Canvas(root, width=600, height =400, bg="white")
18  canvas.place(x=0,y=0)
19
20  #canvas.bind("<Button-1>", click)
21  root.after(10, move)
22  root.mainloop()
mac版ではバグがあるようで,玉が消えません.消す方を少し大きめにしています.
bounce:はねるたま
 1  import tkinter as tk
 2  from tkinter.constants import MOVETO
 3
 4  x = 300
 5  y = 200
 6
 7  dx = 1
 8  dy = 1
 9
10
11  def move():
12      global x, y, dx, dy
13      canvas.create_oval(x-21, y-21, x+21, y+21, fill='white', width=0)
14      x = x+dx
15      y = y+dy
16      canvas.create_oval(x-20, y-20, x+20, y+20, fill='red', width=0)
17      if x >= canvas.winfo_width():
18          dx = -1
19      if x <= 0:
20          dx = 1
21      if y >= canvas.winfo_height():
22          dy = -1
23      if y <= 0:
24          dy = 1
25
26      root.after(10, move)
27
28
29  root = tk.Tk()
30  root.geometry("600x400")
31
32  canvas = tk.Canvas(root, width=600, height=400, bg="white")
33  canvas.place(x=0, y=0)
34
35  #canvas.bind("<Button-1>", click)
36  root.after(1000, move)
37  root.mainloop()
balls:たくさんのたま
修正は一度に頭からするのではなく,細かくステップを切って修正してください.私は,
- line:6のballsの一つ目だけを追加.
- line:18 globalにballsを追加
- line:20 for b in balls:にする
- line:21-34にインデントを追加
- dx,dyをb["dx"], b["dy"]に変更
- x, y をb["x"], b["y"]に変更
- line:26のfill = 'red'をfill=b["color"]に変更
上手くいったら,ballsを付け足して全ての動作を確認
 1  import tkinter as tk
 2  from tkinter.constants import MOVETO
 3
 4
 5  balls = [
 6      {"x": 400, "y": 300, "dx": 1, "dy": 1, "color": "red"},
 7      {"x": 200, "y": 100, "dx": -1, "dy": 1, "color": "green"},
 8      {"x": 100, "y": 200, "dx": -1, "dy": -1, "color": "blue"}
 9  ]
10
11  #x = 300
12  #y = 200
13  #dx = 1
14  #dy = 1
15
16
17  def move():
18      #    global x, y, dx, dy
19      global balls
20      for b in balls:
21          canvas.create_oval(b["x"]-21, b["y"]-21, b["x"]+21,
22                             b["y"]+21, fill='white', width=0)
23          b["x"] = b["x"]+b["dx"]
24          b["y"] = b["y"]+b["dy"]
25          canvas.create_oval(b["x"]-20, b["y"]-20, b["x"] +
26                             20, b["y"]+20, fill=b["color"], width=0)
27          if b["x"] >= canvas.winfo_width():
28              b["dx"] = -1
29          if b["x"] <= 0:
30              b["dx"] = 1
31          if b["y"] >= canvas.winfo_height():
32              b["dy"] = -1
33          if b["y"] <= 0:
34              b["dy"] = 1
35
36      root.after(10, move)
37
38
39  root = tk.Tk()
40  root.geometry("600x400")
41
42  canvas = tk.Canvas(root, width=600, height=400, bg="white")
43  canvas.place(x=0, y=0)
44
45  # canvas.bind("<Button-1>", click)
46  root.after(2000, move)
47  root.mainloop()
p.211までできれば一度完成です.それをLUNAに提出してください.
balls:クラスで作るたま
これ以降は任意ですが,プログラミングの最新のコツです.じっくり読み込んでclass化が理解できるとコードが読みやすくなります.
 1  import tkinter as tk
 2  from tkinter.constants import MOVETO
 3
 4
 5  class Ball:
 6      def __init__(self, x, y, dx, dy, color):
 7          self.x = x
 8          self.y = y
 9          self.dx = dx
10          self.dy = dy
11          self.color = color
12
13      def move(self, canvas):
14          #    global x, y, dx, dy
15          canvas.create_oval(self.x-21, self.y-21, self.x+21,
16                             self.y+21, fill='white', width=0)
17          self.x = self.x+self.dx
18          self.y = self.y+self.dy
19          canvas.create_oval(self.x-20, self.y-20, self.x +
20                             20, self.y+20, fill=self.color, width=0)
21          if self.x >= canvas.winfo_width():
22              self.dx = -1
23          if self.x <= 0:
24              self.dx = 1
25          if self.y >= canvas.winfo_height():
26              self.dy = -1
27          if self.y <= 0:
28              self.dy = 1
29
30
31  b = Ball(400, 300, 1, 1, "red")
32
33
34  def loop():
35      b.move(canvas)
36      root.after(10, loop)
37
38
39  root = tk.Tk()
40  root.geometry("600x400")
41
42  canvas = tk.Canvas(root, width=600, height=400, bg="white")
43  canvas.place(x=0, y=0)
44
45  # canvas.bind("<Button-1>", click)
46  root.after(10, loop)
47  root.mainloop()
balls:クラスで作る速いたま
p.194のコラムで書かれているのですが,メモリリークのバグがあります.このままでは,とろい動きしかできません.以下の記事をさらに参照して修正してください.
 1  import tkinter as tk
 2  speed = 10
 3  class Ball:
 4    global speed
 5    def __init__(self, x, y, dx, dy, color):
 6      self.x = x
 7      self.y = y
 8      self.dx = dx
 9      self.dy = dy
10      self.color = color
11      self.ball = None
12
13    def move(self, canvas):
14      canvas.delete(self.ball)
15      self.x = self.x + self.dx
16      self.y = self.y + self.dy
17      self.ball = canvas.create_oval(self.x - 20, self.y - 20,
18                         self.x + 20, self.y + 20,
19                         fill=self.color, width=0)
20      if self.x >= canvas.winfo_width():
21        self.dx = -speed
22      if self.x < 0:
23        self.dx = +speed
24      if self.y >= canvas.winfo_height():
25        self.dy = -speed
26      if self.y < 0:
27        self.dy = +speed
28
29  root = tk.Tk()
30  root.geometry("600x400")
31
32  canvas = tk.Canvas(root, width=600, height=400, bg="white")
33  canvas.place(x=0, y=0)
34
35  balls = [
36    Ball(100, 400, -10, 10, "red"),
37    Ball(200, 400, 10, -10, "green"),
38    Ball(300, 200, 10, 10, "blue")
39  ]
40  def loop():
41    for b in balls:
42      b.move(canvas)
43    root.after(10, loop)
44
45
46  root.after(10, loop)
47  root.mainloop()
さらに発展 たまたま^8
私のメモ:動画の作り方
-
Command - Shift - 4 space の後windowをクリック
-
Command - Shift - 5 で録画が起動
-
画面の録画はできなくて,領域を選択,それがそのまま生きる
-
収録ボタンでスタート
-
toolbarに停止の表示
-
右下に出ているサムネールを右にスライドすると保存される.
-
ffmpeg -i click.mov click.gif
- source ~/Desktop/lecture_23s/compA23/d7_12_python/c7_bouncing_ball.org


