目的
気軽にちょっと実装してみたい!っていうときに毎回ローカル環境でReactアプリを作るのは面倒なので、クラウド環境上に実験場的な環境が欲しいなと思って作りました。気軽に何か試すときにCSSをファイル分けて書くのも面倒なので、tailwindcssを使うことにしました。tailwindcssだけだとちょっと複雑なレイアウトとかしたいときにカバーできるか不安だったので、twin.macroも導入してemotionでインラインcssも書けるようにしました。
CodeSandboxとは
クラウド上にいろんな環境を作れる便利なWebサイトです。テンプレートを選ぶだけでアプリの作成をやってくれて、Reactアプリはもちろん、Next.jsやVue.js、Node.jsとかも選べます。Reactに関してはビルドシステムをcreate-react-appではなくviteにしたい、とかtypescript導入したい、っていうのもテンプレートを選ぶだけで実現できます。
環境
CodeSandbox上で以下の環境を構築します。
React(Vite + Typescript)
TailwindCSS
twin.macro
手順
1. CodeSandbox上でReactテンプレートからアプリを作成する
CodeSandboxのダッシュボード画面で「New Sandbox」をクリックします。

React(Vite + TS)を選択します。もし表示されない場合は右上の検索窓からReactで検索してみてください。
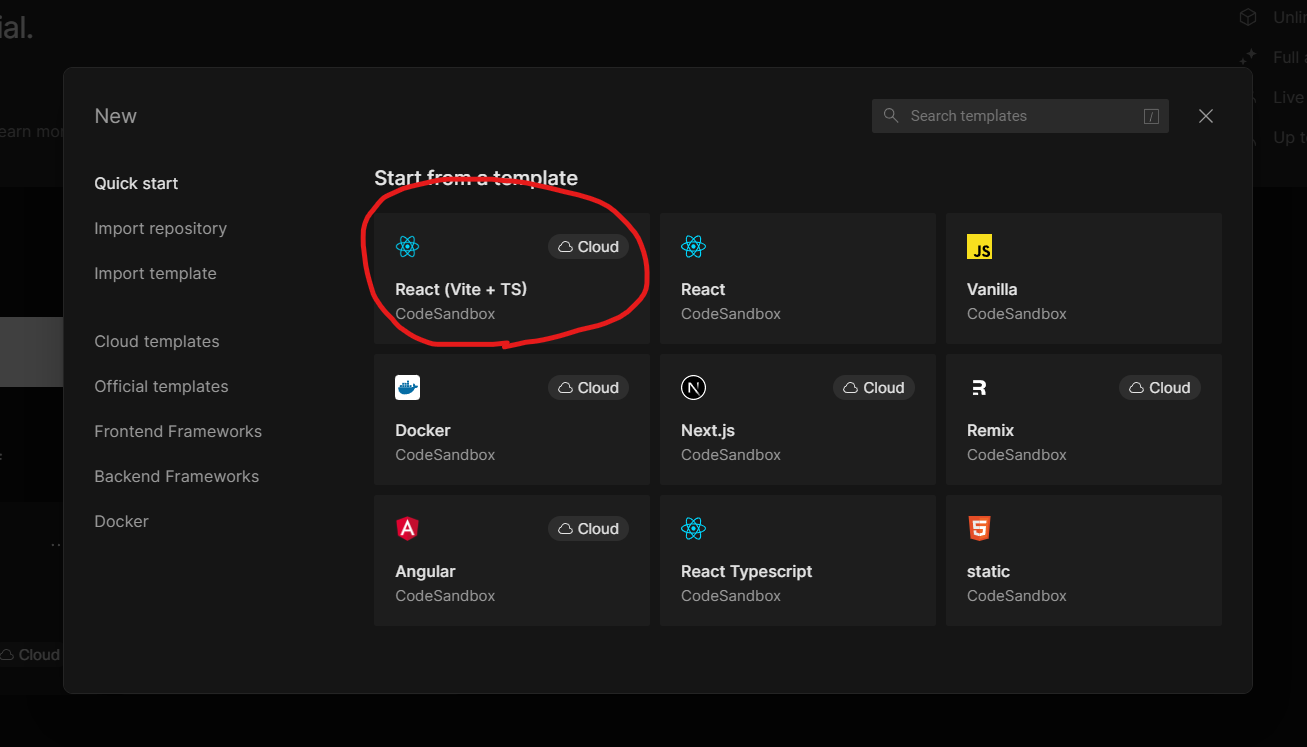
ちょっと待つとReactアプリが作成されてサーバーが自動的に立ち上がった状態になります。

これでReactテンプレートからのアプリ作成は完了です。
2. TailwindCSSをインストールする
TailwindCSS公式ドキュメントを参考にしてTailwindCSSをインストールしていきます。
https://tailwindcss.com/docs/guides/vite
まずはターミナルを立ち上げます。以下の画面で右上の三転リーダーをクリックして「New Terminal」を選択します。
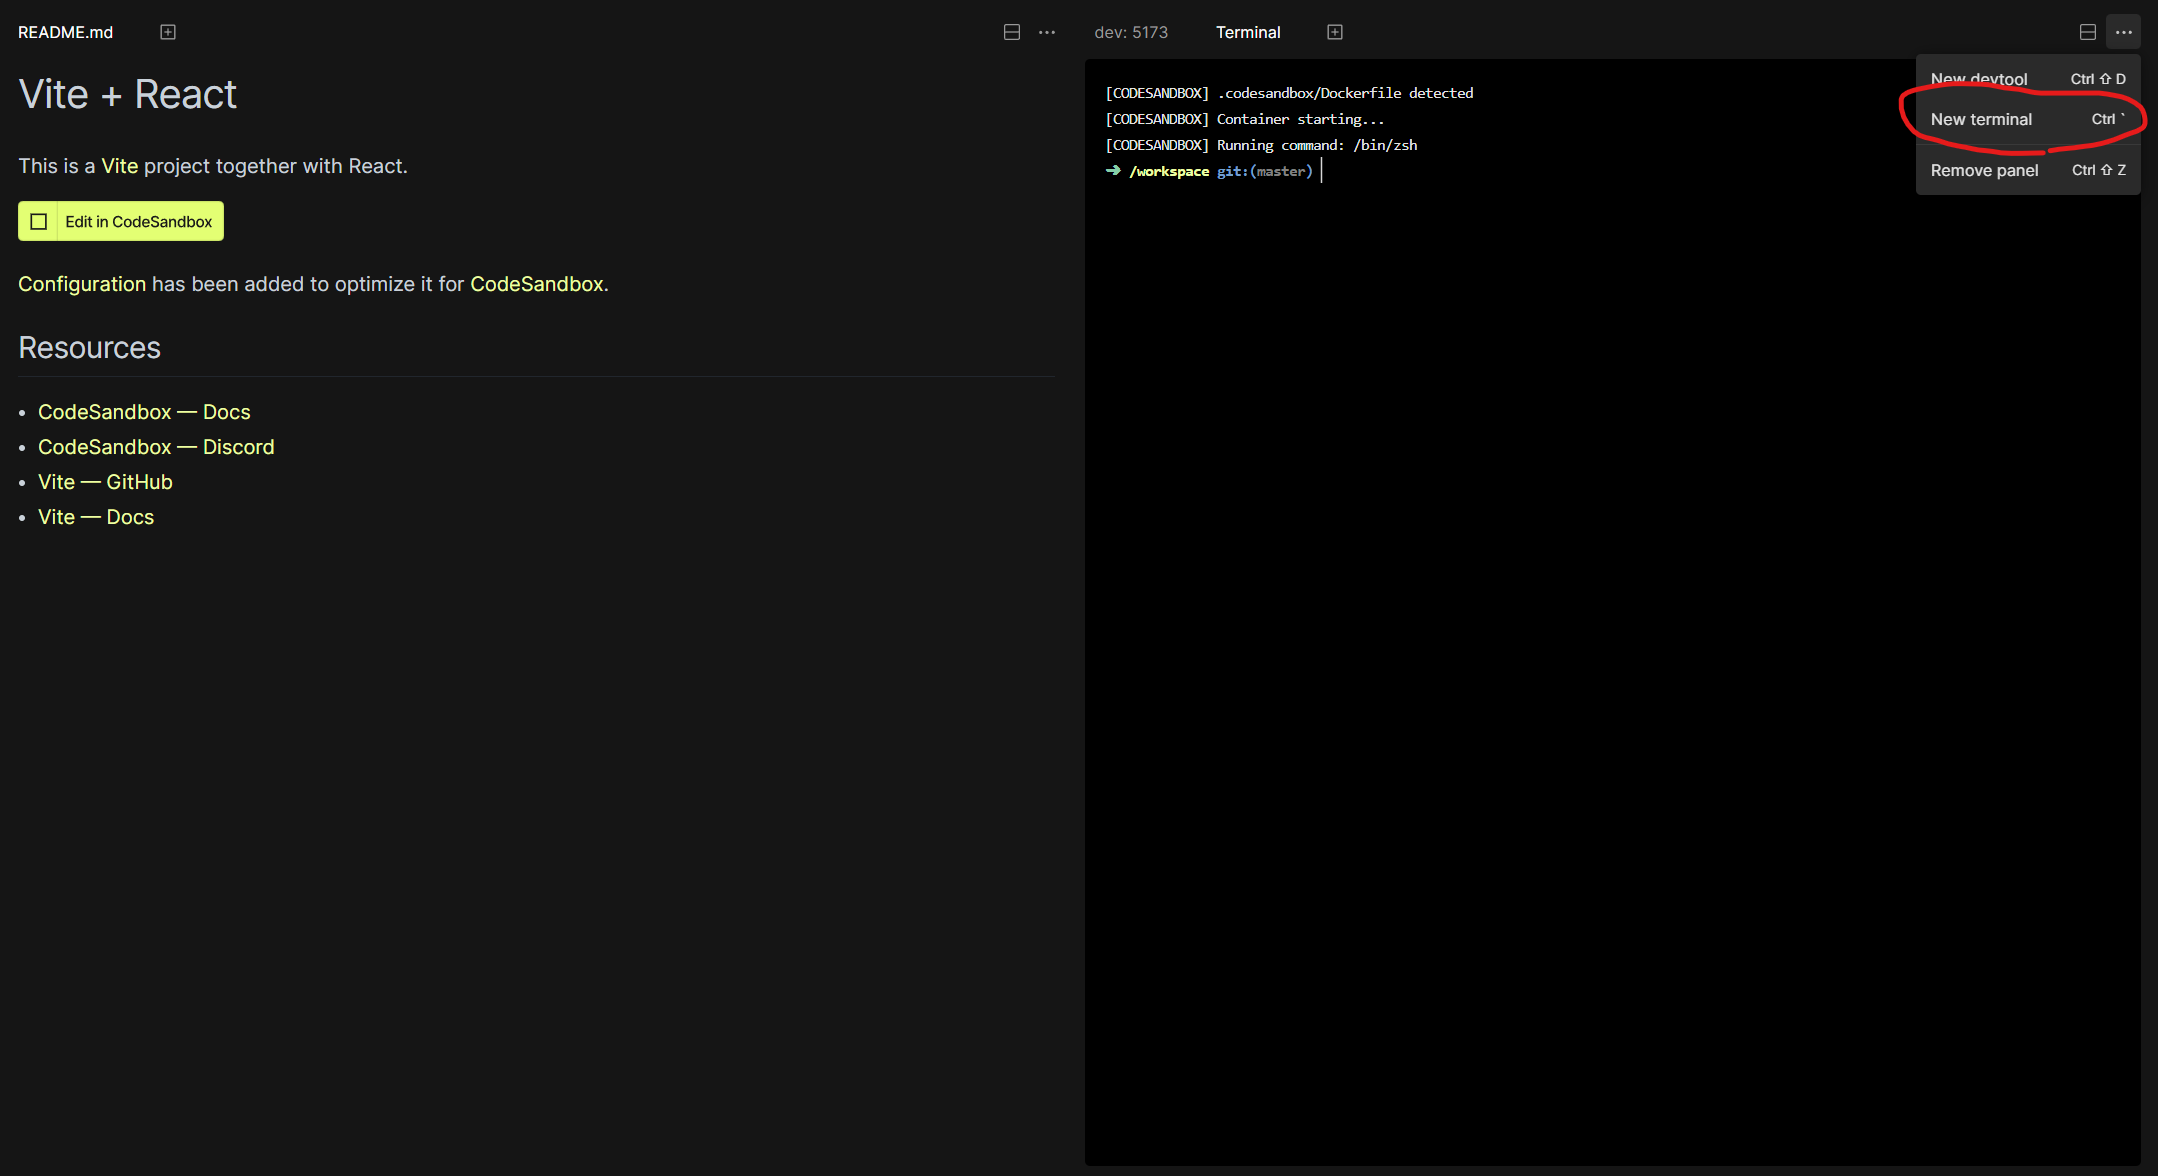
ターミナル上で以下のコマンドを実行します。TailwindCSS公式ドキュメントではnpmを使っていますが、CodeSandbox上でReactアプリ作成した場合はデフォルトでyarnが使われているので、yarnを使ったコマンドに読み替えて実行します。
> yarn add --dev tailwindcss postcss autoprefixer
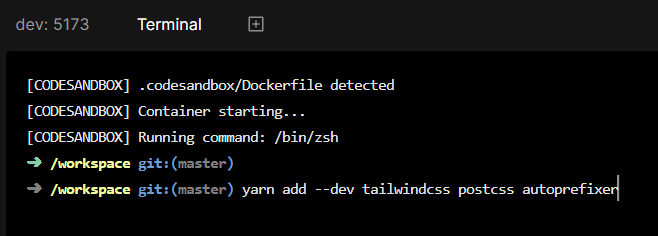
完了したら次のコマンドを実行します。
npx tailwindcss init -p
tailwind.config.jsを以下のように書き換えます。
/** @type {import('tailwindcss').Config} */
export default {
  content: [
    "./index.html",
    "./src/**/*.{js,ts,jsx,tsx}",
  ],
  theme: {
    extend: {},
  },
  plugins: [],
}
index.cssを以下のように書き換えます。書き換えた後、Unknown at rule @tailwindcss(unknownAtRules)という警告が出ると思いますが、特に問題ないので無視で大丈夫です。
@tailwind base;
@tailwind components;
@tailwind utilities;
これでTailwindCSSのインストールは完了ですApp.tsxを適当に書き換えてTailwindCSSが適用されているか確認しましょう。
function App() {
  return (
    <div
      className="w-48 h-48 bg-black"
    />
  );
}

export default App;
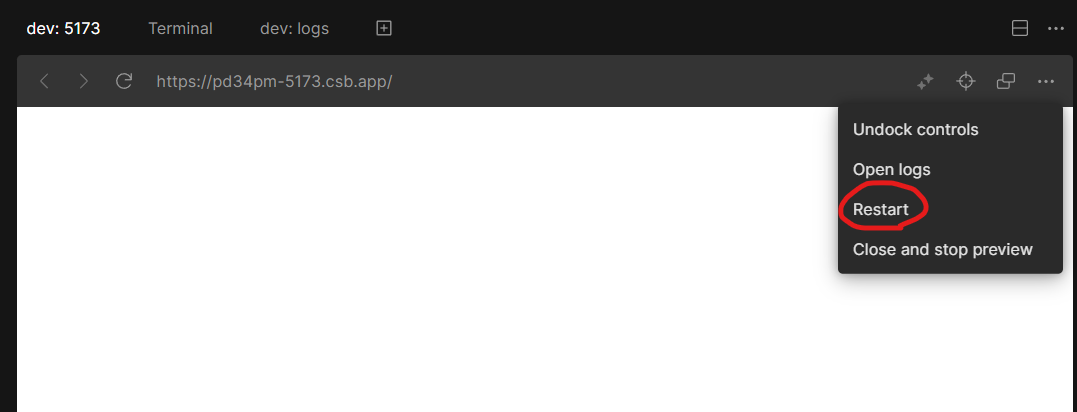
書き換え終わったらRestartでサーバーを立ち上げなおして、画面上に黒い四角が表示されればOKです。
これでTailwindCSSの導入が完了しました。次はtwin.macroを入れていきます。
3. twin.macroをインストールする
以下の記事を参考にさせていただきました。
https://osu-log.com/archives/975#toc2
まずはtwin.macroをインストールします。
yarn add @emotion/react @emotion/styled
yarn add --dev twin.macro @emotion/babel-plugin-jsx-pragmatic babel-plugin-macros tailwindcss -D
次にsrcフォルダ内にGlobalStyles.tsxを作成し、中身を記述していきます。
import React from 'react'
import { css, Global } from '@emotion/react'
import tw, { theme, GlobalStyles as BaseStyles } from 'twin.macro'

const customStyles = css({
  body: {
    WebkitTapHighlightColor: theme`colors.purple.500`,
    ...tw`antialiased`,
    // グローバルスタイルをカスタマイズしたいなら、ここに追記していく
  },
})

const GlobalStyles = () => (
  <>
    <BaseStyles />
    <Global styles={customStyles} />
  </>
)

export default GlobalStyles
次にsrc/main.tsxから作成したGlobalStyles.tsxを読み込みます。
import React from 'react'
import ReactDOM from 'react-dom/client'
import GlobalStyles from './GlobalStyles' // この文を追記
import App from './App'

ReactDOM.createRoot(document.getElementById('root')!).render(
  <React.StrictMode>
    <GlobalStyles /> // この文を追記
    <App />
  </React.StrictMode>
)
vite.config.jsを編集してviteにtwin.macroのプラグインを追加します。
import { defineConfig } from 'vite'
import react from '@vitejs/plugin-react'

// https://vitejs.dev/config/
export default defineConfig({
  plugins: [
    react({
      babel: {
        plugins: [
          'babel-plugin-macros',
          [
            '@emotion/babel-plugin-jsx-pragmatic',
            {
              export: 'jsx',
              import: '__cssprop',
              module: '@emotion/react',
            },
          ],
          [
            '@babel/plugin-transform-react-jsx',
            { pragma: '__cssprop' },
            'twin.macro',
          ],
        ],
      },
    }),
  ],
  esbuild: {
    logOverride: { 'this-is-undefined-in-esm': 'silent' }
  },
});
最後にTypescriptの設定をします。src/types/twin.d.tsファイルを作成して以下の内容を記述します。
import 'twin.macro'
import { css as cssImport } from '@emotion/react'
import { CSSInterpolation } from '@emotion/serialize'
import styledImport from '@emotion/styled'

declare module 'twin.macro' {
  // The styled and css imports
  const styled: typeof styledImport
  const css: typeof cssImport
}

declare module 'react' {
  // The css prop
  interface HTMLAttributes<T> extends DOMAttributes<T> {
    css?: CSSInterpolation
    tw?: string
  }
  // The inline svg css prop
  interface SVGProps<T> extends SVGProps<SVGSVGElement> {
    css?: CSSInterpolation
    tw?: string
  }
}
tsconfig.jsonに次のように追記します。
{
  "compilerOptions": {
    "target": "ESNext",
    "useDefineForClassFields": true,
    "lib": ["DOM", "DOM.Iterable", "ESNext"],
    "allowJs": false,
    "skipLibCheck": true,
    "esModuleInterop": false,
    "allowSyntheticDefaultImports": true,
    "strict": true,
    "forceConsistentCasingInFileNames": true,
    "module": "ESNext",
    "moduleResolution": "Node",
    "resolveJsonModule": true,
    "isolatedModules": true,
    "noEmit": true,
    "jsx": "react-jsx",
    "jsxImportSource": "@emotion/react" << この一行を追記
  },
  "include": ["src"],
  "references": [
    {
      "path": "./tsconfig.node.json"
    }
  ]
}
これでtwin.macroの設定は完了です。最後にtwin.macroがちゃんと適用されているか確認します。
import tw, { css } from "twin.macro";
import "./App.css";

function App() {
  return (
    <div
      tw="w-48 h-48 bg-black"
      css={css`
        box-shadow: 10px 5px 5px red;
      `}
    ></div>
  );
}

export default App;
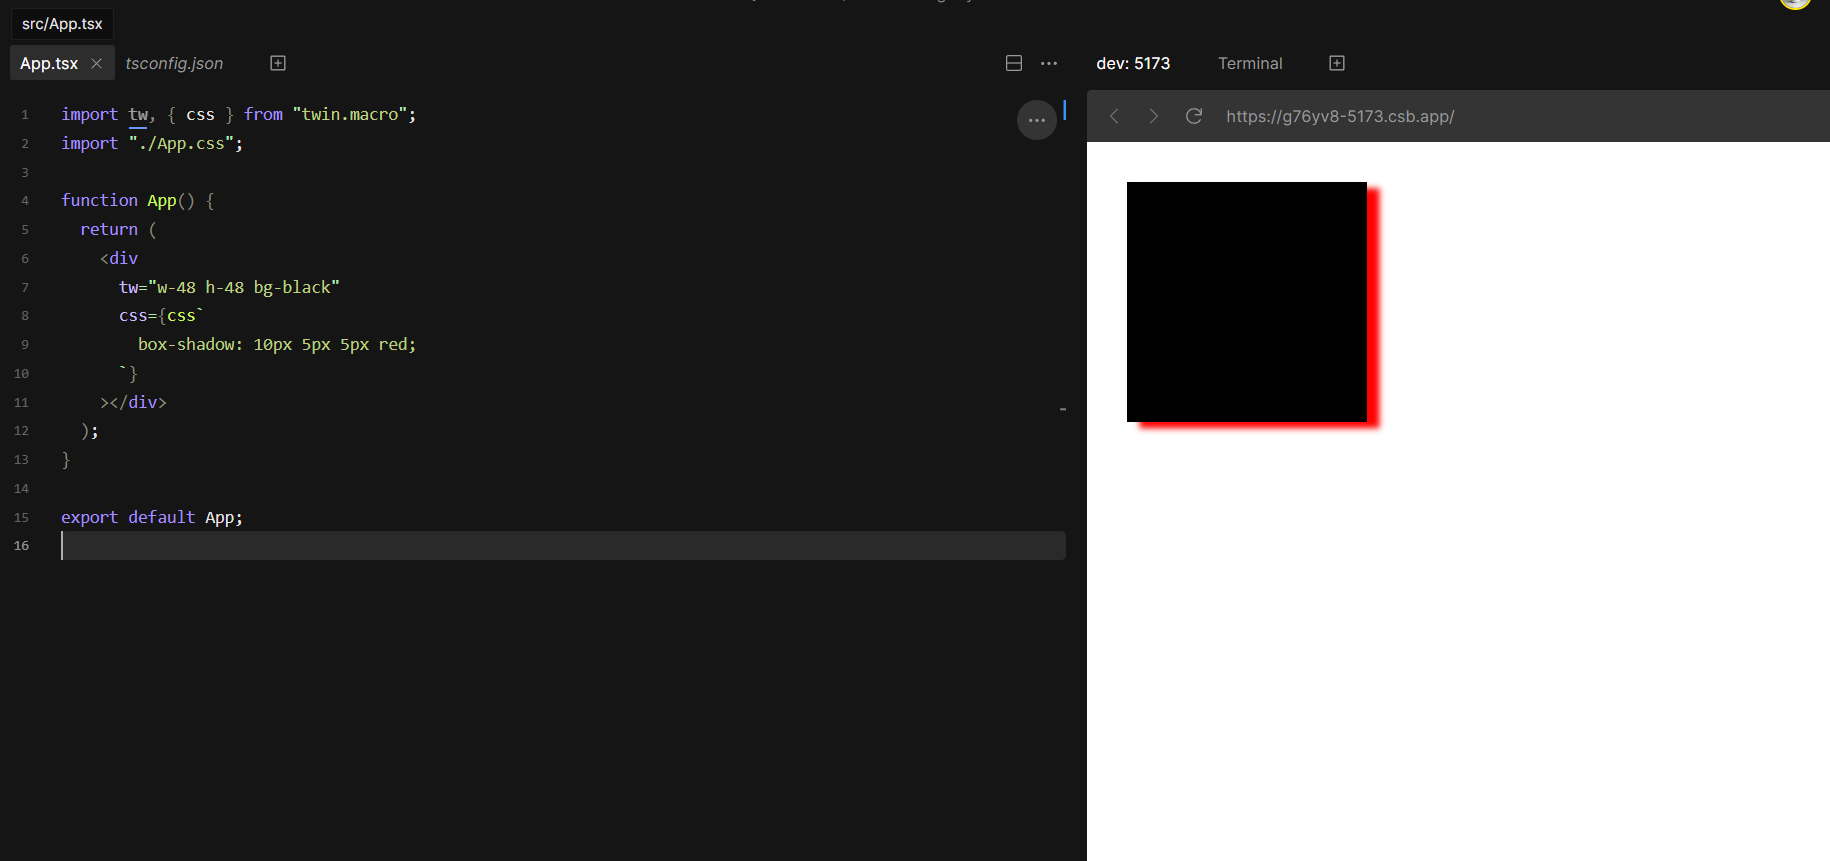
これで以下のように黒い四角に赤い影がついていれば、環境構築は完了になります。
ちょっと試したいことや作ってみたいものがあるときに使い倒してReactともっと仲良くなれると良いなと思っています。手順実践された方お疲れさまでした。
