GitBash(Git For Windows)のインストールは↓の記事。
https://qiita.com/d778980/items/063e3d04fd6d2bf91abd
2018/04/17に実施。
1.既存プロジェクトをGit管理に追加。
https://qiita.com/d778980/items/5bf67fcde80de1830635
2.GitBashを起動。↓のコマンドで秘密鍵と公開鍵を作成。
mkdir ~/.ssh
cd ~/.ssh
ssh-keygen -t rsa -C 'メールアドレス'
3.何も考えずに Enter を3回。
Generating public/private rsa key pair.
Enter file in which to save the key: →Enter1回目
Enter passphrase (empty for no passphrase): →Enter2回目
Enter same passphrase again: →Enter3回目
4.configファイルを作成。
touch config
chmod 700 config
5.configファイルを編集。
vim config
Host bitbucket.org
  HostName bitbucket.org
  IdentityFile ~/.ssh/id_rsa
  User git
  Port 22
  TCPKeepAlive yes
  IdentitiesOnly yes
6.↓のコマンドで公開鍵をクリップボードにコピー。
clip < ~/.ssh/id_rsa.pub
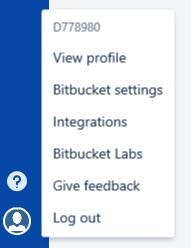
7.Bitbucketにログイン。「Bitbucket settings」をクリック。
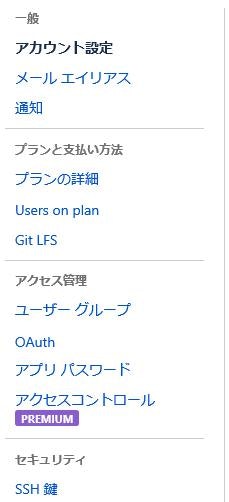
8.「SSH鍵」をクリック。
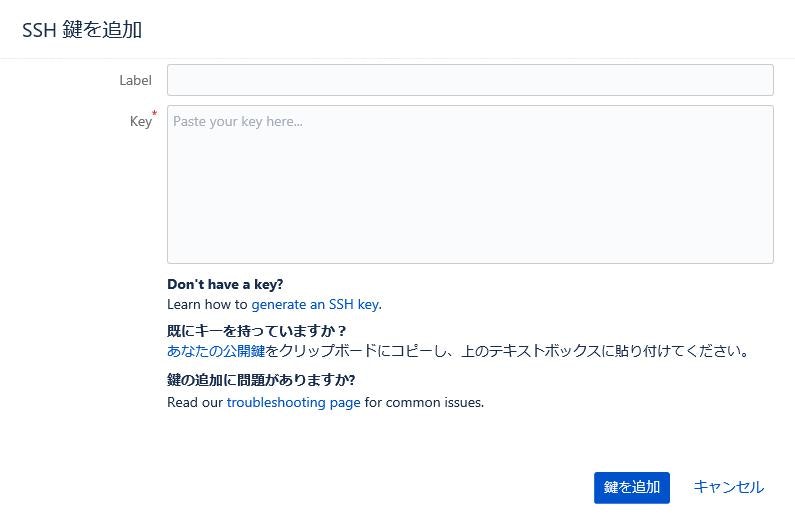
9.「鍵を追加」をクリック。

10.Labelを適当に入力してKeyに「6.」でコピーした値を貼り付け。「鍵を追加」をクリック。
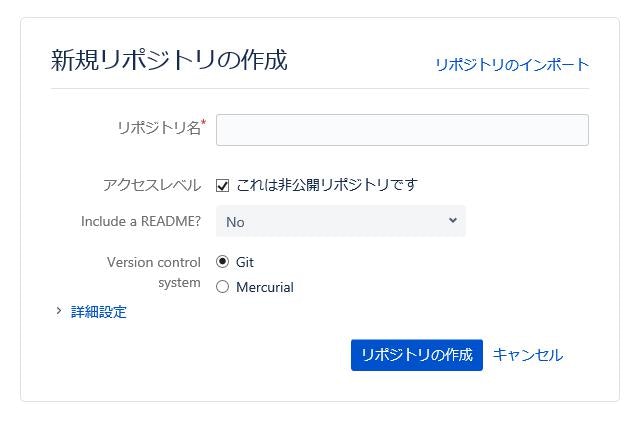
11.リポジトリを作成。

12.リポジトリ名を入力。「Include a README?」を「No」に変更して「リポジトリの作成」をクリック。
13.GitBashを起動して、ローカルプロジェクトに移動。今回は「~/Desktop/project」
cd ~/Desktop/project
14.↓のコマンドでリポジトリを紐づけして、プッシュ。
git remote add origin ssh://git@bitbucket.org:(アカウント名)/(プロジェクト名).git
 例:git remote add origin ssh://git@bitbucket.org:d778980/project.git
git push -u origin master
終わり。