概要
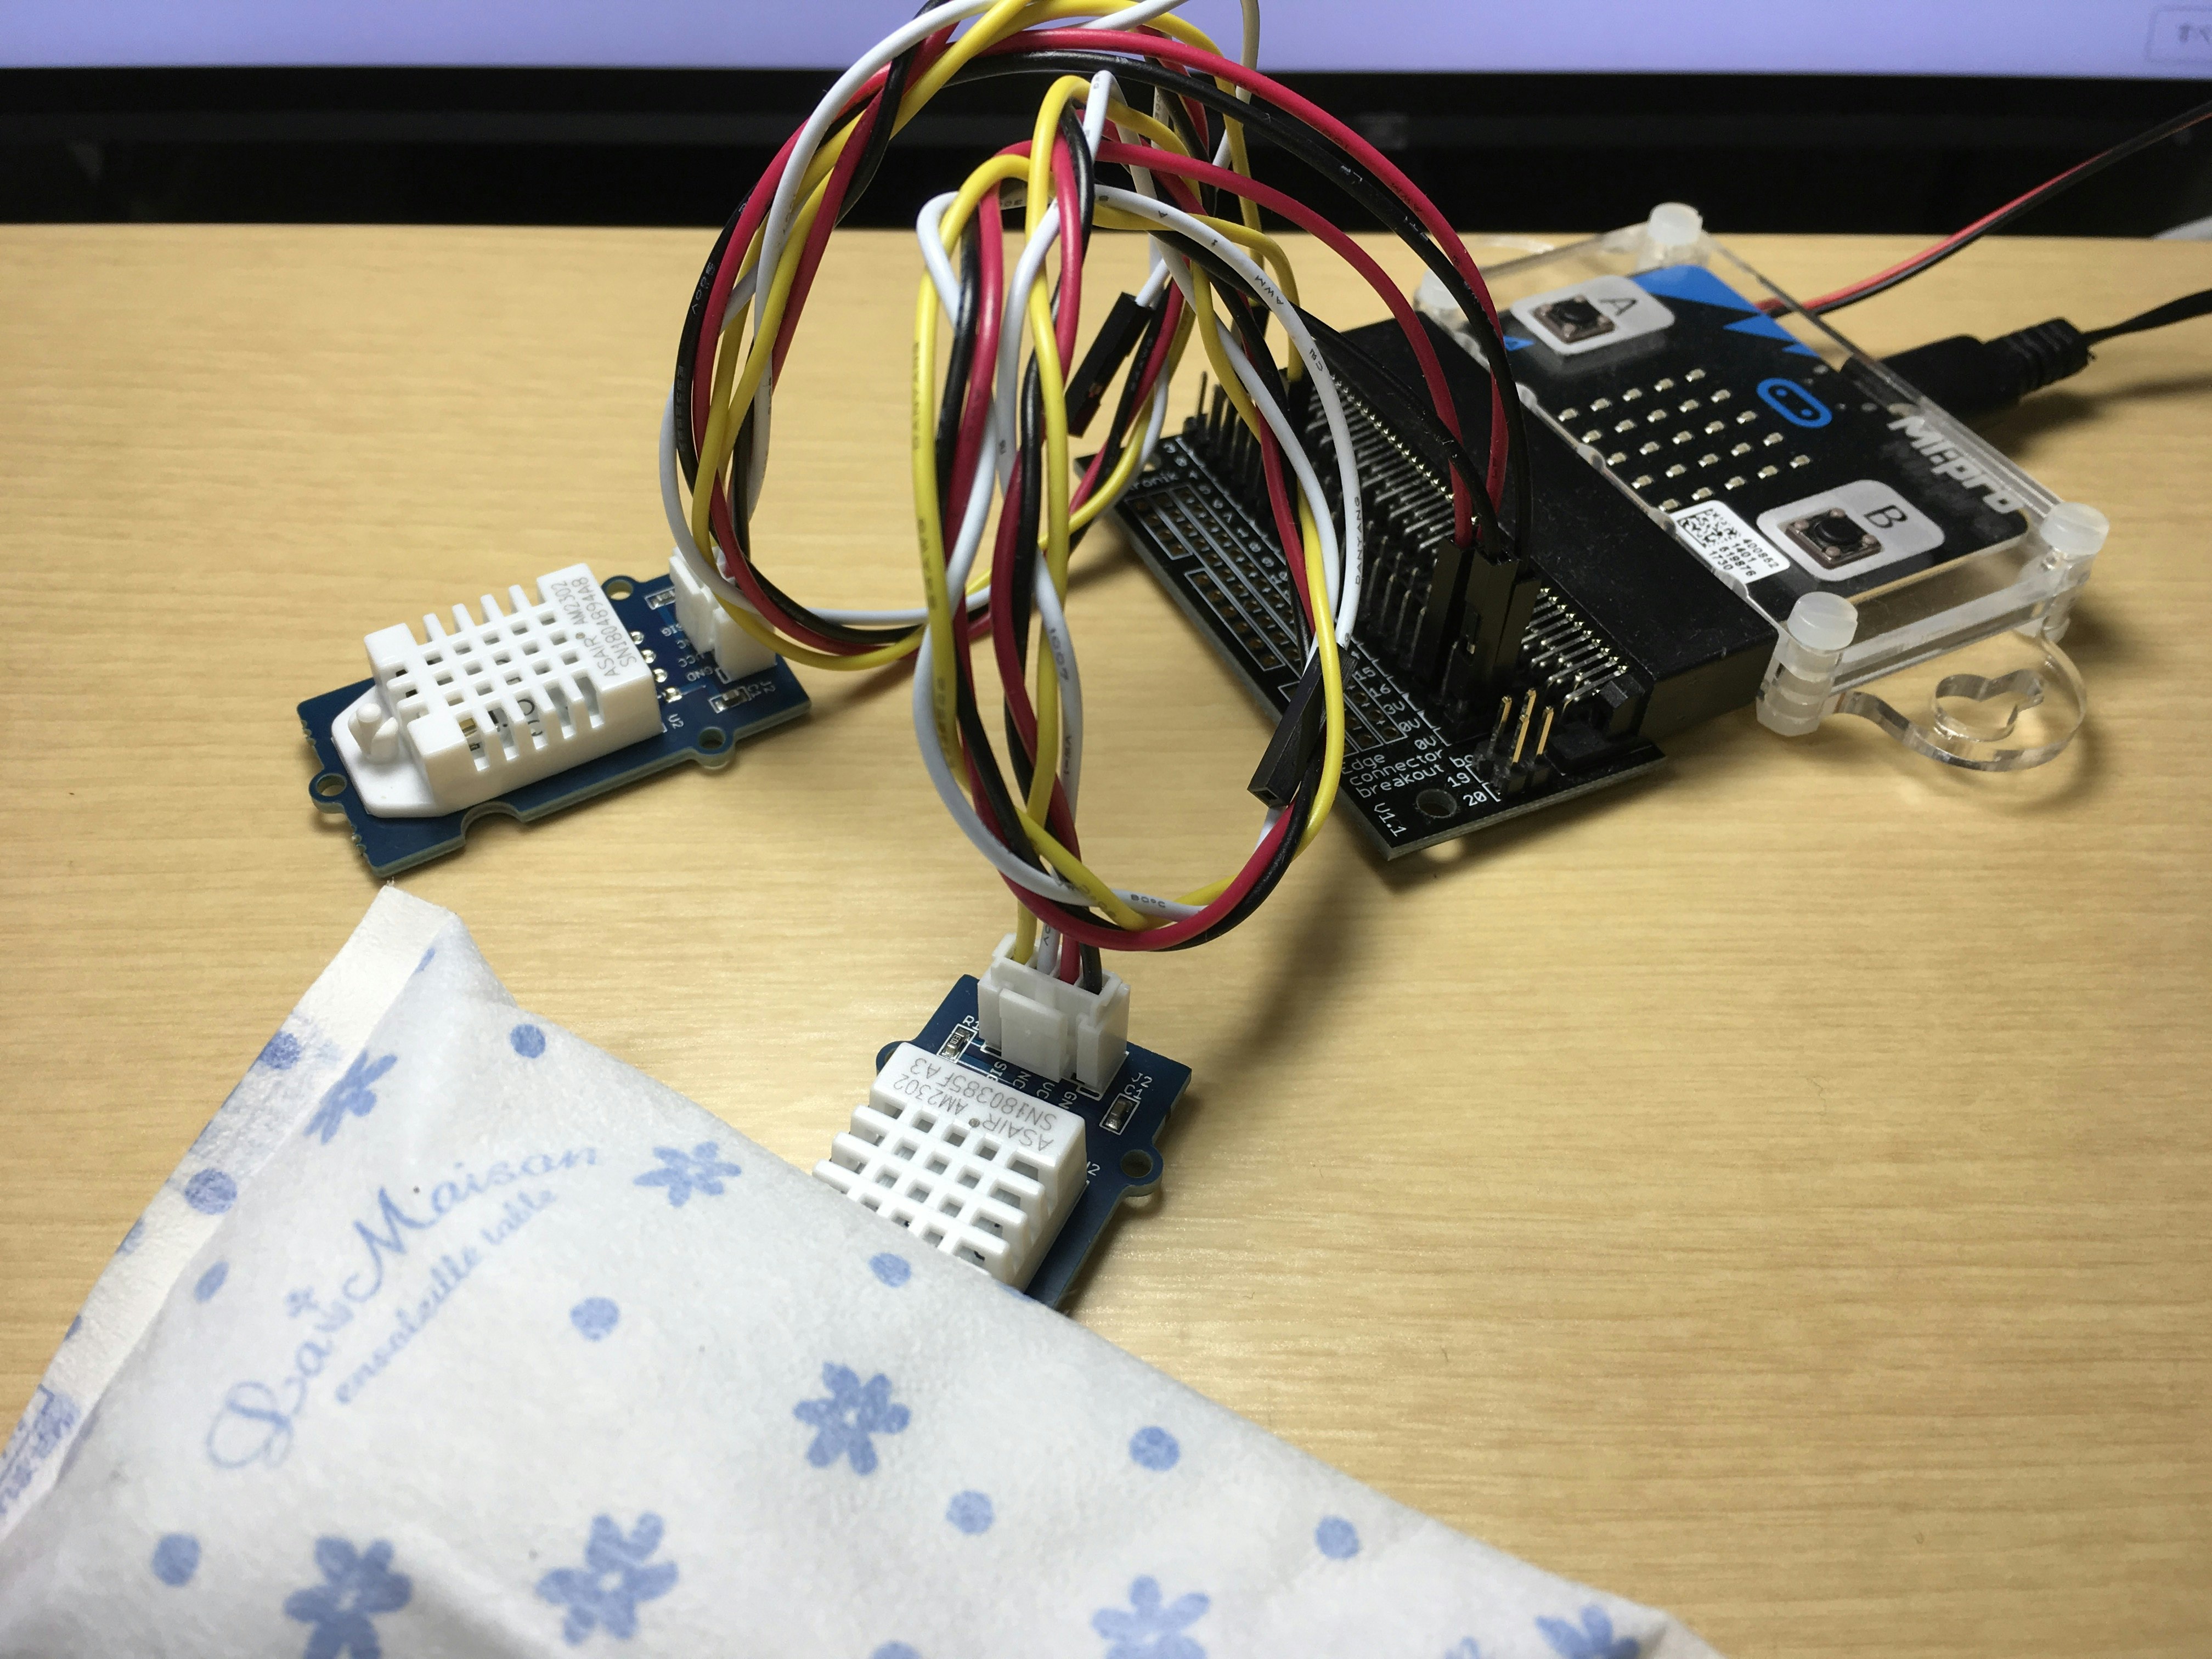
湿度温度センサーAM2302 (DHT22)のデータをmicro:bitで取得してみる。AM2302はGroveモジュールを使った(バスのプルアップ抵抗、電源のパスコンが実装してある)。Mbedプラットフォームを利用する。
micro:bitとAM2302との接続

データを取得する方法
(1) P0のIOをOUTにする。
(2) P0からHを出力する。
(3) P0から0.8 ms~20 msの時間だけLを出力する。
(4) P0のIOをINにする。
(5) するとバスがHになる(プルアップしてあるから)。
(6) AM2302から応答が返ってくる。
(7) これ以降の40ビットが測定データである。
40ビットのデータは、長いパルスが1を表し、短いパルスが0を表すが、正確なパルス幅を測る必要はないので、パルスがHレベルにあるときに空ループを回してそのループ回数からパルス幅の長短を判定する。その閾値はスタートビットのパルス幅の半分とした。
Source: Temperature and humidity module AM2302 Product Manual: 
ロジックアナライザーによる観測例:
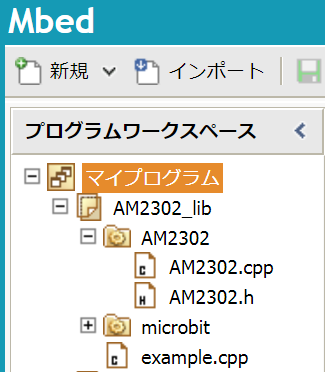
完成したAM2302クラスとサンプルファイル
Mbedでコンパイルする。MicroBitクラスが必要。
`AM2302クラスのヘッダーファイルを見る/隠す`
AM2302.h
# ifndef AM2302_H
# define AM2302_H

class AM2302{
    private:
        static int bits2bytes(int *buf, int pos); // extracts and creates a 8-bit value from any position in an array of 1s or 0s.

        int _pin;
        int humidHigh, humidLow, tempHigh, tempLow, crc;

        void begin();            // wakes the AM2302 up.
        void getBits(int *buf);  // creates a 41-element array of 1s or 0s, including a start-bit,.
        void getBytes(int *buf); // stores 5-bytes data into their own variables.

    public:
        void getData();
        double getHumid();
        double getTemp();
        int getPin();
        int isOK();

        // declares constructors.
        AM2302(int pin);
        AM2302();
};
# endif
`AM2302クラスの実装ファイルを見る/隠す`
AM2302.cpp
# include "MicroBit.h"
# include "AM2302.h"
extern MicroBit uBit;

int AM2302::bits2bytes(int *buf, int pos){
    int Pos = (8 * pos) - 7;
    int sute = 0;
    for(int i=Pos ; i<(Pos+8); i++){
        sute |= buf[i] << (Pos+7-i);
    }
    return sute;
}


void AM2302::begin(){
    uBit.io.pin[_pin].setDigitalValue(1);
    uBit.io.pin[_pin].setDigitalValue(0);
    uBit.sleep(1);
    uBit.io.pin[_pin].getDigitalValue();
    while(uBit.io.pin[_pin].getDigitalValue() == 1){}
}
void AM2302::getBits(int *buf){
    int threshold;
    for(int j=0; j<41; j++){
        while(uBit.io.pin[_pin].getDigitalValue()==0){}
        int counter;
        for(counter=1; counter<200; counter++){
            if(uBit.io.pin[_pin].getDigitalValue()==0){break;}
        }
        if(j==0){threshold=counter/2;}
        buf[j] = (counter > threshold)? 1 : 0;
    }
}
void AM2302::getBytes(int *buf){
    int bytes[5];
    for(int i=0; i<5; i++){
        bytes[i] = bits2bytes(buf, i+1);
    }
    humidHigh = bytes[0]; humidLow = bytes[1];
    tempHigh  = bytes[2]; tempLow  = bytes[3];
    crc = bytes[4];
}
void AM2302::getData(){
    int buf[41];
    begin();
    getBits(buf);
    getBytes(buf);
}
double AM2302::getHumid(){
    return (double)((humidHigh<<8) | humidLow) / 10.0;
}
double AM2302::getTemp(){
    int tempTemp = (tempHigh<<8) | tempLow;
    if(tempHigh & 0x80){
        tempTemp = -(tempTemp & 0x7fff);
    }
    return (double)tempTemp / 10.0;
}
int AM2302::getPin(){
    return _pin;
}
int AM2302::isOK(){
    int sum = humidHigh + humidLow + tempHigh + tempLow;
    return (crc == (sum & 0xff));
}


AM2302::AM2302(int pin){_pin = pin;}
AM2302::AM2302(){}
`サンプルファイルを見る/隠す`
example.cpp
# include "MicroBit.h"
# include "AM2302.h"
MicroBit uBit;
//////////////////////////////////
// How to use the AM2302 class: //
//////////////////////////////////
int main(void){
uBit.init();
// Instantiate the AM2302 class with any uBit's digital pin specified. In the following example, the P0 was specified.
AM2302 am(0);
/* // To connect more than one sensor:
const int n = 3;
AM2302 am[n];
for(int i=0; i<n; i++){
am[i] = AM2302(i);
}
*/
// The .getData() method will store raw values of humidity, temperature, and CRC into their variables.
// The .getPin() method will return its pin number.
// The .getHumid() method will return its humidity.
// The .getTemp() method will return its temperature.
// Call .isOK() method, and you will determine that the measured values have been correct (ex. 1: OK, 0: NG).
while(1){
am.getData();
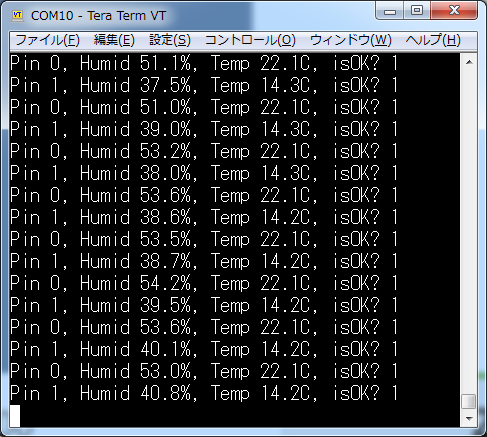
printf("Pin %d, Humid %0.1f%%, Temp %0.1fC, isOK? %d\n",
am.getPin(), am.getHumid(), am.getTemp(), am.isOK());
/* // If you have connected multiple sensors:
for(int i=0; i<n; i++){
am[i].getData();
printf("Pin %d, Humid %0.1f%%, Temp %0.1fC, isOK? %d\n",
am[i].getPin(), am[i].getHumid(), am[i].getTemp(), am[i].isOK());
}
*/
uBit.sleep(2500); // Wait for more than 2 seconds.
}
release_fiber();
return 0;
}
実行例
micro:bitのP0、P1にAM2302を1個ずつつないだ。片方だけ保冷剤を乗せてみた。
課題
エラーの起きることをまったく想定していない。
参考
Harry Fairhead, (2016), micro:bit Iot in C, I/O Press, pp.103-112
関連