Rancher2.0 v2.0.0とGKEを利用して、RancherでGKEにkubernetesクラスタを構築して、Rancherのカタログ機能からWordPressをデプロイしてみたいと思います。
Rancher2.0 v2.0.0環境の構築
GCEの準備
Compute Engineで以下の1インスタンスを作成します。
| 項目 | 入力概要 |
|---|---|
| 名前 | rancher-server |
| ゾーン | asia-northeast1-b |
| マシンタイプ | vCPUx1 |
| ブートディスク | Ubuntu 16.04 LTS ディスクサイズ80GB |
| ファイアウォール | HTTP トラフィックを許可する、HTTPS トラフィックを許可するの両方をチェックします。 |
GCPでは、デフォルトでファイアウォールが設定されていて、ホスト間でのコンテナの通信が行えないため、
設定を変更する必要があります。
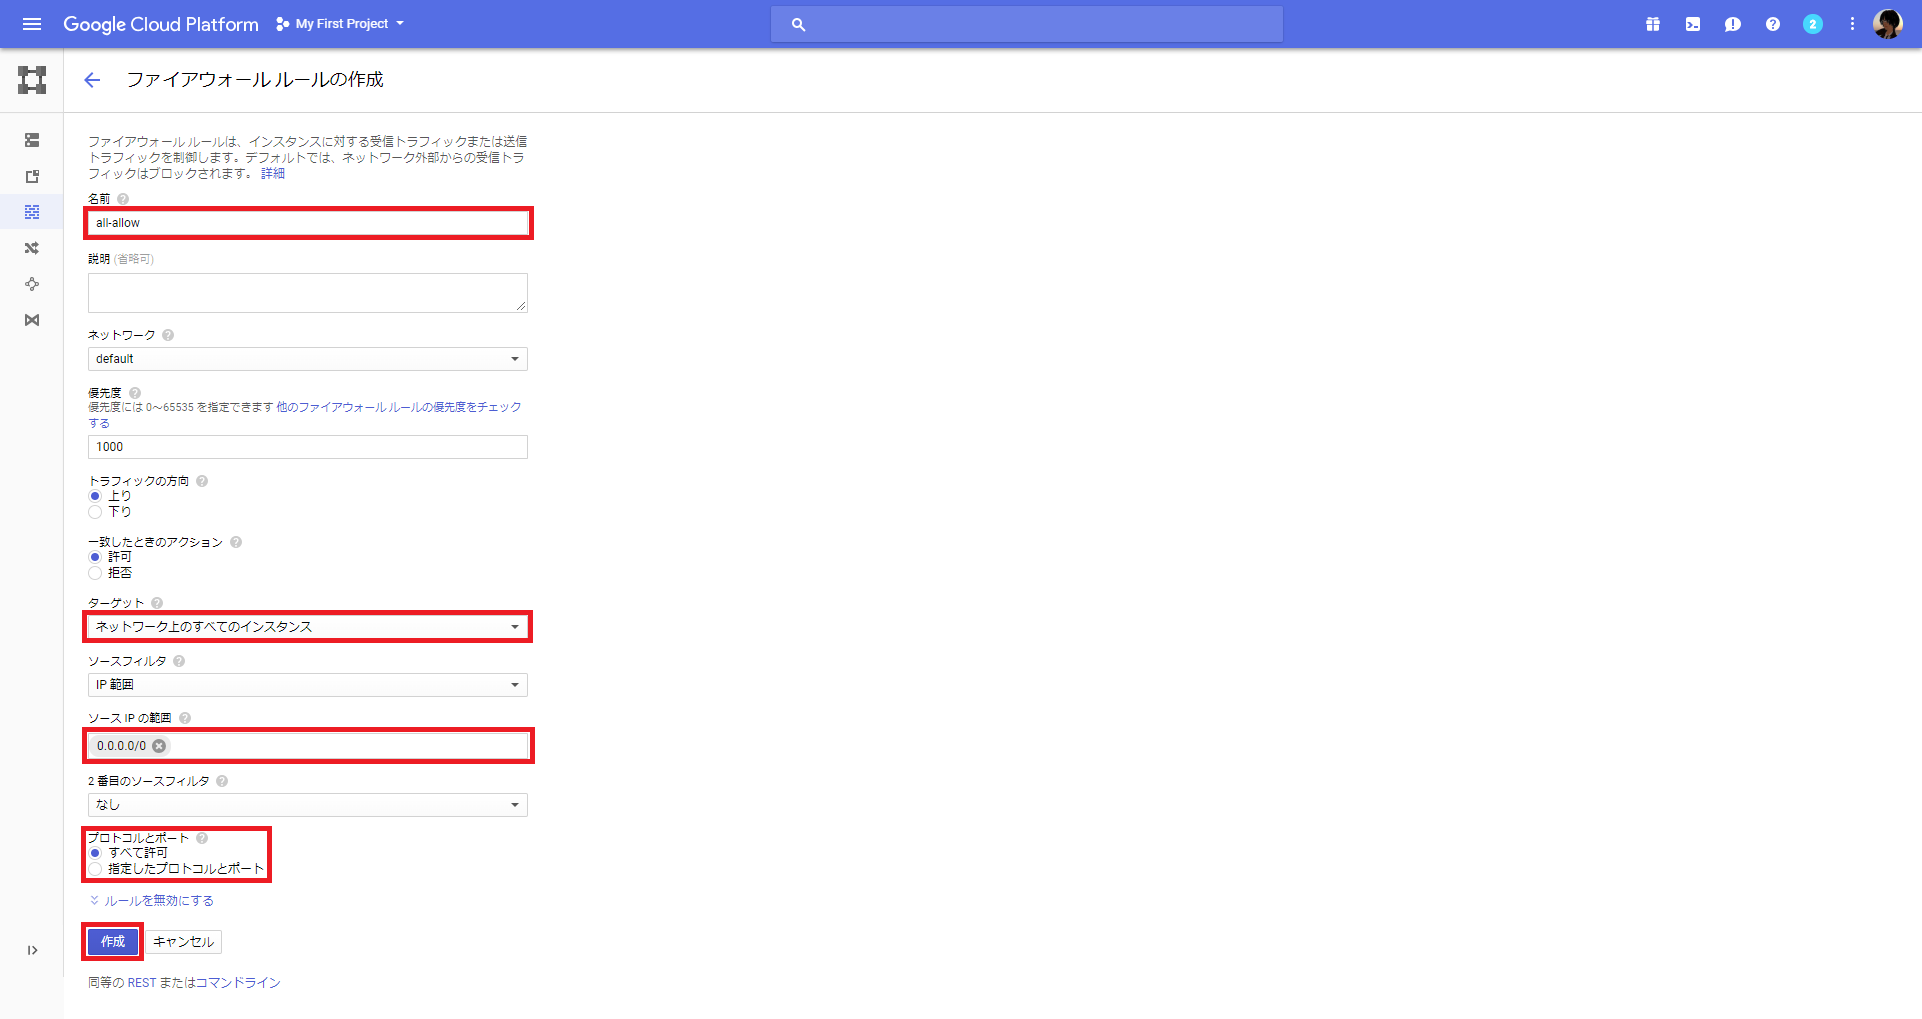
GCPのダッシュボードで、「VPCネットワーク」-「ファイアウォール」を選択して、ファイアウォールルールを作成します。
名前は任意名、ターゲットを「ネットワーク上のすべてのインスタンス」を選択、ソースIPの範囲は0.0.0.0/0、プロトコルとポートは全て許可とします。
今回はお試しということで、全許可にしています。
最後に「作成」ボタンをクリックします。
Rancher2.0 v2.0.0のインストール
1.Dockerのインストール
1.12.6, 1.13.1, 17.03.2のいずれかのDockerをインストールします。
$ curl https://releases.rancher.com/install-docker/17.03.2.sh | sh
・
・(省略)
・
+ sudo -E sh -c docker version
Client:
 Version:      17.03.2-ce
 API version:  1.27
 Go version:   go1.7.5
 Git commit:   f5ec1e2
 Built:        Tue Jun 27 02:31:19 2017
 OS/Arch:      linux/amd64

Server:
 Version:      17.03.2-ce
 API version:  1.27 (minimum version 1.12)
 Go version:   go1.7.5
 Git commit:   f5ec1e2
 Built:        Tue Jun 27 02:31:19 2017
 OS/Arch:      linux/amd64
 Experimental: false

If you would like to use Docker as a non-root user, you should now consider
adding your user to the "docker" group with something like:

  sudo usermod -aG docker iyutaka2018

Remember that you will have to log out and back in for this to take effect!

WARNING: Adding a user to the "docker" group will grant the ability to run
         containers which can be used to obtain root privileges on the
         docker host.
         Refer to https://docs.docker.com/engine/security/security/#docker-daemon-attack-surface
         for more information.
2.Rancher2.0 v2.0.0のインストール
$ sudo docker run -d --restart=unless-stopped -p 80:80 -p 443:443 rancher/rancher
Unable to find image 'rancher/rancher:latest' locally
latest: Pulling from rancher/rancher
68393378db12: Pull complete
9e3366501e0e: Pull complete
156ec05da9a5: Pull complete
281cba1133d9: Pull complete
0acdc2cc8ed1: Pull complete
a8cef3d8a877: Pull complete
3e968117f1c2: Pull complete
cf62fef10dfd: Pull complete
098edd097869: Pull complete
77a837c0bf2d: Pull complete
Digest: sha256:38839bb19bdcac084a413a4edce7efb97ab99b6d896bda2f433dfacfd27f8770
Status: Downloaded newer image for rancher/rancher:latest
4d1e31ba7166f2a2748689ade8e9308b933d2944a8d46bcad9e415bbe32fbf1e
3.ブラウザを起動して、UIにアクセスします。
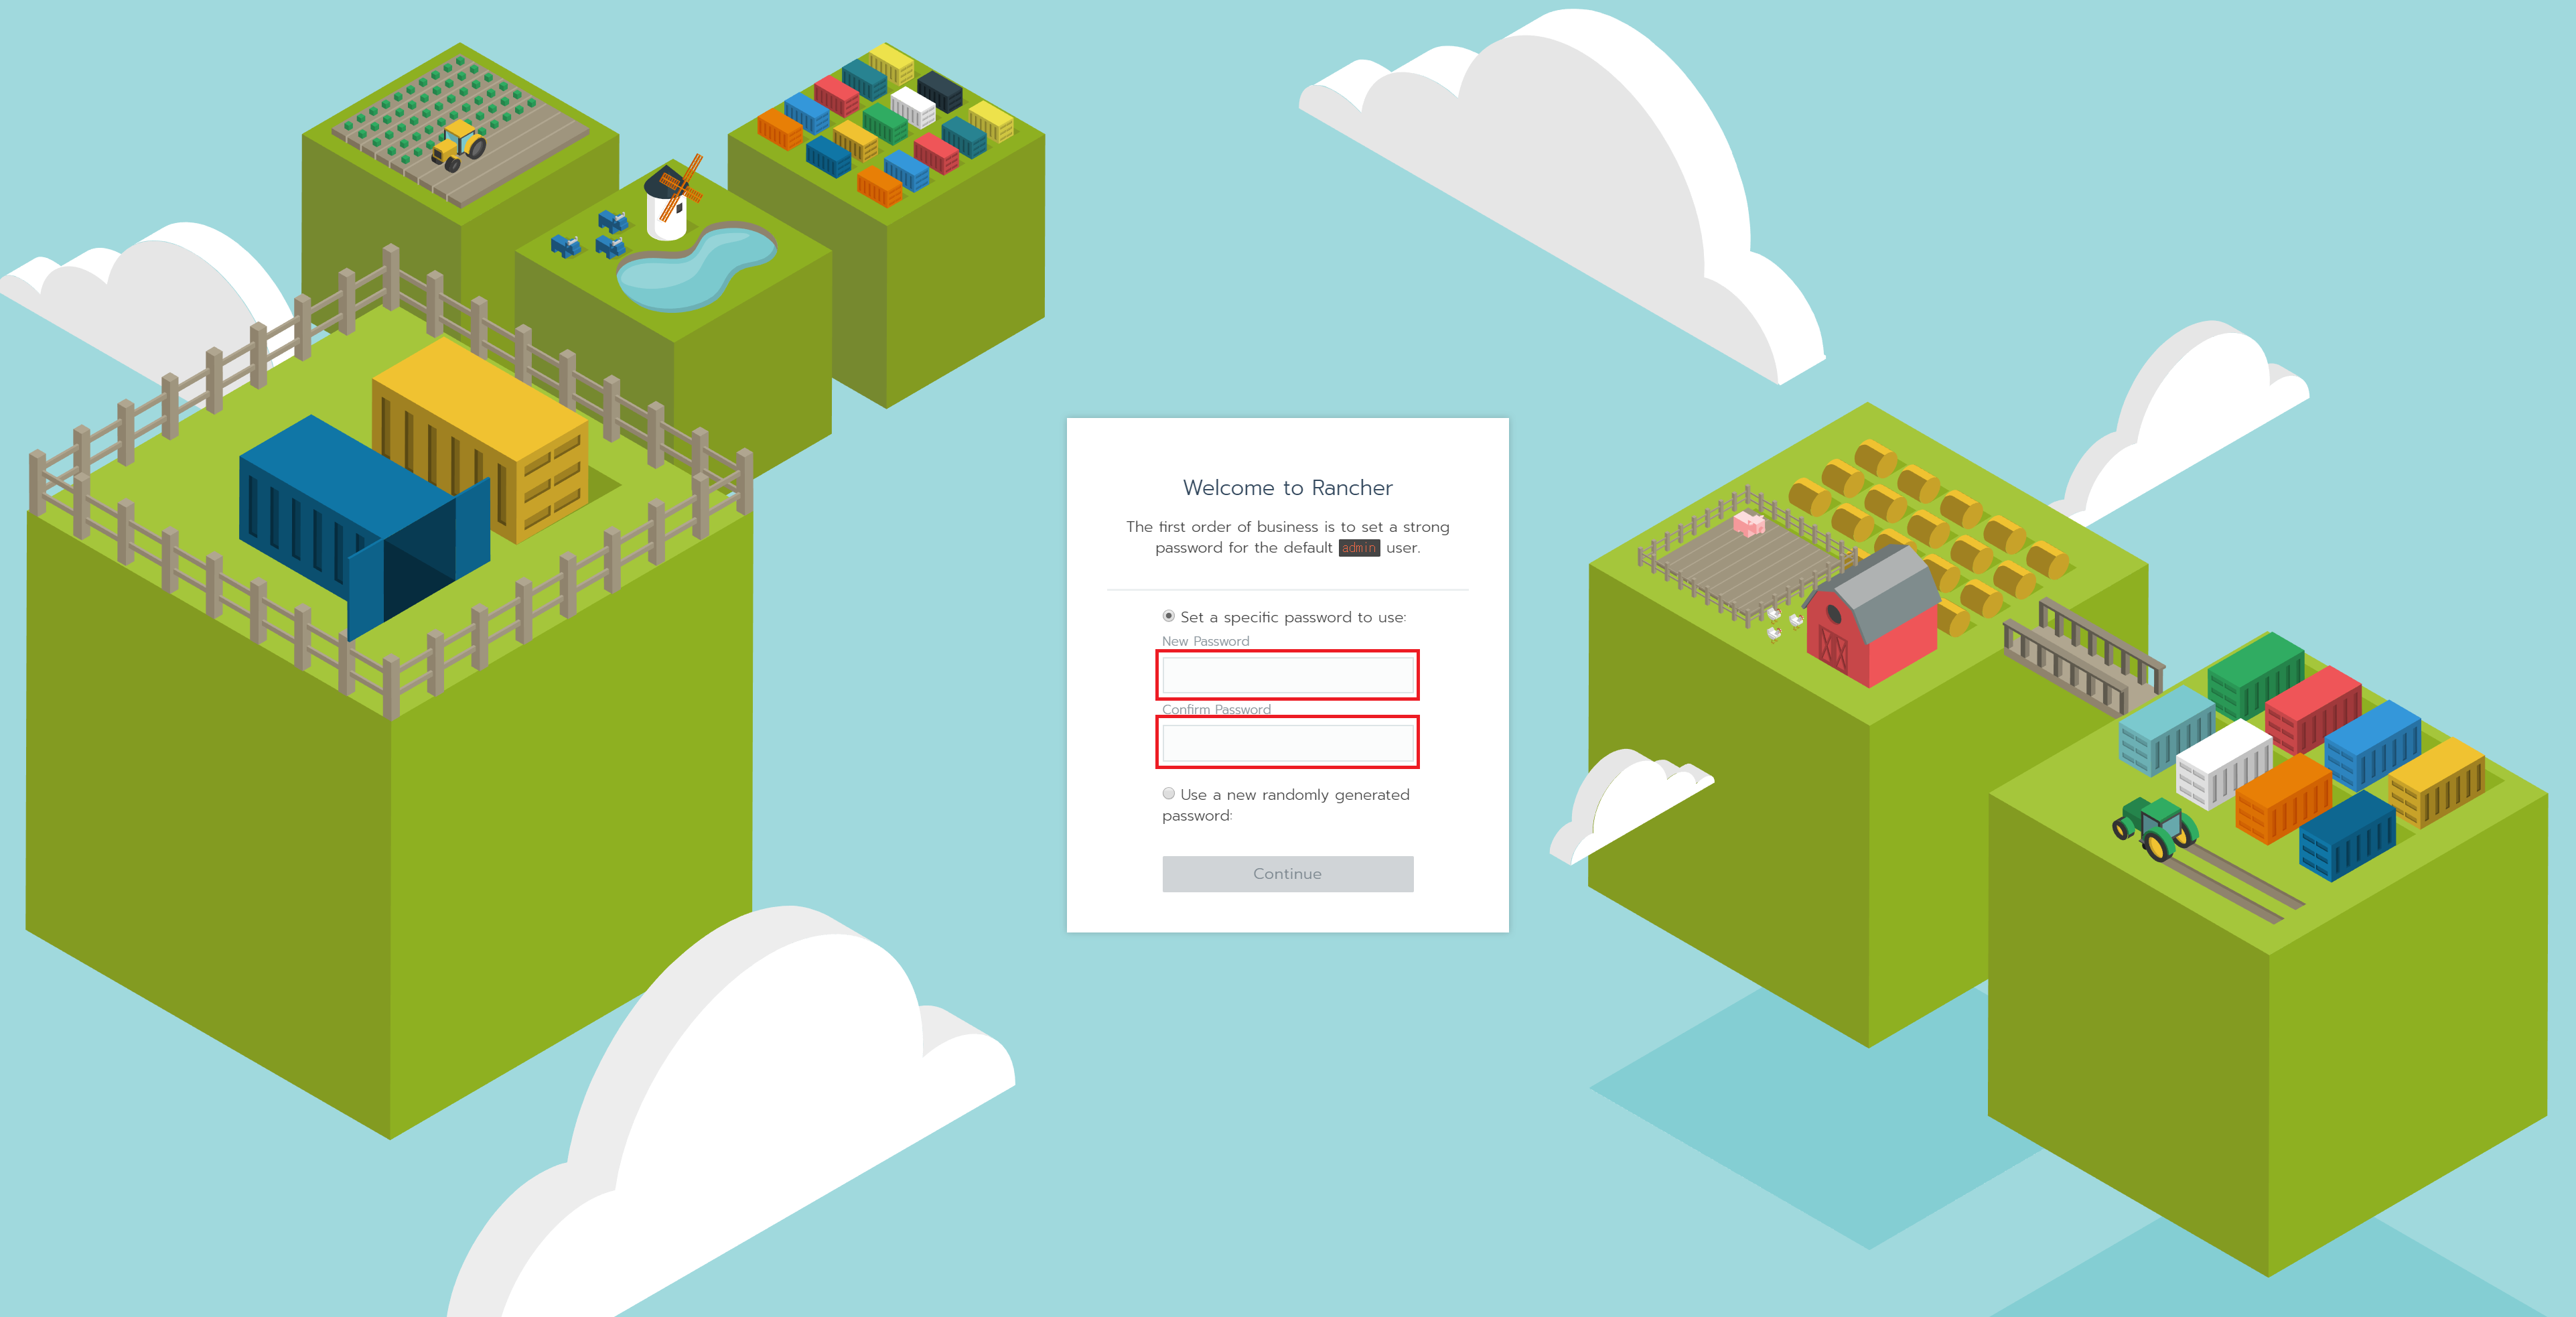
デフォルトユーザであるadminユーザのパスワード設定。
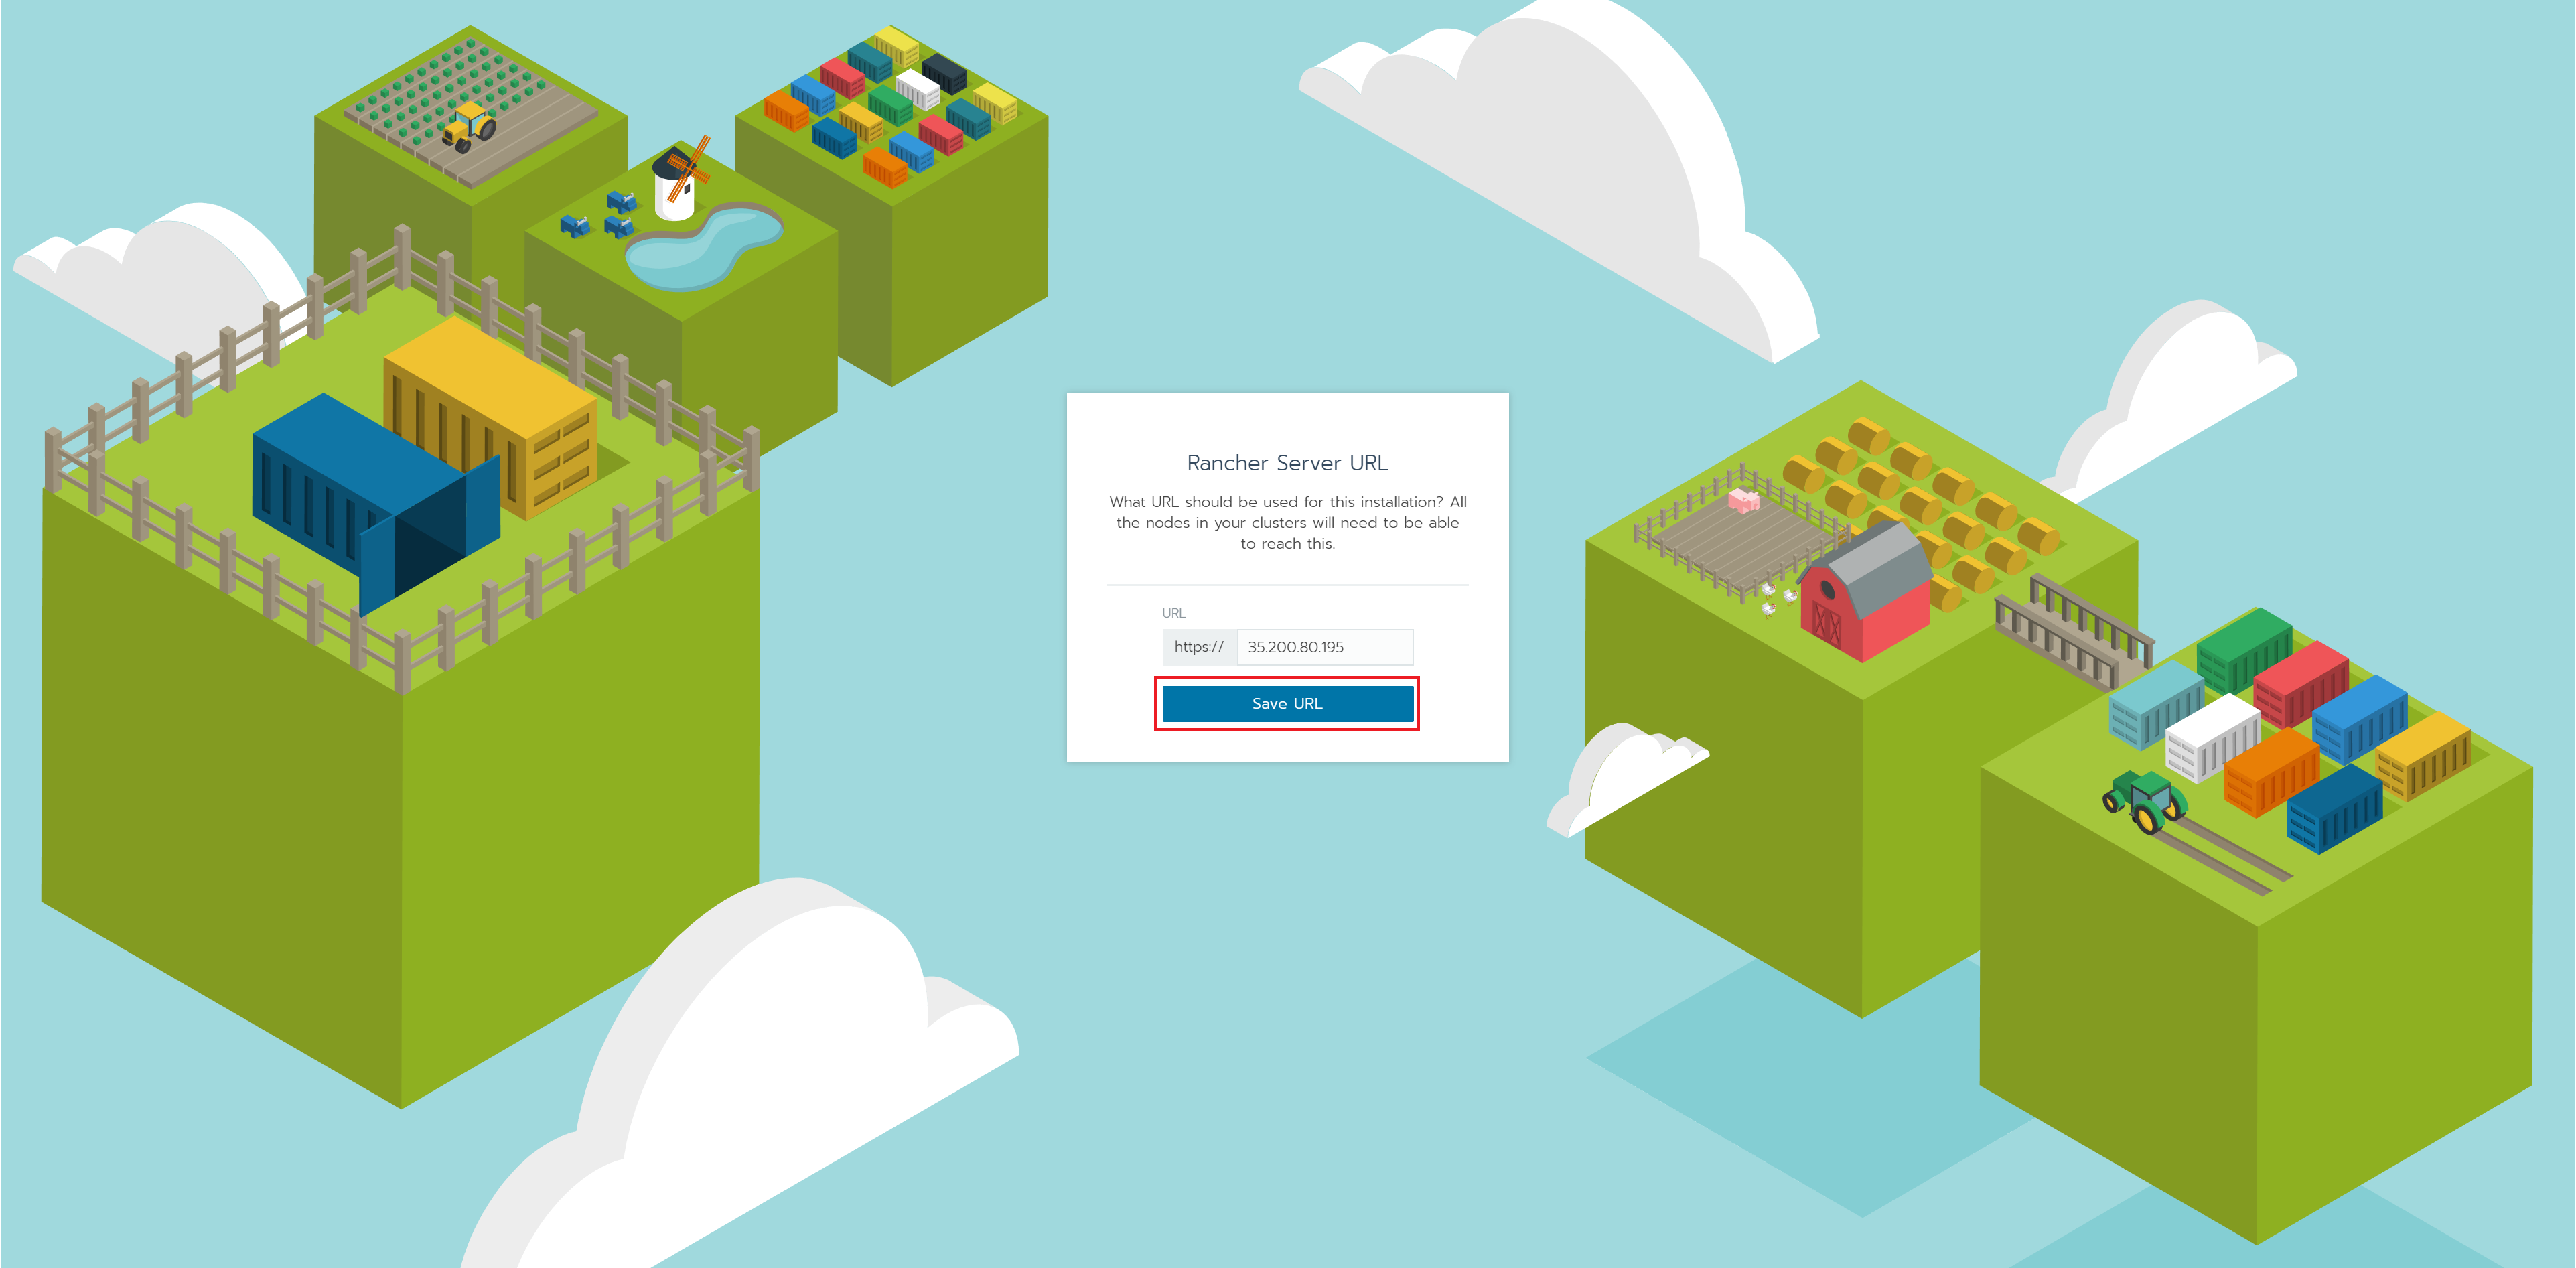
「Save URL」ボタンを押下します。
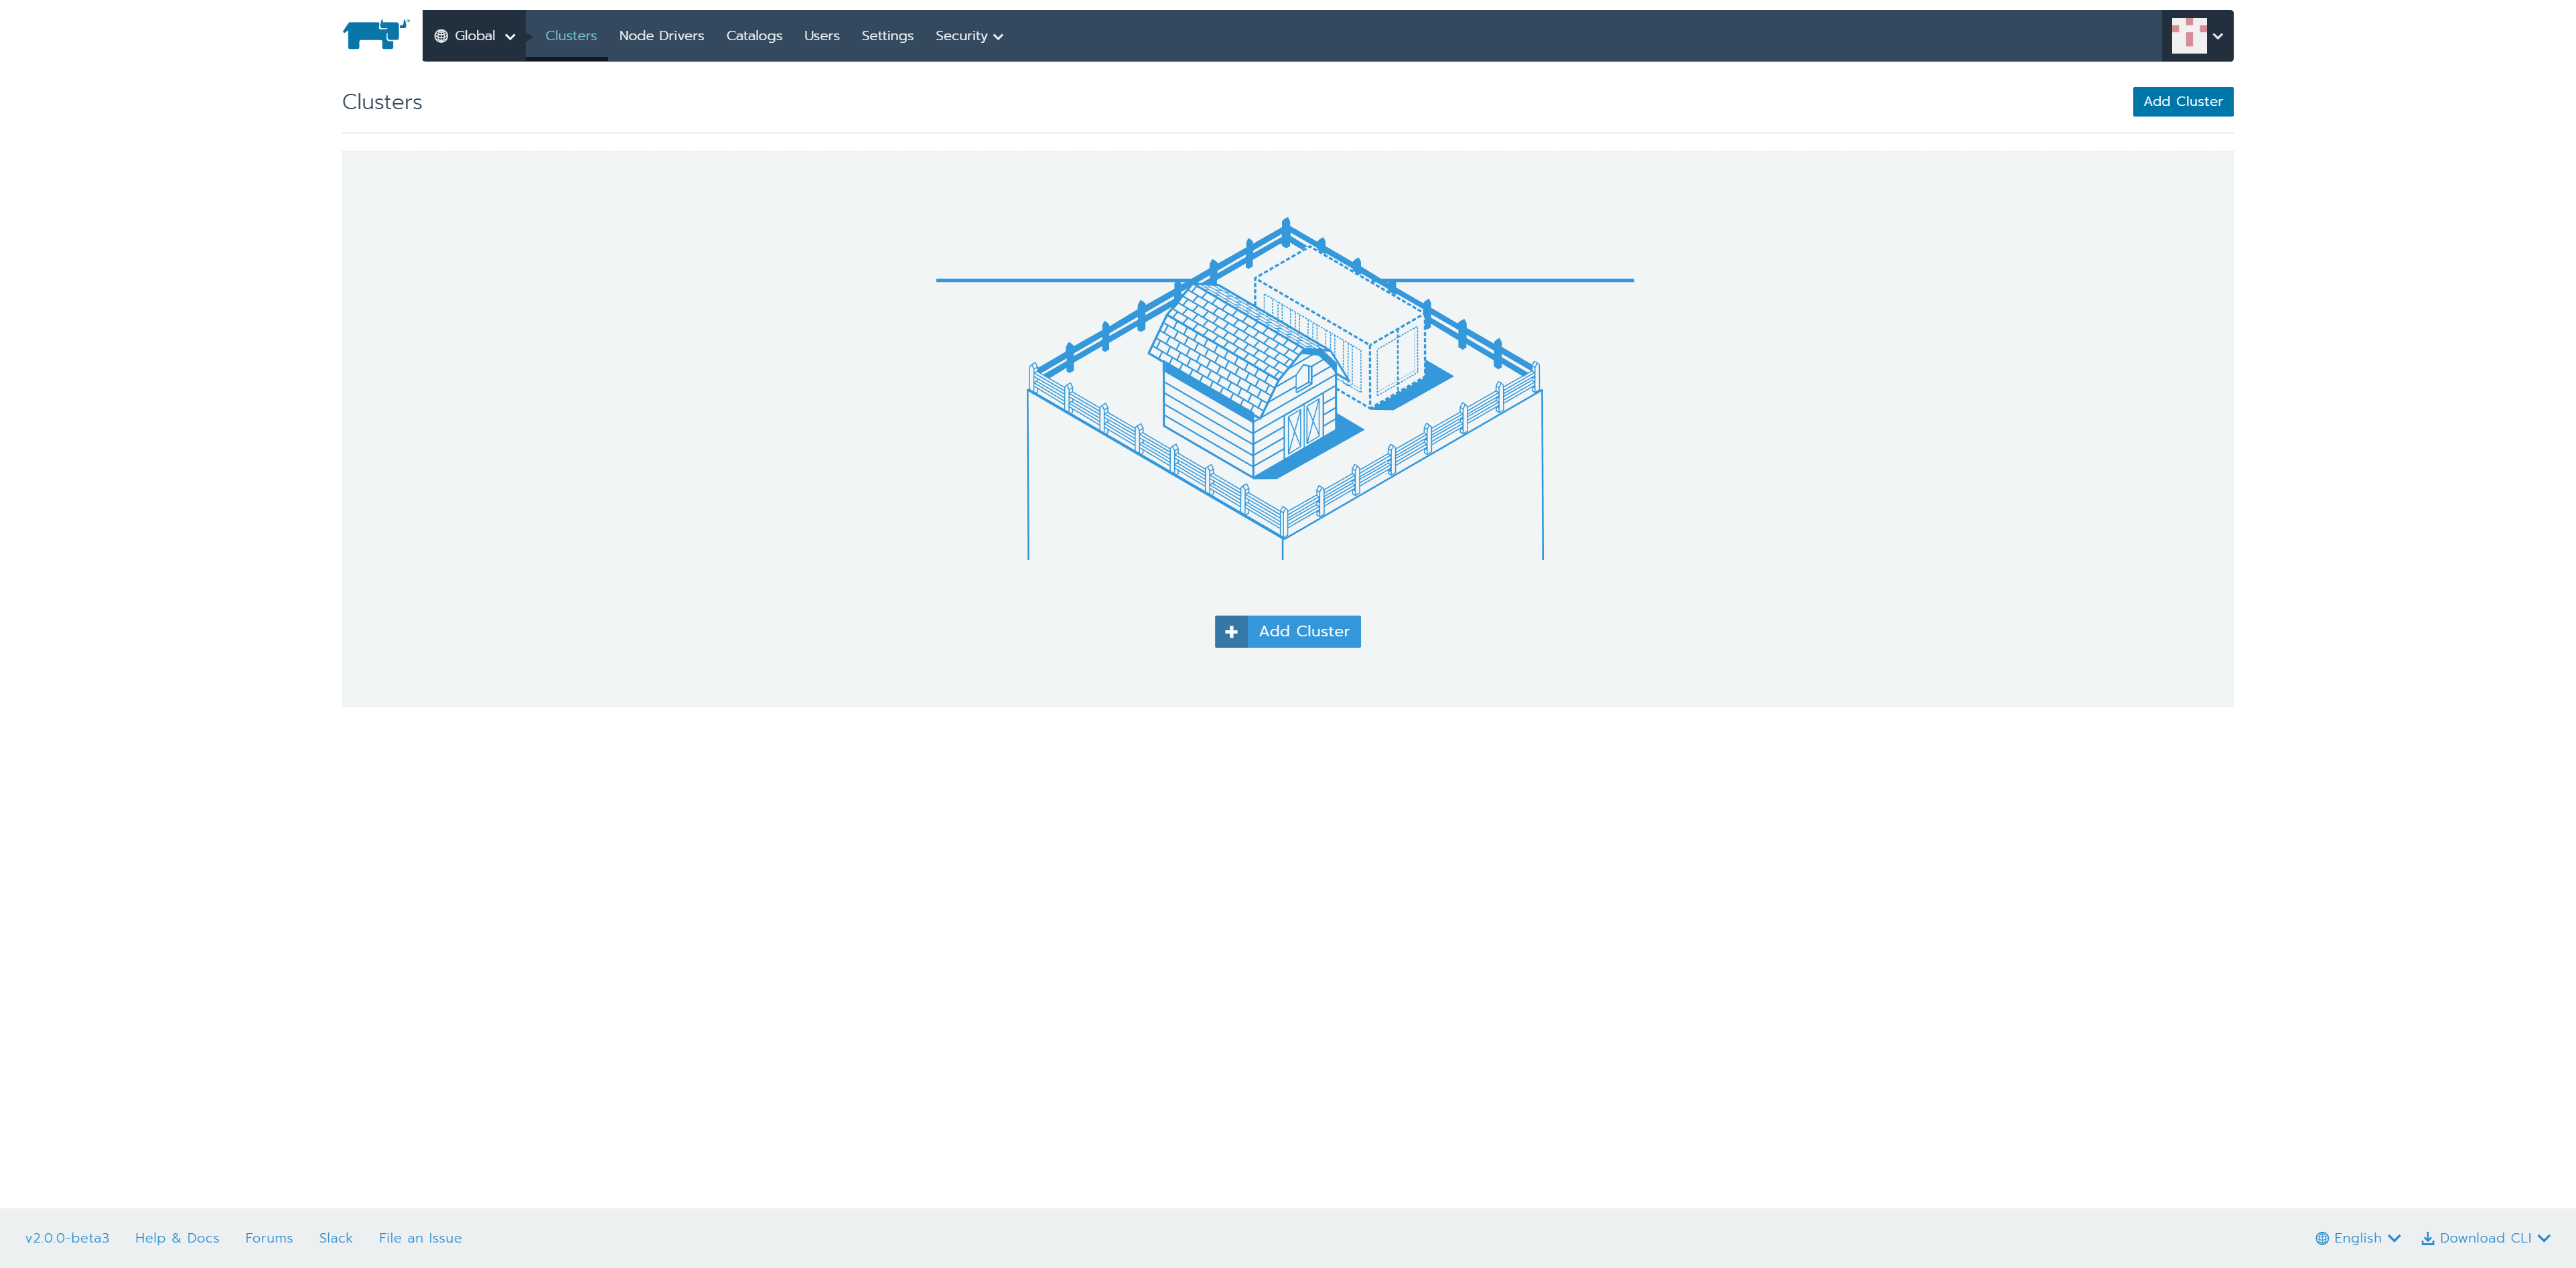
ログイン完了となります。
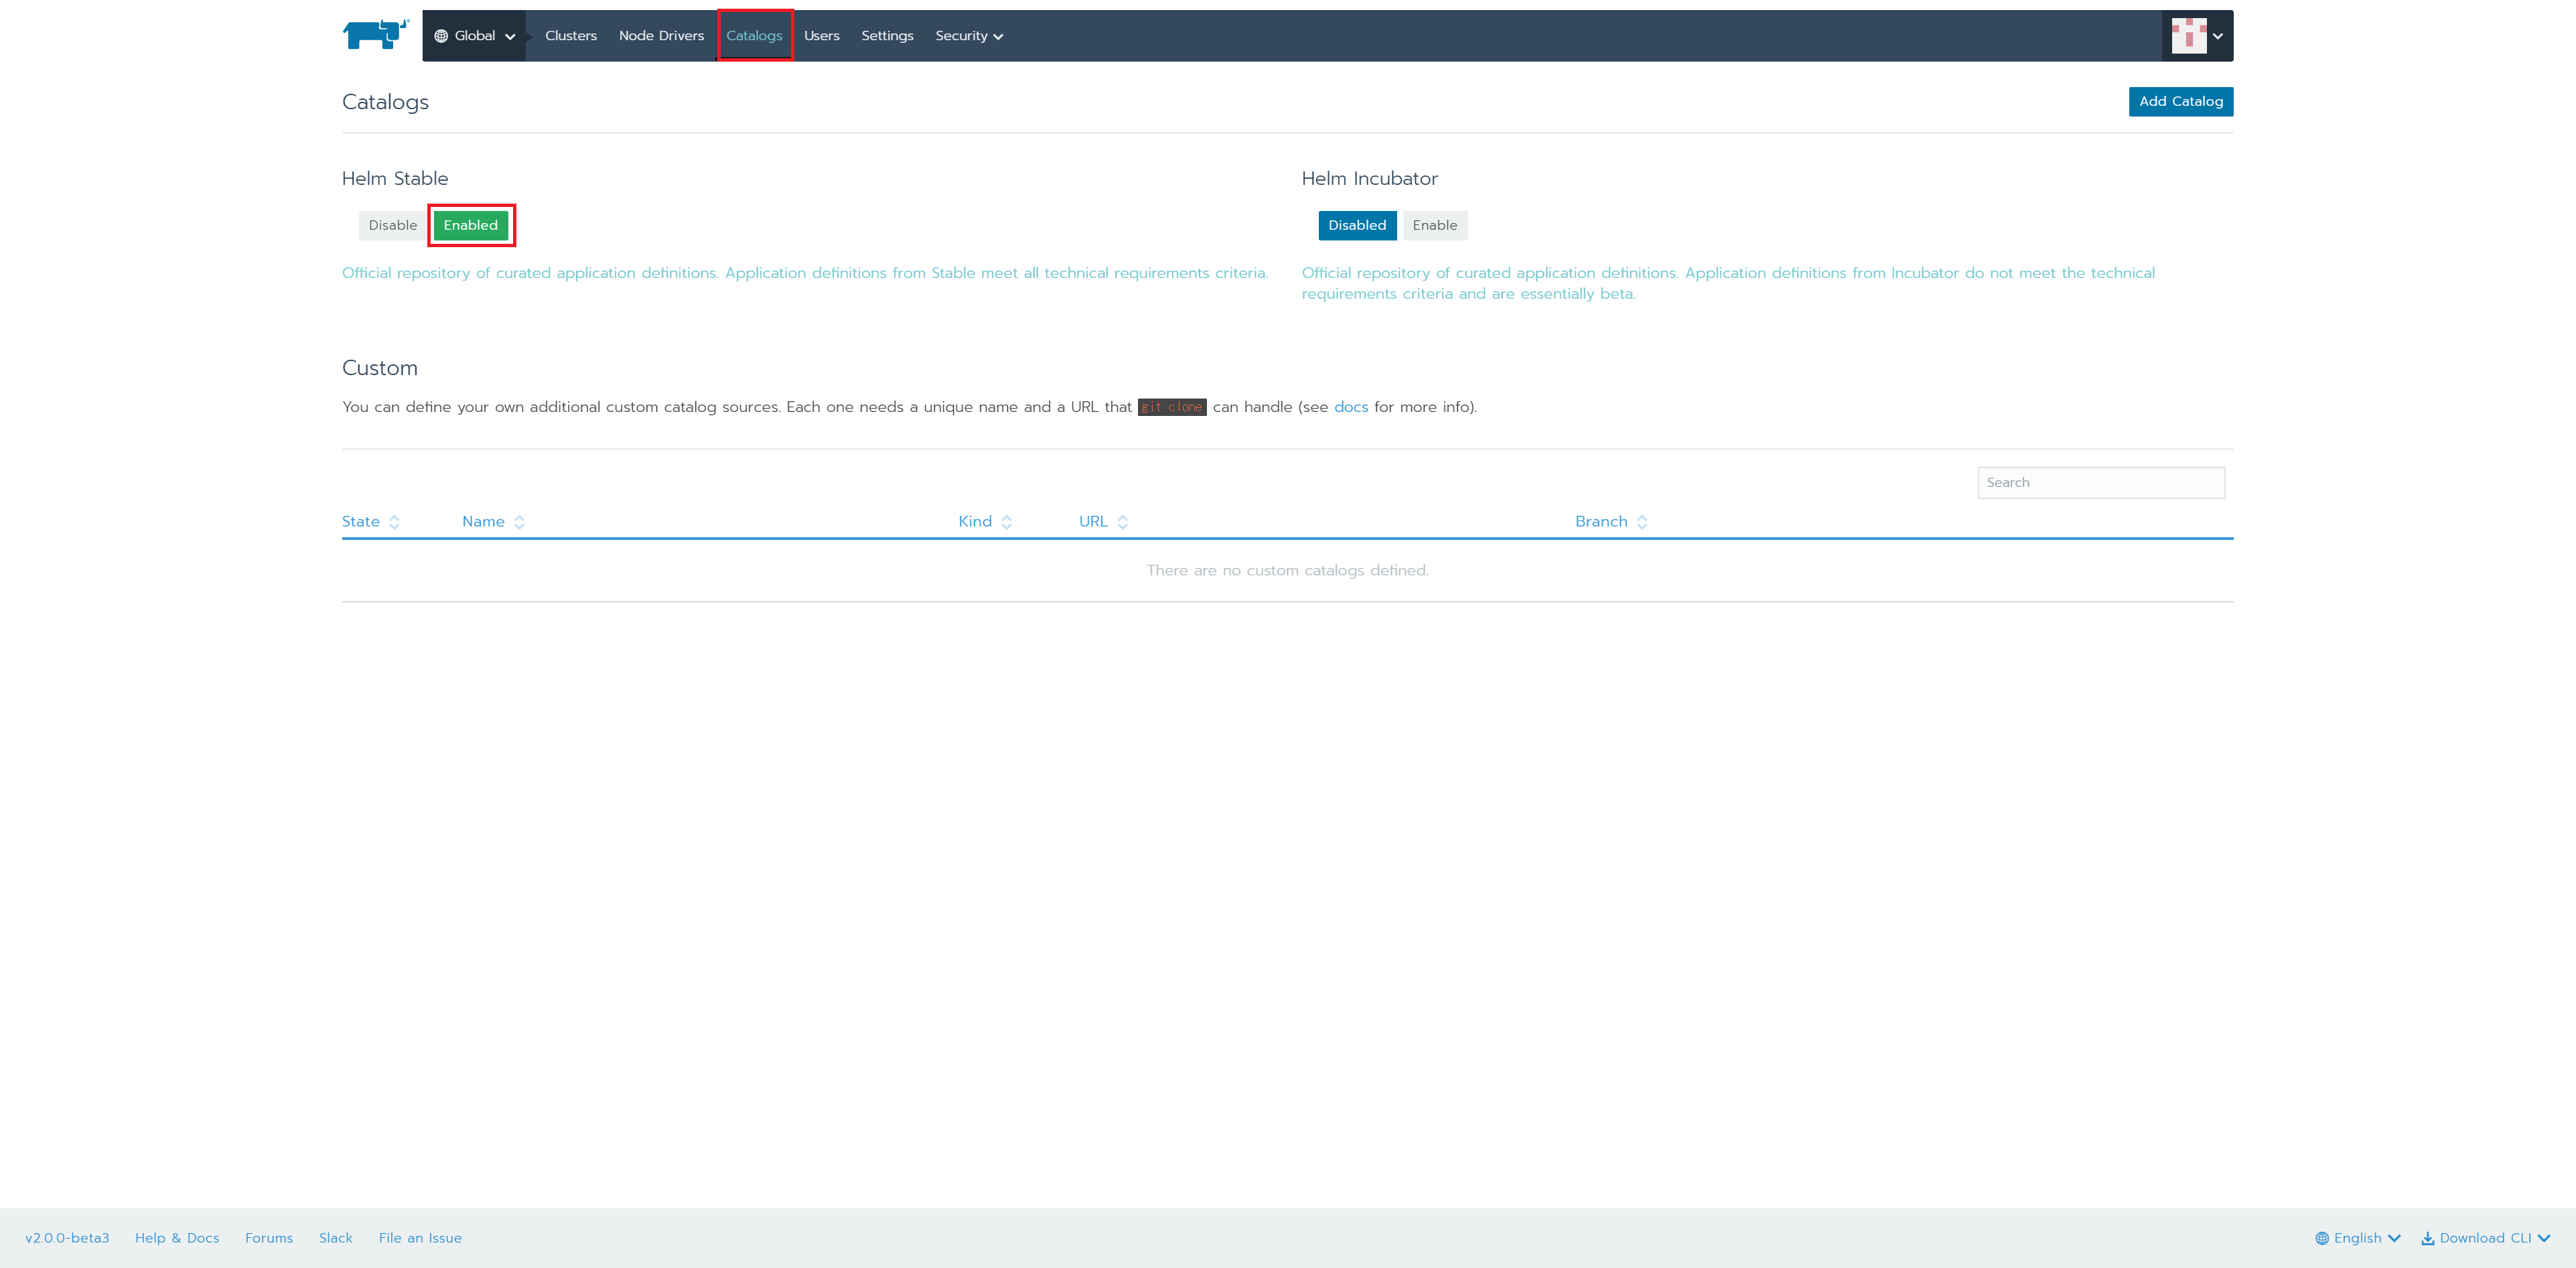
上部メニューから「Catalogs」を選択し、「Helm stable」を「Enable」に変更します。
上部メニューから「Global」を選択します。
GKEとの連携
サービスアカウントの作成
GKEと連携するために、GCPでサービスアカウントを作成し、jsonファイルをエクスポートします。
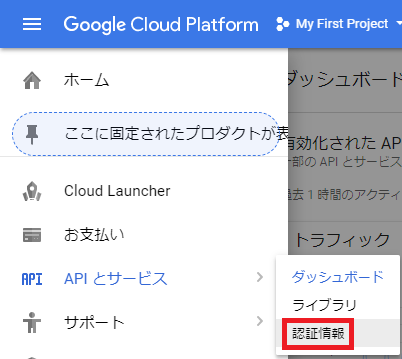
1.「APIとサービス」-「認証情報」を選択
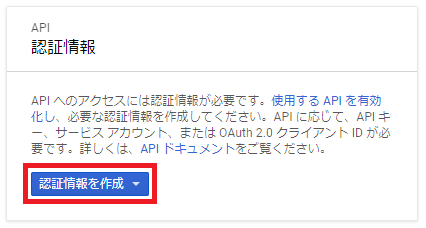
2.「認証情報を作成」を選択します。
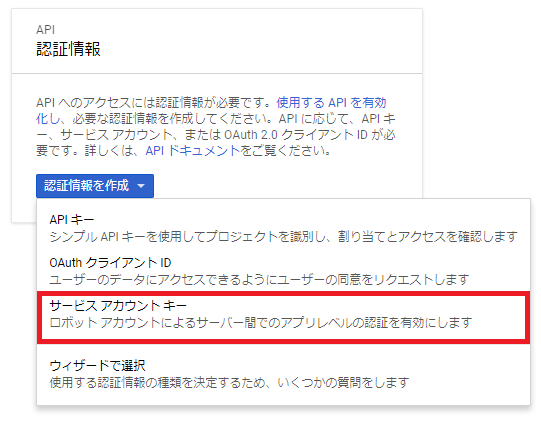
3.「サービスアカウントキー」を選択
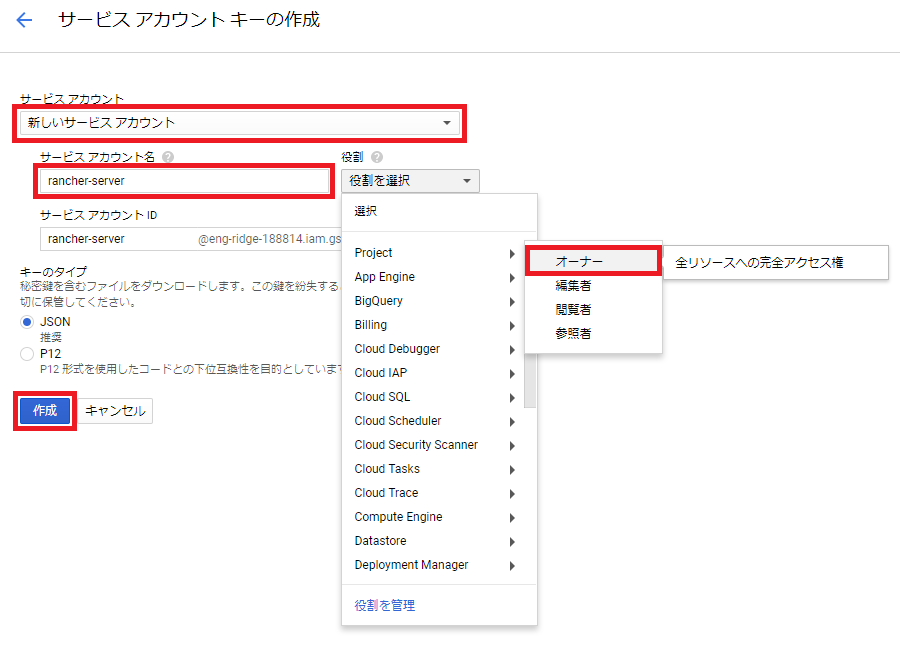
4.「新しいサービスアカウント」を選択し、サービスアカウントに任意名を入力し、役割でProjectからオーナーを選択して、作成ボタンをクリックします。
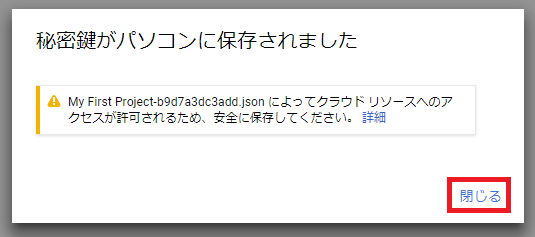
5.jsonファイルがダウンロードされます。その後「閉じる」を選択します。
クラスタ作成からWordPressデプロイ
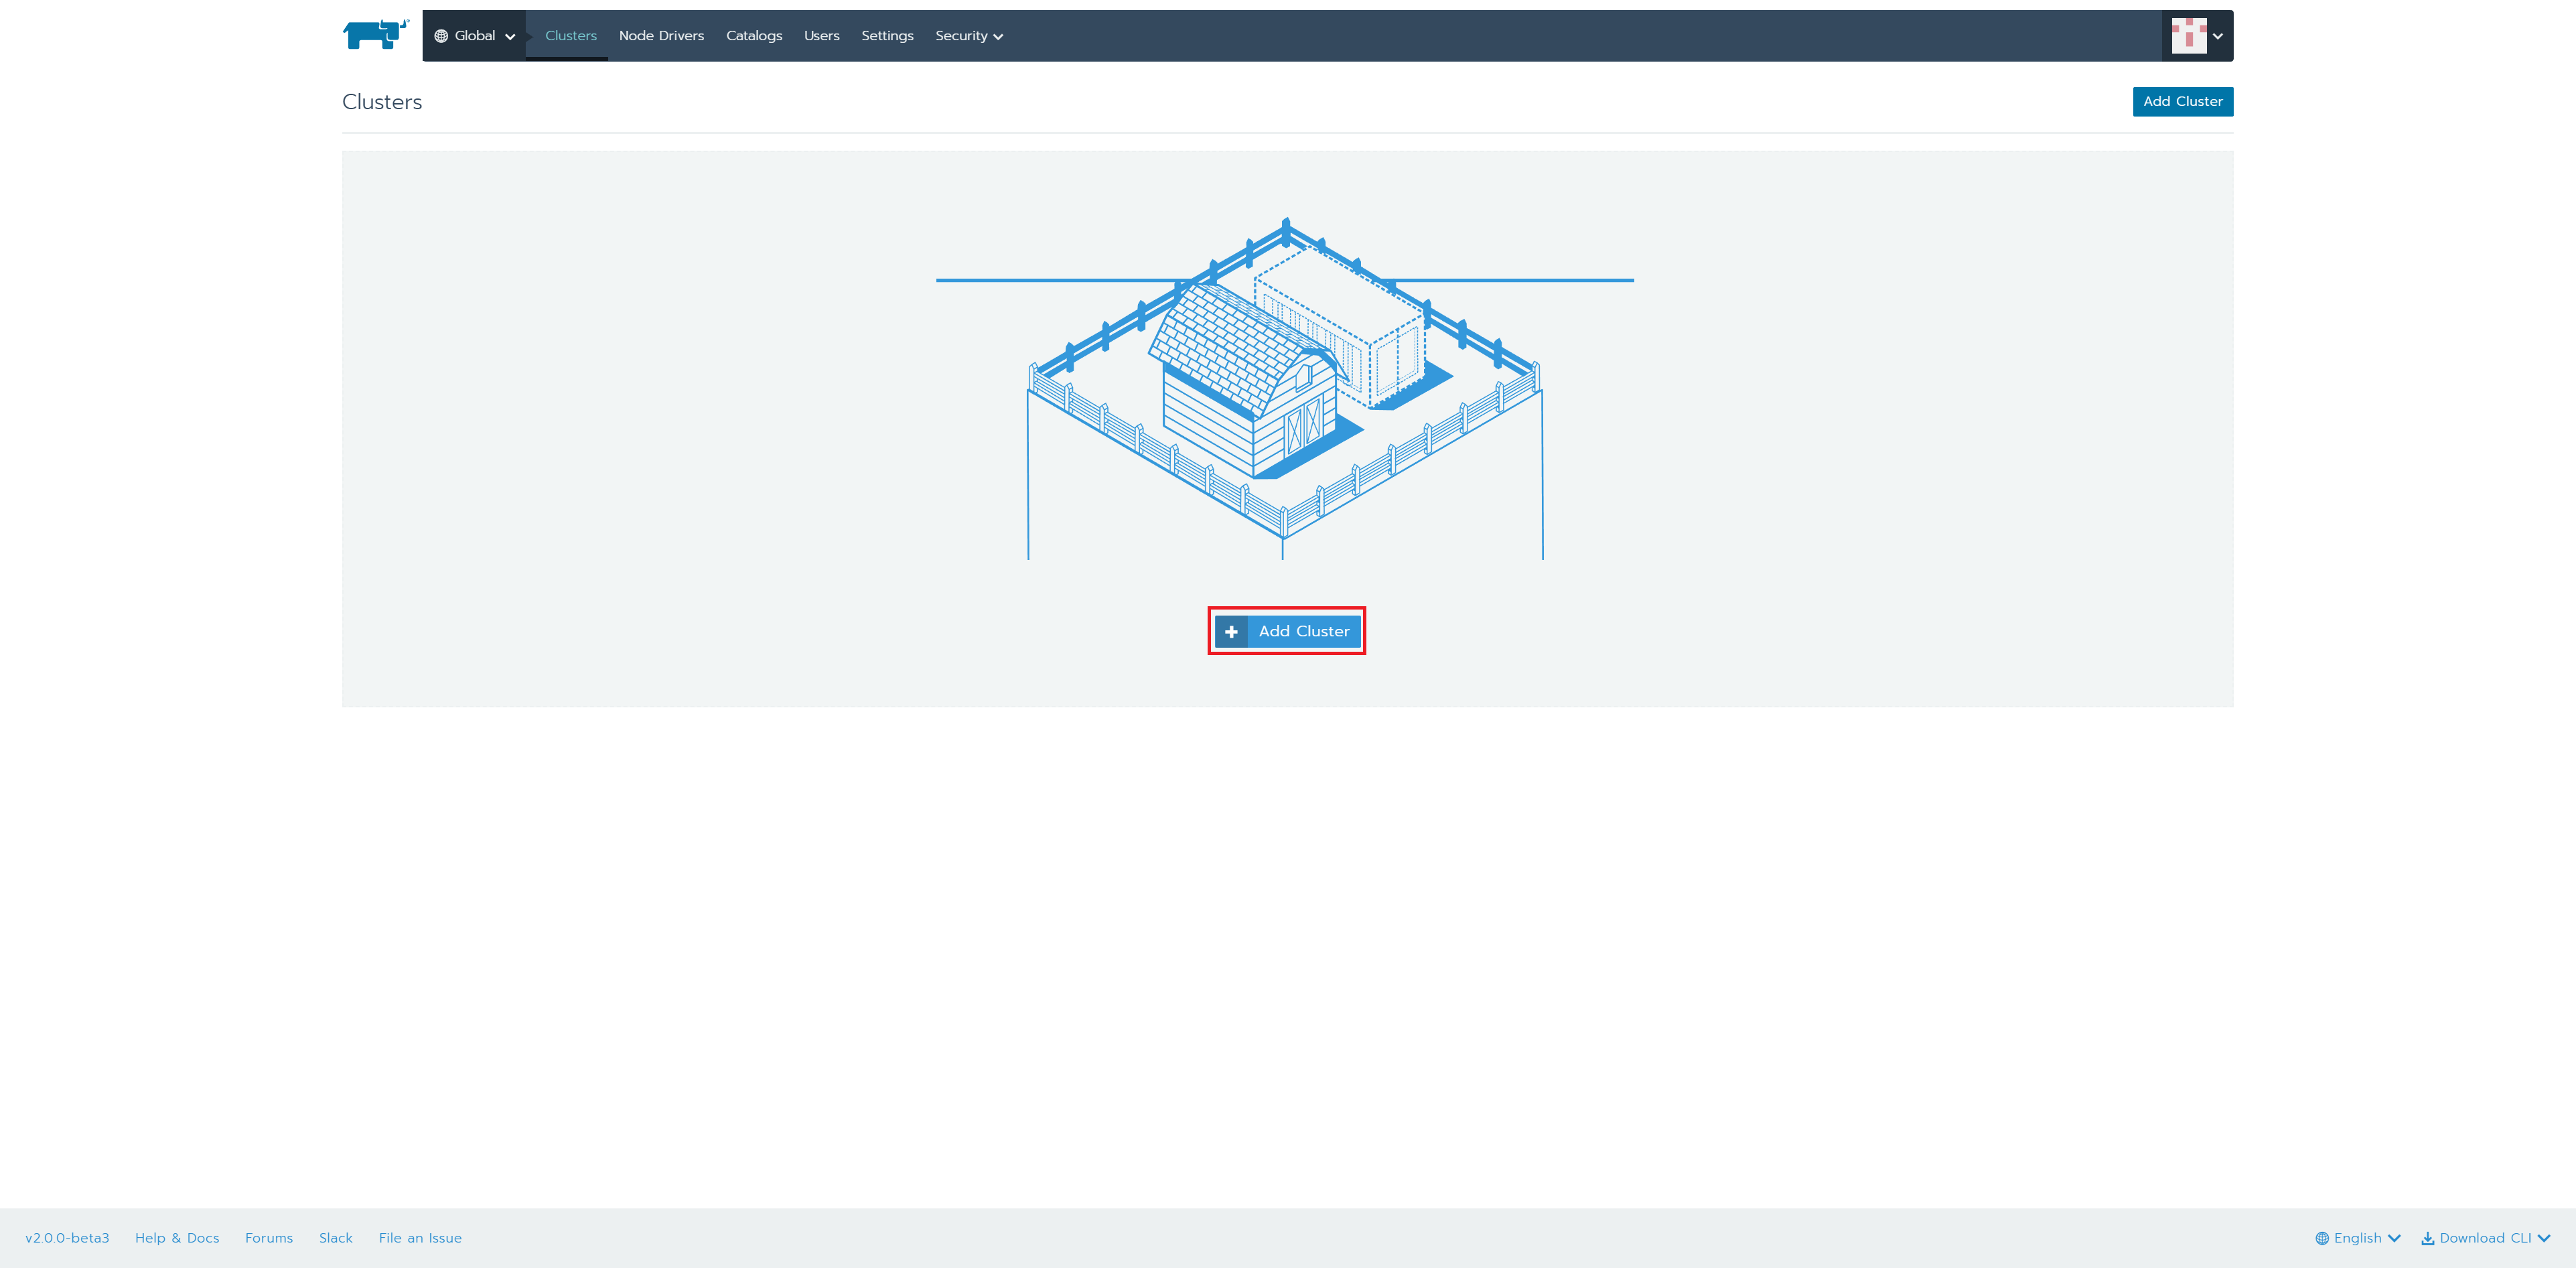
1.「Add Cluster」ボタンを押下
2.jsonファイルを読み込み
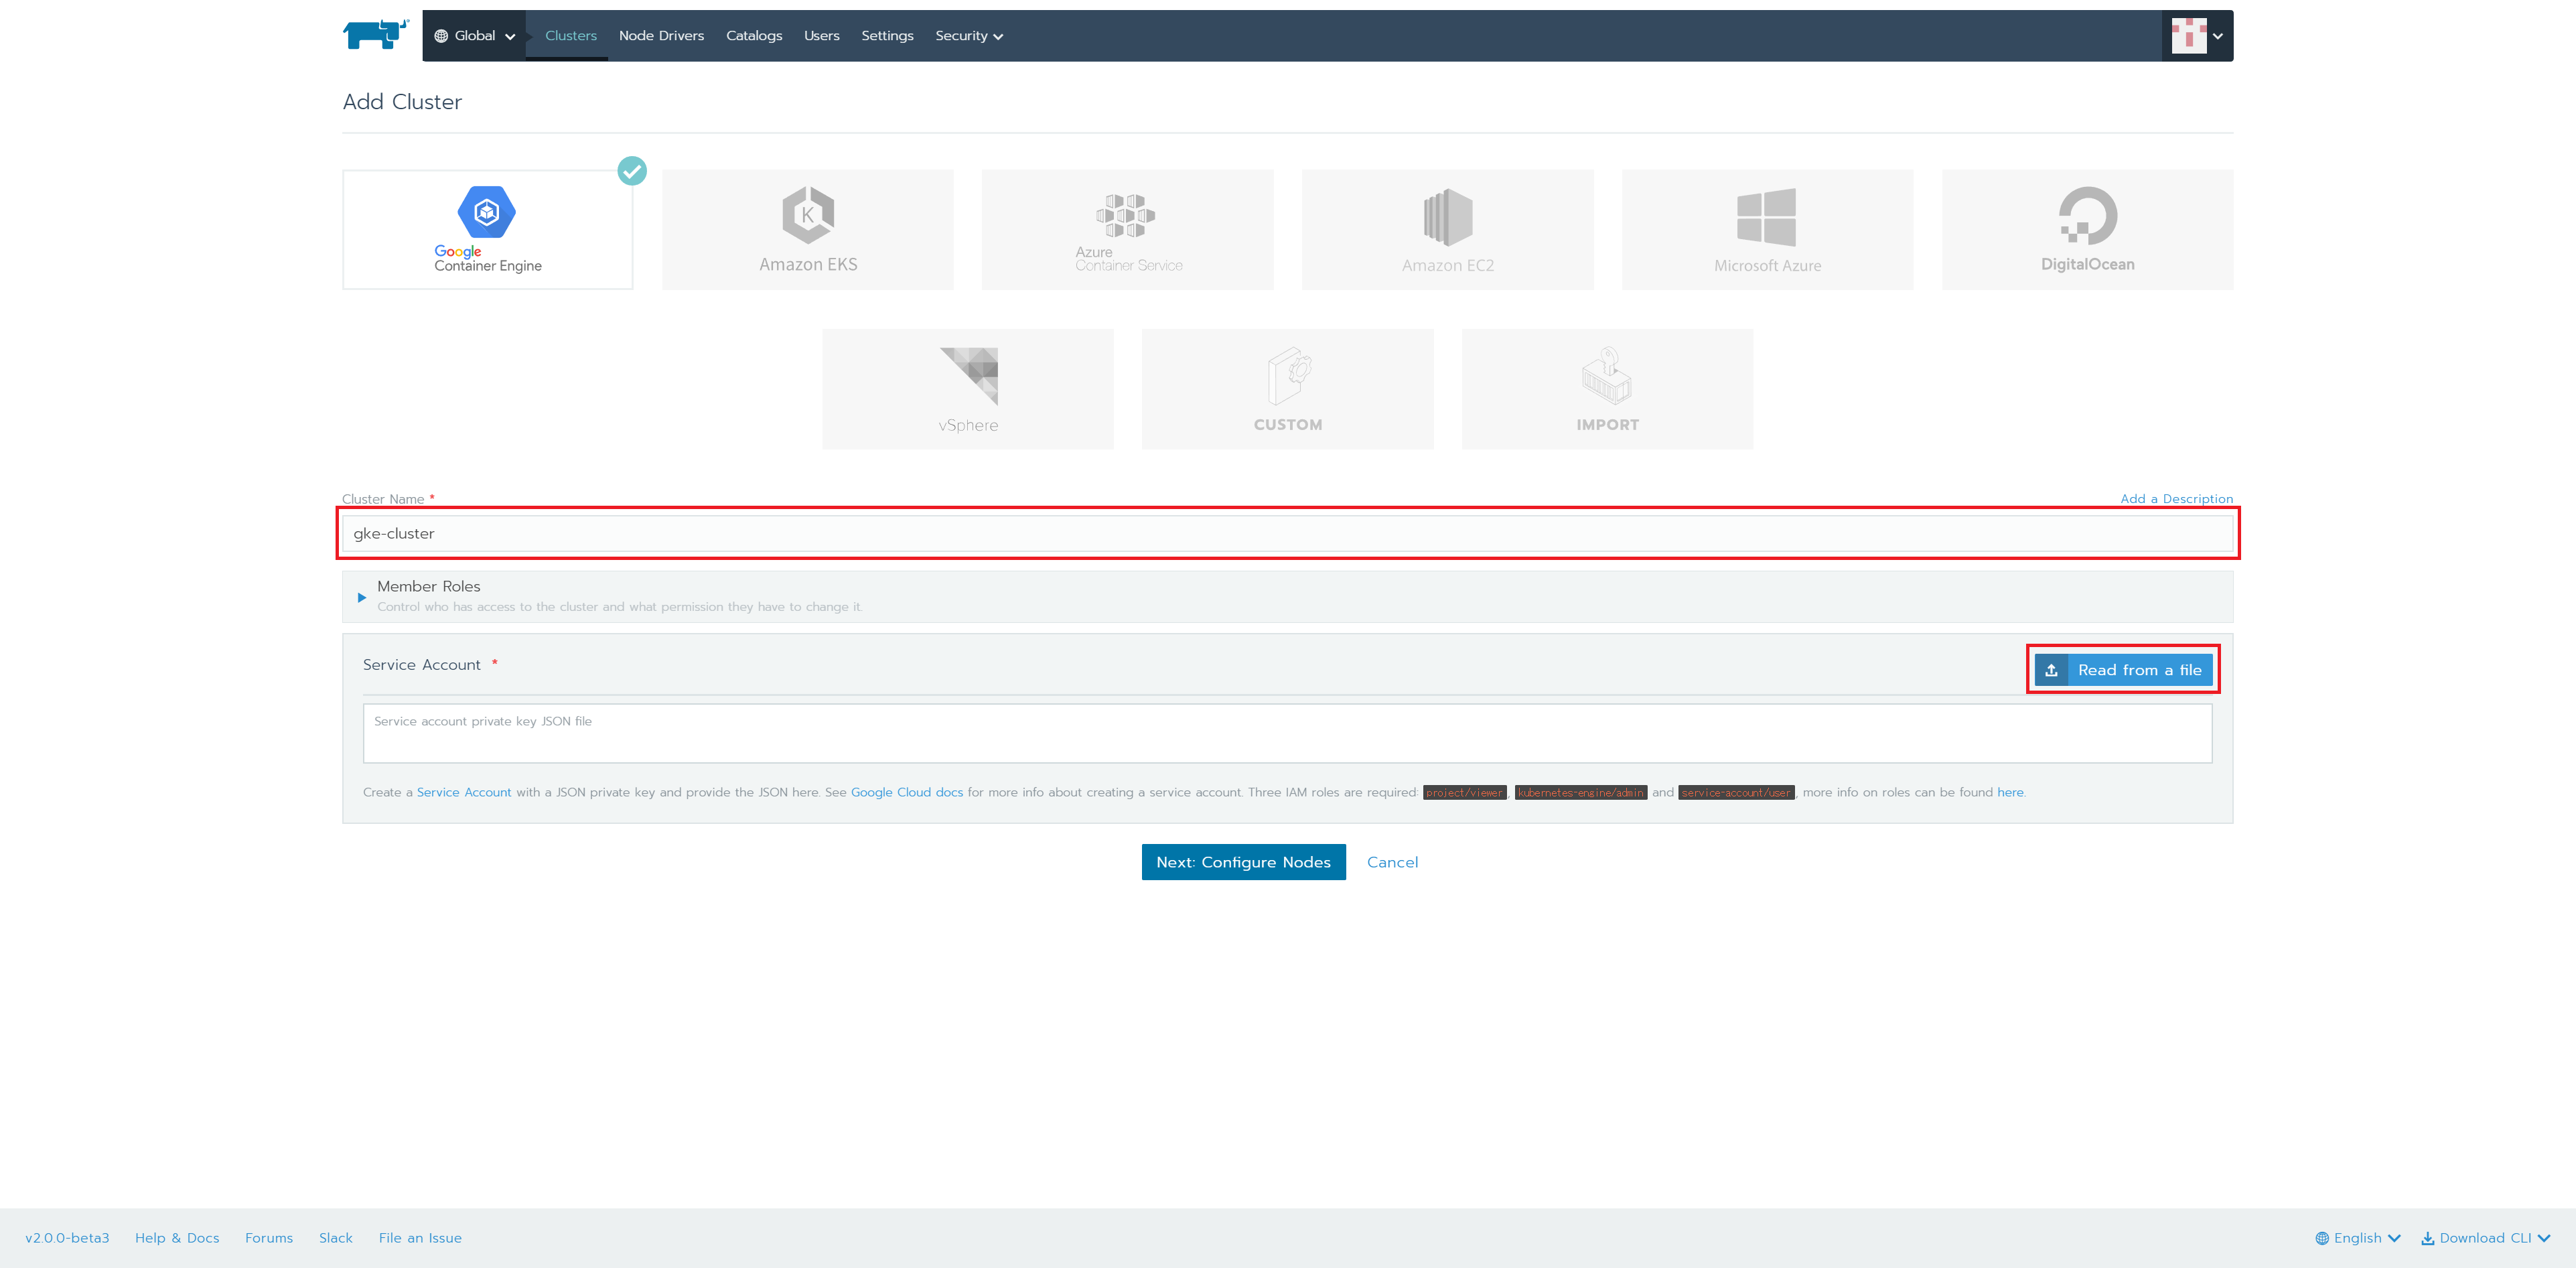
「Cluster Name」に任意の名前を入力し、「Read from a file」ボタンを押下します。
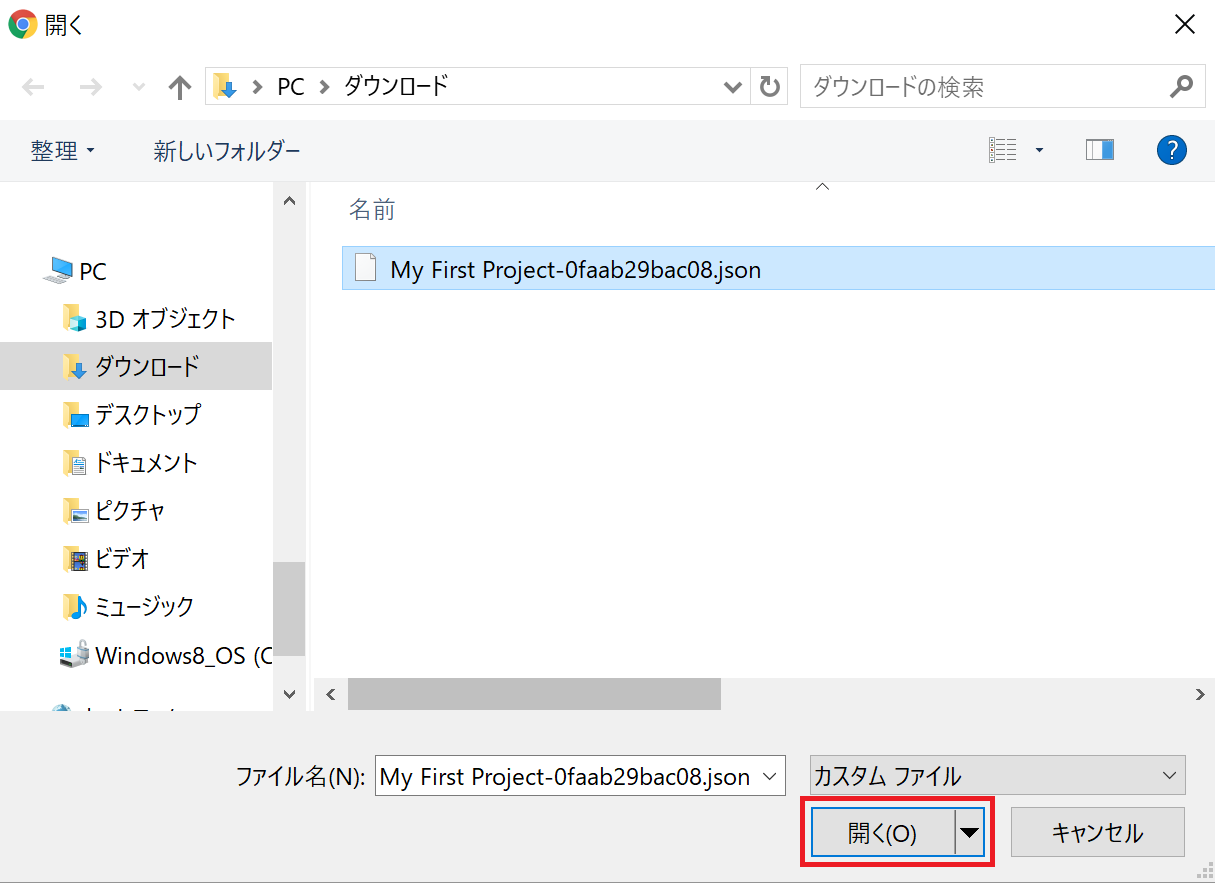
ダウンロードしたjsonファイルを選択して、「開く」ボタンを押下します。
3.Rancherからkubernetesクラスタ構築設定
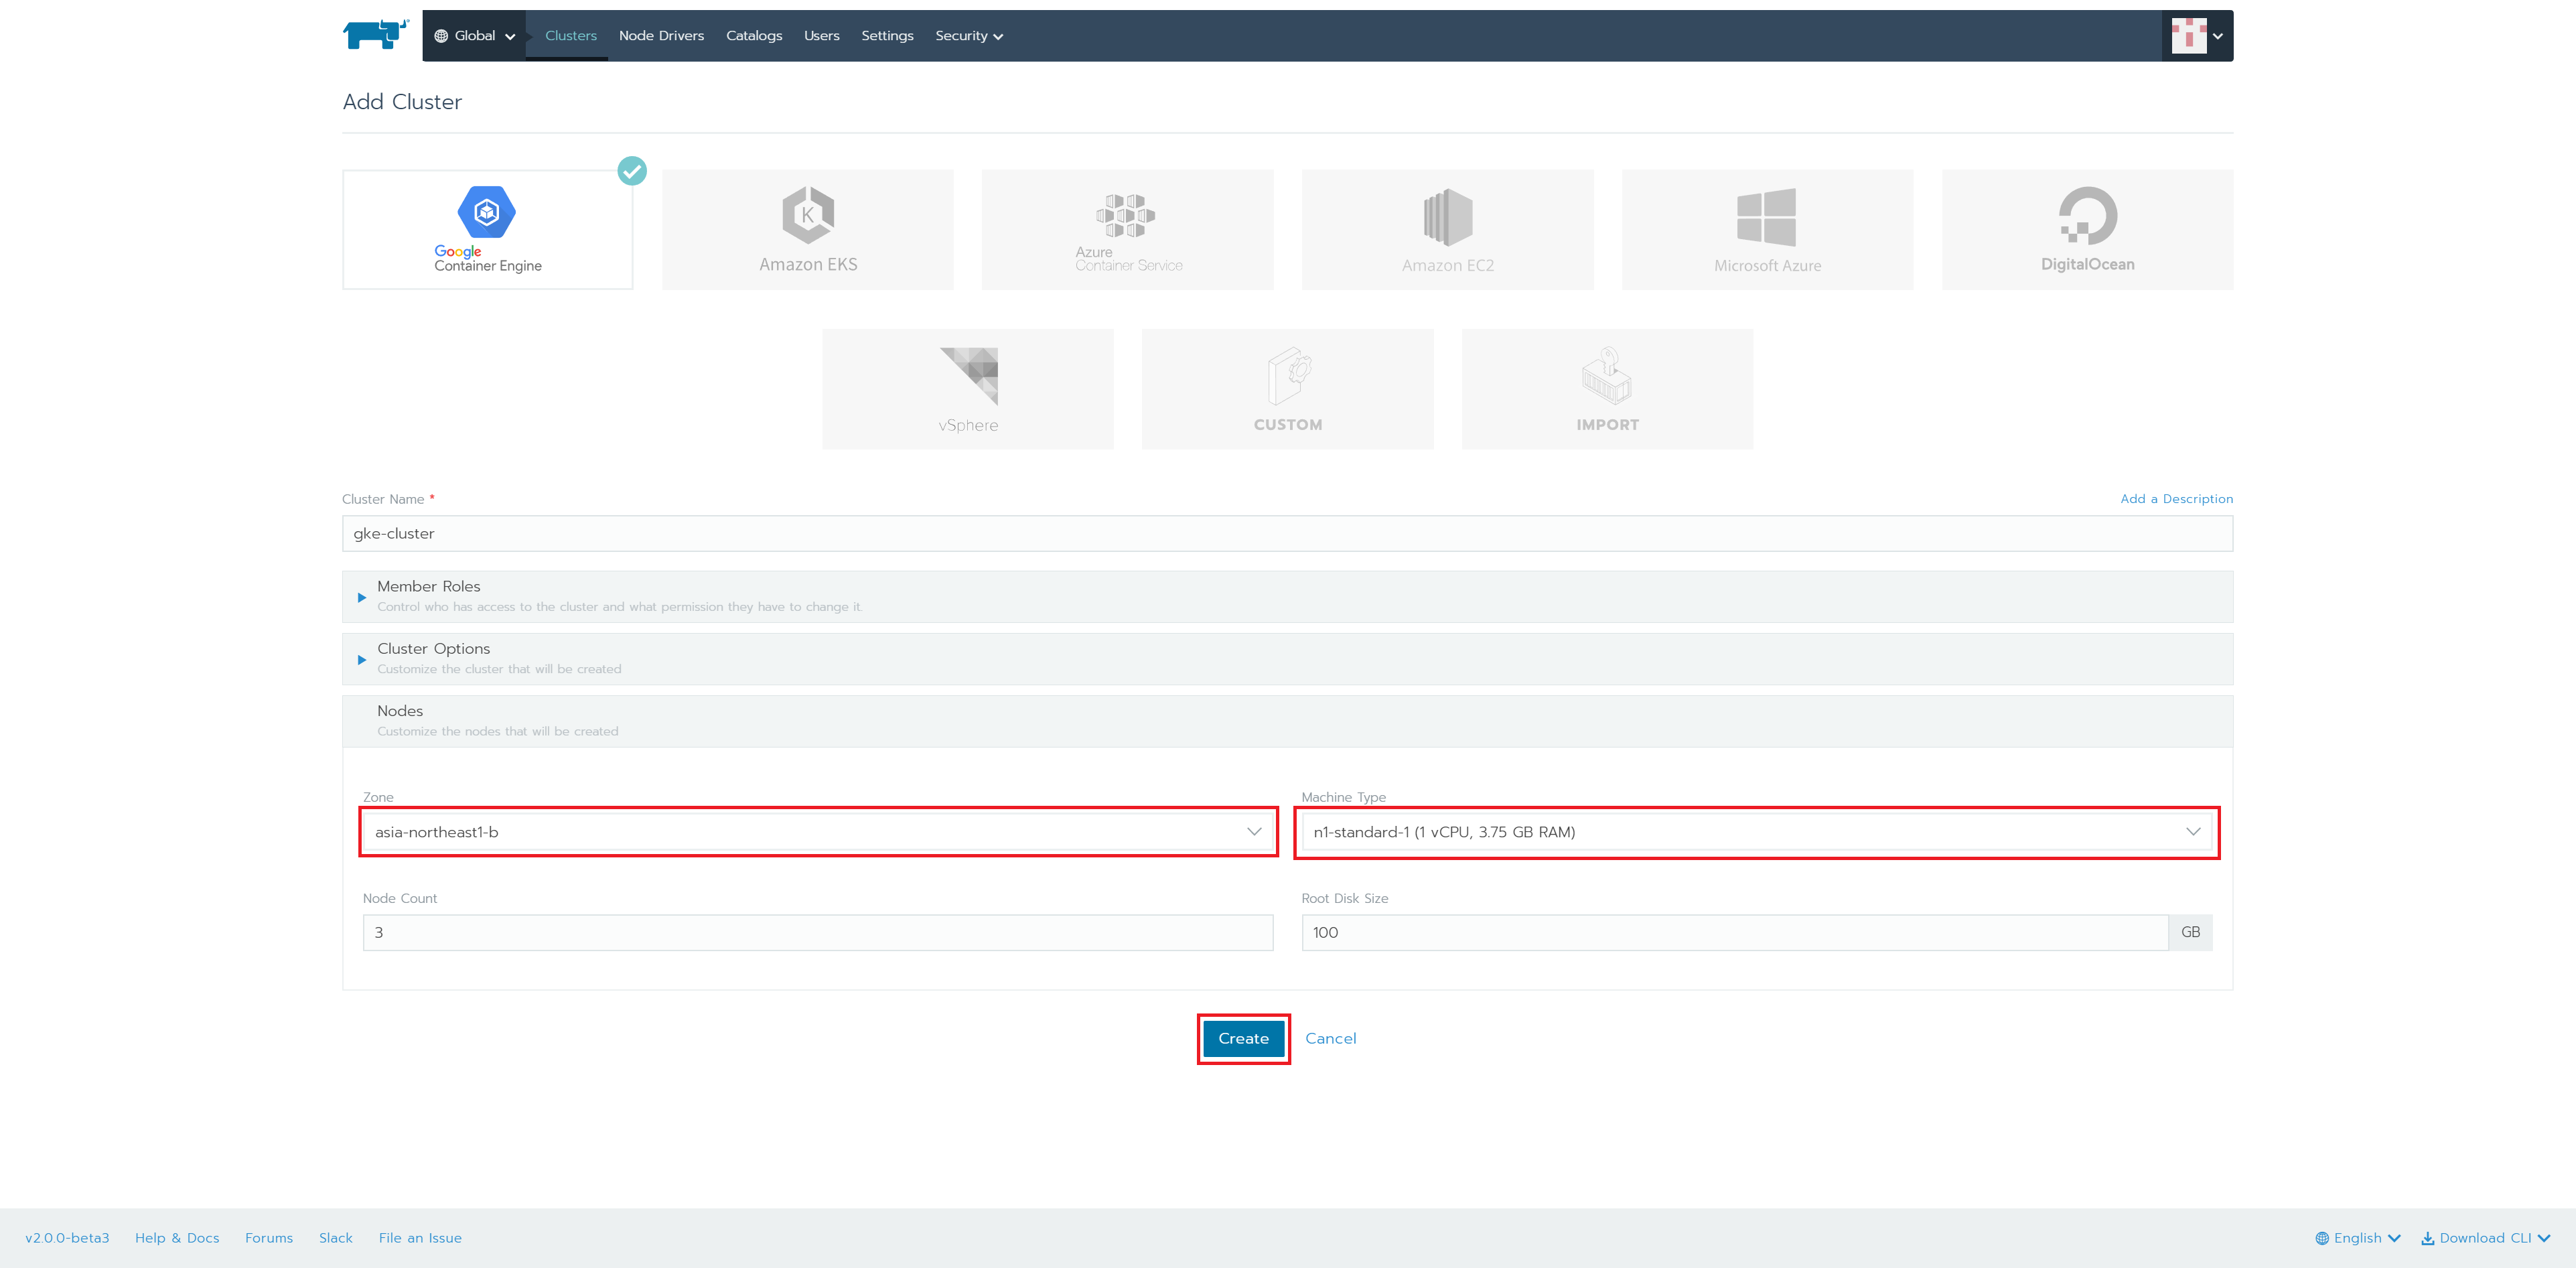
「Zone」を「asia-northeast1-b」、 Machine Typeを「n1-standard-1(1 vCPU, 3.75 GB RAM)」に設定し、「Create」ボタンを押下します。
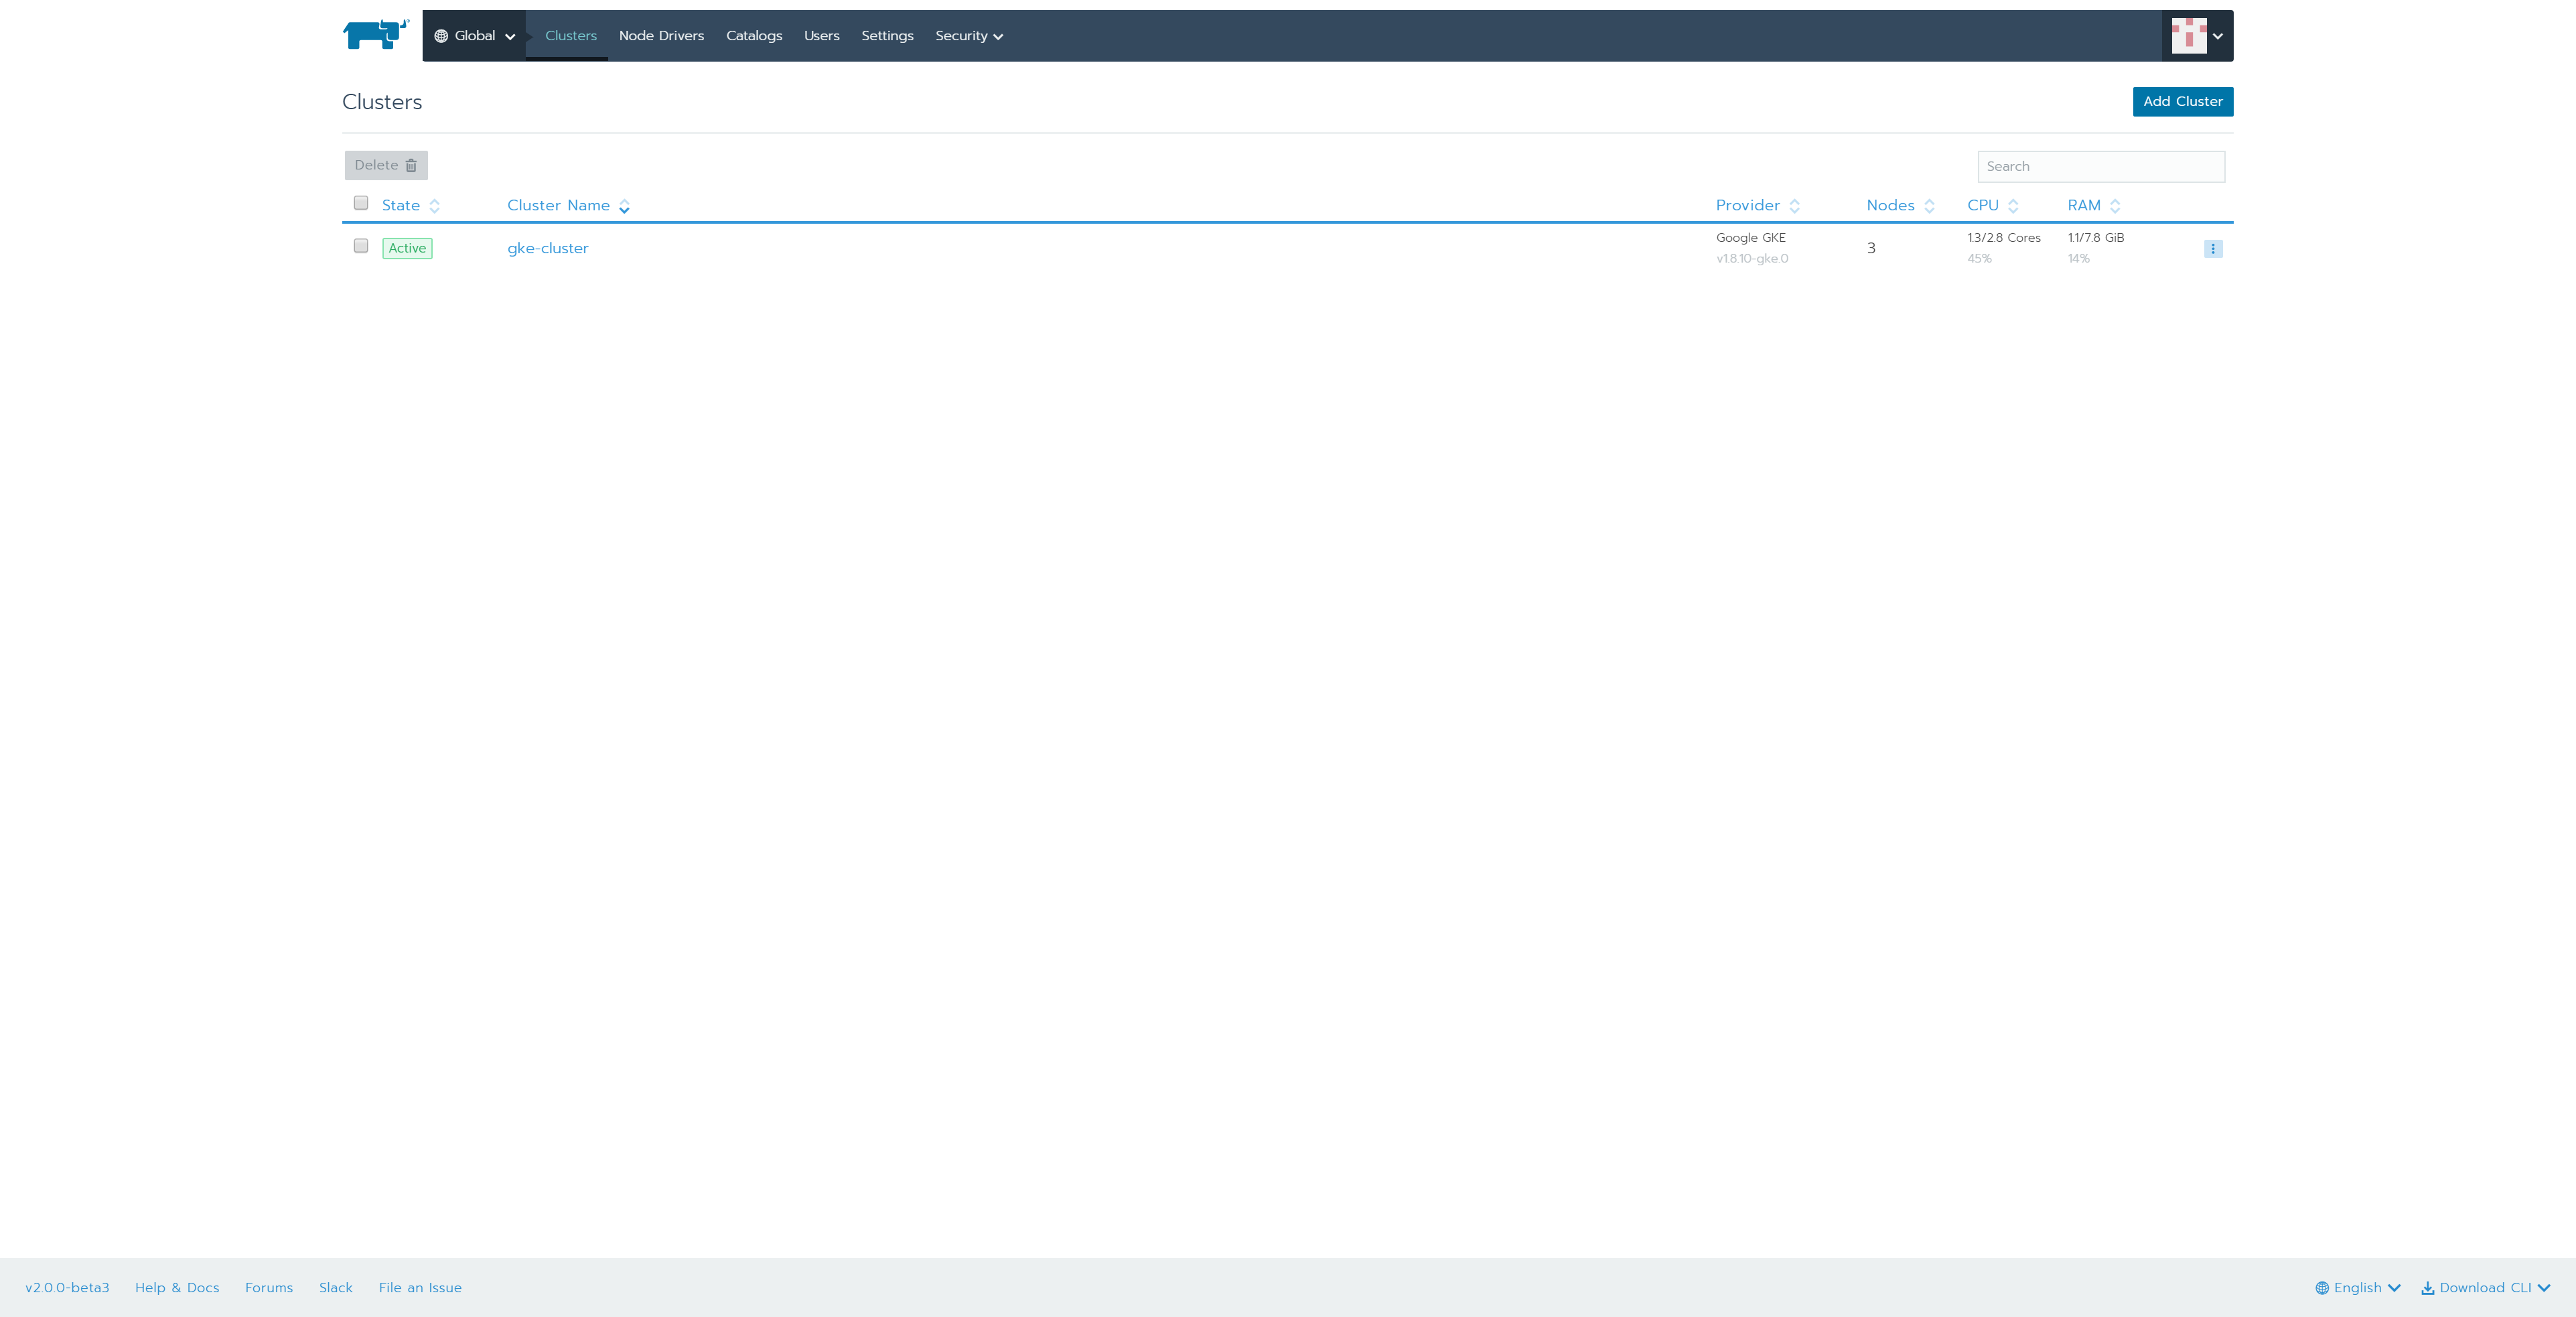
4.kubernetes clusterの構築完了
しばらくすると、構築が完了します。
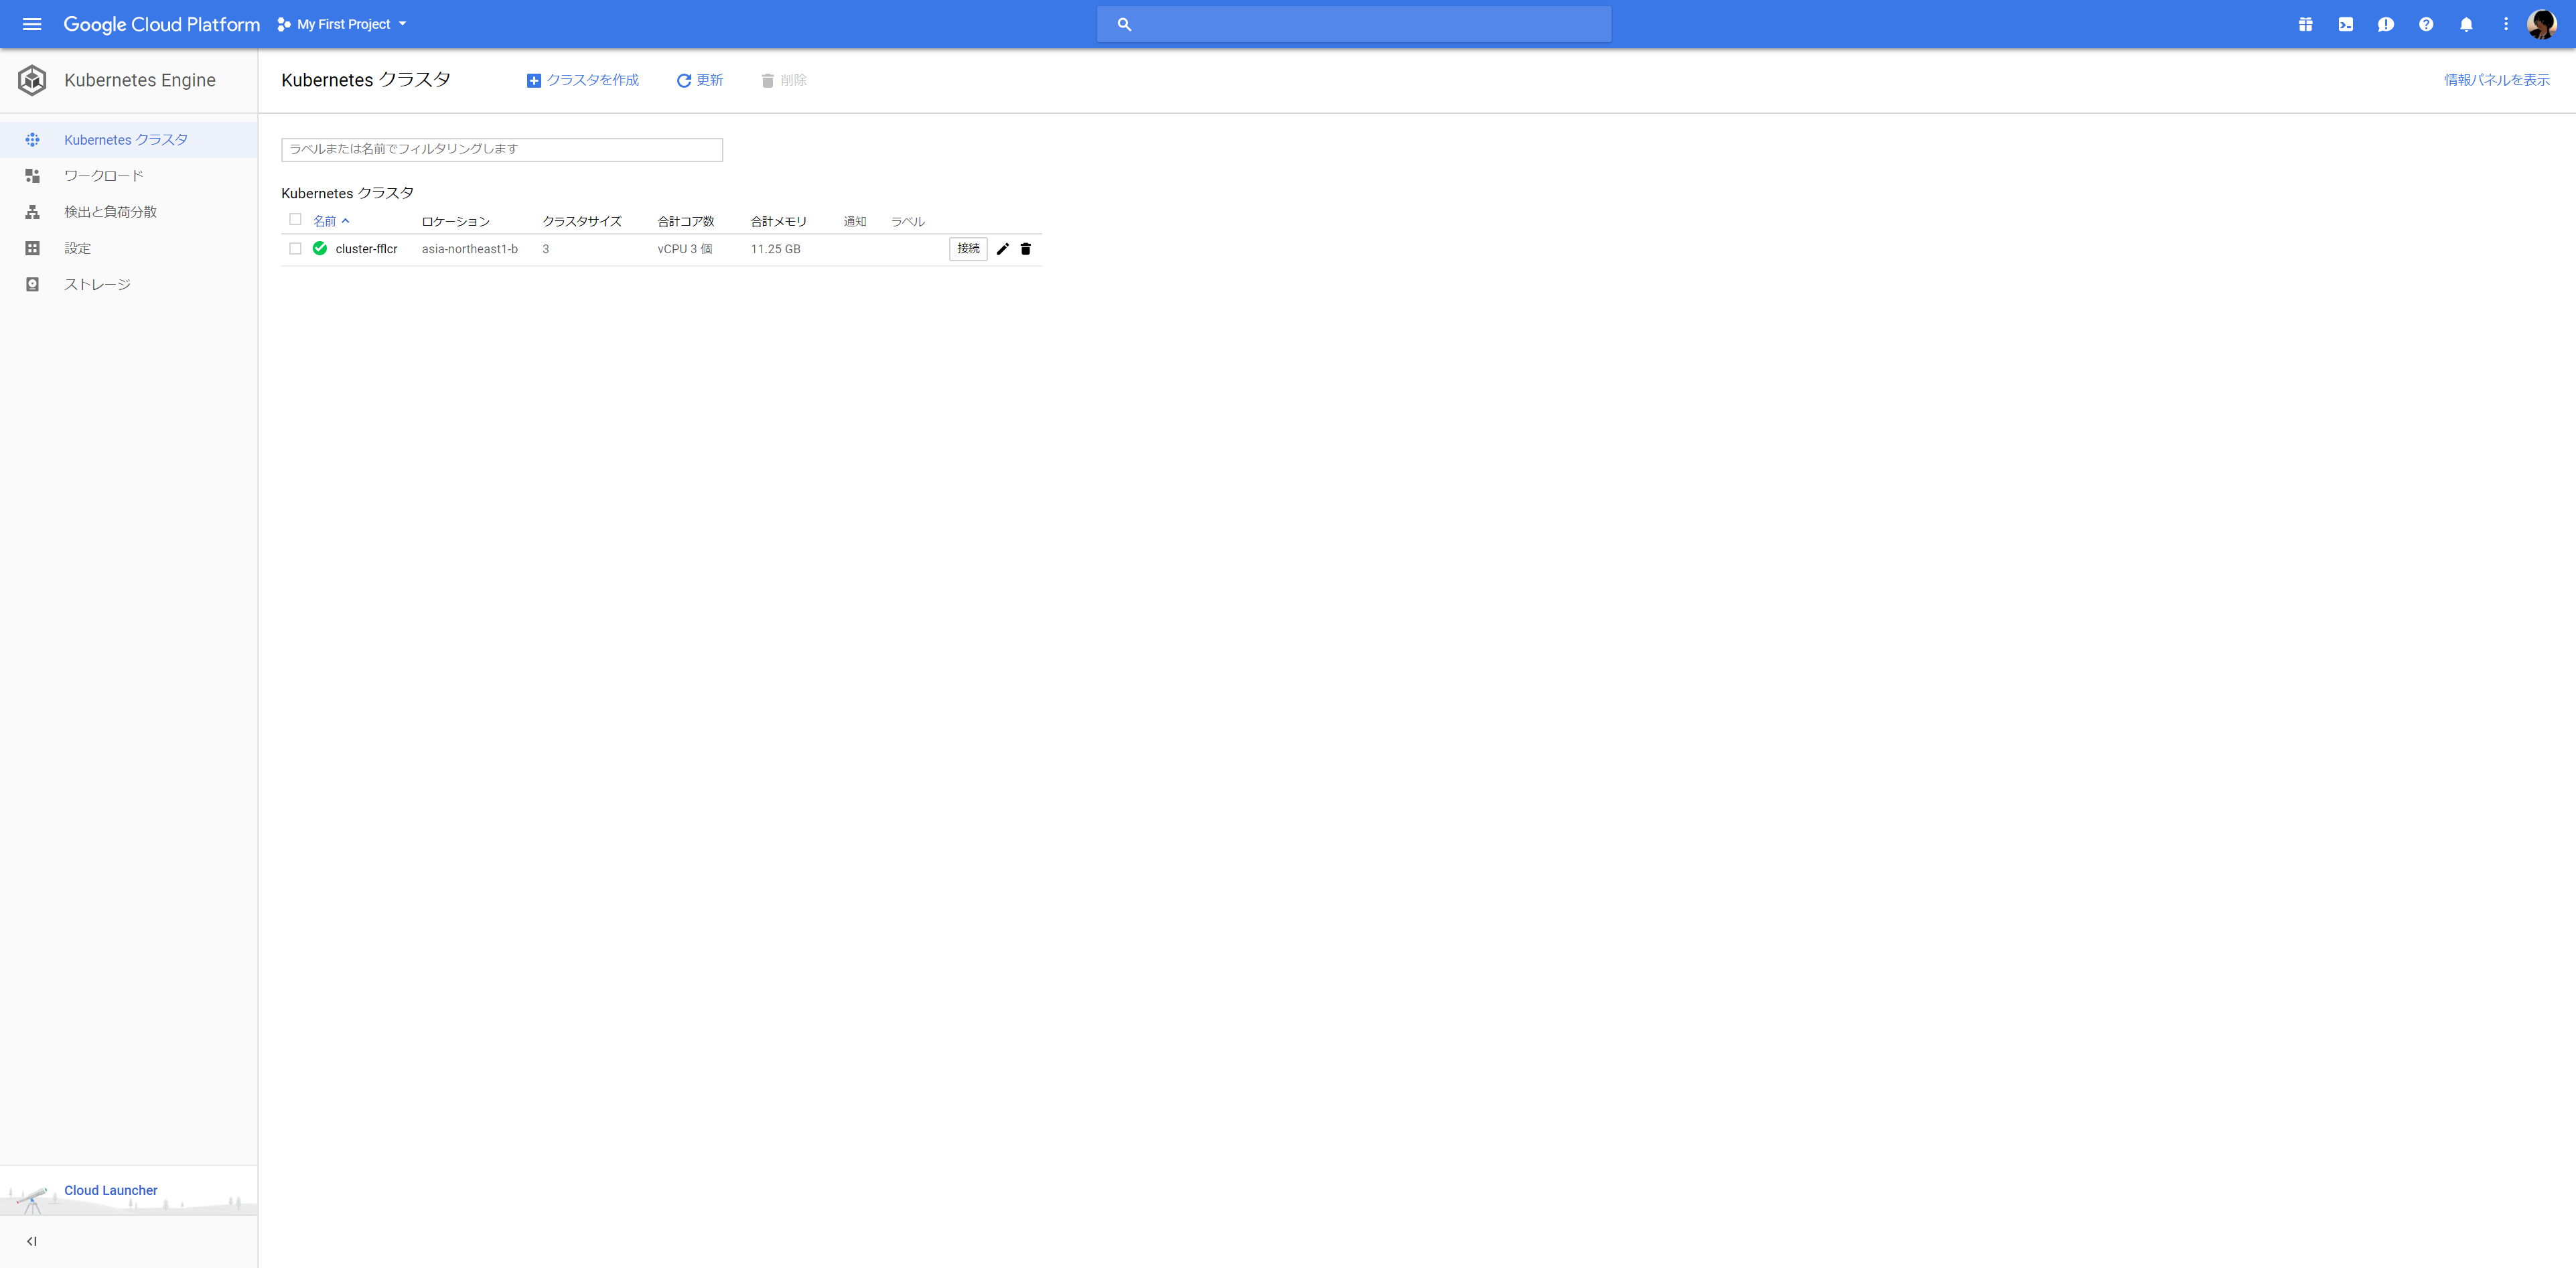
GKE側でも確認できます。
5.リソース状況の確認
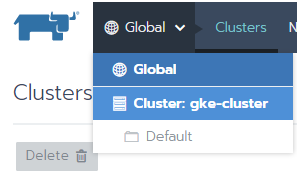
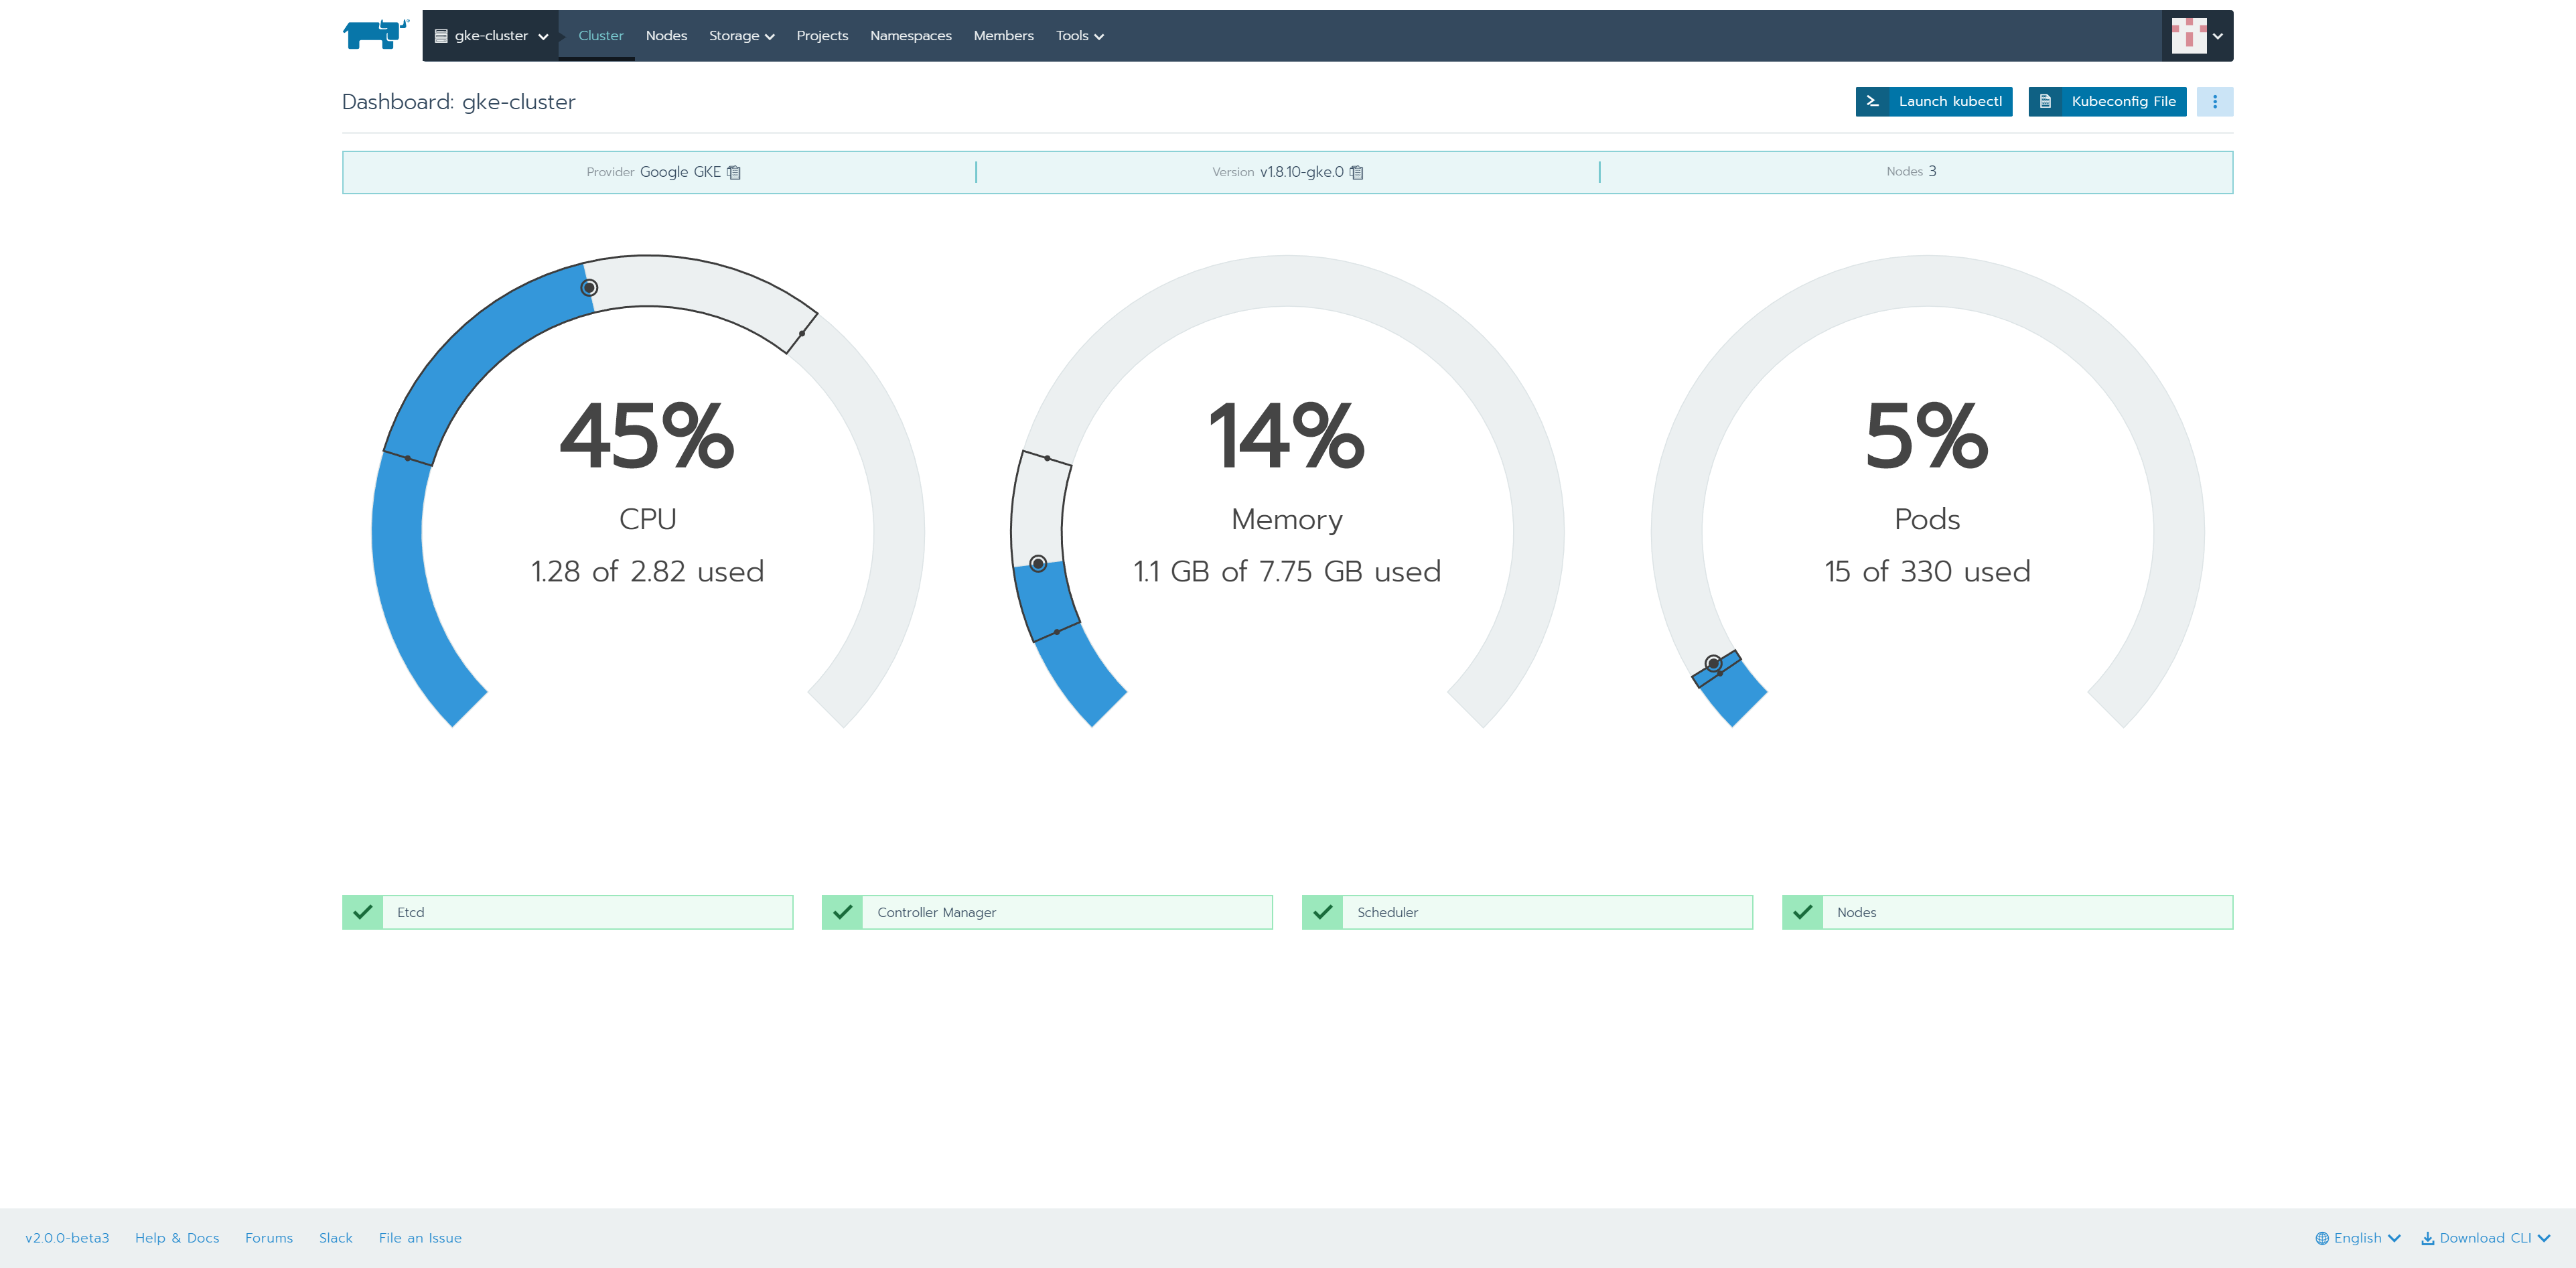
上部メニュー「Global」-「Cluster:gke-cluster」を選択します。
GKE上のkubernetesクラスタのリソース状況を確認できます。
カタログ機能からWordPressをデプロイ
1.カタログ設定
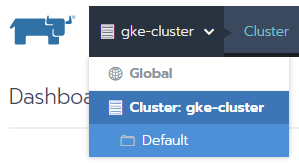
上部メニュー「Global」-「Cluster:gke-cluster」-「Default」を選択します。
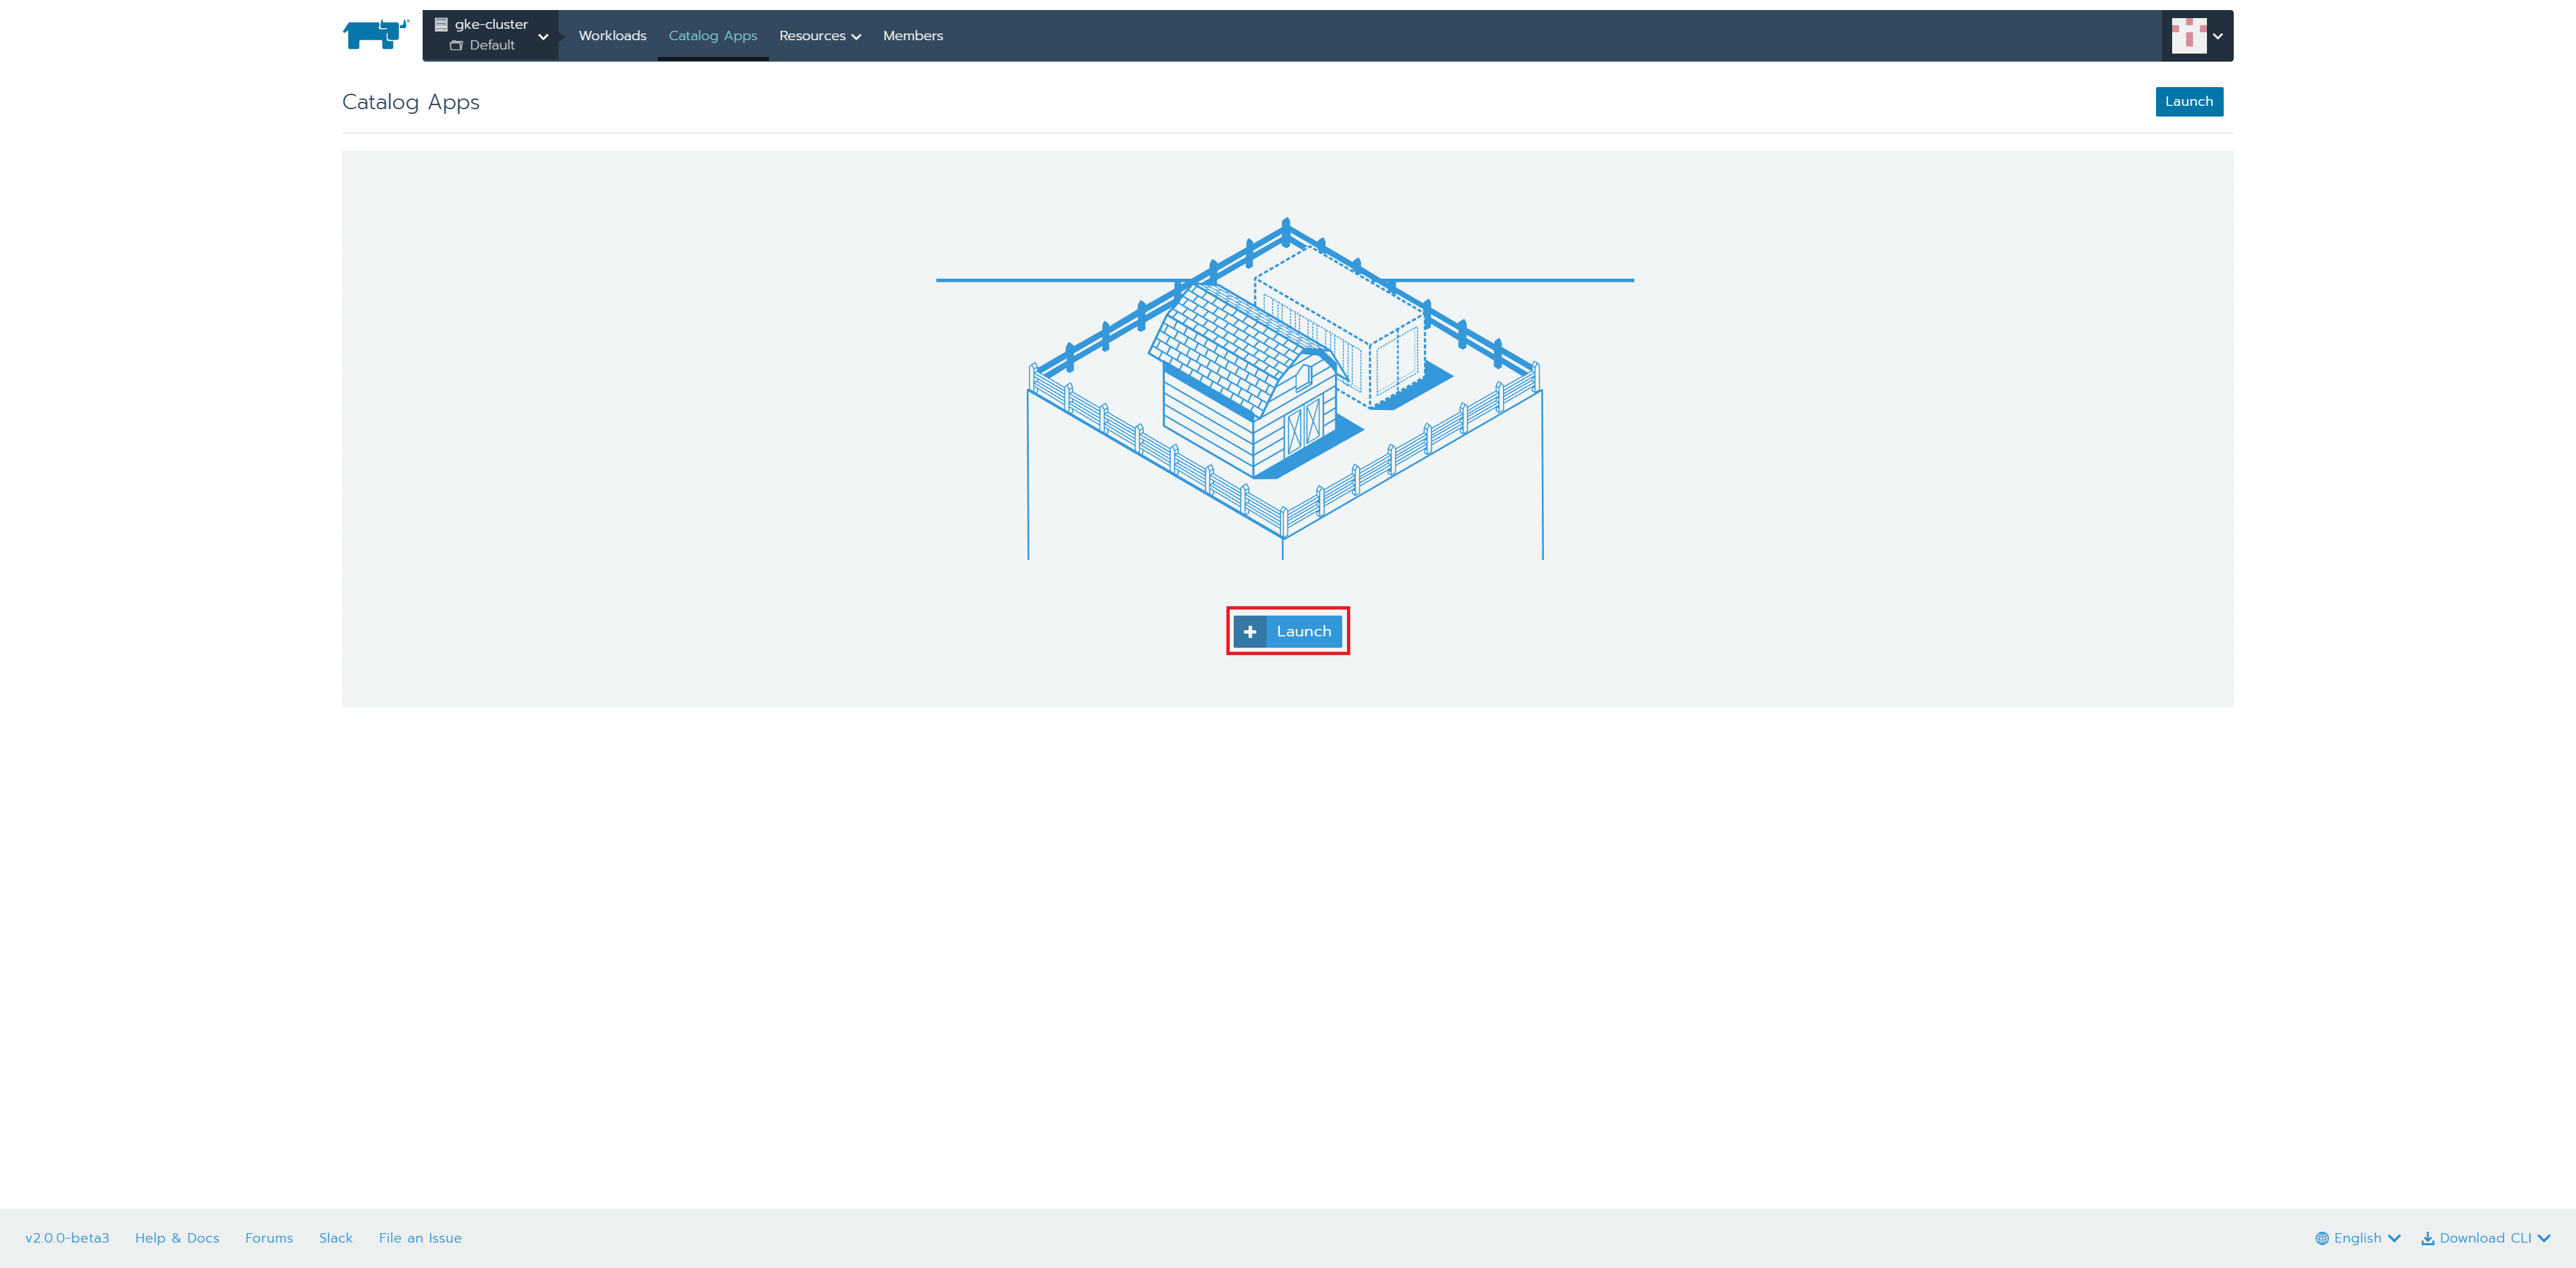
上部メニュー「Catalog App」を選択
「Launch」ボタンを押下します。
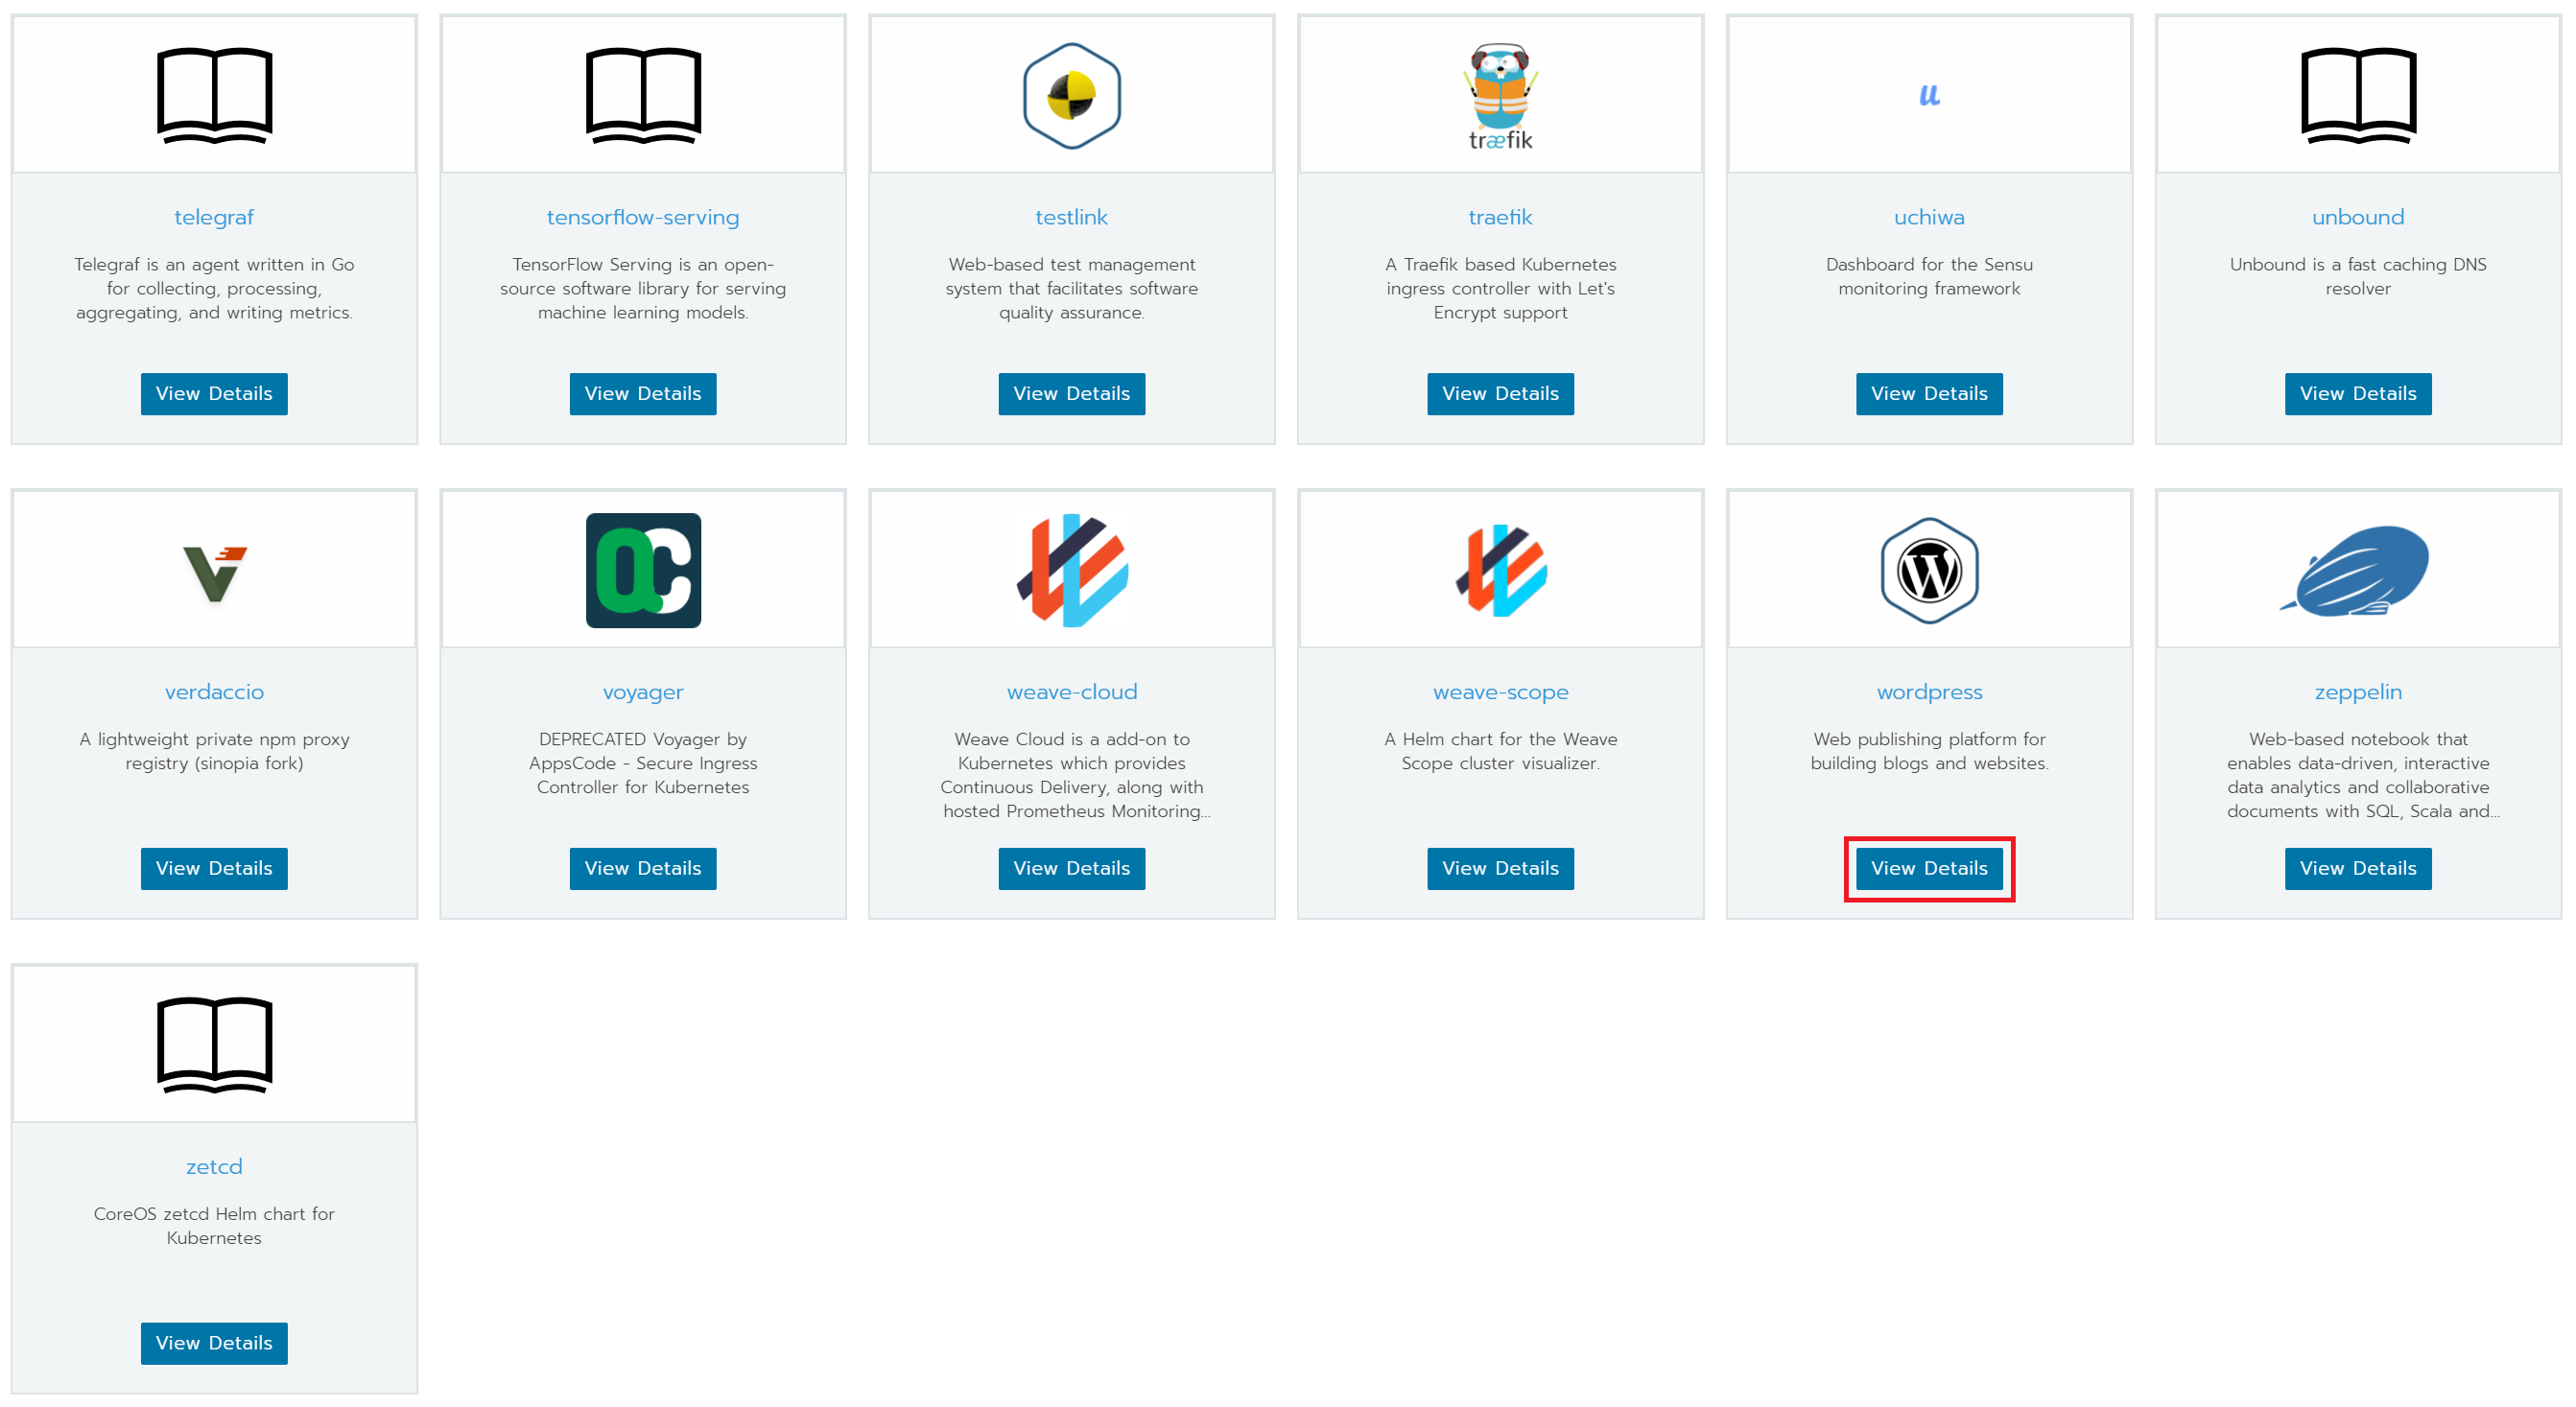
カタログ一覧が表示されます。
WordPressの「View Details」ボタンを押下します。
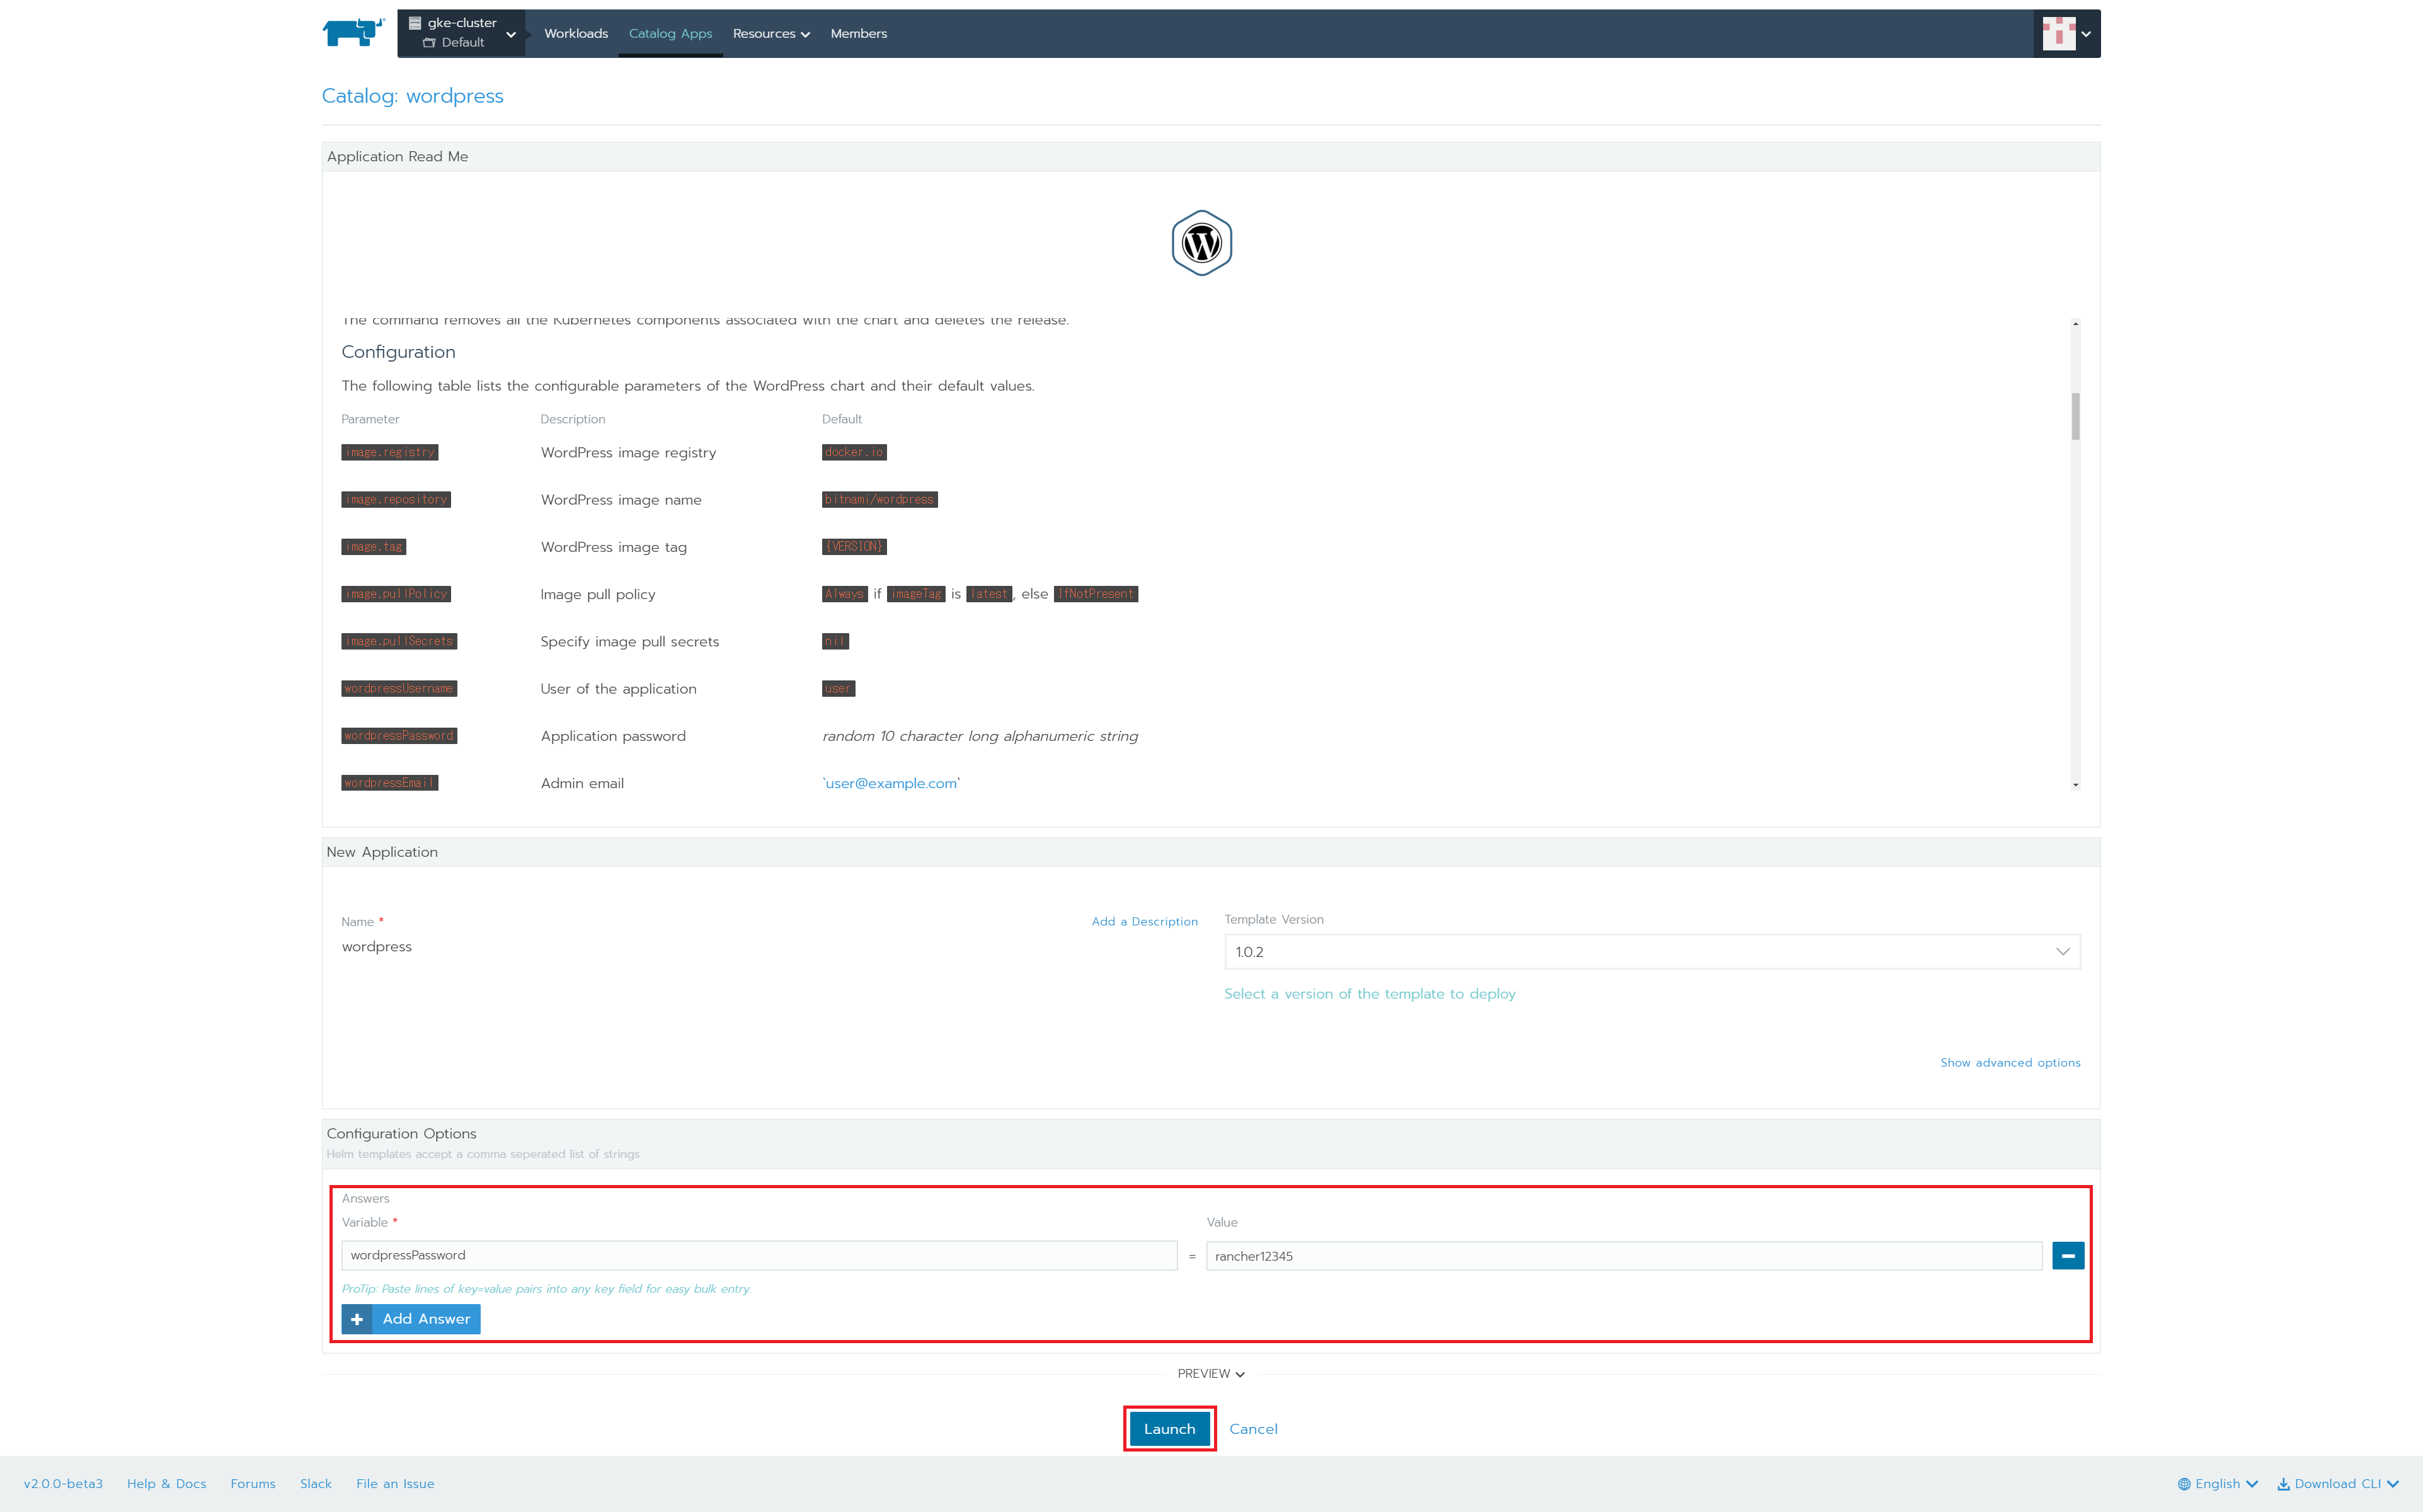
「Add Answer」ボタンを押下し、「Variable」に「wordpressPassword」、「Value」にWordPressログインユーザのパスワードを設定し、「Launch」ボタンを押下します。
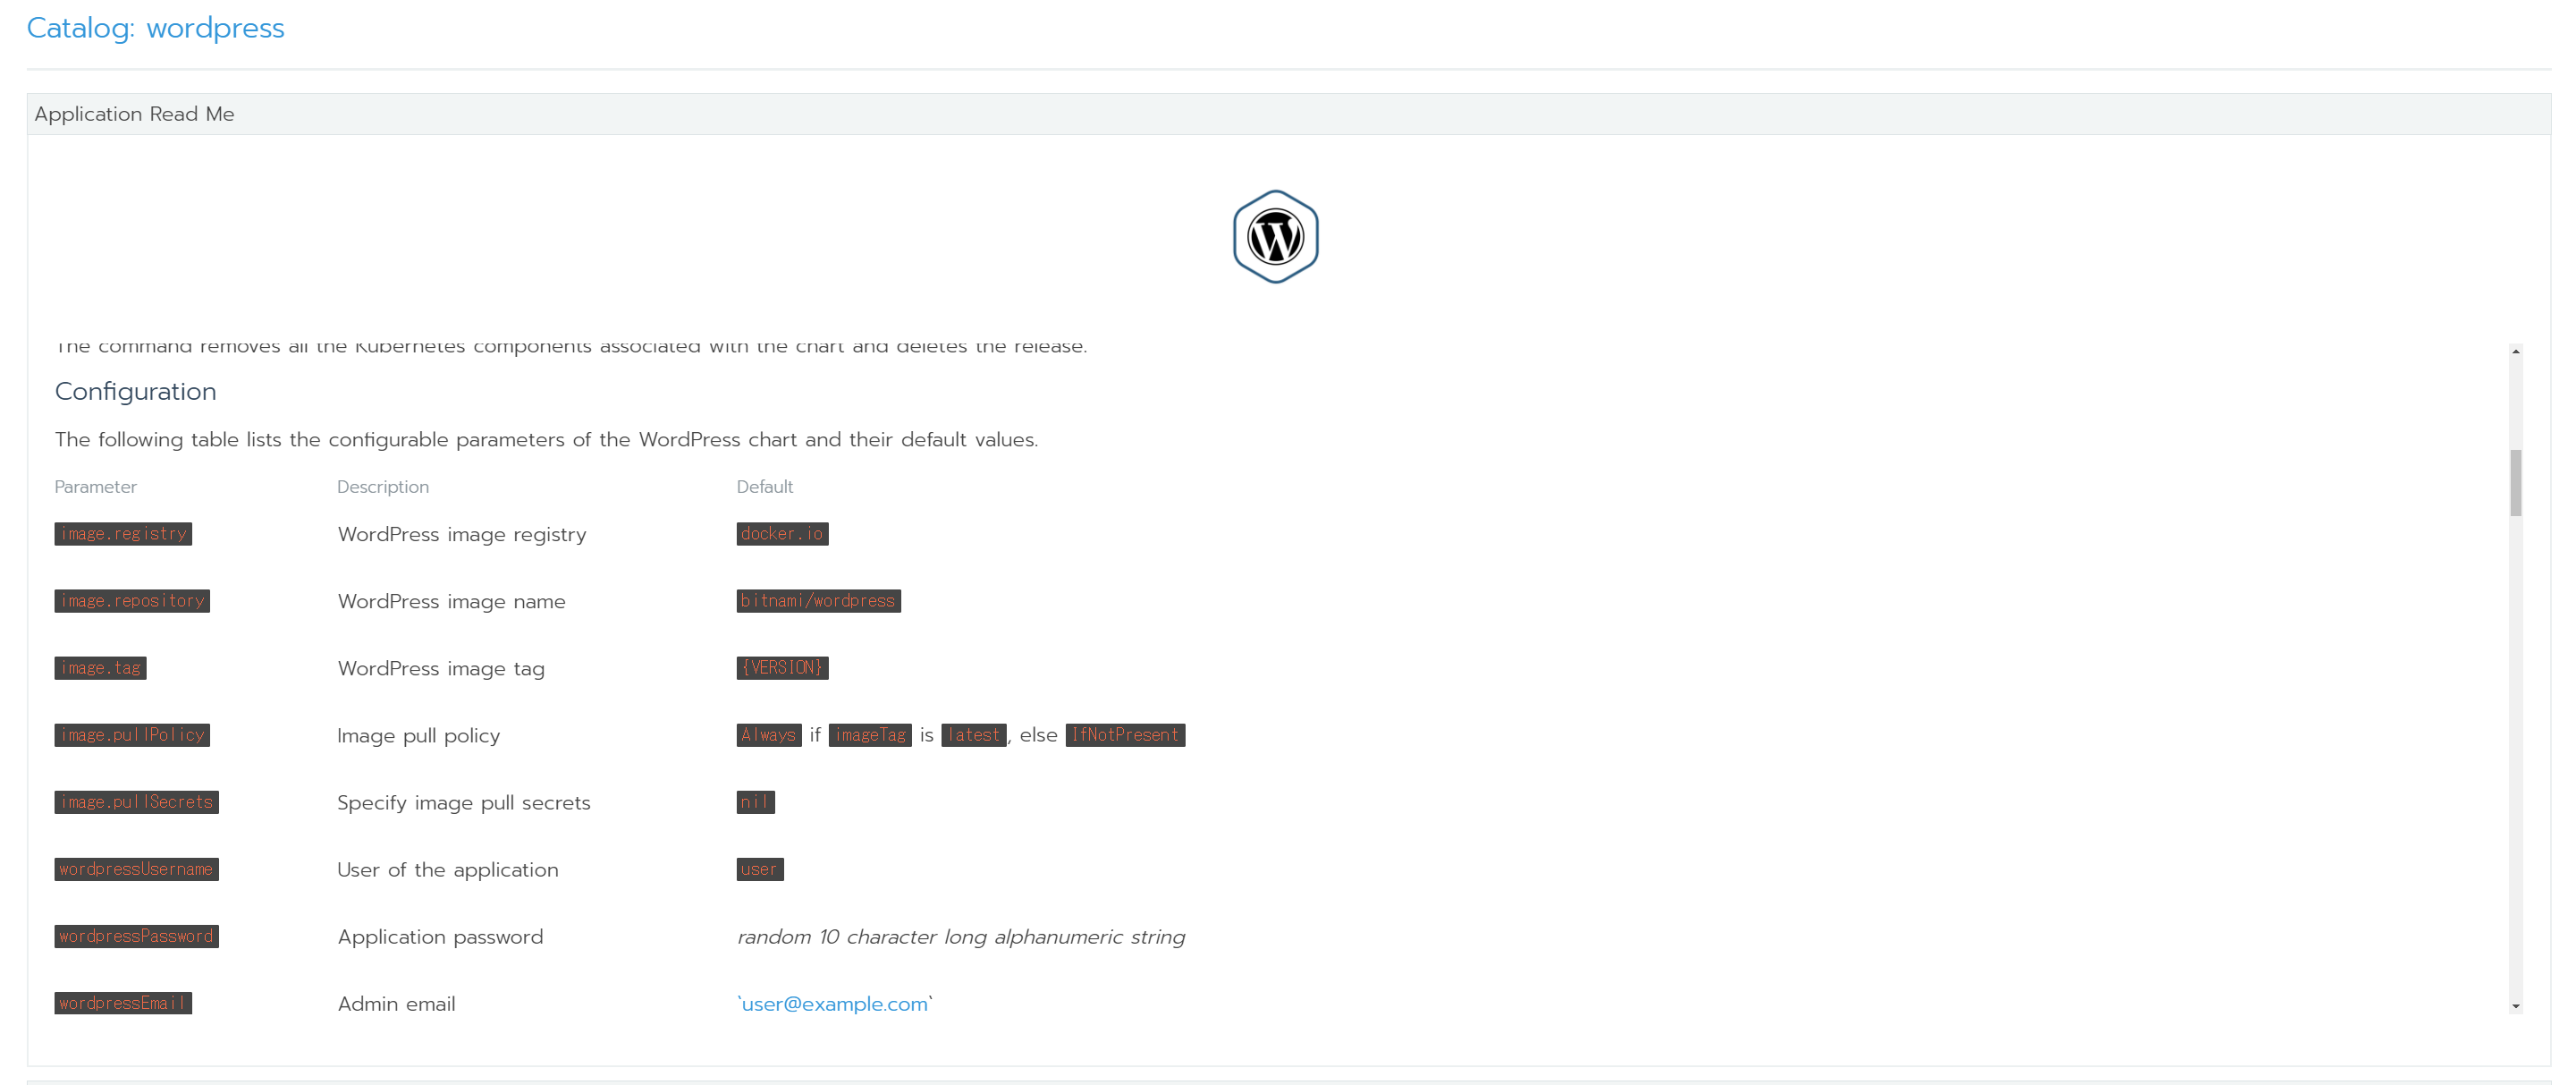
ちなみに、Configuretionについては、カタログ上部に詳細が記載されているので、初期ユーザやMySQLのDBパスワードなど設定できます。
default設定の詳細は以下となります。
| Parameter | Description | Default |
|---|---|---|
| image | WordPress image | bitnami/wordpress:{VERSION} |
| imagePullPolicy | Image pull policy | IfNotPresent |
| wordpressUsername | User of the application | user |
| wordpressPassword | Application password | random 10 character long alphanumeric string |
| wordpressEmail | Admin email | user@example.com |
| wordpressFirstName | First name | FirstName |
| wordpressLastName | Last name | LastName |
| wordpressBlogName | Blog name | User's Blog! |
| allowEmptyPassword | Allow DB blank passwords | yes |
| smtpHost | SMTP host | nil |
| smtpPort | SMTP port | nil |
| smtpUser | SMTP user | nil |
| smtpPassword | SMTP password | nil |
| smtpUsername | User name for SMTP emails | nil |
| smtpProtocol | SMTP protocol [tls, ssl] | nil |
| mariadb.enabled | Deploy MariaDB container(s) | TRUE |
| mariadb.mariadbRootPassword | MariaDB admin password | nil |
| mariadb.mariadbDatabase | Database name to create | bitnami_wordpress |
| mariadb.mariadbUser | Database user to create | bn_wordpress |
| mariadb.mariadbPassword | Password for the database | random 10 character long alphanumeric string |
| externalDatabase.host | Host of the external database | localhost |
| externalDatabase.rootPassword | DB Root users password (schema creation) | nil |
| externalDatabase.user | Existing username in the external db | bn_wordpress |
| externalDatabase.password | Password for the above username | nil |
| externalDatabase.database | Name of the existing database | bitnami_wordpress |
| externalDatabase.port | Database port number | 3306 |
| serviceType | Kubernetes Service type | LoadBalancer |
| healthcheckHttps | Use https for liveliness and readiness | FALSE |
| ingress.enabled | Enable ingress controller resource | FALSE |
| ingress.hosts[0].name | Hostname to your WordPress installation | wordpress.local |
| ingress.hosts[0].path | Path within the url structure | / |
| ingress.hosts[0].tls | Utilize TLS backend in ingress | FALSE |
| ingress.hosts[0].tlsSecret | TLS Secret (certificates) | wordpress.local-tls-secret |
| ingress.hosts[0].annotations | Annotations for this host's ingress record | [] |
| ingress.secrets[0].name | TLS Secret Name | nil |
| ingress.secrets[0].certificate | TLS Secret Certificate | nil |
| ingress.secrets[0].key | TLS Secret Key | nil |
| persistence.enabled | Enable persistence using PVC | TRUE |
| persistence.storageClass | PVC Storage Class | nil (uses alpha storage class annotation) |
| persistence.accessMode | PVC Access Mode | ReadWriteOnce |
| persistence.size | PVC Storage Request | 10Gi |
| nodeSelector | Node labels for pod assignment | {} |
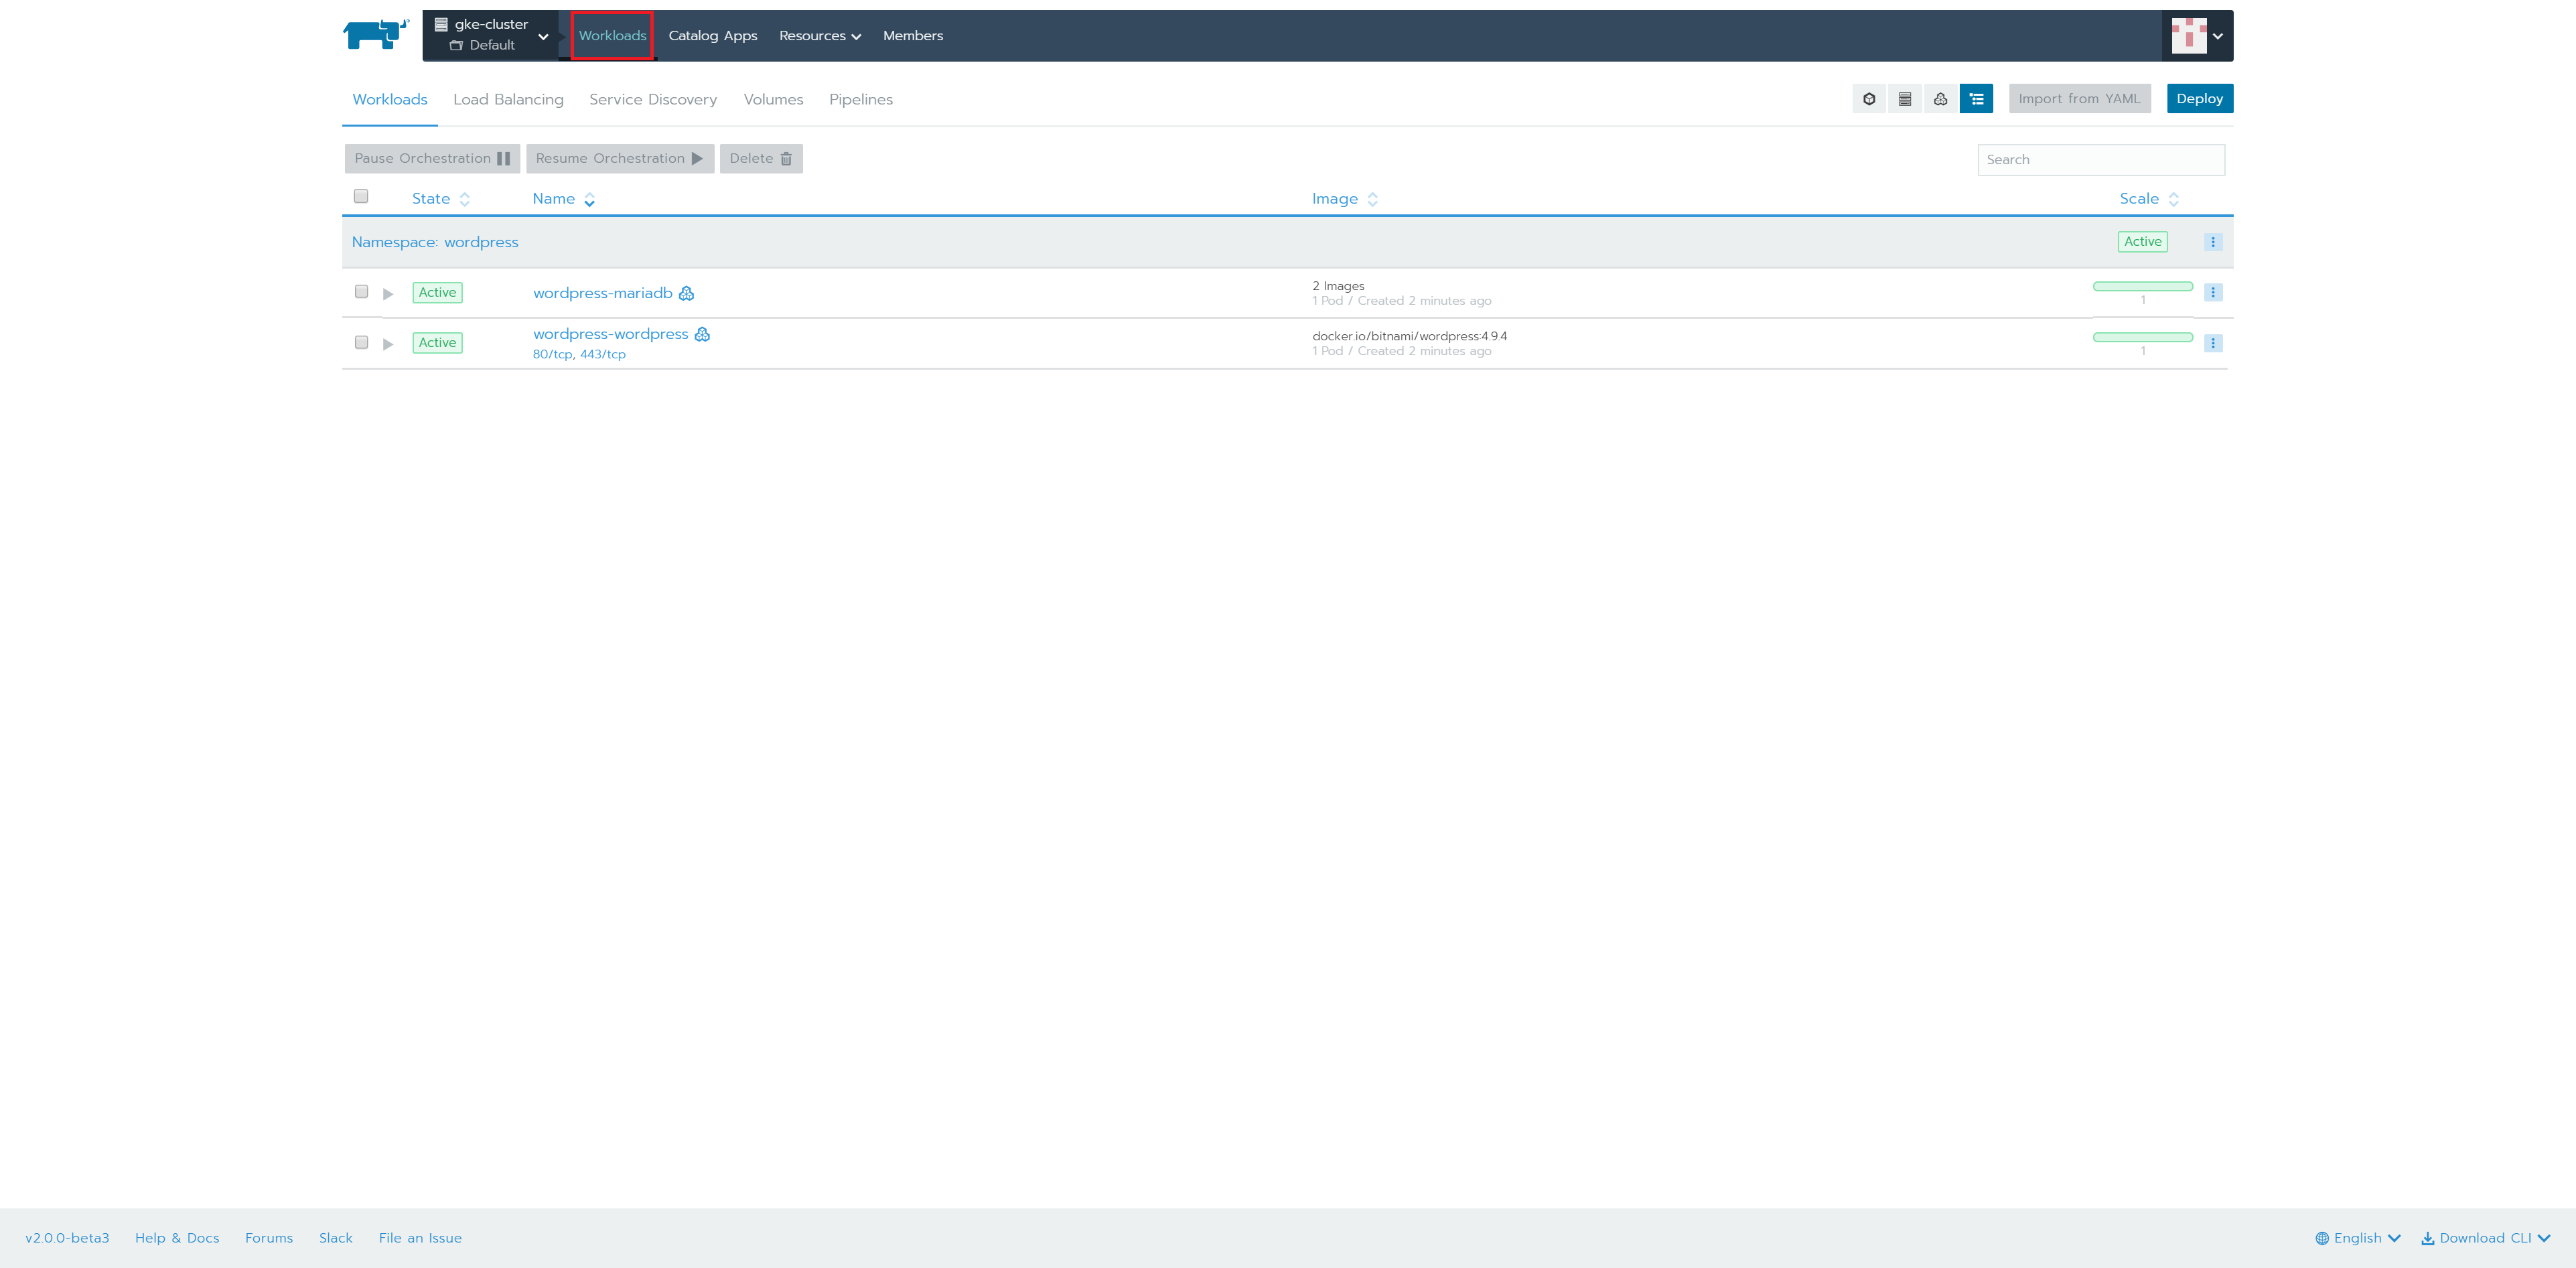
上部メニューから「Workloads」を選択して、デプロイできたことを確認します。
2.Google Cloud SDK ShellでEXTERNAL-IPの確認
> gcloud container clusters get-credentials gke-cluster --zone asia-northeast1-b --project 対象のproject名
Fetching cluster endpoint and auth data.
kubeconfig entry generated for cluster-fflcr.
> kubectl get -n wordpress services
NAME                  TYPE           CLUSTER-IP      EXTERNAL-IP      PORT(S)                      AGE
wordpress-mariadb     ClusterIP      10.35.249.117   <none>           3306/TCP                     6m
wordpress-wordpress   LoadBalancer   10.35.248.193   104.198.121.36   80:32538/TCP,443:32302/TCP   6m
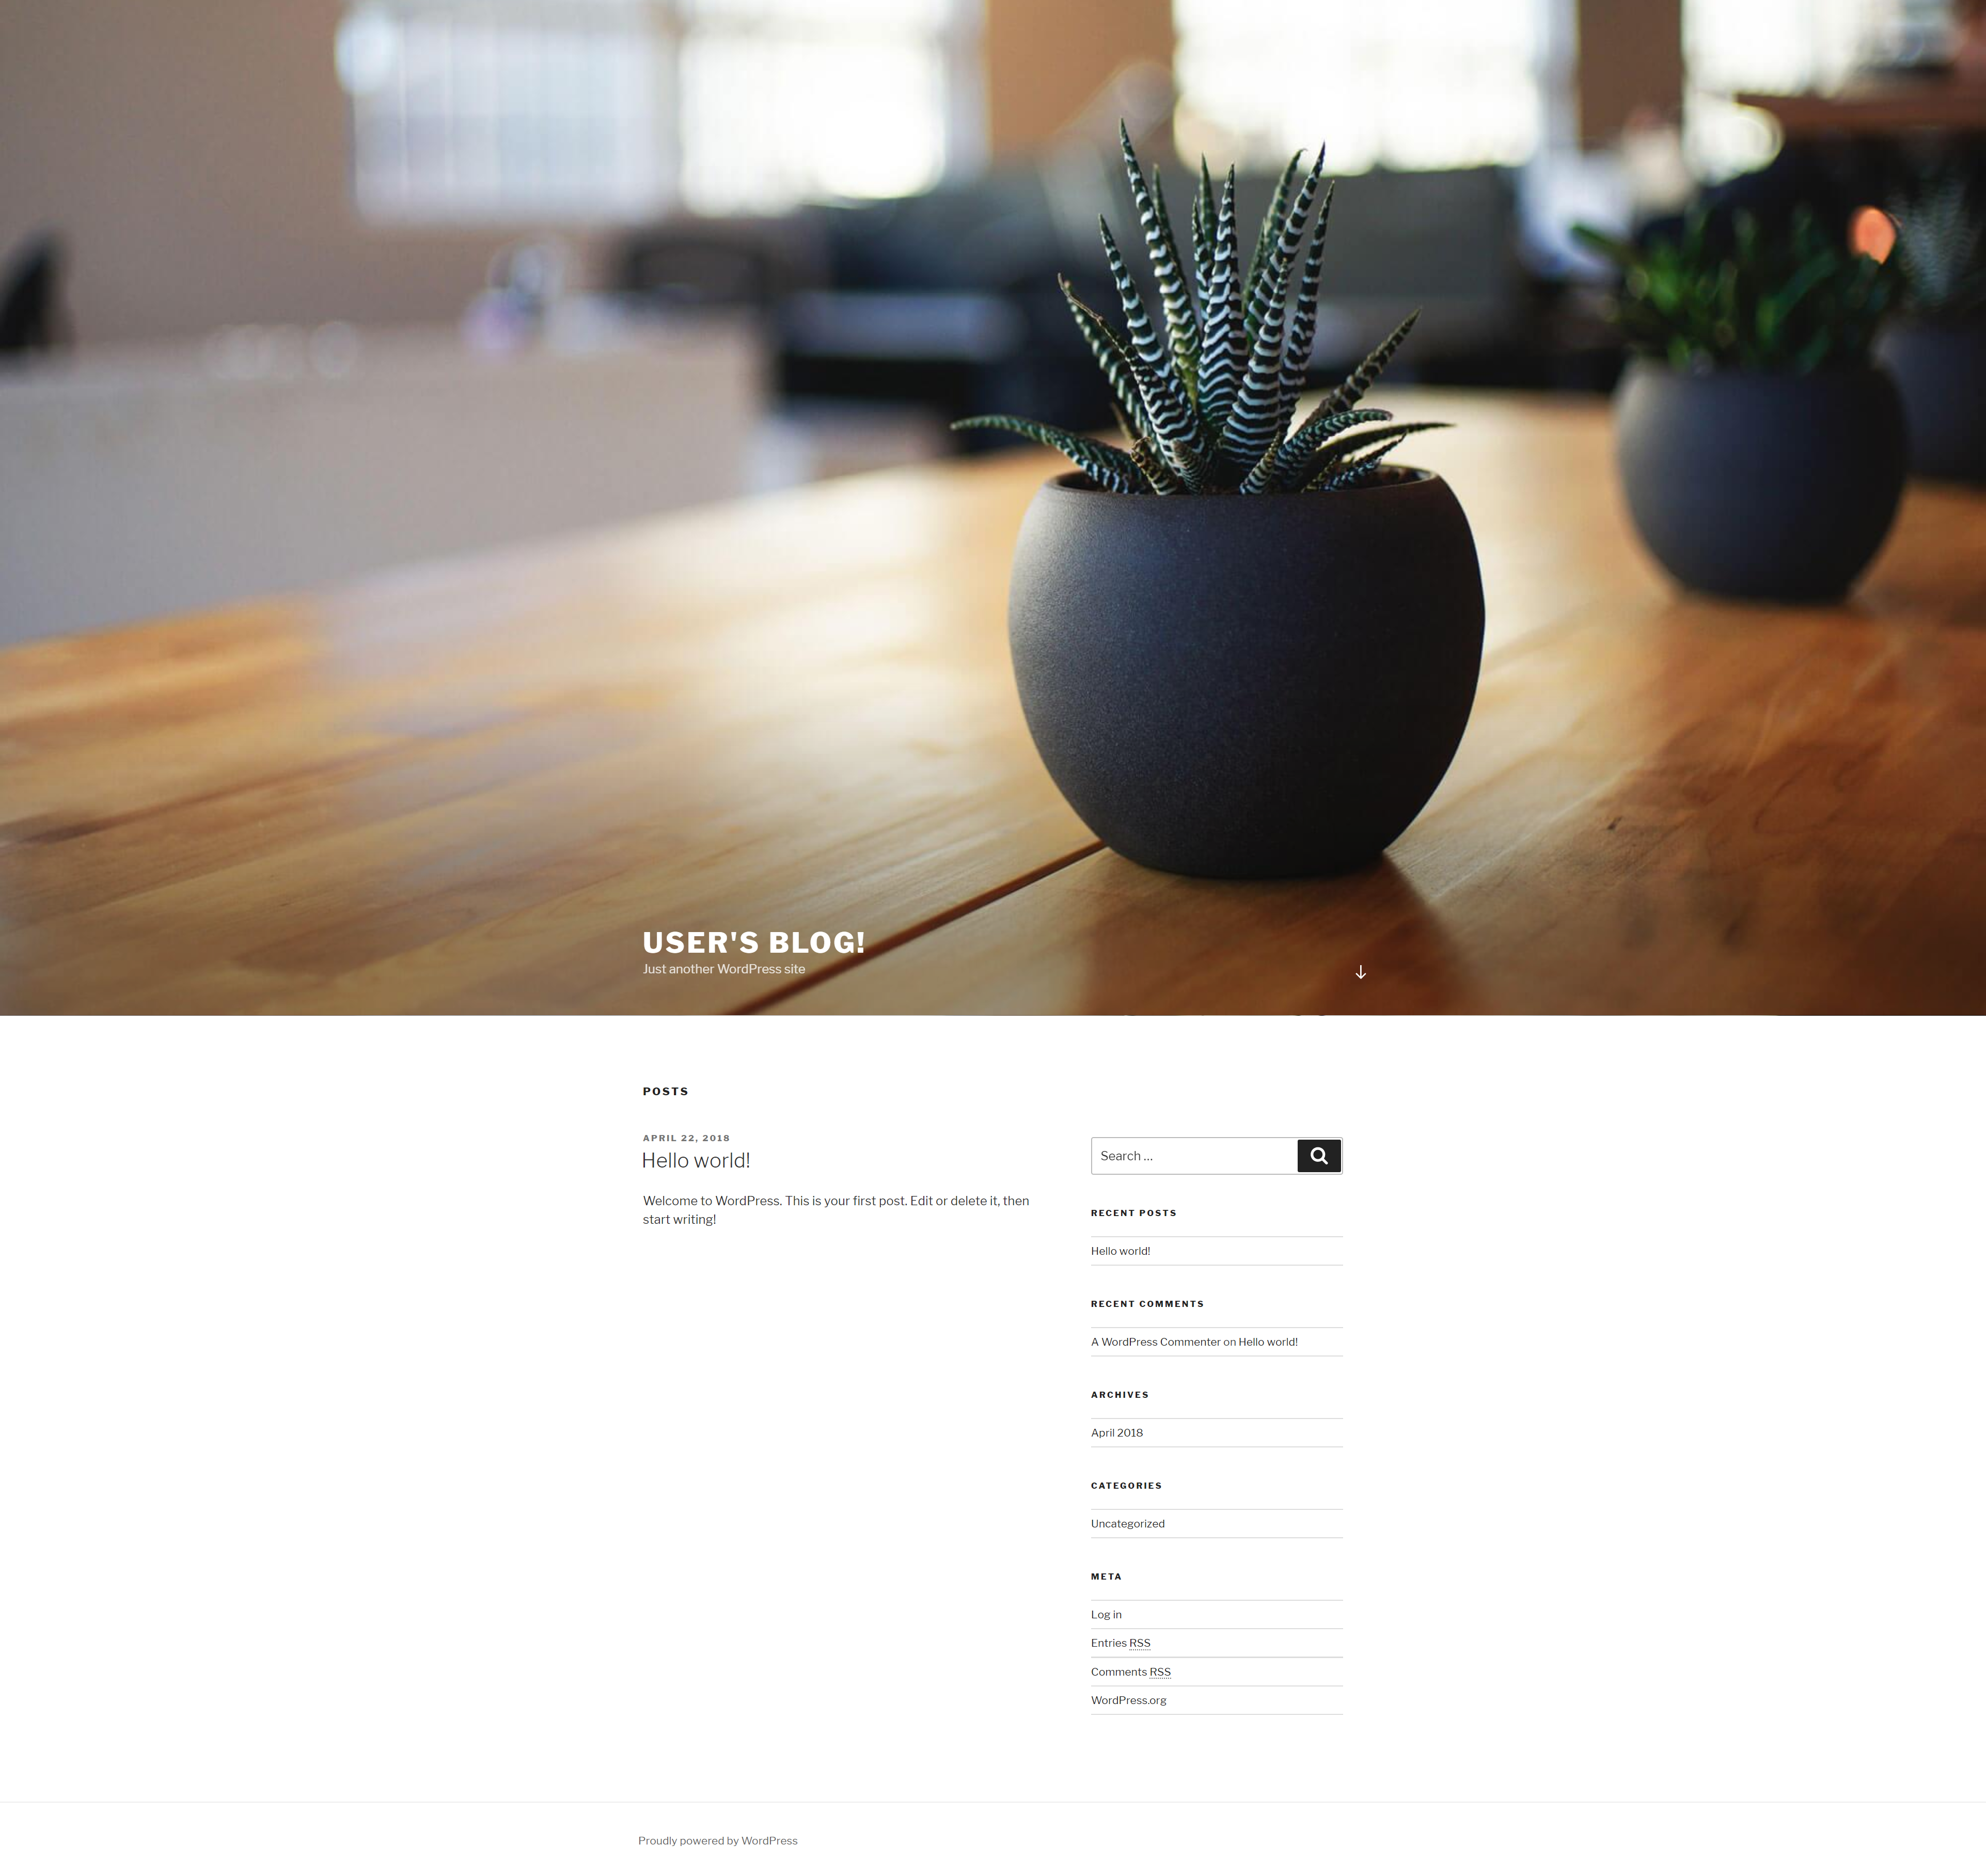
ブラウザを起動して、http://EXTERNAL-IP/ にアクセスします。
※EXTERNAL-IPが取得できない場合は、再度1.0のwordpressをカタログからデプロイして、デプロイ後に最新版のwordpressにRancherサーバからアップグレードすることで解決できます。
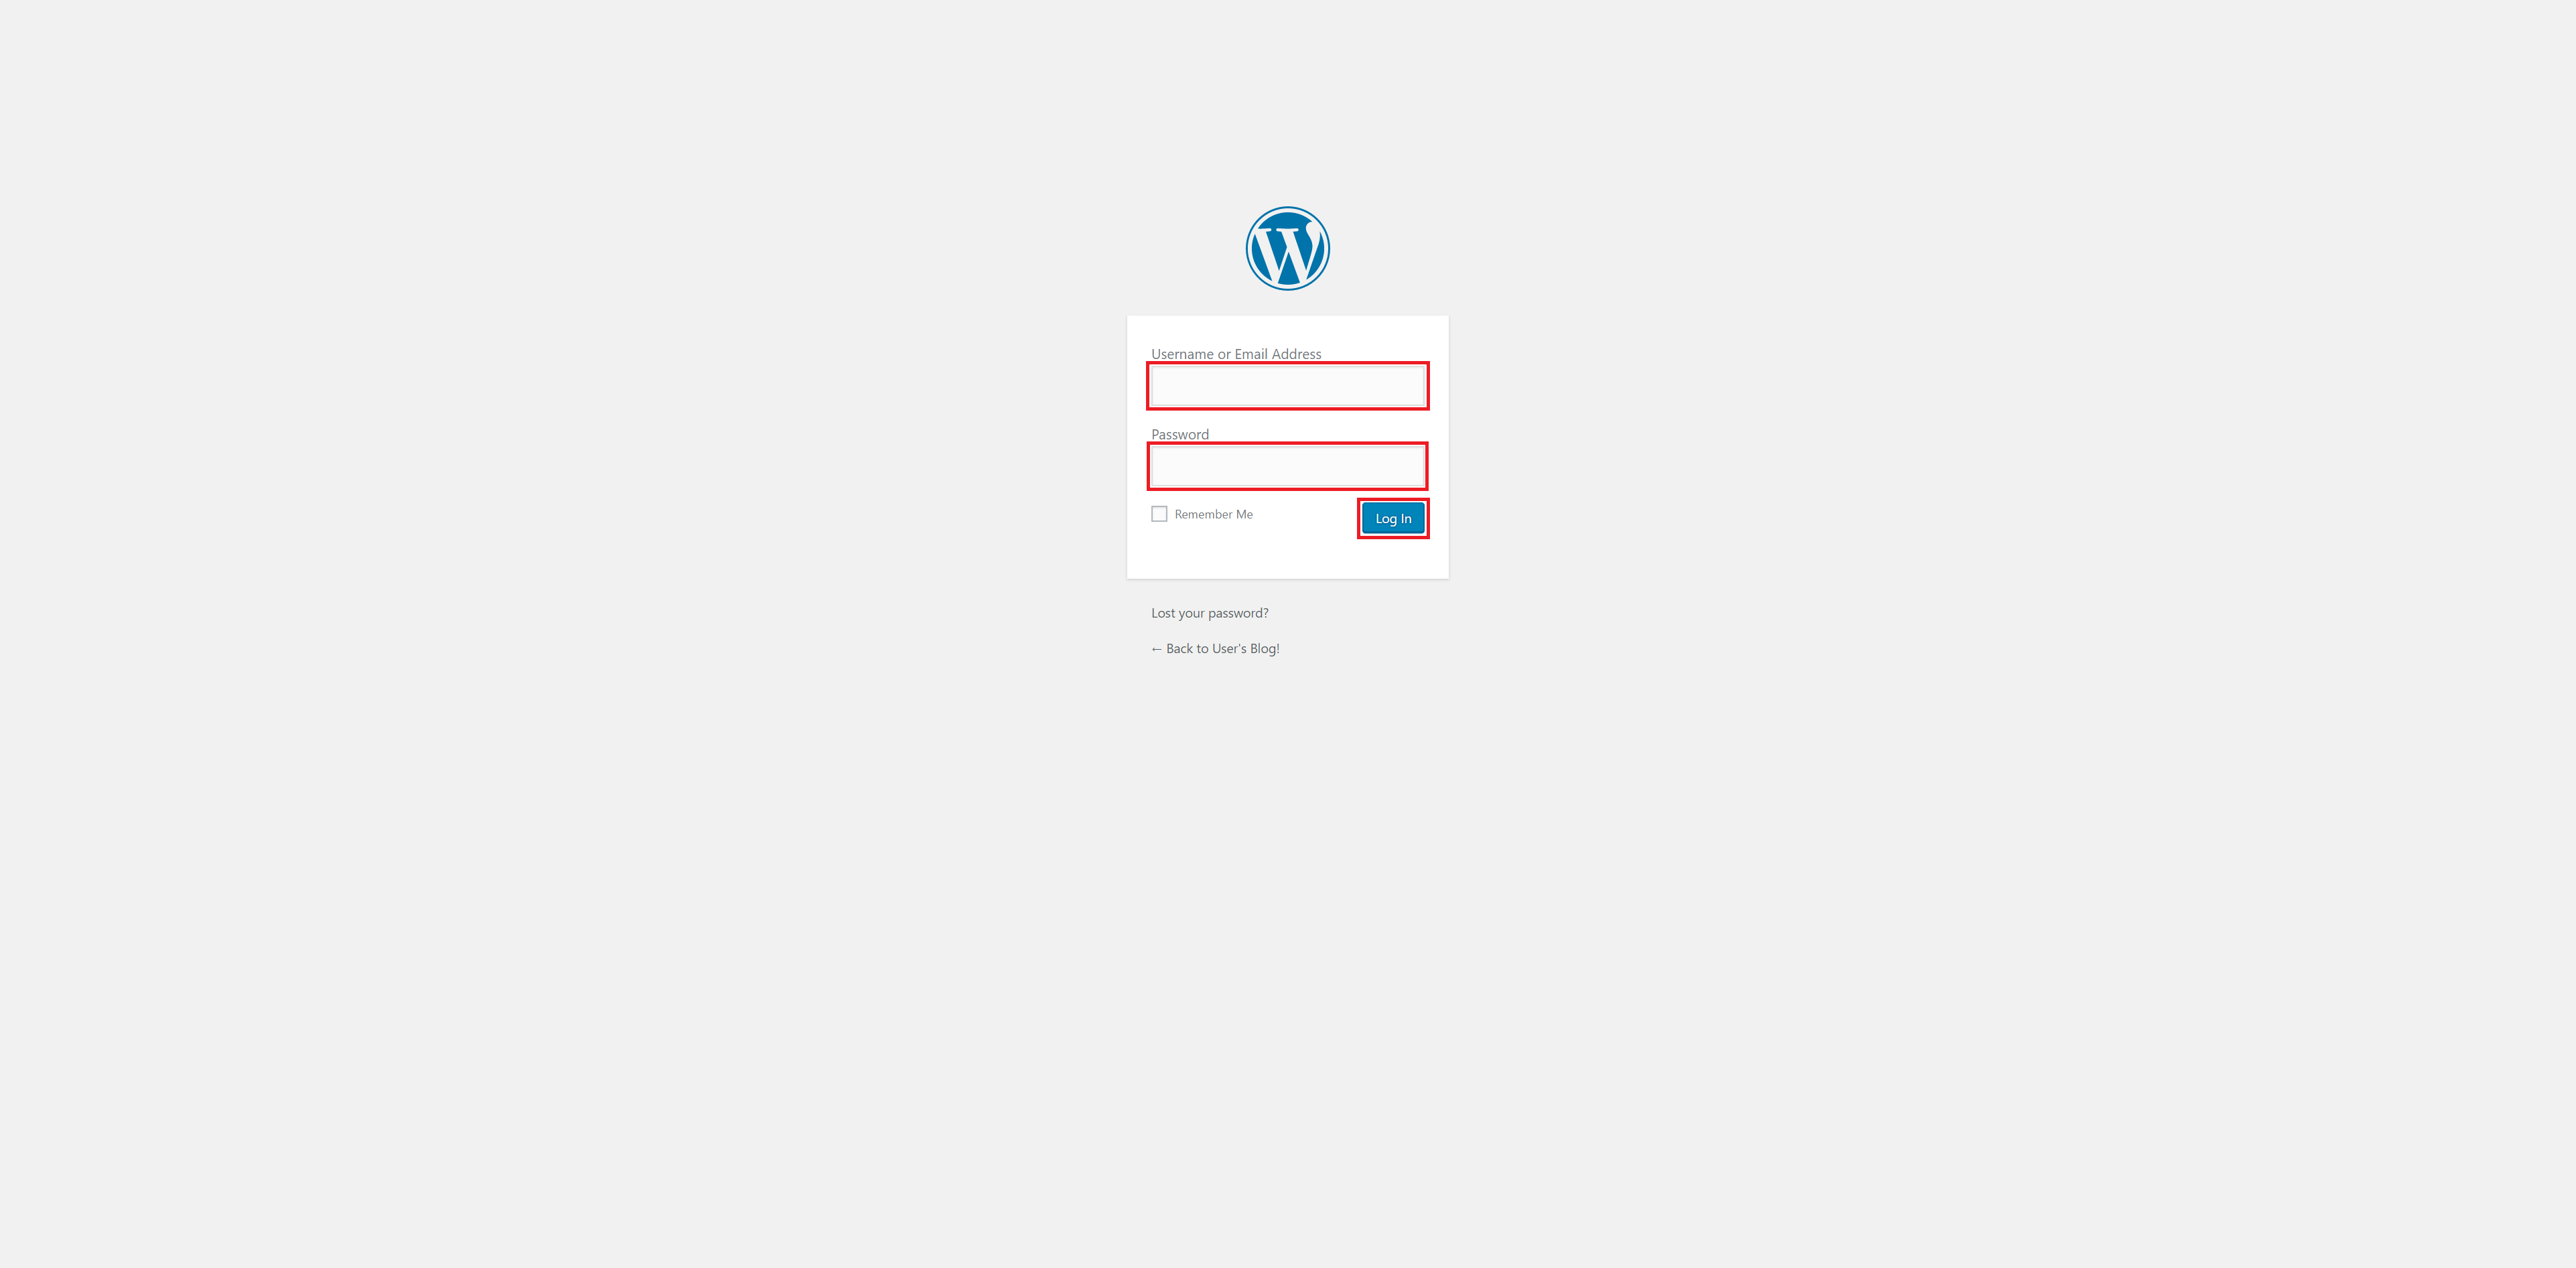
WordPressのダッシュボードにアクセスします。http://EXTERNAL-IP/wp-login.php
初期ユーザ名の「user」とデプロイ時に設定した「wordpress12345」のパスワードでログインします。
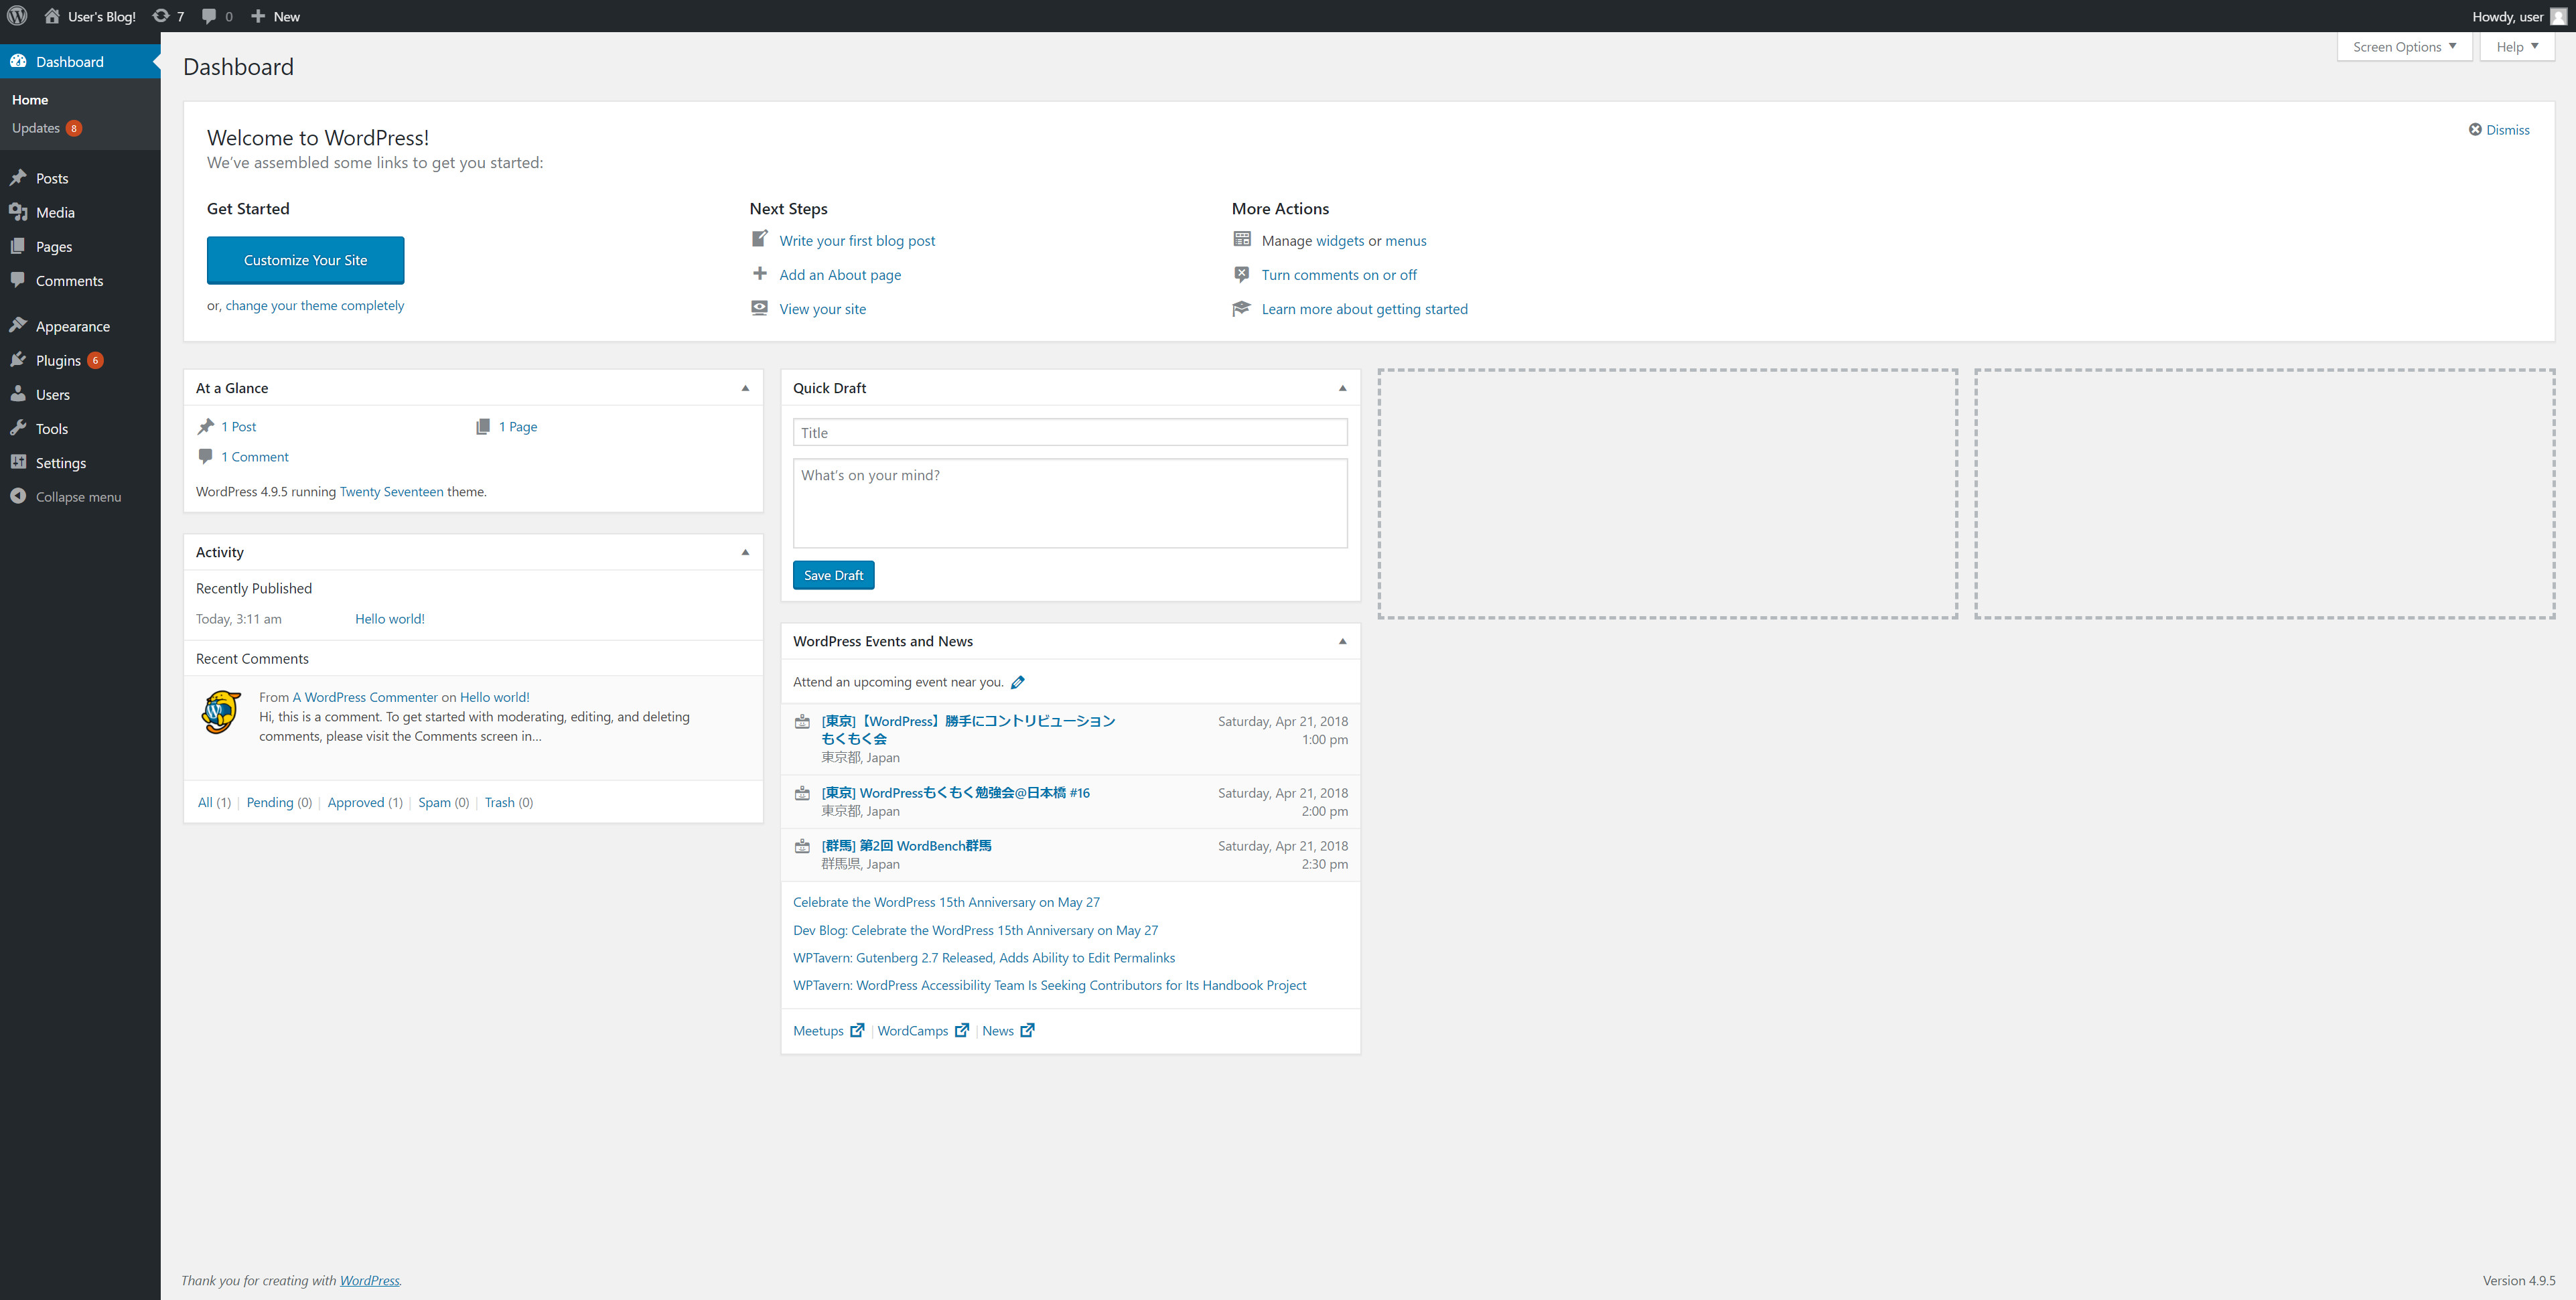
ログイン完了となります。
GKEの場合は、EXTERNAL-IPが振られますが、kubeadmやRKE等でクラスタを作成した場合は、Ingressで外部のエンドポイントを設定する必要があると思われます。Rancher2.0ではその設定もUIからできます。
クラスタの削除
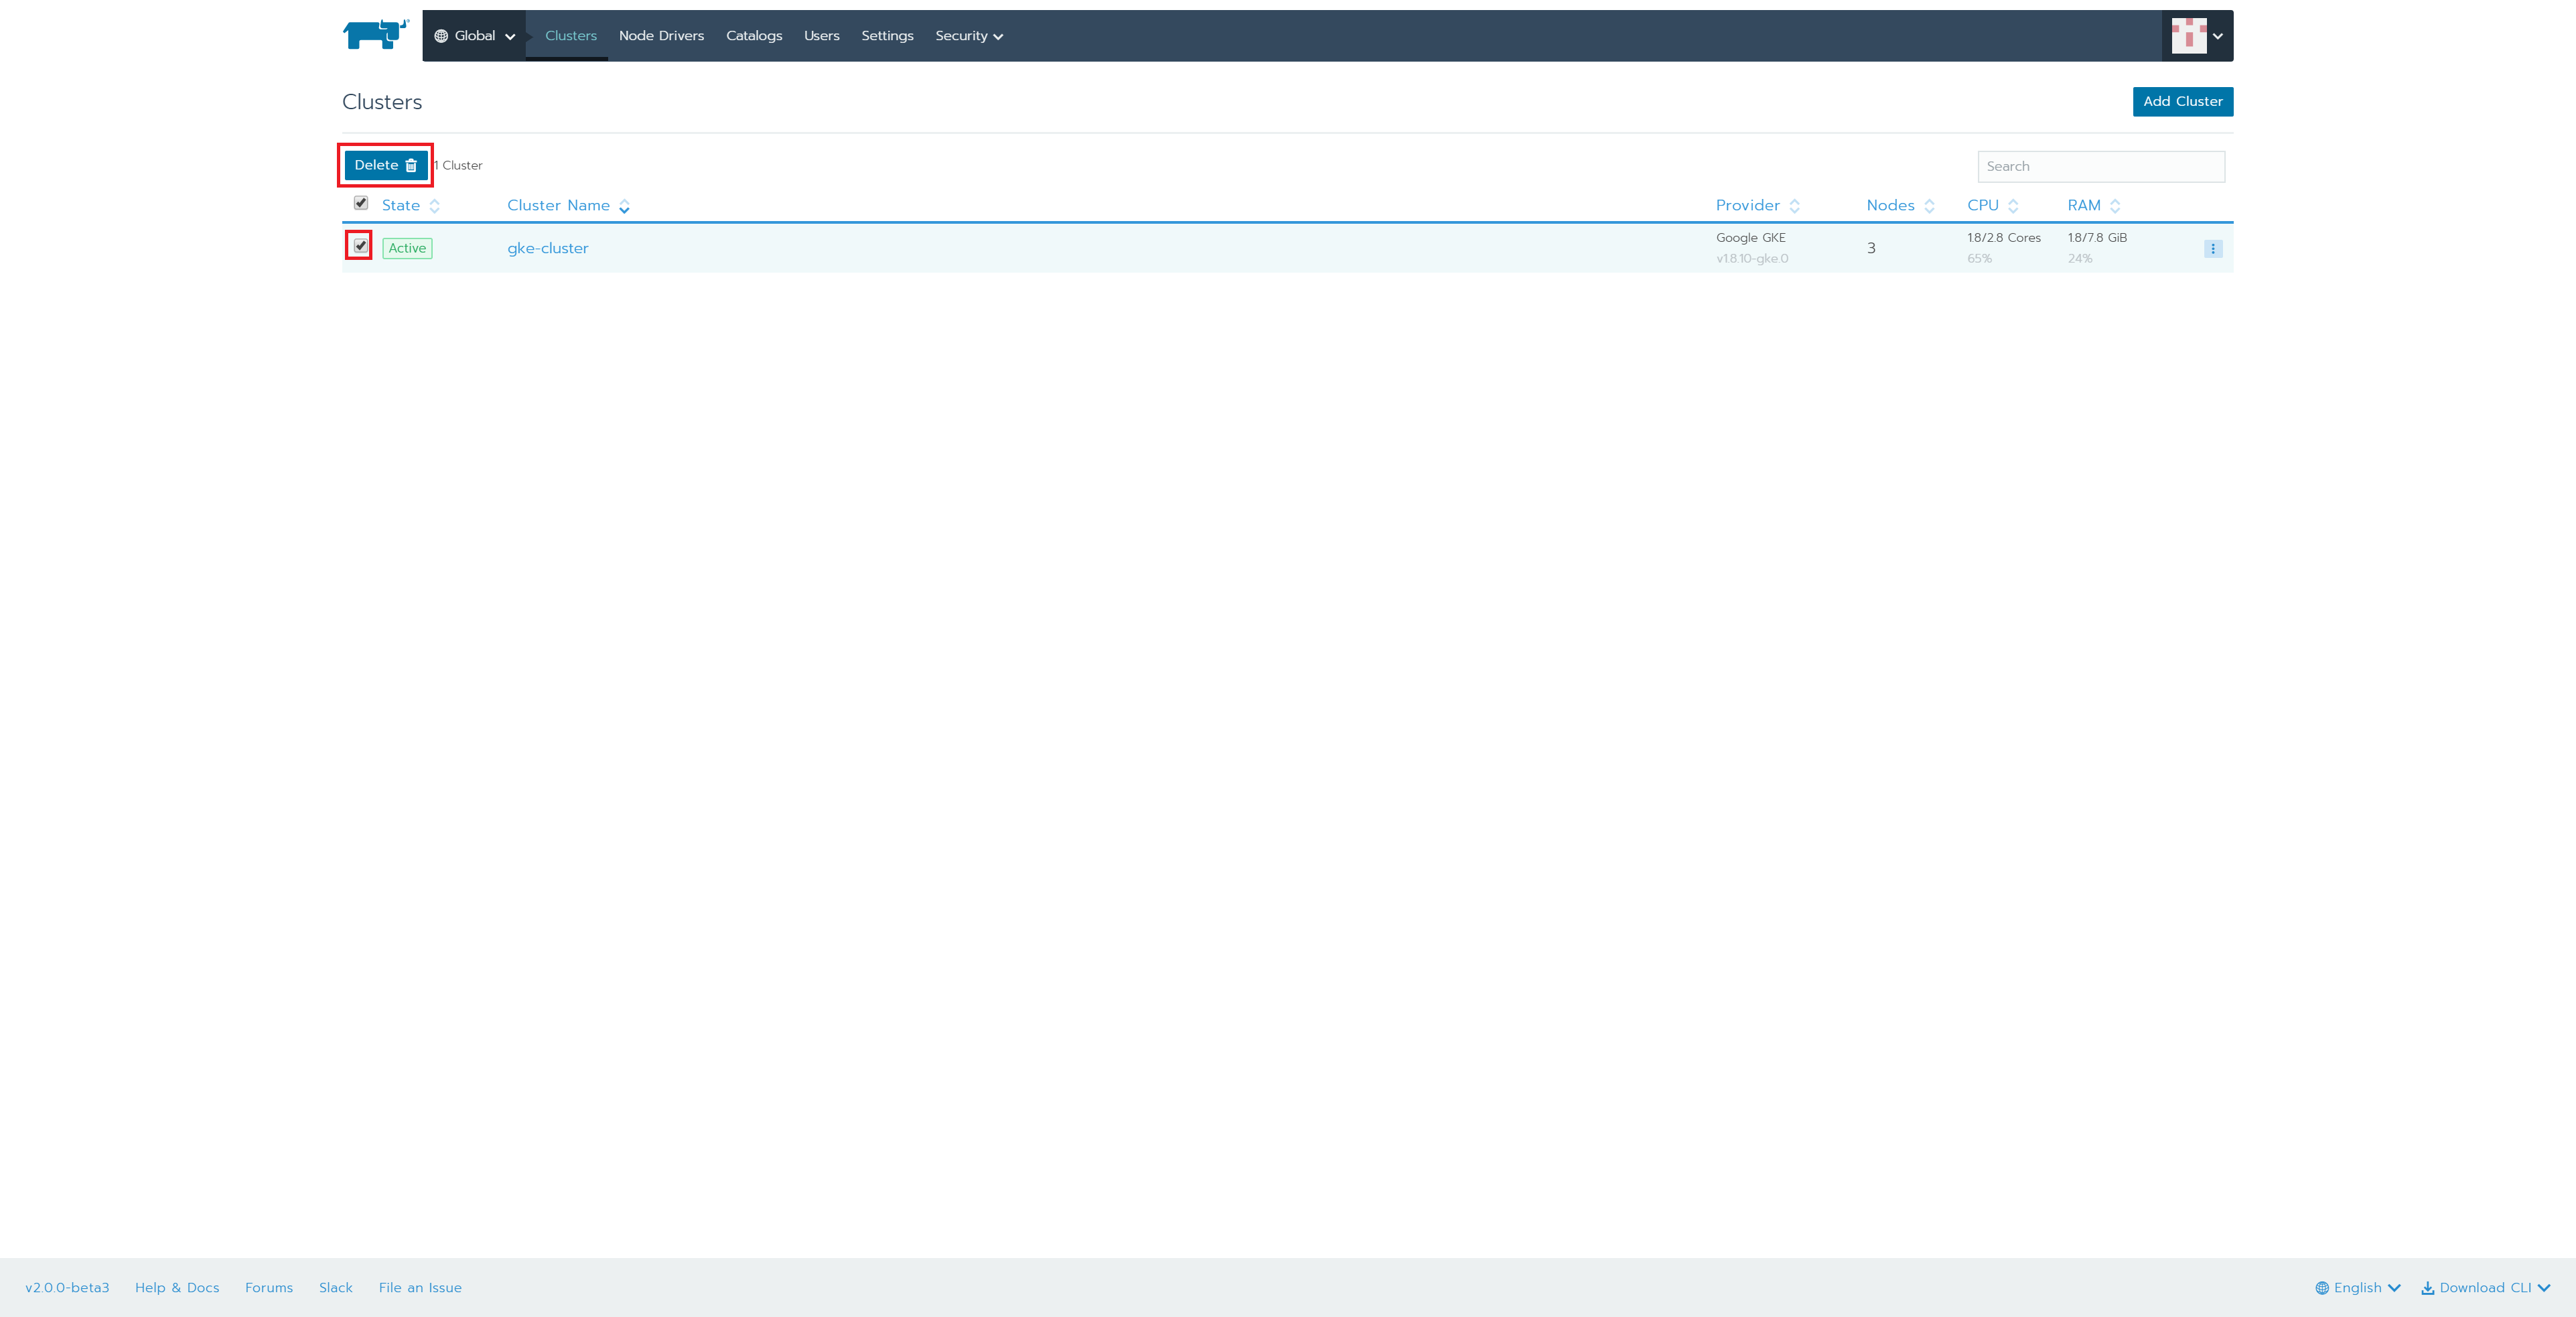
上部メニュー「Global」を選択し、「gke-cluster」の左にあるチェックボックスにチェックを入れて、「Delete」ボタンを押下します。
「Delete」ボタンを押下します。
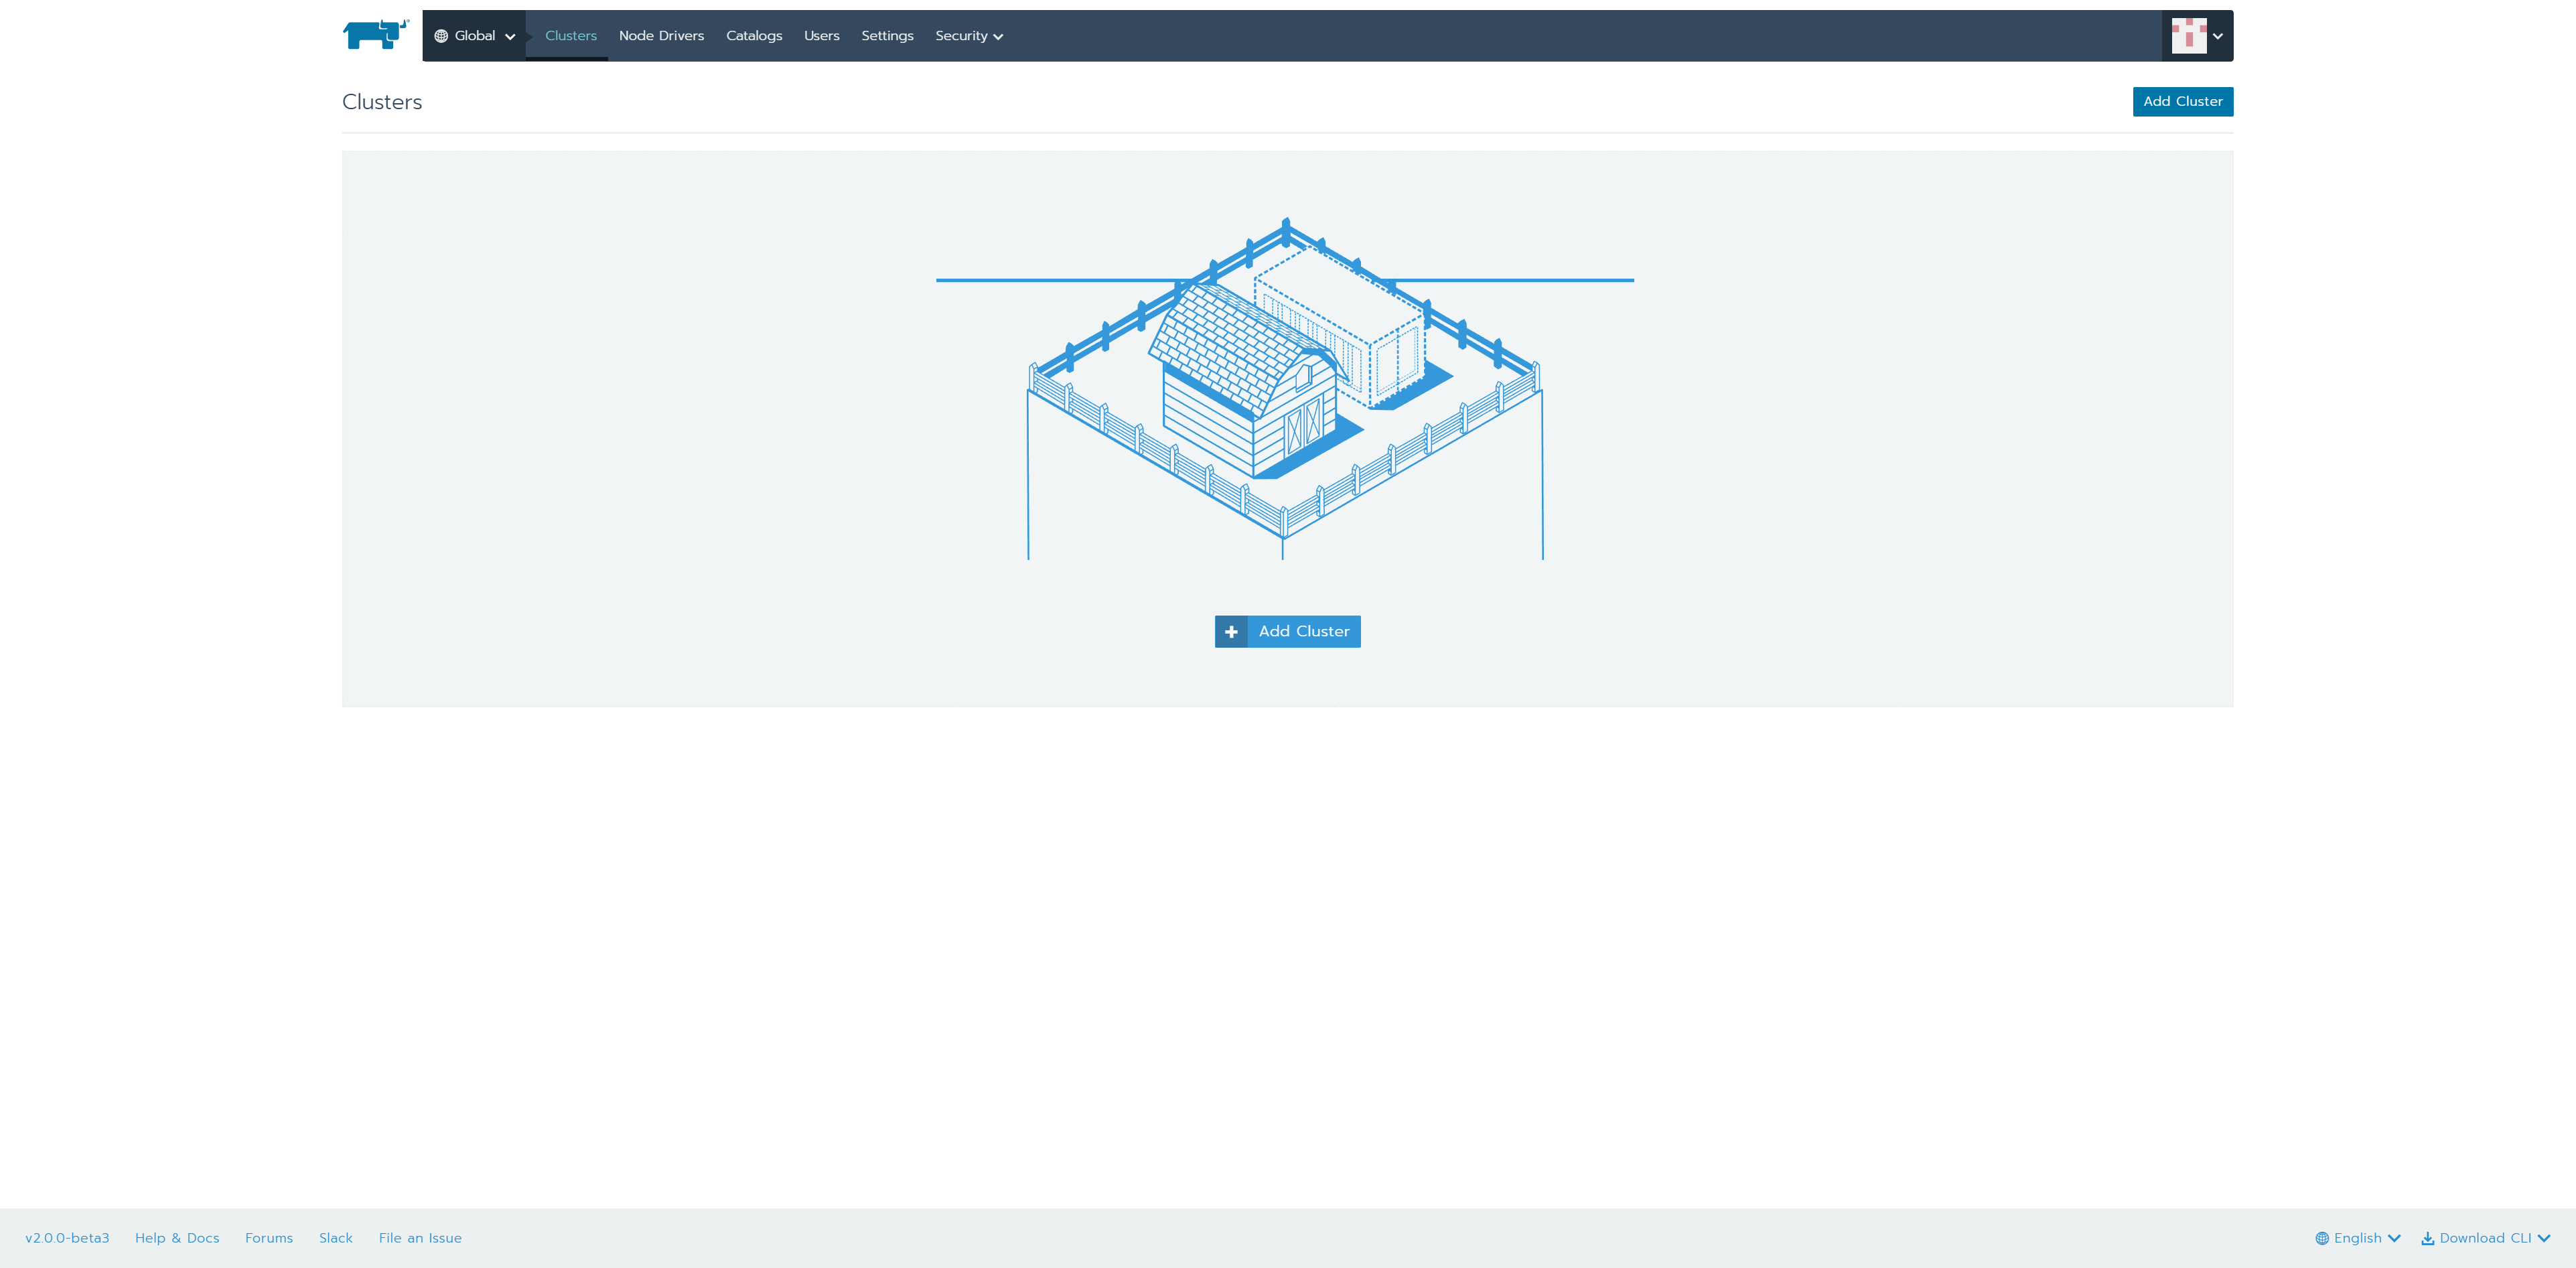
削除されると以下の画面になります。
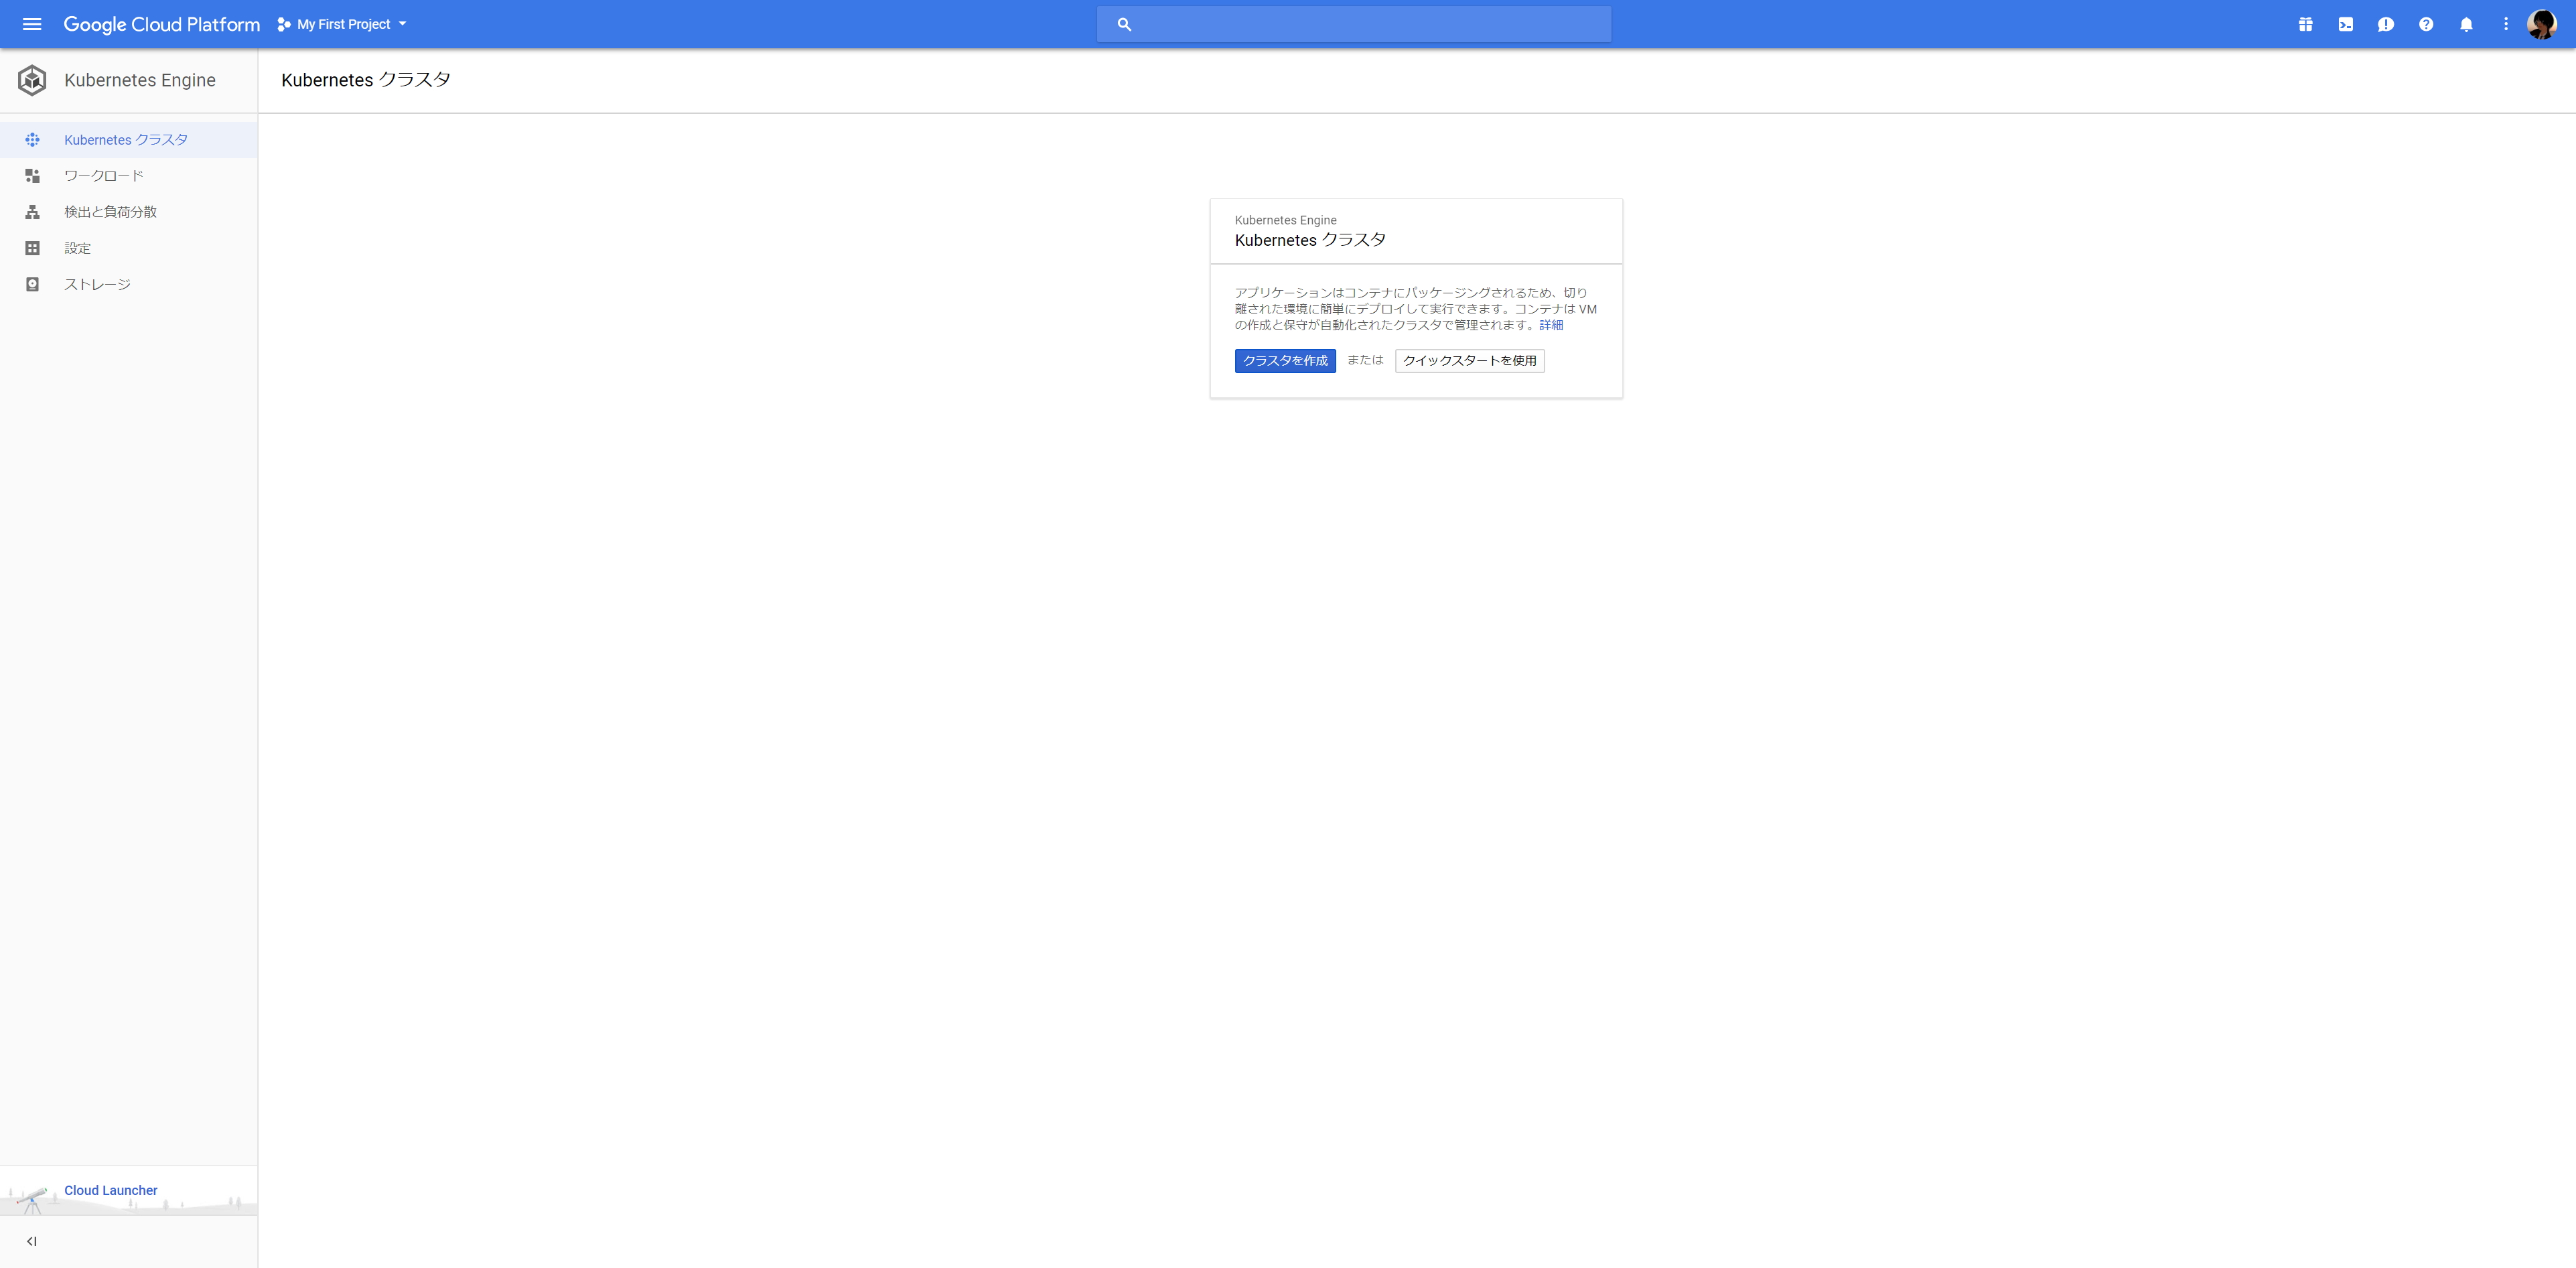
GKE側でも削除されていることを確認します。
今回は、GKEでやってみました。Rancher2.0 v2.0.0では他のクラウドベンダーのkubernetesマネージドサービス、オンプレミスの既存のkubernetesクラスタをImport,Create,Manageができるので、同様のことも可能と思われます。
