2020年8月にMirantis社が買収したLensというKubernetes統合運用管理ツール「Lens」を試してみようと思います。
1.Lensの概要とインストール
Kubernetes IDEと称していますが、アプリケーション開発的なことではなく、kubectlコマンドを実行できたり、マニフェストのエディット機能やPrometheusを利用したメトリクス表示機能などKubernetesの運用における統合環境の意味合いが強いようです。
LensはOSSなのでソースもGitHubで公開されています。Windows,Mac,LinuxでLens本体をインストールすることで利用できます。
特徴は以下となります。
- The Kubernetes IDE
- Multi Cluster Management
- Multiple Workspaces
- Built-In Prometheus Stats
- Context Aware Terminal
- Helm Charts Management
今回は、Windows版を試してみました。公式サイトからインストールファイルをダウンロードしてインストールするとデスクトップにショートカットが作成されます。それをダブルクリックするだけで利用できます。
ショートカットアイコン
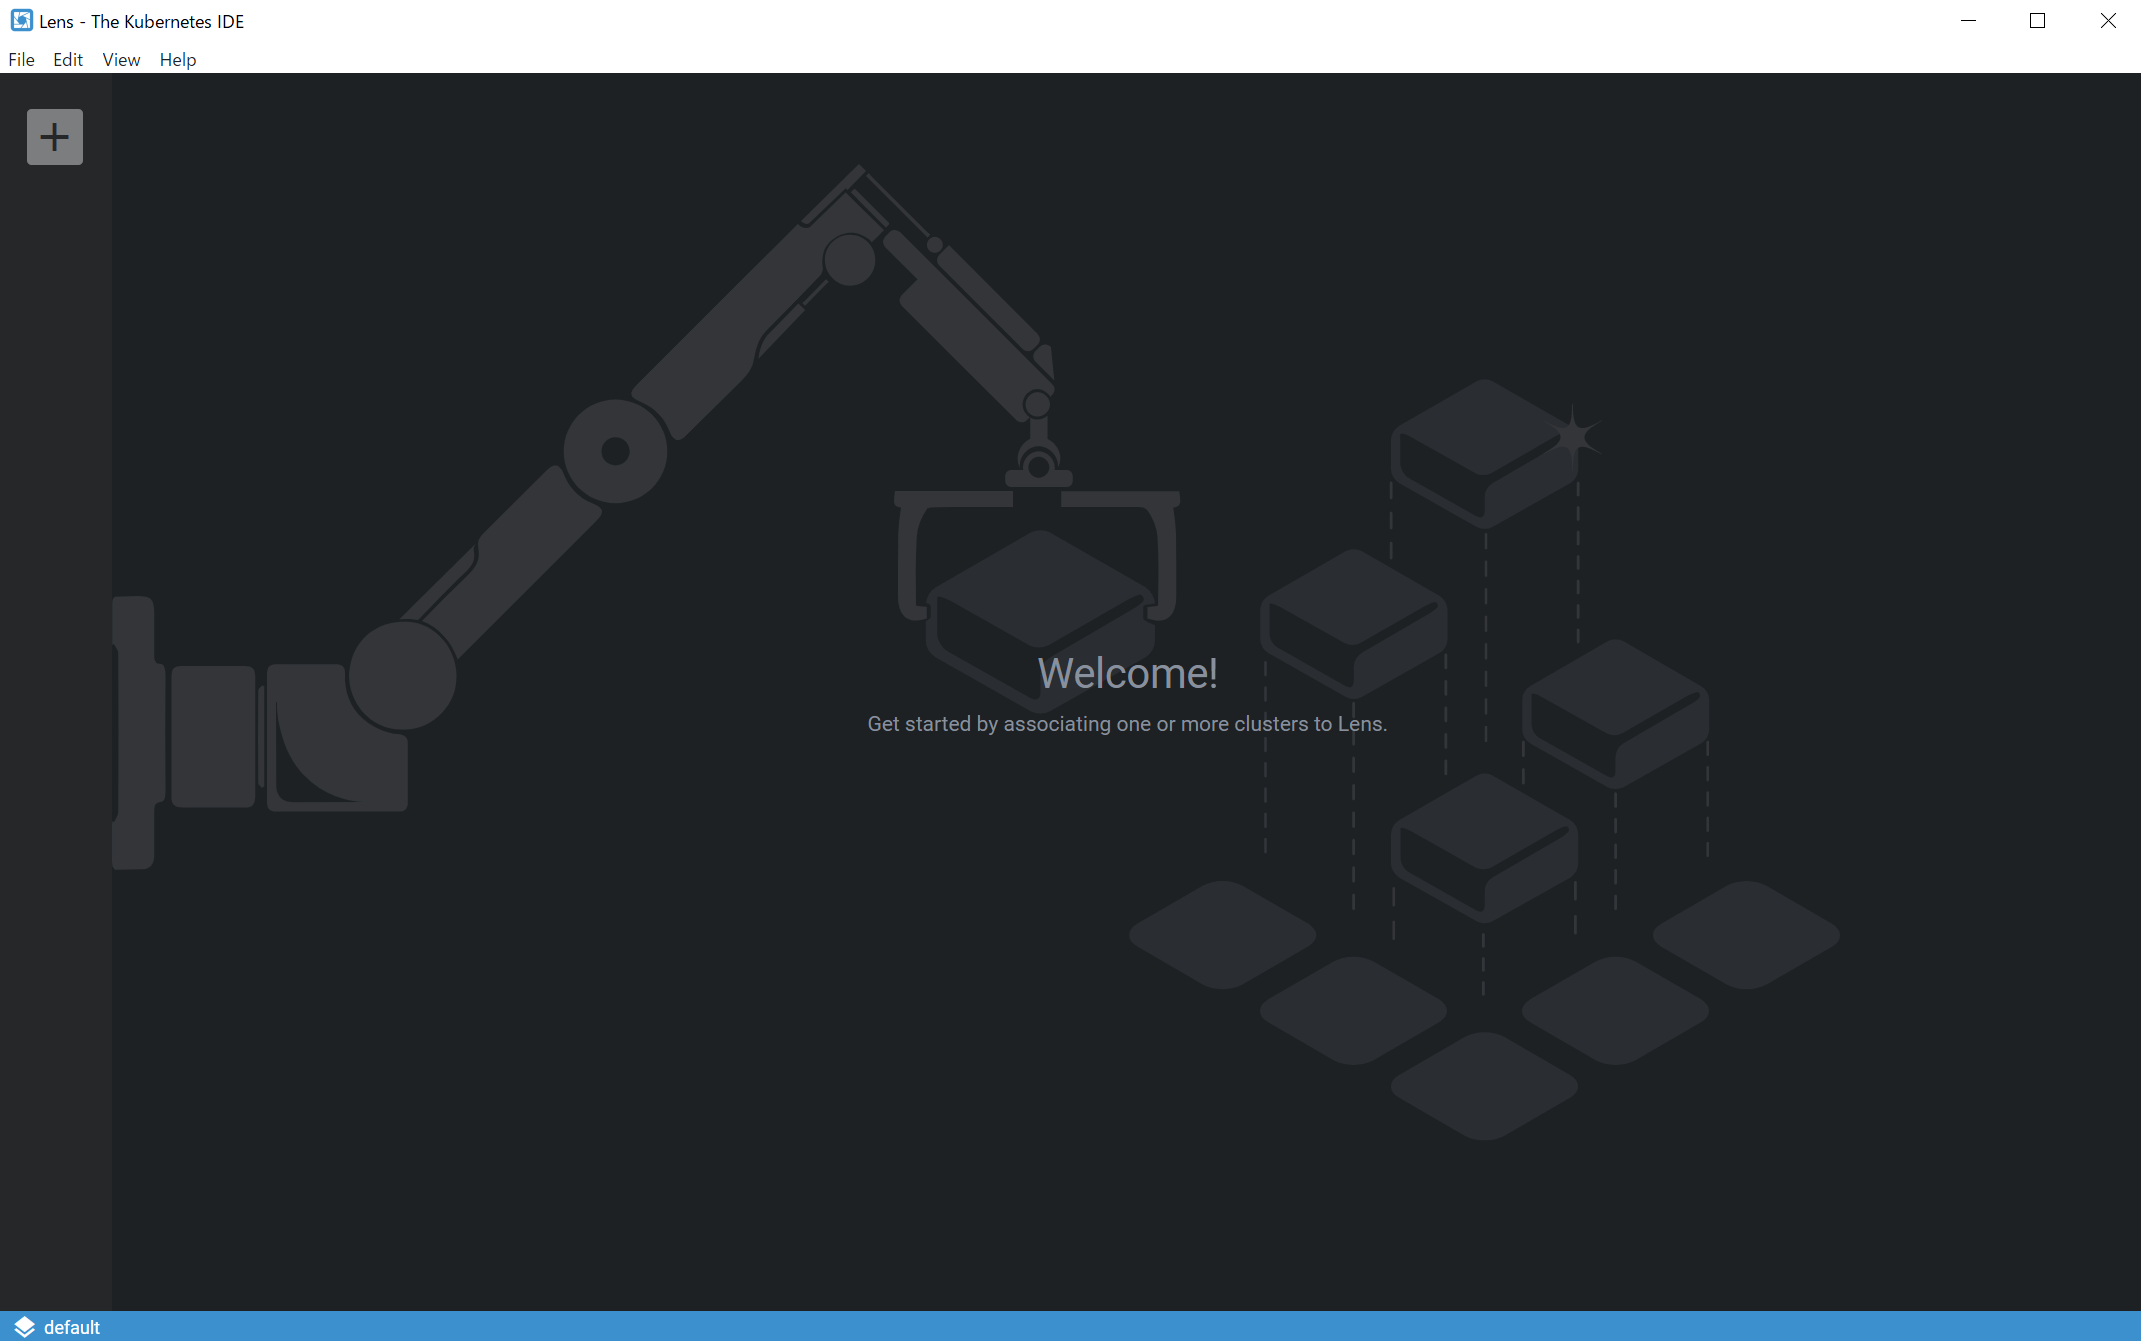
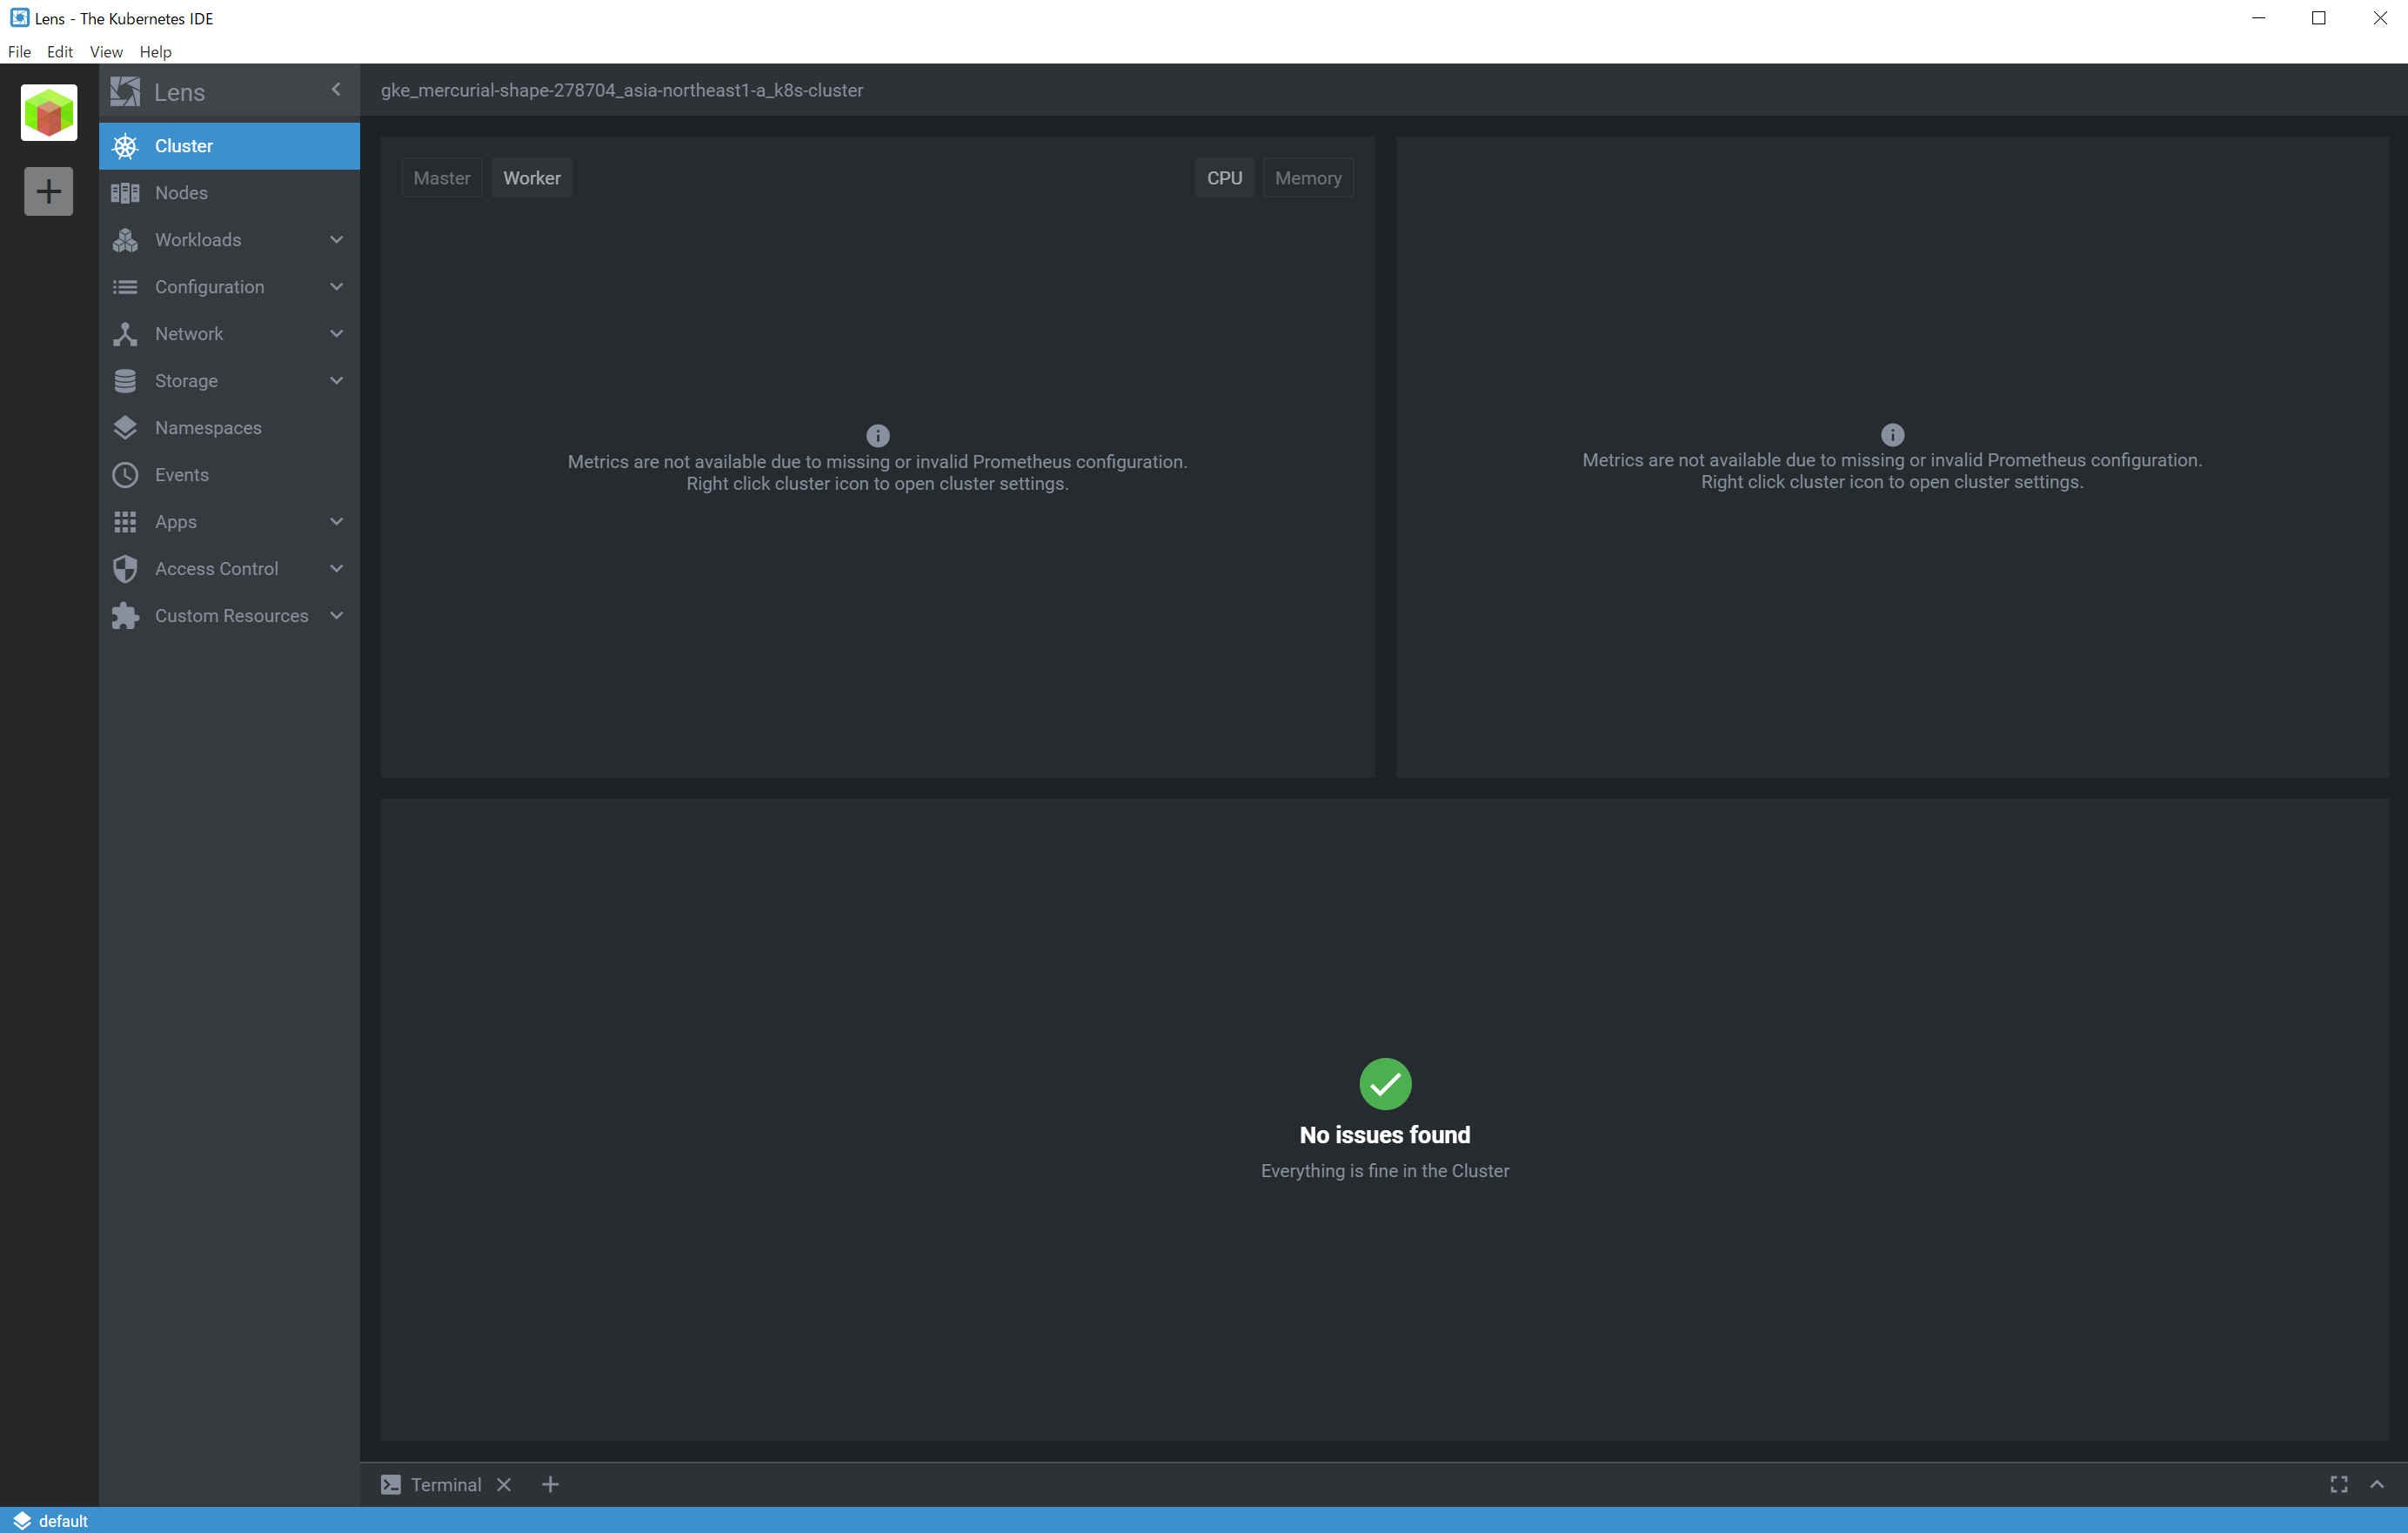
起動後の画面
2.Kubernetesクラスタの登録
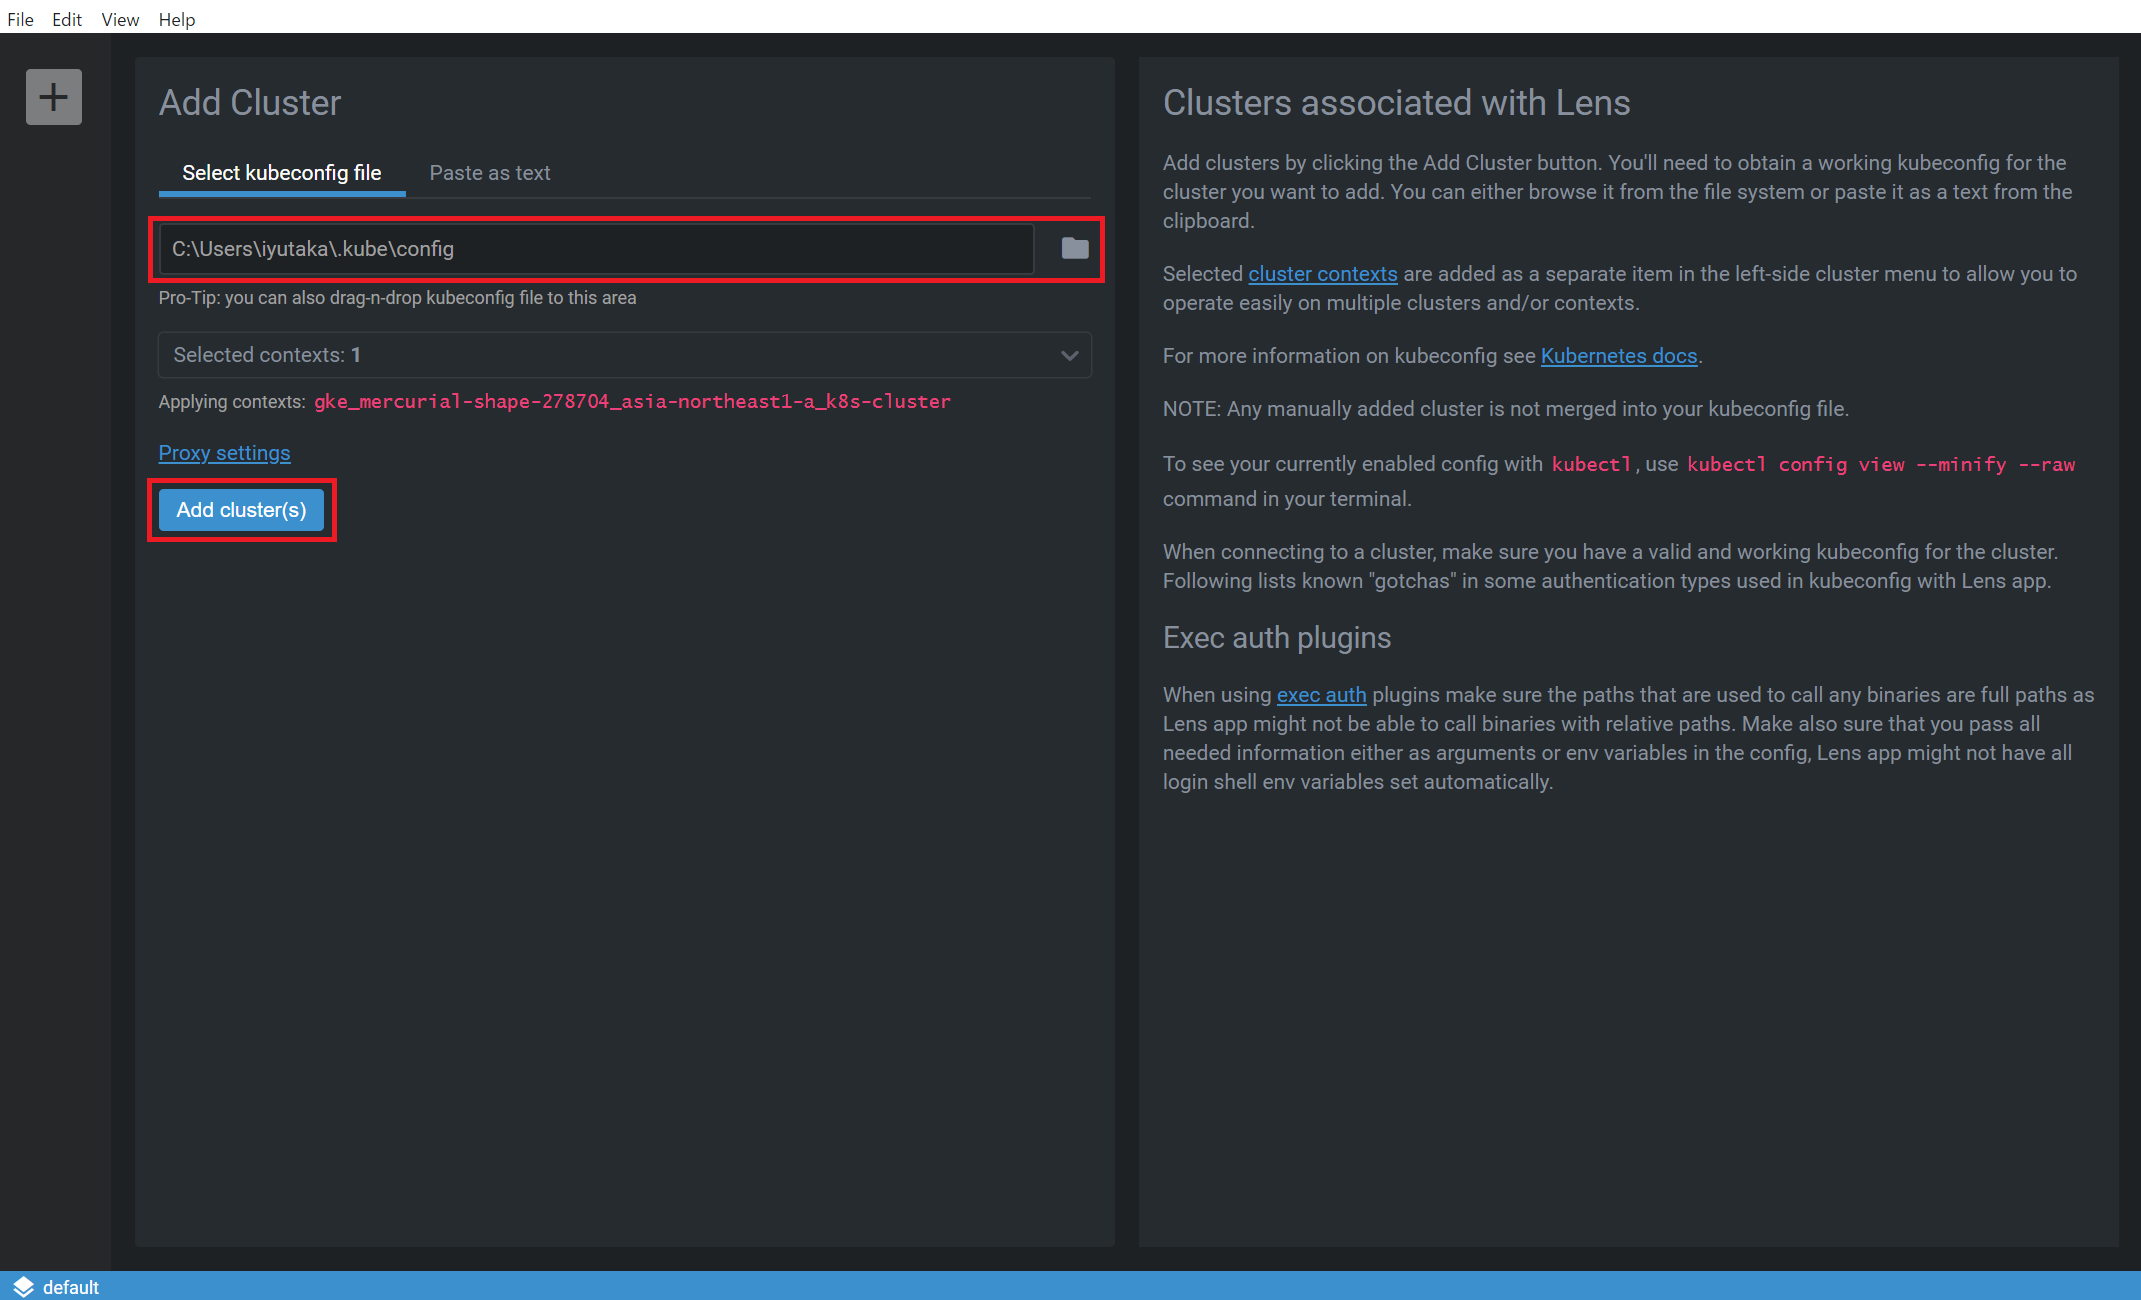
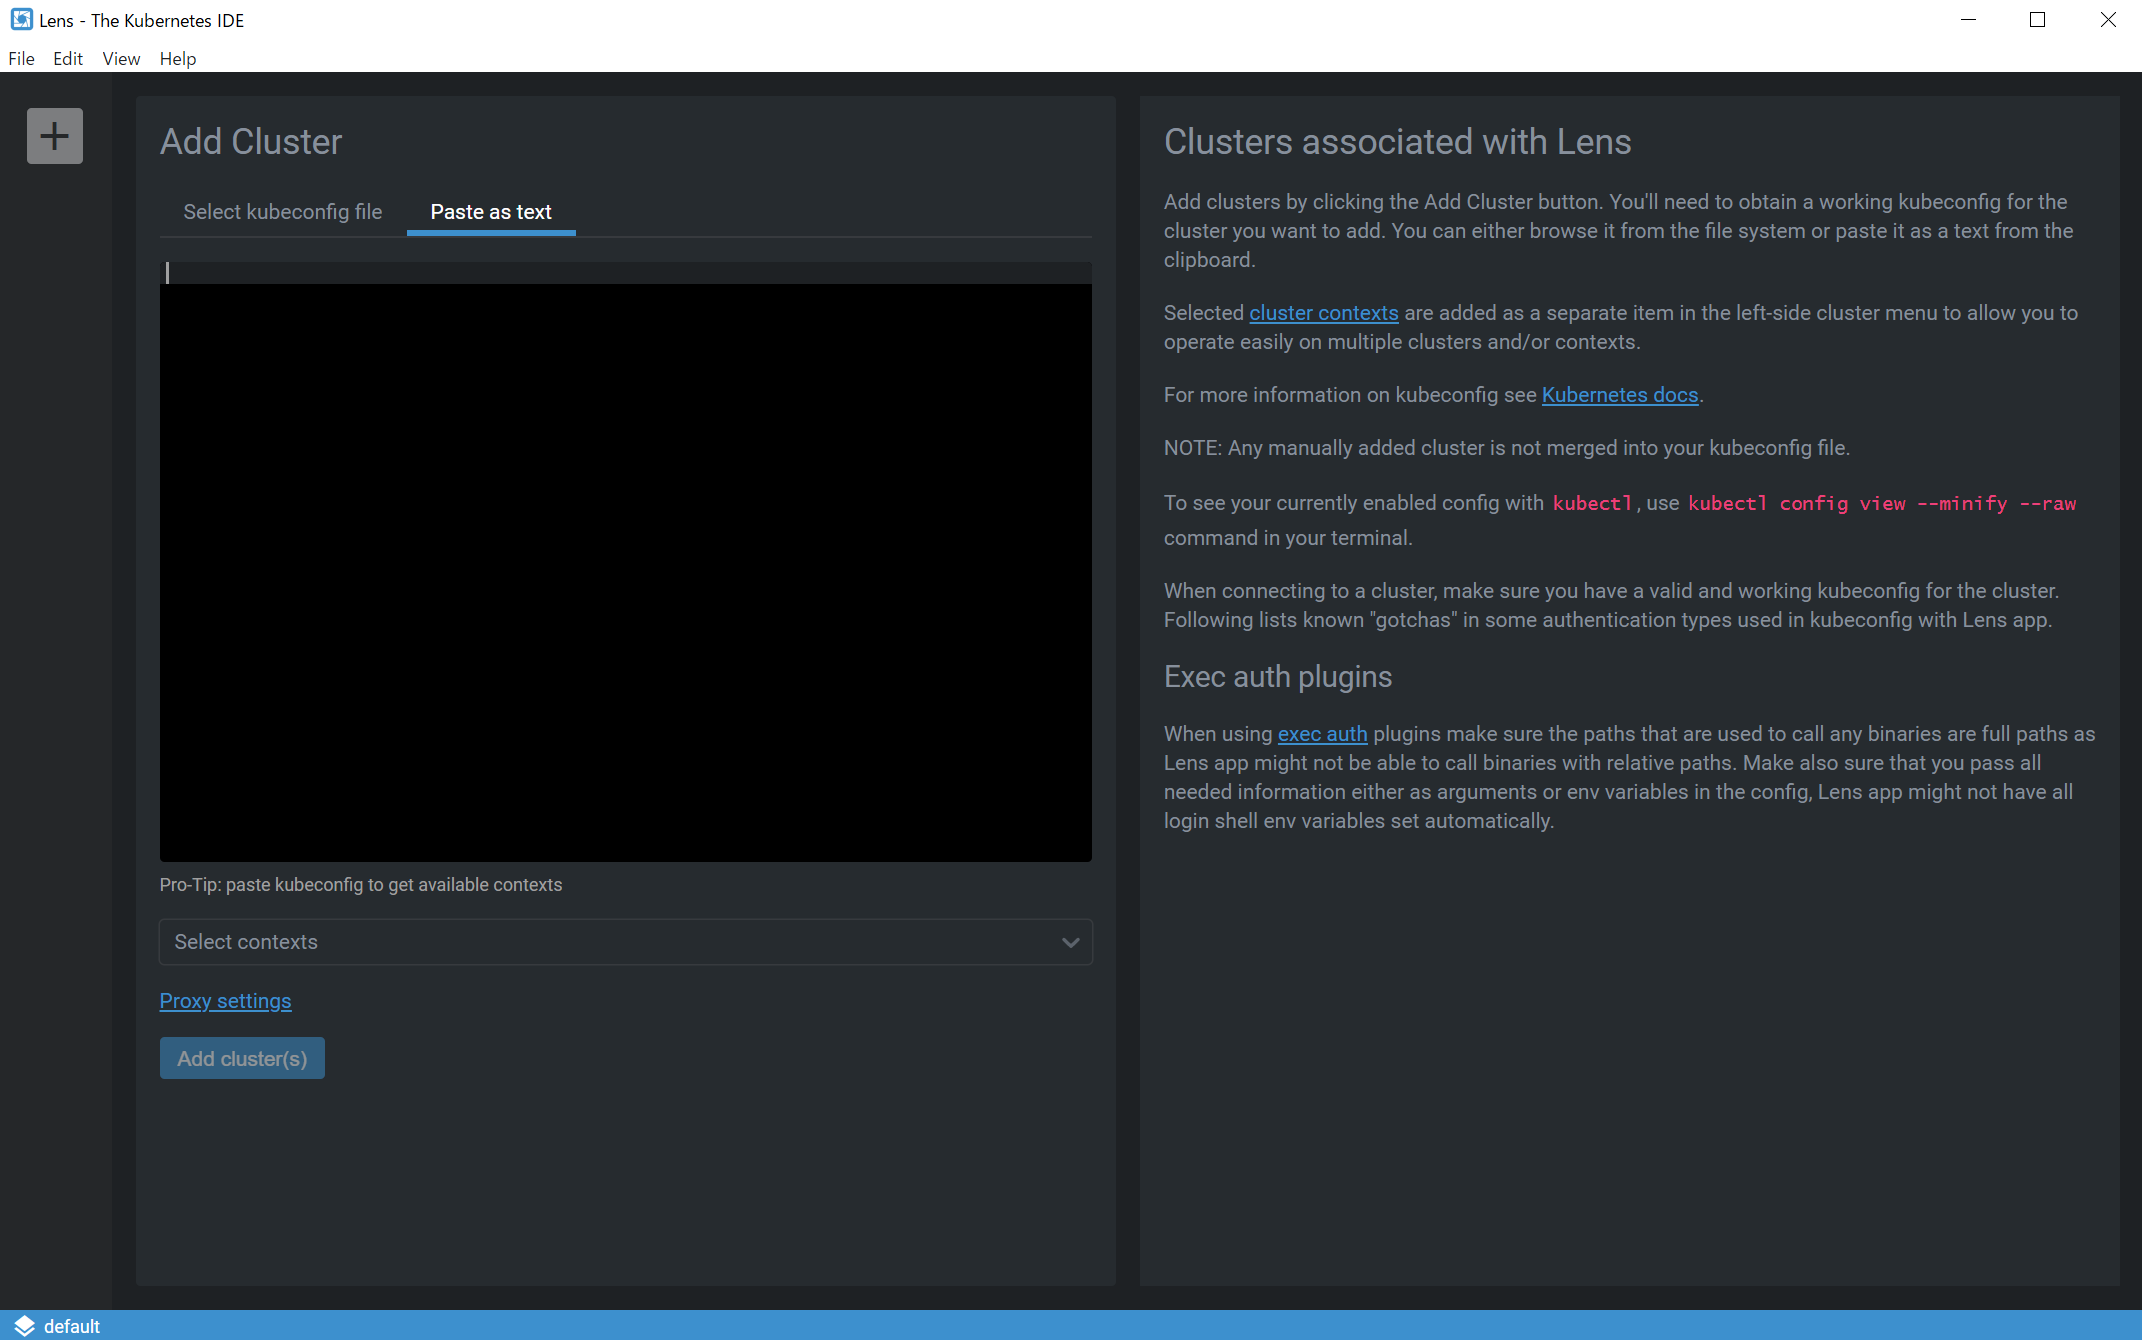
Kuberentesクラスタの登録は、左上の「+」ボタンをクリックします。クリック後、画面が遷移します。「Select kubeconfig file」でkubeconfigのパスを指定するとkubeconfigの内容が自動で読み込まれます。また、「Paste as text」タブを選択すると、kubeconfigの設定をペーストして読み込ませることができます。「Add cluster(s)」をクリックするとLensにKubernetesクラスタが登録されます。
Select kubeconfig file
Paste as text
登録すると、左上にアイコンが追加されます。
3.Kubernetesクラスタの状況確認
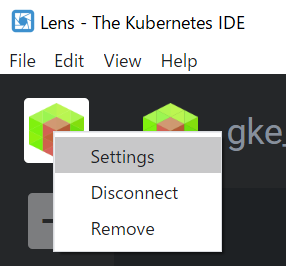
左メニューは、NodeやKubernetesのオブジェクトの状況を確認できます。Preometheusを利用すると、グラフで可視化できます。追加されたアイコン上で右クリック、「Settings」を選択します。
「Feature」の「Metrics」にある「Install」ボタンをクリックします。

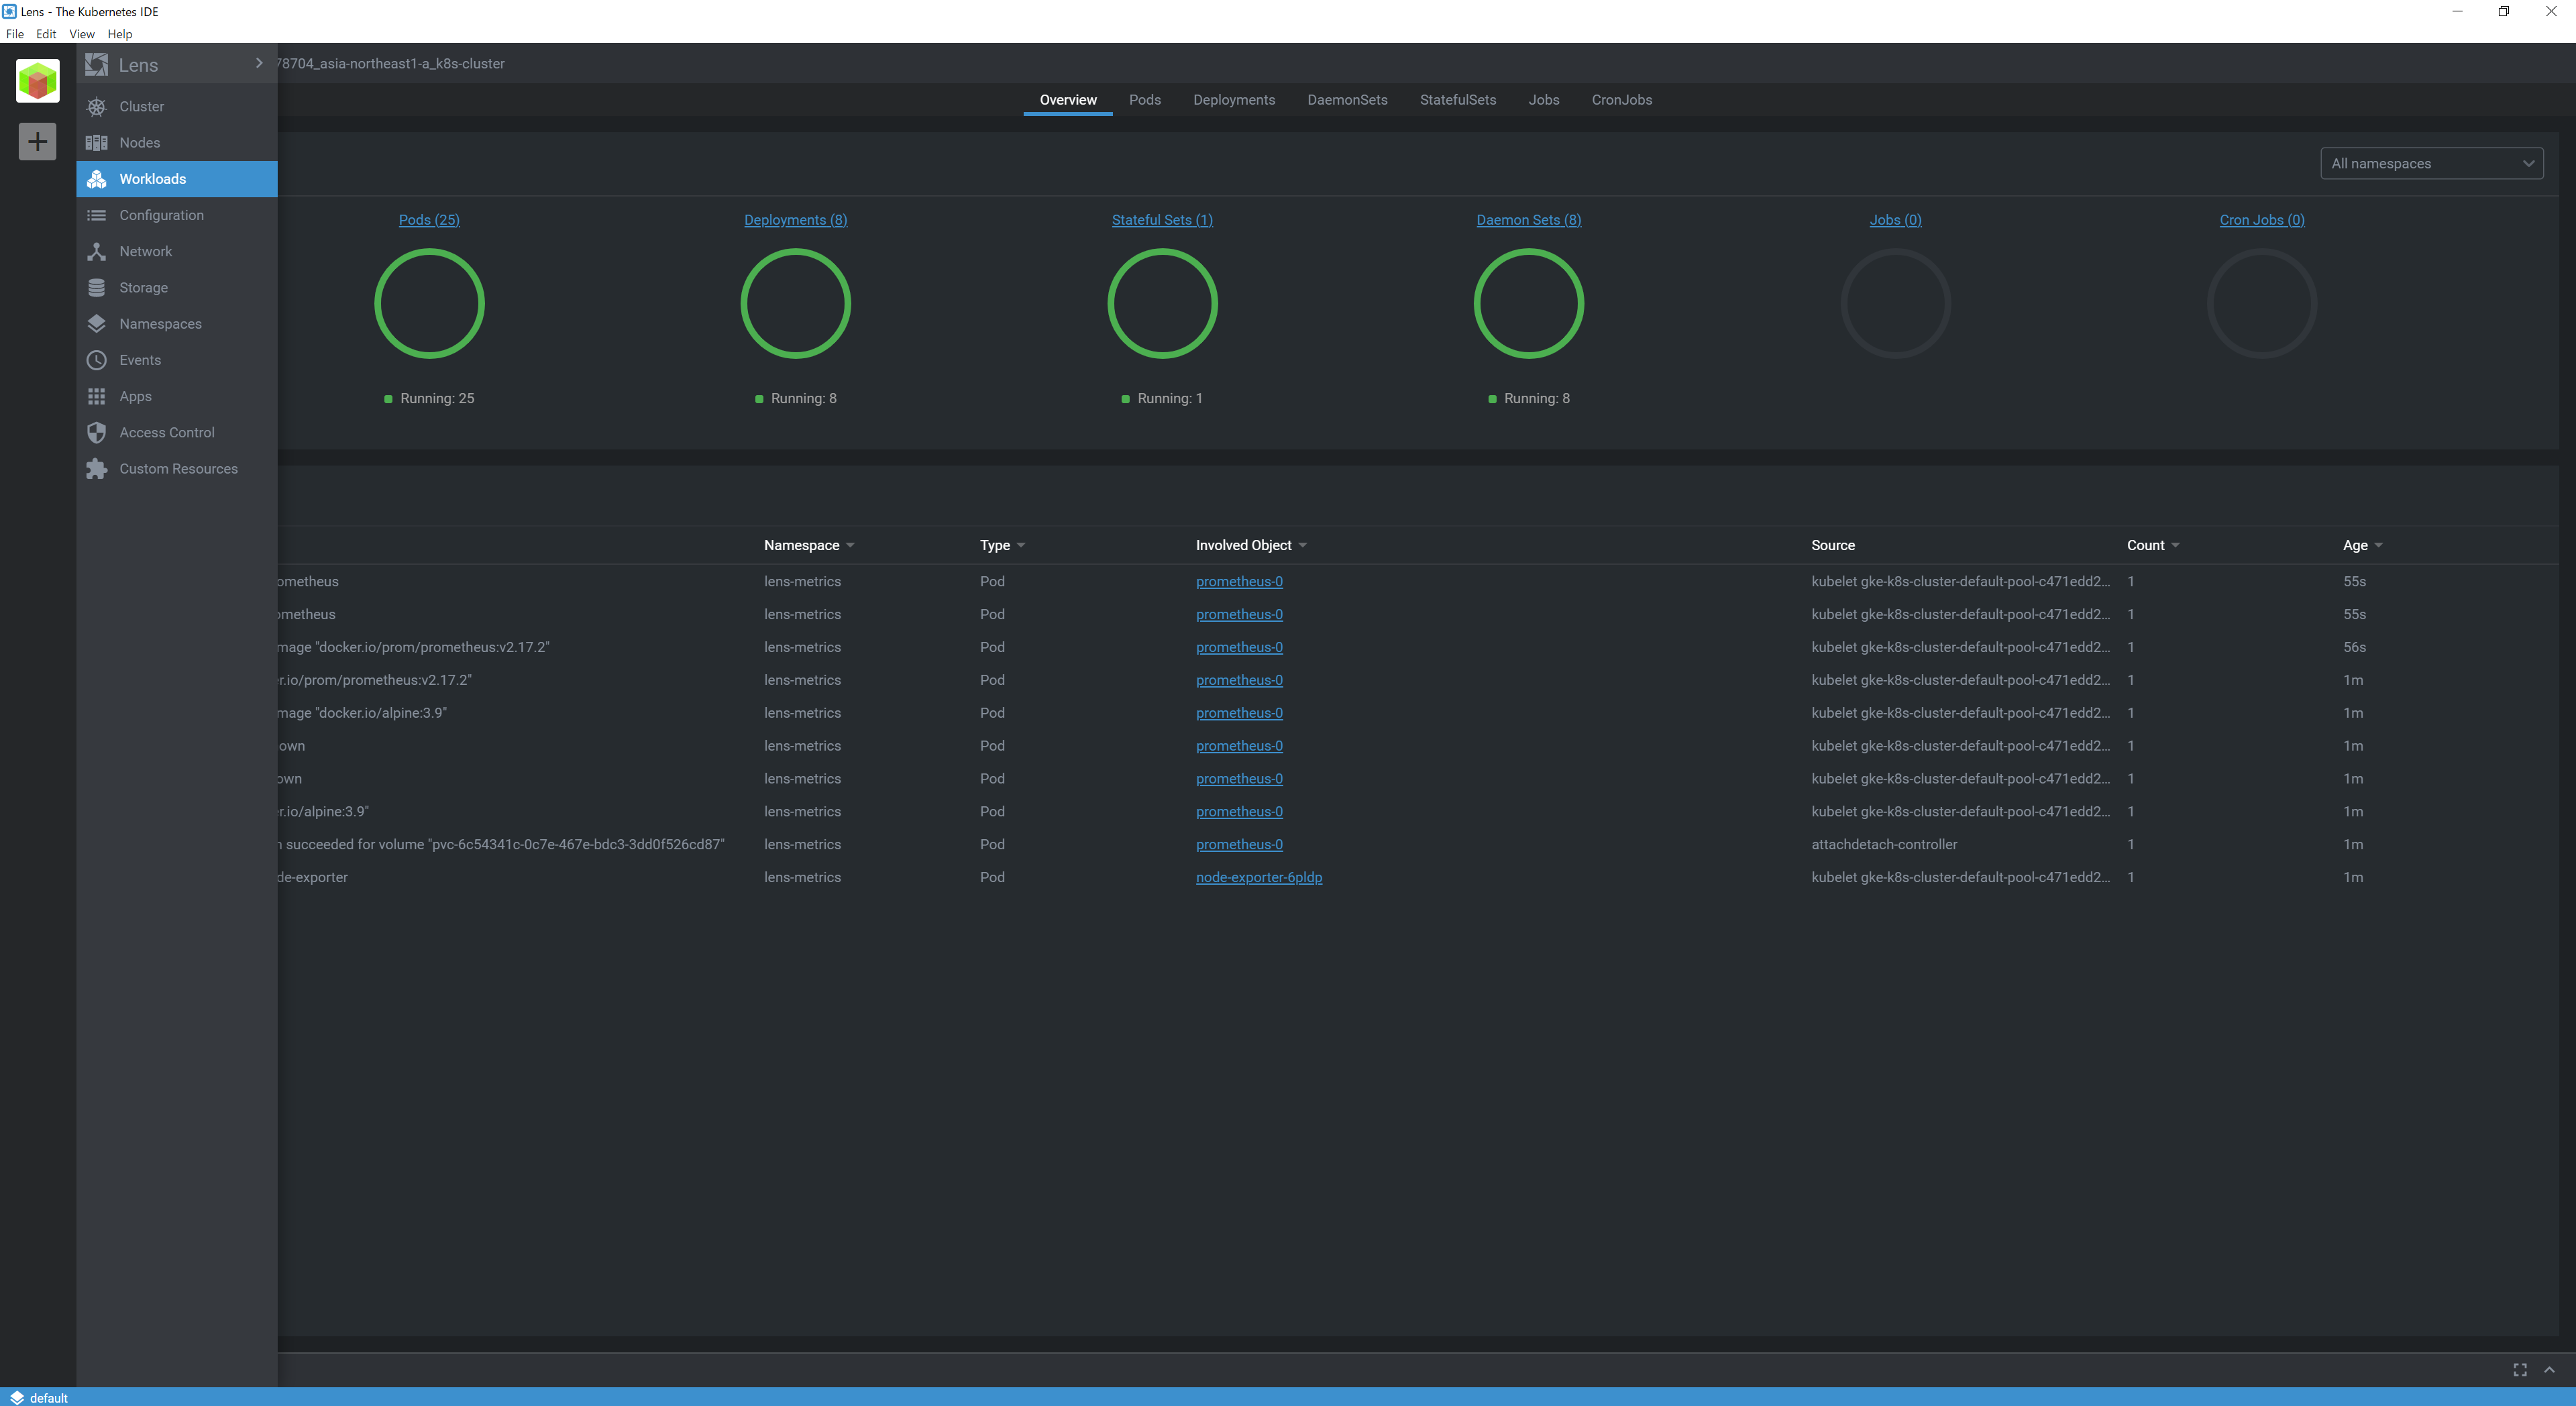
左メニュー「Workload」を選択するとグラフでオブジェクトの状況を確認できます。
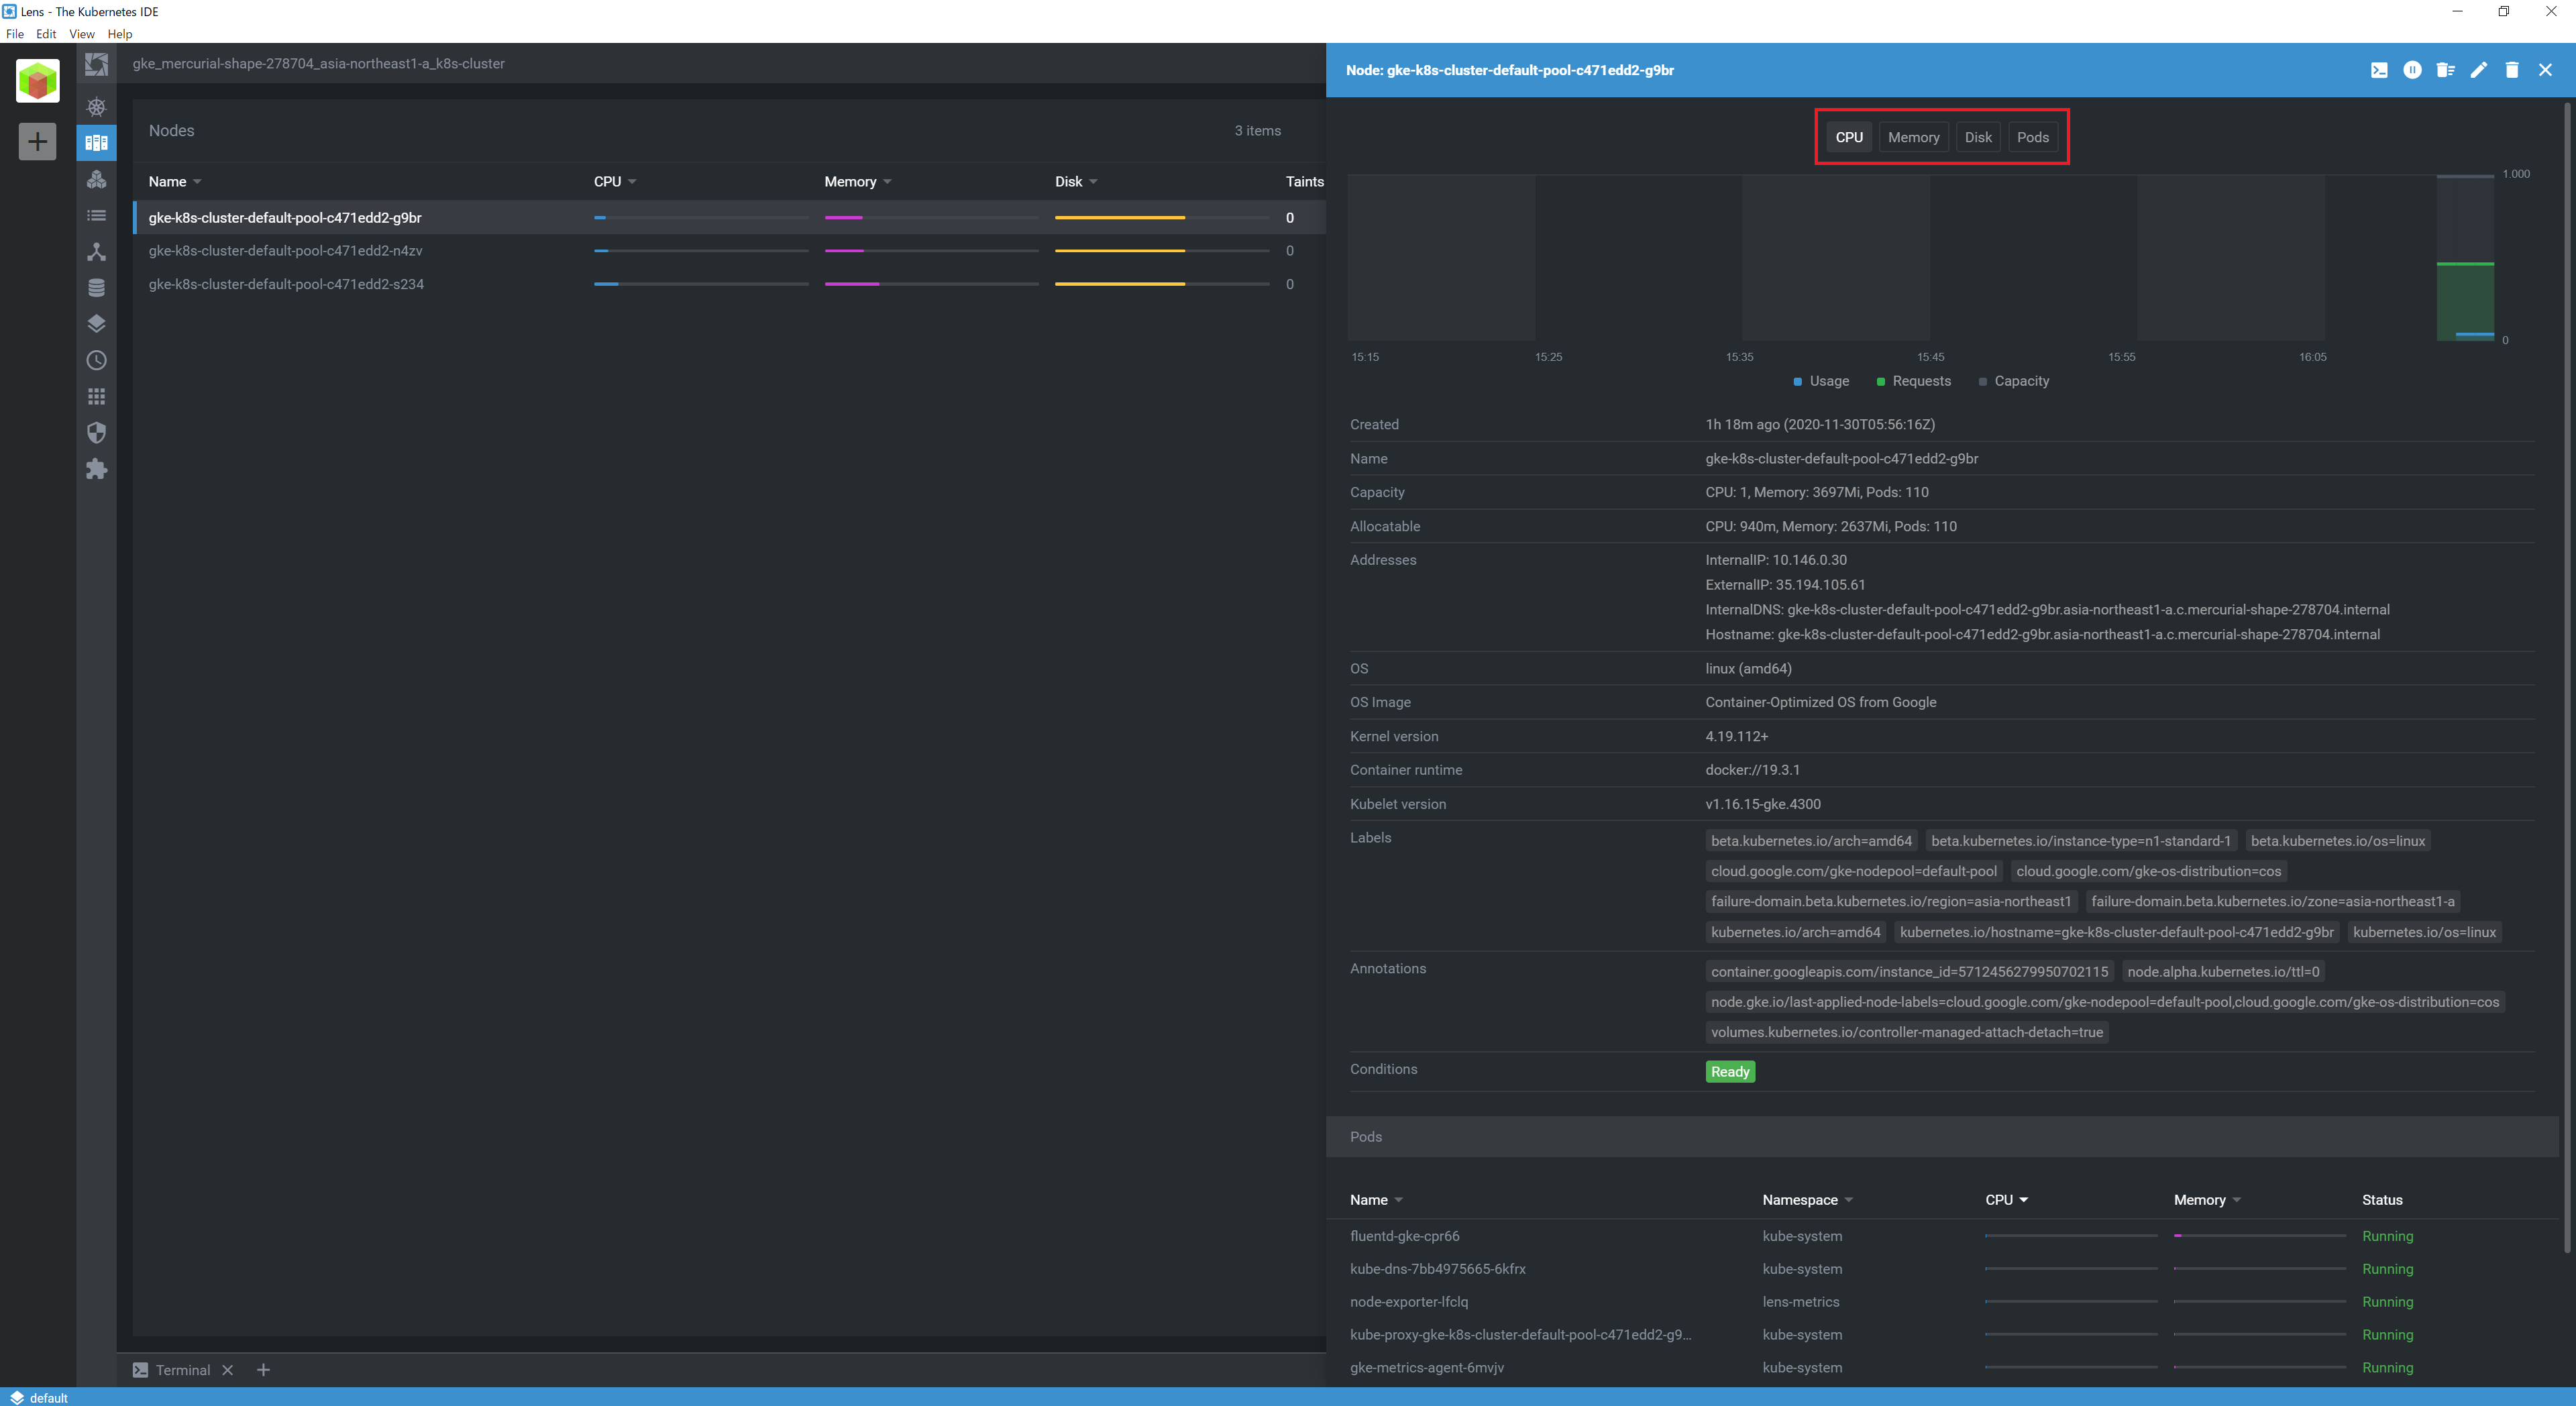
左メニュー「Nodes」を選択すると、各Nodeのリソース状況を確認できます。右上の「CPU」「Memory」「Disk」「Pods」を切り替えることで状況を確認できます。
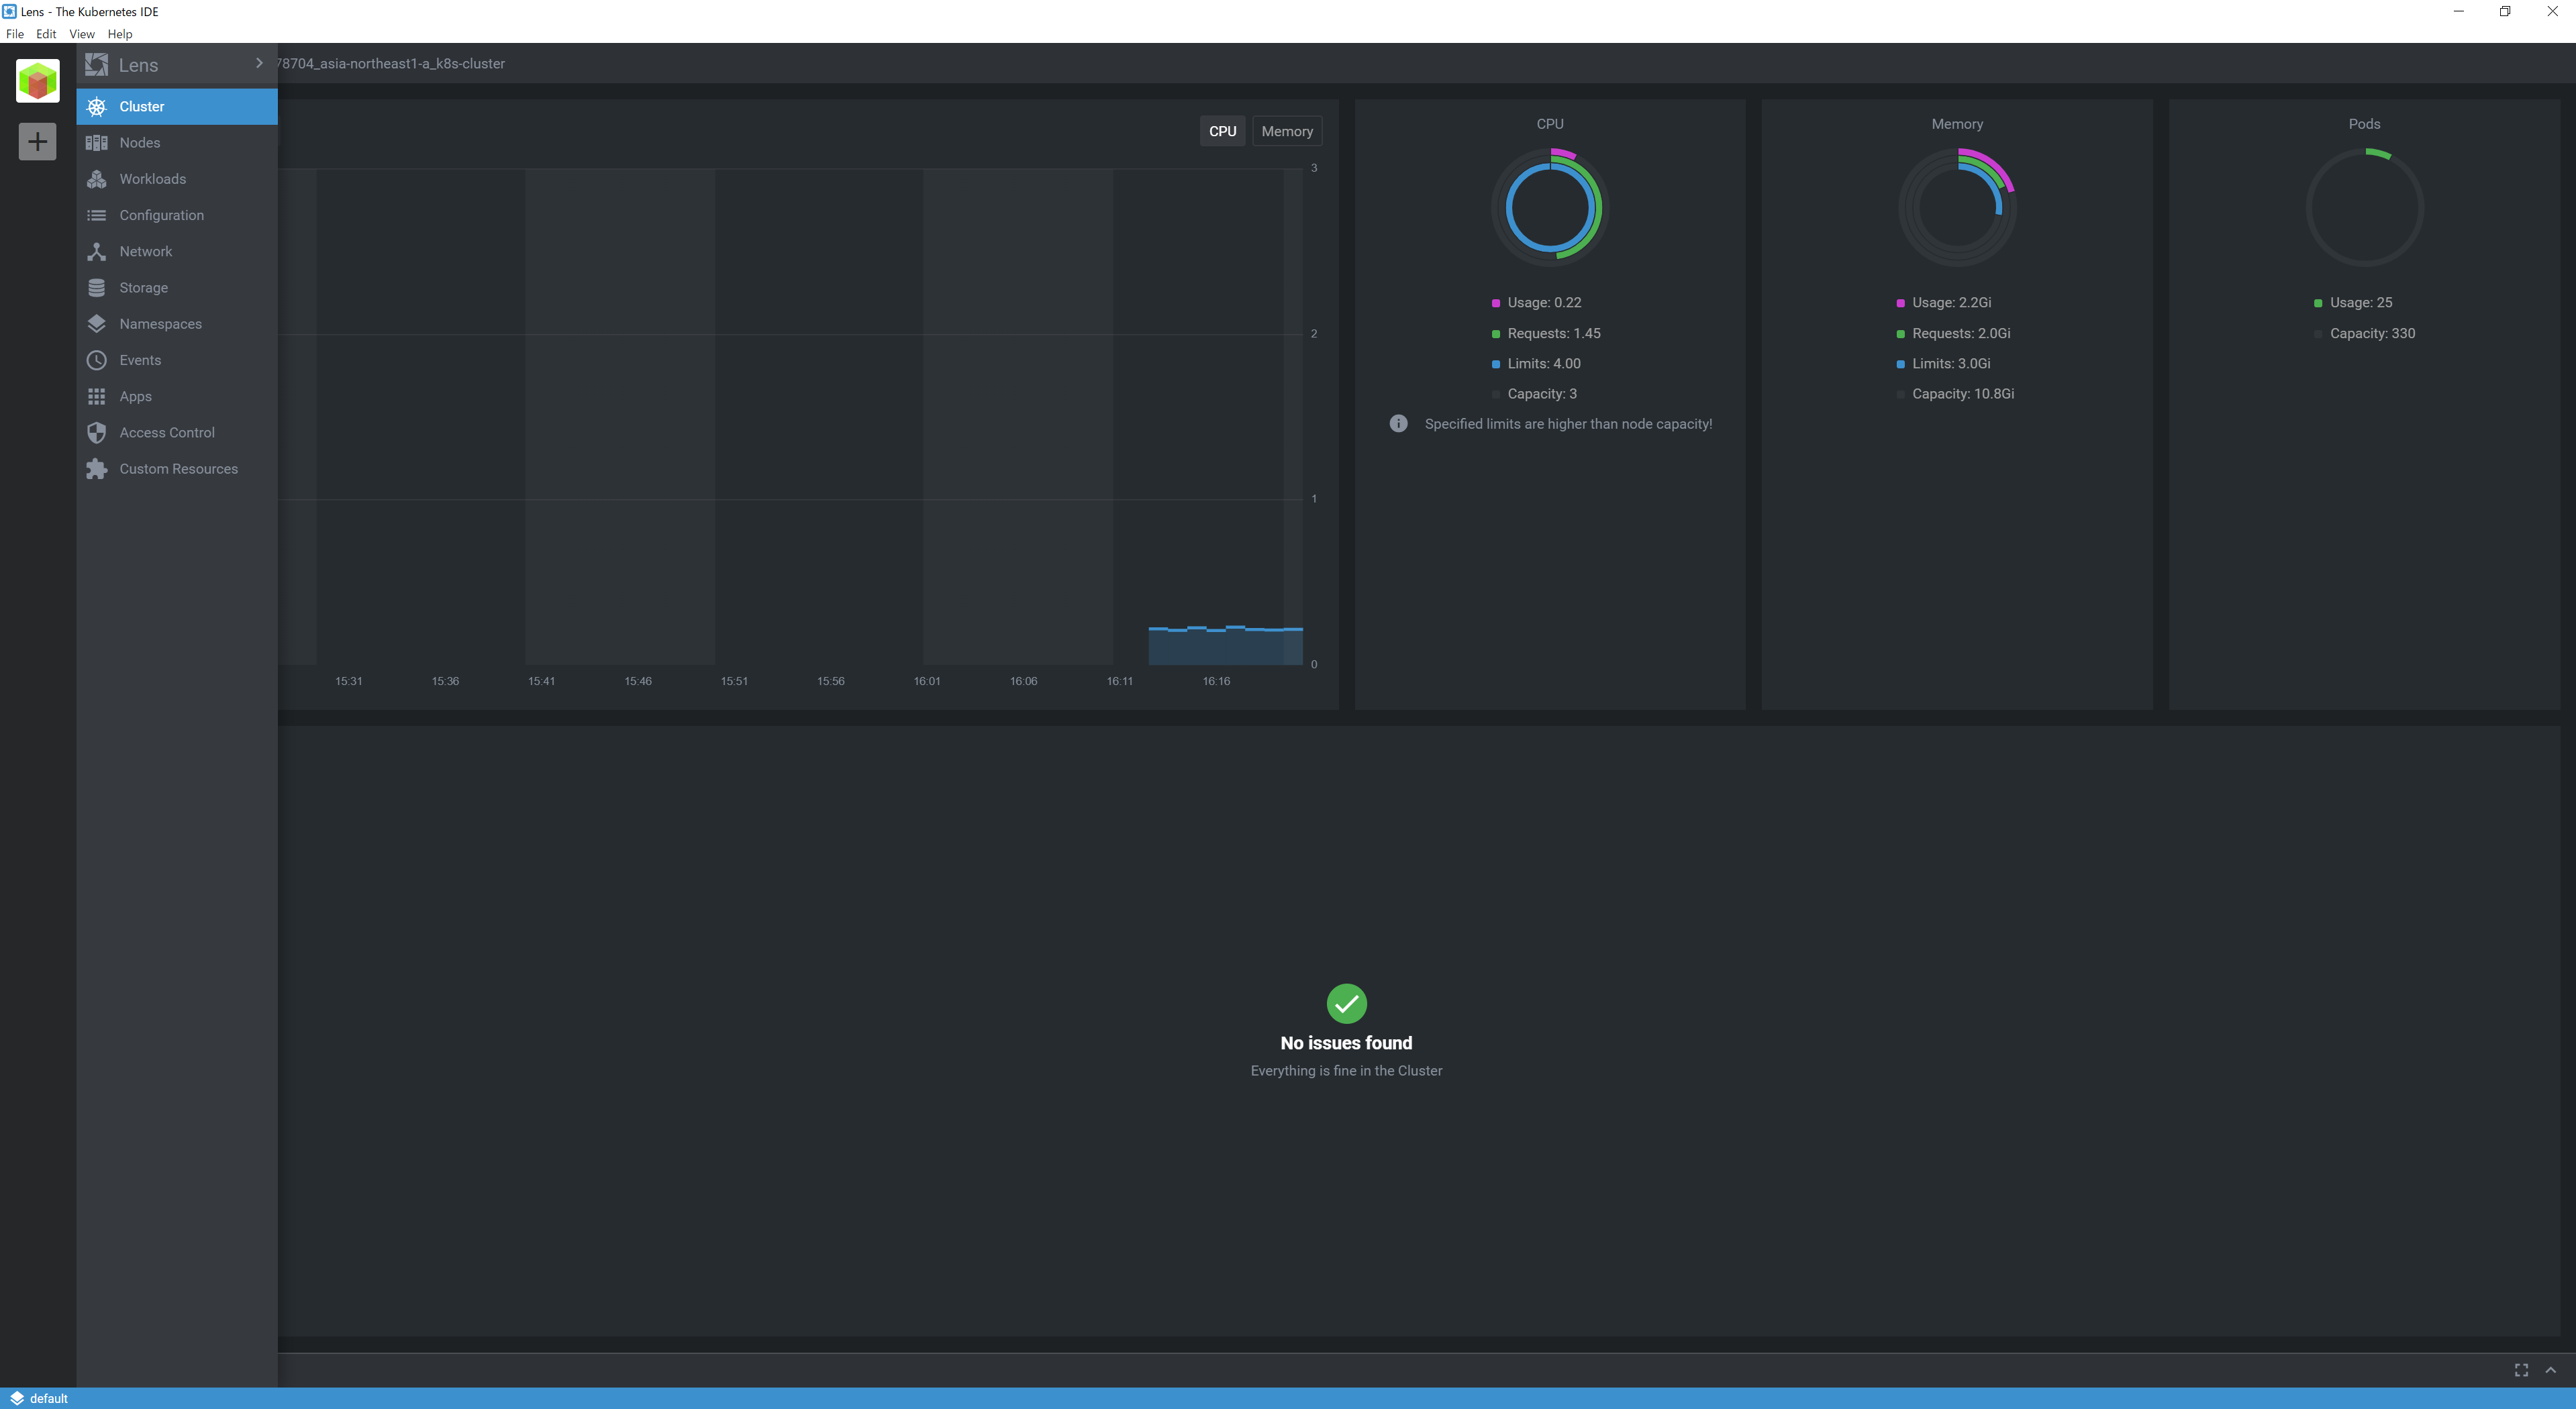
左メニュー「Cluster」を選択すると、クラスタ全体のリソース状況を確認できます。
4.Helmの管理
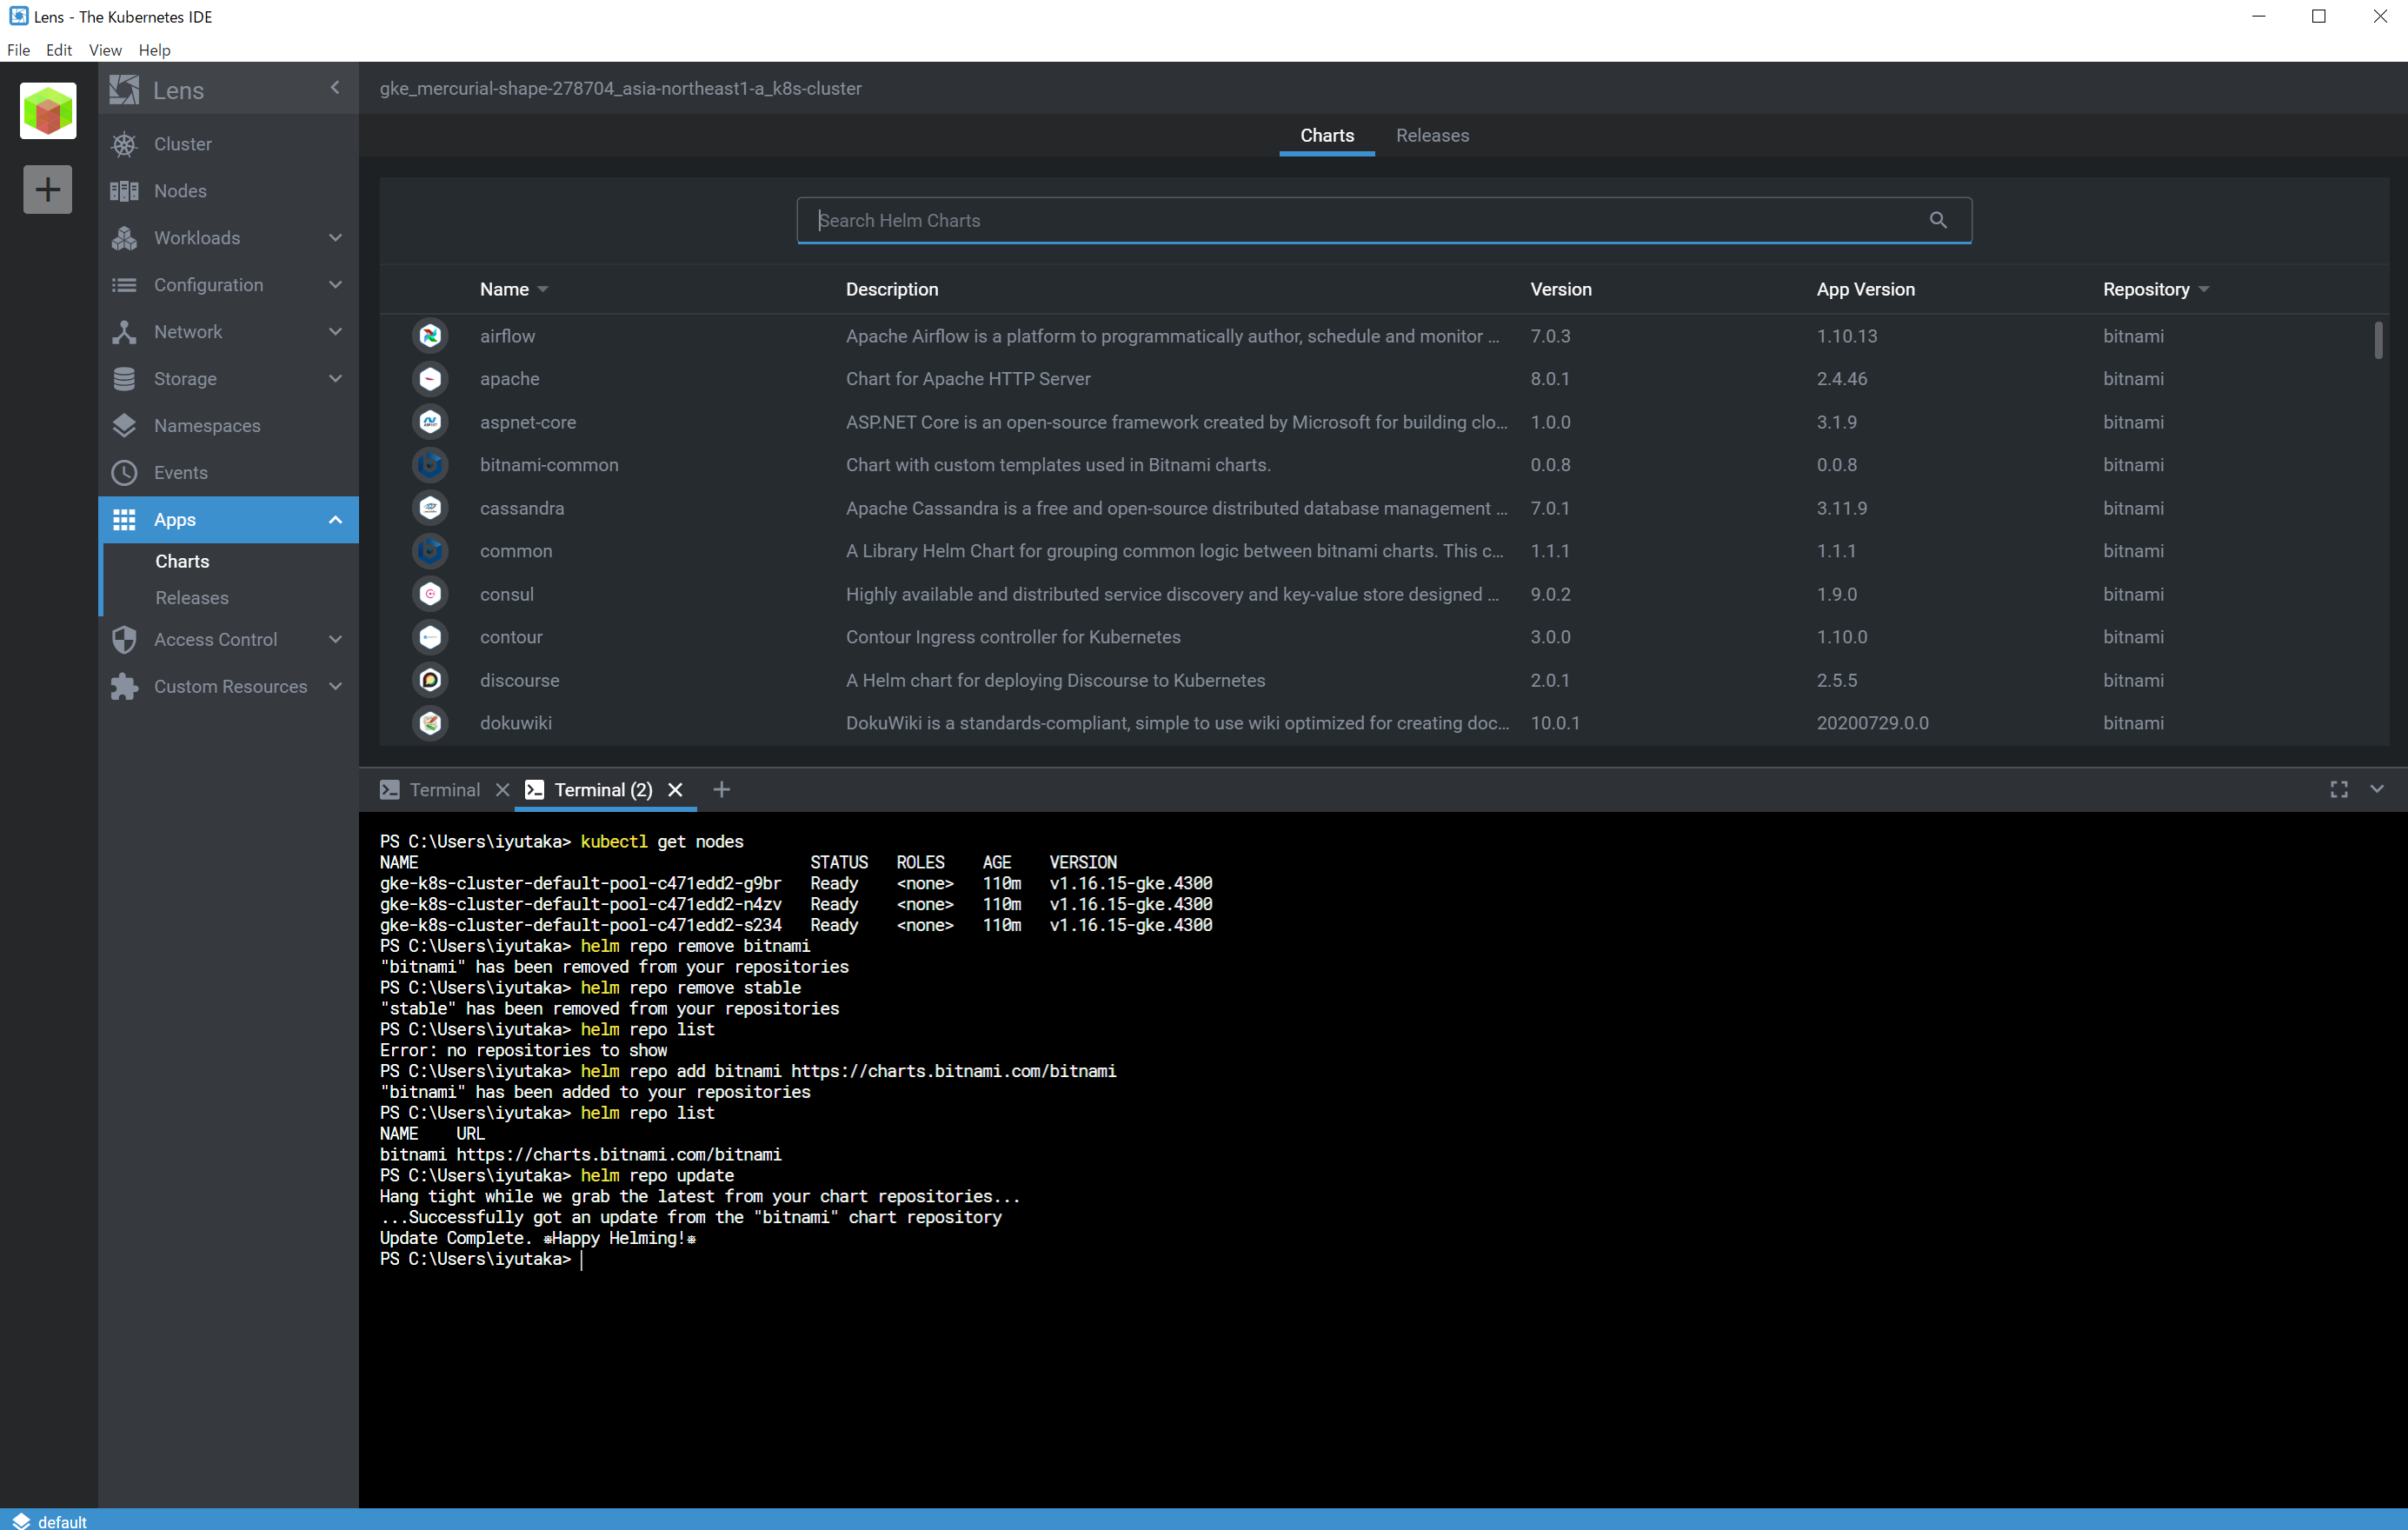
左メニュー「Apps」を選択すると、Helm stableリポジトリを検索できます。
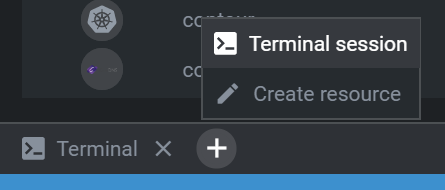
左下の「Terminal」横にある「+」ボタンをクリックして、「Terminal session」を選択するとkubectlコマンドを実行できるTerminalが起動します。新たにHelm Chartリポジトリを追加して、LensでRelease状況を確認しています。
コンソール画面
> helm repo list
Error: no repositories to show
> helm repo add bitnami https://charts.bitnami.com/bitnami
"bitnami" has been added to your repositories
> helm repo list
NAME    URL
bitnami https://charts.bitnami.com/bitnami
> helm repo update
Hang tight while we grab the latest from your chart repositories...
...Successfully got an update from the "bitnami" chart repository
Update Complete. ⎈Happy Helming!⎈
> helm install wordpress bitnami/wordpress --set wordpressUsername=admin --set wordpressPassword=@dminp@ss
NAME: wordpress
LAST DEPLOYED: Mon Nov 30 16:59:52 2020
NAMESPACE: default
STATUS: deployed
REVISION: 1
NOTES:
** Please be patient while the chart is being deployed **

Your WordPress site can be accessed through the following DNS name from within your cluster:

    wordpress.default.svc.cluster.local (port 80)

To access your WordPress site from outside the cluster follow the steps below:

1. Get the WordPress URL by running these commands:

  NOTE: It may take a few minutes for the LoadBalancer IP to be available.
        Watch the status with: 'kubectl get svc --namespace default -w wordpress'

   export SERVICE_IP=$(kubectl get svc --namespace default wordpress --template "{{ range (index .status.loadBalancer.ingress 0) }}{{.}}{{ end }}")
   echo "WordPress URL: http://$SERVICE_IP/"
   echo "WordPress Admin URL: http://$SERVICE_IP/admin"

2. Open a browser and access WordPress using the obtained URL.

3. Login with the following credentials below to see your blog:

  echo Username: admin
  echo Password: $(kubectl get secret --namespace default wordpress -o jsonpath="{.data.wordpress-password}" | base64 --decode)
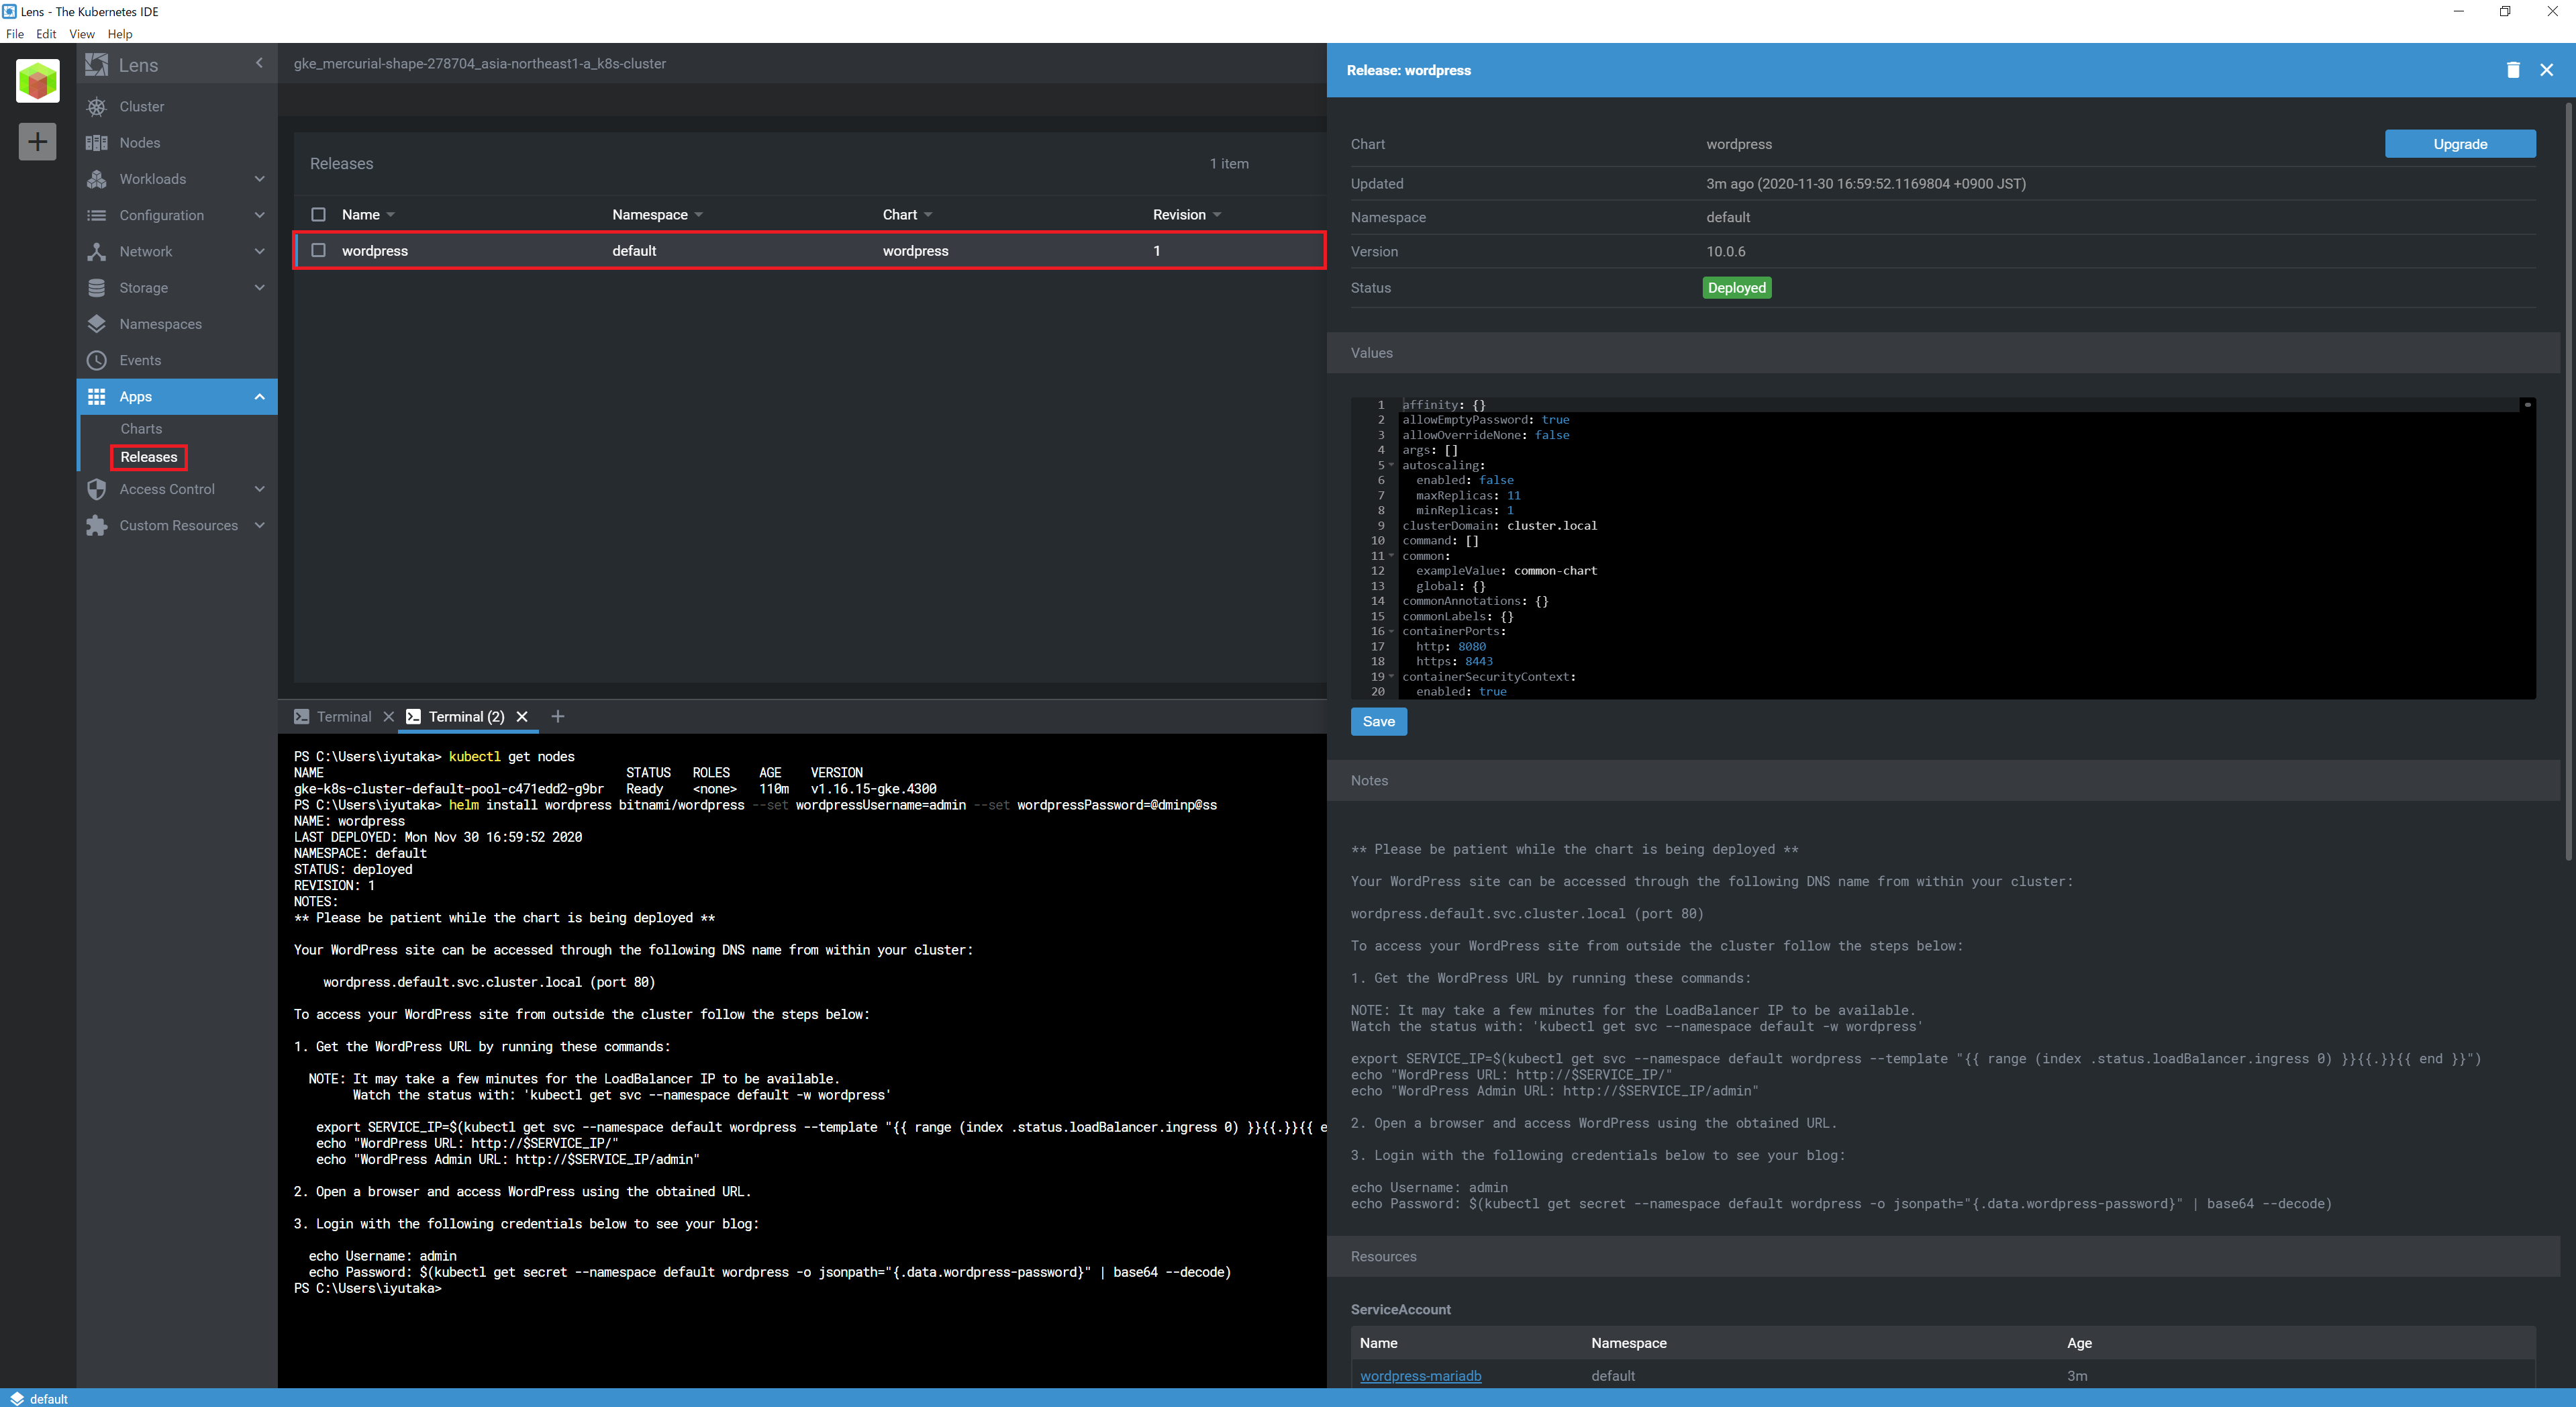
左メニュー「Apps」-「Release」を選択して、Releaseのwordpressをクリックすると詳細を確認できます。
5.Kubernetesクラスタの登録解除
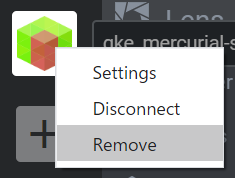
LensからKubernetesクラスタを登録解除する場合は、クラスタアイコン上で右クリックして「Remove」を選択します。
「Remove」をクリックすると解除できます。
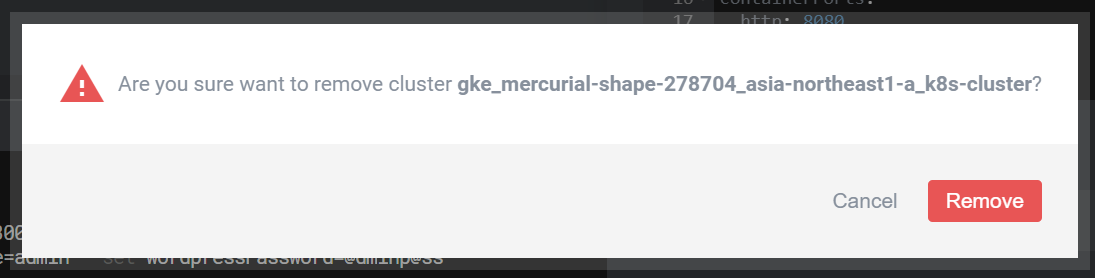
Lensから登録解除されるだけで、実際のクラスタ自体は削除されません。
6.まとめ
LensにKubernetesクラスタ登録、オブジェクト管理、メトリクス表示、Helm管理を試してみました。簡単にインストールして、kubeconfigを登録するだけでKubernetesダッシュボードのような感じでクラスタの状況を確認できる便利なツールです。複数のKubernetesクラスタを登録すればマルチクラスタ管理をこのGUIで行えます。OSSで無料で利用できるので、試してみてください。