AssetのAudioTrackを取得する
let asset = AVAsset(url: url)
let audioTracks = asset.tracks(withMediaType: .audio)
if audioTracks.isEmpty {
    debugPrint("No audio tracks")
    return
}
if audioTracks.count != 1 {
    debugPrint(String(format: "Warning: %d audio tracks found", audioTracks.count))
}
AVAssetの音声トラック(AudioTrack)を取得する。音声トラックがない場合はそこで処理を終了する。複数音声トラックがある場合は、最初のトラックのみを抽出対象とする。
AVAssetReaderを使って、PCMフォーマットでAudioTrackのデータを読み込む
// 例外処理の記述は省略
let reader = try AVAssetReader(asset: asset)
let trackOutput = AVAssetReaderTrackOutput(track: audioTracks[0], outputSettings: [
    AVFormatIDKey: Int(kAudioFormatLinearPCM),
    AVLinearPCMBitDepthKey: 16,
    AVLinearPCMIsFloatKey: false,
    AVSampleRateKey: 48000,
    AVNumberOfChannelsKey: 1,
    AVLinearPCMIsBigEndianKey: false,
])
reader.add(trackOutput)
AVAssetReaderを使って、音声トラックのデータを読み込んでいく。AVAssetReaderは、
AVAssetReaderTrackOutputのoutputSettingsに指定されたフォーマットで、メディアのデータを読み込んでくれるため、動画ファイルの元のフォーマットについてあまり気にする必要がない。
今回は、リニアPCM / 48000Hz / 16ビット(リトルエンディアンのSigned Int)で読み込むことにした。バイトオーダーについてはリトルエンディアンでもビッグエンディアンでも、後述の読み取り部分と合わせればどちらでも問題ないのだが、WAVファイルで使われているリトルエンディアンの方にあわせることにした。
画面におおよその波形を描画するだけなら、サンプリング周波数は48000Hzも必要ないのだが、AVAssetReaderTrackOutputを使って波形を出力する場合は8000Hz〜192000Hzの間で指定しなければいけないという制約があるため、映像における一般的なサンプリング周波数48000Hzを使うことにした。
処理をシンプルにするため、チャンネルはモノラルにした。
PCMで読み込む場合の指定可能なフォーマットは下記のページに説明がある。
https://developer.apple.com/documentation/avfoundation/audio_track_engineering/audio_settings_and_formats/linear_pcm_format_settings
サンプルを読み込む
reader.startReading()
var waveData = [Int16]()

while reader.status == .reading {
    if let buffer = trackOutput.copyNextSampleBuffer() {
        guard let dataBuffer = buffer.dataBuffer else {
            debugPrint("No data buffer")
            continue
        }

        // 例外処理の記述は省略
        let data = try dataBuffer.dataBytes()
        waveData.append(contentsOf: data.withUnsafeBytes {
            Array($0.bindMemory(to: Int16.self)).map(Int16.init(littleEndian:))
        })
    }
}
ファイルサイズが大きい場合、この処理には時間がかかるため基本的にバックグランドで実行する。
startReadingで読み込み開始にしたら、読み取りが続いている間(readerのステータスがreadingの間)、データを読み込んでいく。
データは1サンプルごと読み込まれるのではなく、数百サンプル程度をまとめたサンプルバッファーという単位で読み込まれる。copyNextSampleBuffer()で読み込んだバッファーの中身は、dataBuffer.dataBytes()でバイト列(Data型)で取得できる。バイト列はAVAssetReaderTrackOutputで指定したフォーマットになっており、今回は16ビット(2バイト)のリトルエンディアンSigned Intの配列になっている。
モノラルで読み込んでいるため、DataのwithUnsafeBytesを使ってシンプルなInt16の配列に変換し、それ以前に読み込まれた波形データに付け加えていく。
copyNextSampleBuffer()の説明には、このメソッドが返すCMSampleBufferはThe Create Ruleに則って生成されているため、アプリ側でCFReleaseで解放する必要がありそうな注意書きになっているのだが、Swiftでこれを実装する方法がわからなかった。誰か正しい処理の仕方がわかったら教えて欲しい。
if reader.status == .failed || reader.status == .unknown {
    debugPrint("something went wrong.")
    return
}
読み込み終了後、ステータスがfailedあるいはunknownになっている場合はエラーとして処理する。
波形を描画する
UIColor.white.setFill()
UIRectFill(bounds)

let width = Int(bounds.width)
let samplesPerPixel = CGFloat(waveData.count) / CGFloat(width)
if samplesPerPixel > 1 {
    let path = UIBezierPath()
    for i in 0..<width {
        let from = Int(samplesPerPixel * CGFloat(i))
        let to = Int(samplesPerPixel * CGFloat(i + 1))
        let samples = waveData[from..<to]
        if let min = samples.min(), let max = samples.max() {
            let yMax = bounds.height * (0.5 + (CGFloat(max) / CGFloat(32768)) * 0.5)
            let yMin = bounds.height * (0.5 + (CGFloat(min) / CGFloat(32768)) * 0.5)
            path.move(to: CGPoint(x: CGFloat(i), y: yMin))
            path.addLine(to: CGPoint(x: CGFloat(i), y: yMax))
        }
    }
    UIColor.black.setStroke()
    path.stroke()
}
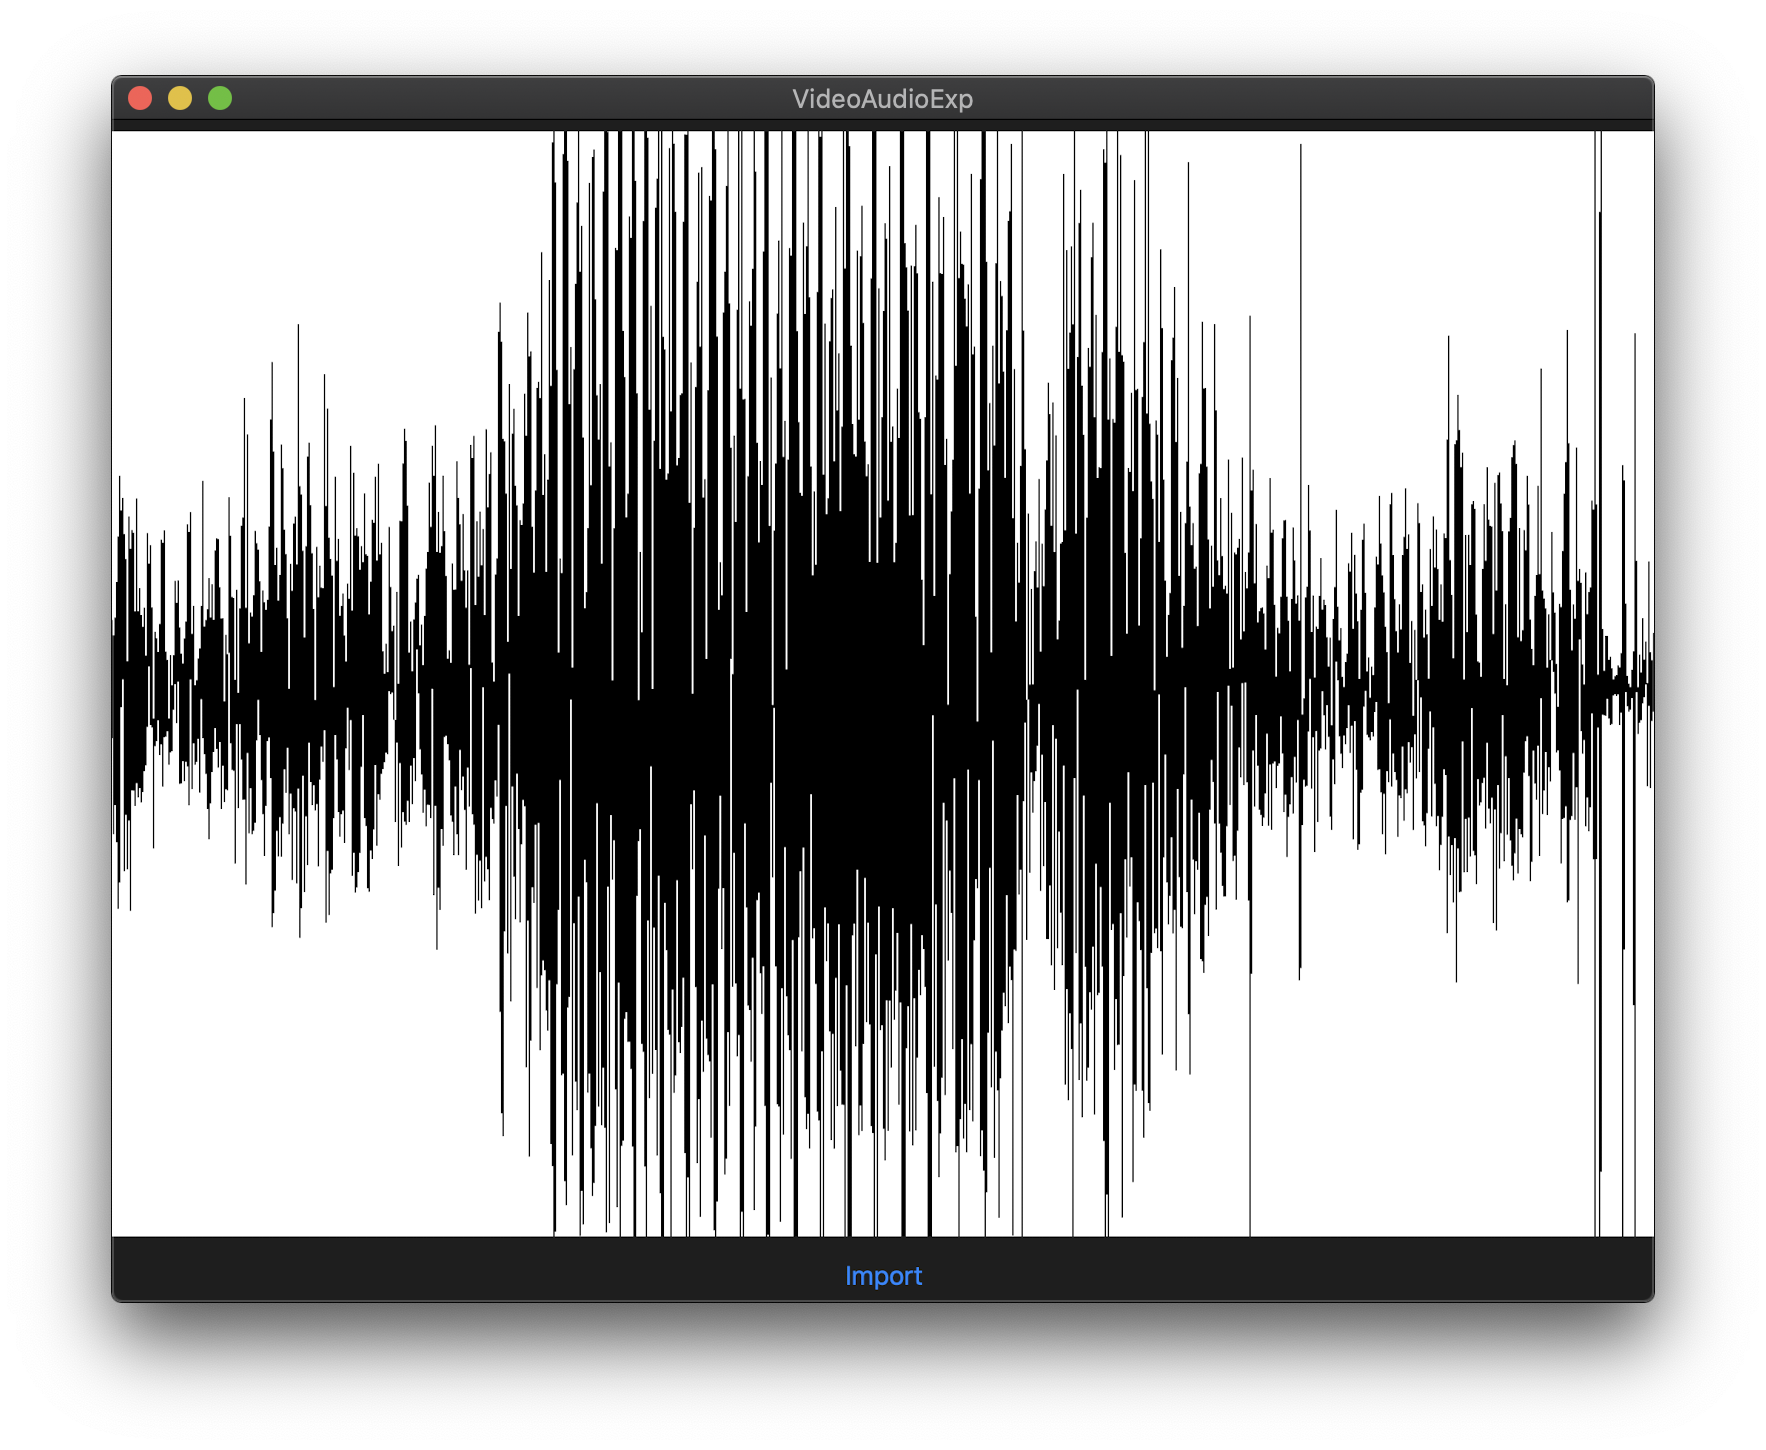
描画する領域の幅に応じて、1ピクセルが対応する波形の範囲を決め、その範囲の最大値・最小値を描画する。ビューの横幅のピクセル数の方が波形の長さより短い場合の対応については省略した。
波形データが長い場合、描画に時間がかかってしまうので、適宜データを間引くなどの対応をした方が良い。
参考