まえがき
ReactフックのuseContextとuseReducerを組み合わせて使えば、ReduxやRecoil等のライブラリを使わずにグローバル状態管理を実現することができる。本稿ではそれを実装するために必要な知識とコード例をまとめる。
参考記事
下記の記事がとても分かりやすくまとまっていました👏
前提
今回扱うuseContextとuseReducerはReactフックと呼ばれるものである。他にもいろいろある。
useContext
1箇所に定義されているデータを、複数箇所(コンポーネント)からグローバルに参照できるようにするReactフック(関数)。参照できるようにするだけであって、更新はできない。
useReducer
複雑な状態管理を実現するもの。単純な状態管理はuseStateで事足りる。
Reactフックとは
状態管理やライフサイクルのReact機能を、クラスを書かずに使えるようになる機能(関数)のこと。
・Reactフックが登場する前までは、状態管理/ライフサイクルの機能を扱えるのはクラスコンポーネントだけであった。
・Reactフックが登場してからは、関数コンポーネントでも状態管理/ライフサイクルの機能を扱えるようになった。
関数コンポーネント vs クラスコンポーネント
下記のQlita記事、React公式にも記載してある通り、コード量が少なく読みやすい関数コンポーネントを使う。
useContext
1箇所に定義されているデータを、複数箇所(コンポーネント)からグローバルに参照できるようにするReactフック(関数)。参照できるようにするだけであって、更新はできない。
使い方
親コンポーネント(App.tsx)に定義したデータを、複数の子コンポーネントから参照できるようにする。
import React, { createContext } from "react";
// 子コンポーネントを3つ用意。
import { AccountListSection } from "./accounts/AccountListSection";
import { MailListSection } from "./mails/MailListSection";
import { MessageListSection } from "./messages/MessageListSection";

type DataStoreContext = {
  accounts: string[];
  mails: string[];
  messages: string[];
};
// 参照できるようにするContextの初期値
const initialContext: DataStoreContext = {
  accounts: [],
  mails: [],
  messages: [],
};
// Context作成&子コンポーネントから参照できるようにexportする。
export const DataStoreContext = createContext(initialContext);

const App = (): JSX.Element => {
  // 参照できるようにするContextのオブジェクト
  const contextState = {
    accounts: ["アカウントA", "アカウントB", "アカウントC"],
    mails: ["メールA", "メールB", "メールC"],
    messages: ["メッセージA", "メッセージB", "メッセージC"],
  };

  return (
    <div>
      <DataStoreContext.Provider value={contextState}>
        <AccountListSection />
        <MailListSection />
        <MessageListSection />
      </DataStoreContext.Provider>
    </div>
  );
}
import { useContext } from "react";
import { DataStoreContext } from "../App";

export const AccountListSection = (): JSX.Element => {
  // 親(App.tsx)がexportしているDataStoreContextをINPUTに、useContextを実行。
  const dataStoreContext = useContext(DataStoreContext);
  return (
    <div>
      <h1>AccountListSection</h1>
      <p>{dataStoreContext.accounts.join(", ")}</p>
    </div>
  );
};
import { useContext } from "react";
import { DataStoreContext } from "../App";

export const MailListSection = (): JSX.Element => {
  // 親(App.tsx)がexportしているDataStoreContextをINPUTに、useContextを実行。
  const dataStoreContext = useContext(DataStoreContext);
  return (
    <div>
      <h1>MailListSection</h1>
      <p>{dataStoreContext.mails.join(", ")}</p>
    </div>
  );
};
import { useContext } from "react";
import { DataStoreContext } from "../App";

export const MessageListSection = (): JSX.Element => {
  // 親(App.tsx)がexportしているDataStoreContextをINPUTに、useContextを実行。
  const dataStoreContext = useContext(DataStoreContext);
  return (
    <div>
      <h1>MessageListSection</h1>
      <p>{dataStoreContext.messages.join(", ")}</p>
    </div>
  );
};
useReducer
・状態管理をするためのReactフック。状態管理をする点でuseStateと同じ役割。
・useStateとuseReducerの違うところはどうやってstateを更新するか。
useStateでの状態管理
・参照:直接stateオブジェクト(contactState)を参照する。
・更新:state更新用関数(setContactState)に、値を直接を格納する。
import { useState } from "react";

const initialContactState = {
  messages: [],
  mails: [],
}

const [contactState, setContactState] = useState(initialContactState),

// 参照
console.log(`messages: ${contactState.messages}`;
console.log(`mails: ${contactState.mails}`;
// 更新
setContactState({...contactState, messages: ["NEW MESSAGES"]});
setContactState({...contactState, mails: ["NEW MAILS"]});
useReducerでの状態管理
・参照:直接stateオブジェクト(contactState)を参照する。
・更新:state更新用関数(dispatch)をコール with 更新するために必要な情報(type/payload)
更新処理自体が行われるのはreducer関数内。type/payloadをINPUTに複雑なロジックを
組みたい場合はこのreducer関数内に書いていく。
import { useState } from "react";

type ContactState = {
  messages: string[];
  mails: string[]
}

// Reducer関数
// ・受け取った引数を元に、stateを更新する。
//  第1引数: 更新前のstate
//  第2引数: dispatch関数の引数経由で送られたオブジェクト
const reducerFunc = (state, action) => {
  switch(action.type) {
    case "FETCH_MESSAGES":
      return {
         ...state,
         messages: action.payload
      };
    case "FETCH_MAILS":
      return {
         ...state,
         mails: action.payload
      };
    default:
      return state;
  }
}
// stateの初期値
const initialContactState = {
  messages: [],
  mails: [],
}

// useReducer()で、参照用のcontactState と 更新用のdispatch関数 を生成。
const [contactState, dispatch] = useReducer(reducerFunc, initialContactState);

// 参照
console.log(`messages: ${contactState.messages}`;
console.log(`mails: ${contactState.mails}`;
// 更新
dispatch({type: "FETCH_MESSAGES", payload: ["NEW MESSAGES"]});
dispatch({type: "FETCH_MAILS", payload: ["NEW MAILS"]});
useStateとuseReducerの使い所
両方とも状態管理をするためのReactフック。それぞれどのタイミングで使うべきか。
| Reactフック | 使い所 |
|---|---|
| useState | ・シンプルな状態を管理するとき(直接値を更新するようなもの) |
| useReducer | ・状態管理するために複雑なロジックが必要になるもの ・Redux,Recoil等を使わずにグローバルな状態管理を実現したい場合 |
Reactでは、グローバルな状態管理を実現するライブラリとしてReduxやRecoilが存在する。
しかし、これらのライブラリを利用せずとも、今まで説明にあげたuseReducerとuseContextの2つのReactフックを組み合わせればグローバルな状態管理を実現することができる。
useContext✖️useReducerを組み合わせて使う。
実現したいこと
① APIで取得したデータを1箇所で管理する。
② 複数のコンポーネントから、①を参照&更新できるようにする。
useContextとuseReducerをどう使う?
・useReducerで「参照用のstateオブジェクト」と「更新用のdispatch関数」を生成する。
・useContextで「参照用のstateオブジェクト」と「更新用のdispatch関数」を各コンポーネントからグローバルに参照できるようにする。
useContextでは状態を参照することしかできなかったが、更新用のdispatch関数を参照させることで、各コンポーネントから「状態の参照&状態の更新」を実現できるようにする。
/* eslint-disable @typescript-eslint/no-unsafe-member-access */
/* eslint-disable @typescript-eslint/no-unsafe-assignment */

import React, { useReducer, createContext } from "react";

// useReducerで生成する「参照用のstate」の型
type DataStore = {
  isLoading: boolean;
  isError: boolean;
  accounts: string[];
  mails: string[];
  messages: string[];
};
// dispatch関数の第2引数に渡す「action」の型
type ReducerAction = {
  type: string;
  payload: any;
};
// createContext()のデフォルト値オブジェクトにasで割り当てる。
type DataStoreContext = {
  state: DataStore;
  // dispatchの引数オブジェクトの型を、React.Dispatch<XXXXX> に定義する。
  dispatch: React.Dispatch<ReducerAction>;
};

// reducer関数:更新用dispatchトリガーで、stateを更新する処理。
// 引数:   1.state 2.action(dispatch関数の引数)
// 戻り値: 更新後の新しいstate
const reducerFunc = (state: DataStore, action: ReducerAction) => {
  // action.typeの値で更新内容を切り替える。
  switch (action.type) {
    case "FETCH_ACCOUNTS":
      return {
        ...state,
        isLoading: true,
        accounts: action.payload,
      };
    case "FETCH_MAILS":
      return {
        ...state,
        isLoading: true,
        mails: action.payload,
      };
    case "FETCH_MESSAGES":
      return {
        ...state,
        isLoading: true,
        messages: action.payload,
      };
    // 更新前のstateをそのまま返す。
    default:
      return state;
  }
};
const initialState: DataStore = {
  isLoading: false,
  isError: false,
  accounts: ["INITIAL ACCOUNT"],
  mails: ["INITIAL_MAIL"],
  messages: ["INITIAL_MESSAGE"],
};

// createContextはReactフックではないため、コンポーネント外で使用可能
// as でオブジェクトの型チェックをクリアする。
export const DataStoreContext = createContext({} as DataStoreContext);

export const DataStoreContextProvider = (props): JSX.Element => {
  // useReducerで生成した「参照用state」と「更新用dispatch」を、contextに渡す。
  const [state, dispatch] = useReducer(reducerFunc, initialState);
  return (
    <DataStoreContext.Provider
      value={{
        state,
        dispatch,
      }}
    >
      {props.children}
    </DataStoreContext.Provider>
  );
};
import { DataStoreContextProvider } from "./context/DataStoreContext";
import { AccountListSection } from "./accounts/AccountListSection";
import { MailListSection } from "./mails/MailListSection";
import { MessageListSection } from "./messages/MessageListSection";

const App = (): JSX.Element => {
  return (
    <div>
      <DataStoreContextProvider>
        <AccountListSection />
        <MailListSection />
        <MessageListSection />
      </DataStoreContextProvider>
    </div>
  );
};

export default App;
import { useContext } from "react";
import { DataStoreContext } from "../context/DataStoreContext";

export const AccountListSection = (): JSX.Element => {
  const { state, dispatch } = useContext(DataStoreContext);
  const getAccounts = () => {
    // useEffect関数内でAPIコール -> dispatchのpayloadに渡す。
    // (動作検証用なので今回はbuttonクリックをトリガーにする)
    dispatch({ type: "FETCH_ACCOUNTS", payload: ["NEW ACCOUNTS"] });
  };
  return (
    <div>
      <h1>AccountListSection</h1>
      <p>{state.accounts.join(", ")}</p>
      <button onClick={getAccounts}>GET NEW ACCOUNTS</button>
    </div>
  );
};
import { useContext } from "react";
import { DataStoreContext } from "../context/DataStoreContext";

export const MailListSection = (): JSX.Element => {
  const { state, dispatch } = useContext(DataStoreContext);

  const getMails = () => {
    // useEffect関数内でAPIコール -> dispatchのpayloadに渡す。
    // (動作検証用なので今回はbuttonクリックをトリガーにする)
    dispatch({ type: "FETCH_MAILS", payload: ["NEW MAILS"] });
  };

  return (
    <div>
      <h1>MailListSection</h1>
      <p>{state.mails.join(", ")}</p>
      <button onClick={getMails}>GET NEW MAIL</button>
    </div>
  );
};
import { useContext } from "react";
import { DataStoreContext } from "../context/DataStoreContext";

export const MessageListSection = (): JSX.Element => {
  const { state, dispatch } = useContext(DataStoreContext);
  const getMessages = () => {
    // useEffect関数内でAPIコール -> dispatchのpayloadに渡す。
    // (動作検証用なので今回はbuttonクリックをトリガーにする)
    dispatch({ type: "FETCH_MESSAGES", payload: ["NEW MESSAGES"] });
  };
  return (
    <div>
      <h1>MessageListSection</h1>
      <p>{state.messages.join(", ")}</p>
      <button onClick={getMessages}>GET NEW MESSAGES</button>
    </div>
  );
};
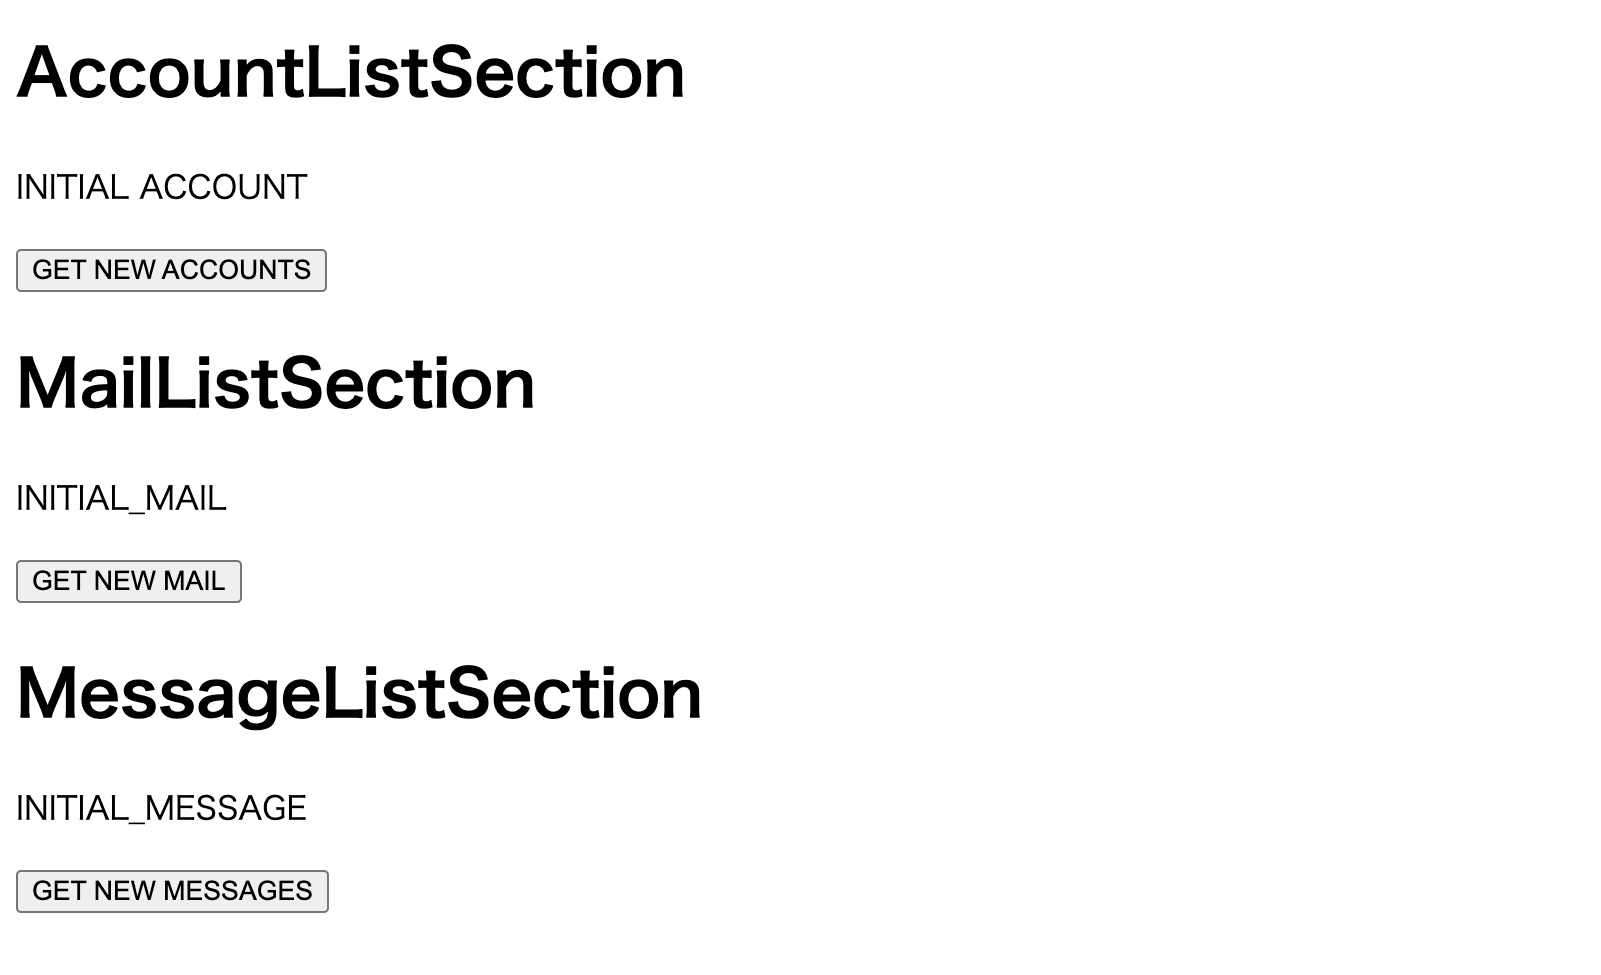
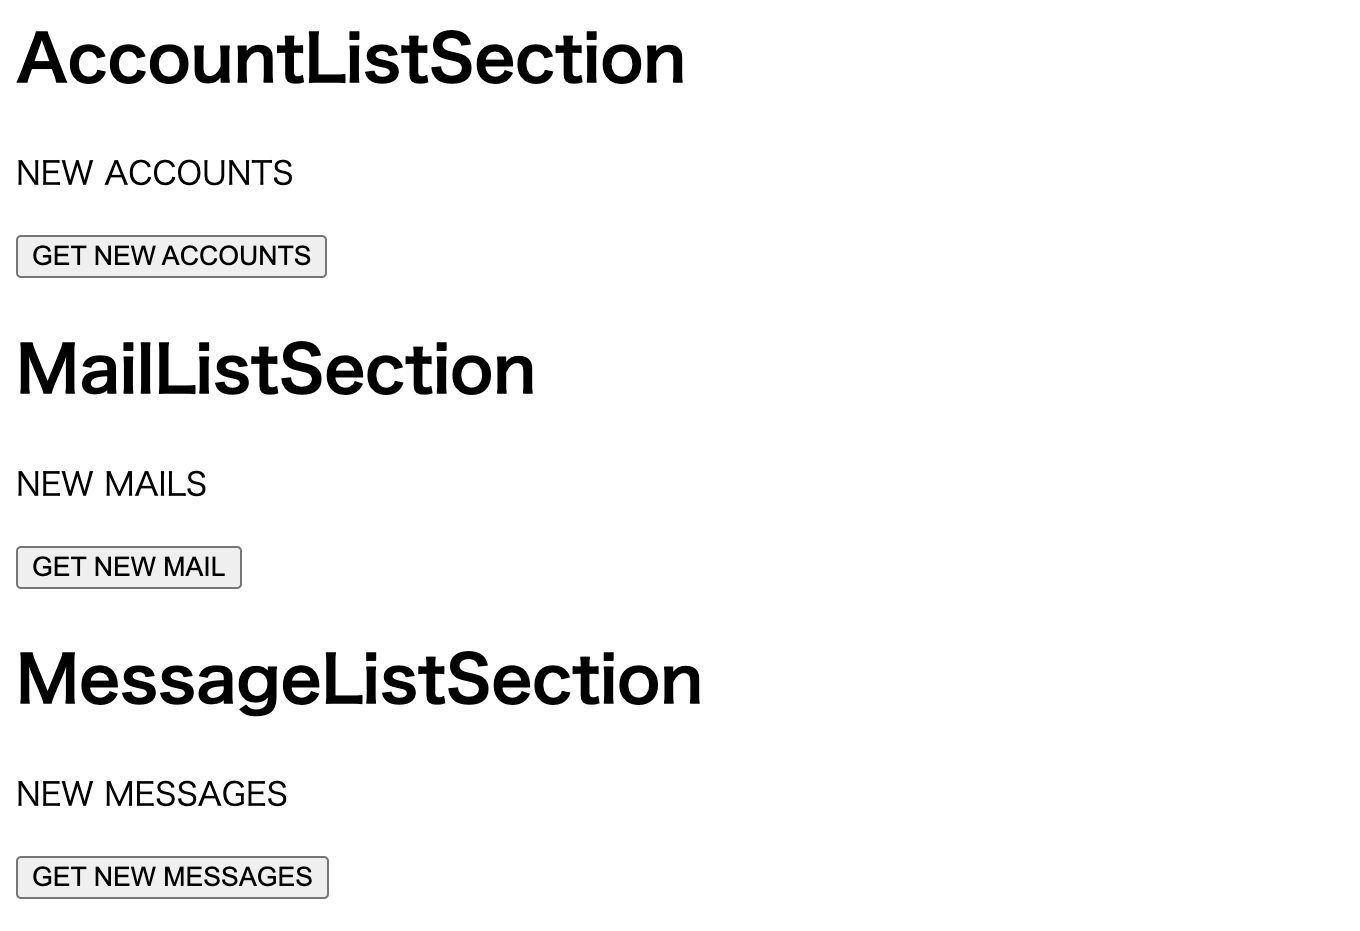
アプリ起動

それぞれのボタンをクリックすると、dispatch関数で状態が更新される。

余談
スプレッド構文(...state)
const initialState = {
  name: "UNKNOWN",
  age: 0,
  birthDate: "2000-01-01",
};

console.log({
  ...initialState,
  name: "山田太郎",
  age: 18,
});

// 出力結果 (nameとageは上書きされ、birthDataはそのまま)
{ name: '山田太郎', age: 18, birthDate: '2000-01-01' }
