背景
下記でFultterをインストールできたので、次のステップとしてサンプルのアプリケーションを立ち上げてみました。
エディタは普段使用しているVSCodeを選択しました。
やったこと
- Flutter拡張機能のインストール
- Flutter拡張機能の設定
- プロジェクトの作成
- シミュレータで動作確認
1. Flutter拡張機能のインストール
VSCode左サイドバーの拡張機能タブから検索し、Flutter拡張機能をインストールします。

2. Flutter拡張機能の設定
左下の歯車マークからSettingsを選択します。

右上のページと矢印のアイコンを選択すると、settings.jsonの編集画面に遷移します。
"dart.flutterSdkPath": "{/path/to/flutter/sdk}"を追加します。
筆者の環境では、"dart.flutterSdkPath": "/Users/cremarch/fvm/default"としました。

3. プロジェクトの作成
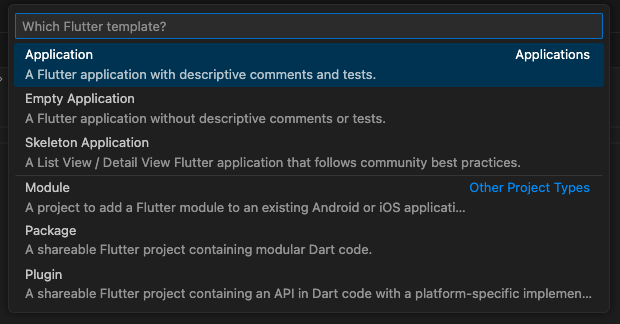
コマンドパレットを開き、Flutter: New Projectを選択します。

Applicationを選択します。
プロジェクトを作成する先のディレクトリを選択します。

プロジェクト名を入力します。

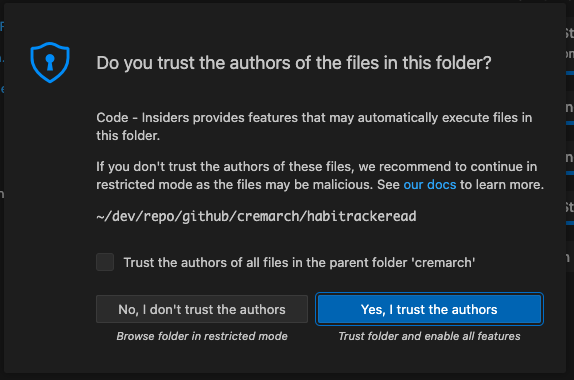
Yes, I trust the authorsを選択します。
雛形が作成されました。

4. シミュレータで動作確認
作成したアプリケーションをシミュレータで起動してみます。
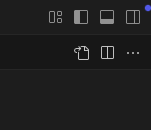
左サイドバーからFlutter拡張機能のタブを選択します。

右下のChrome(web-javascript)を押下して、シミュレータのリストからStart iOS Simulatorを選択します。

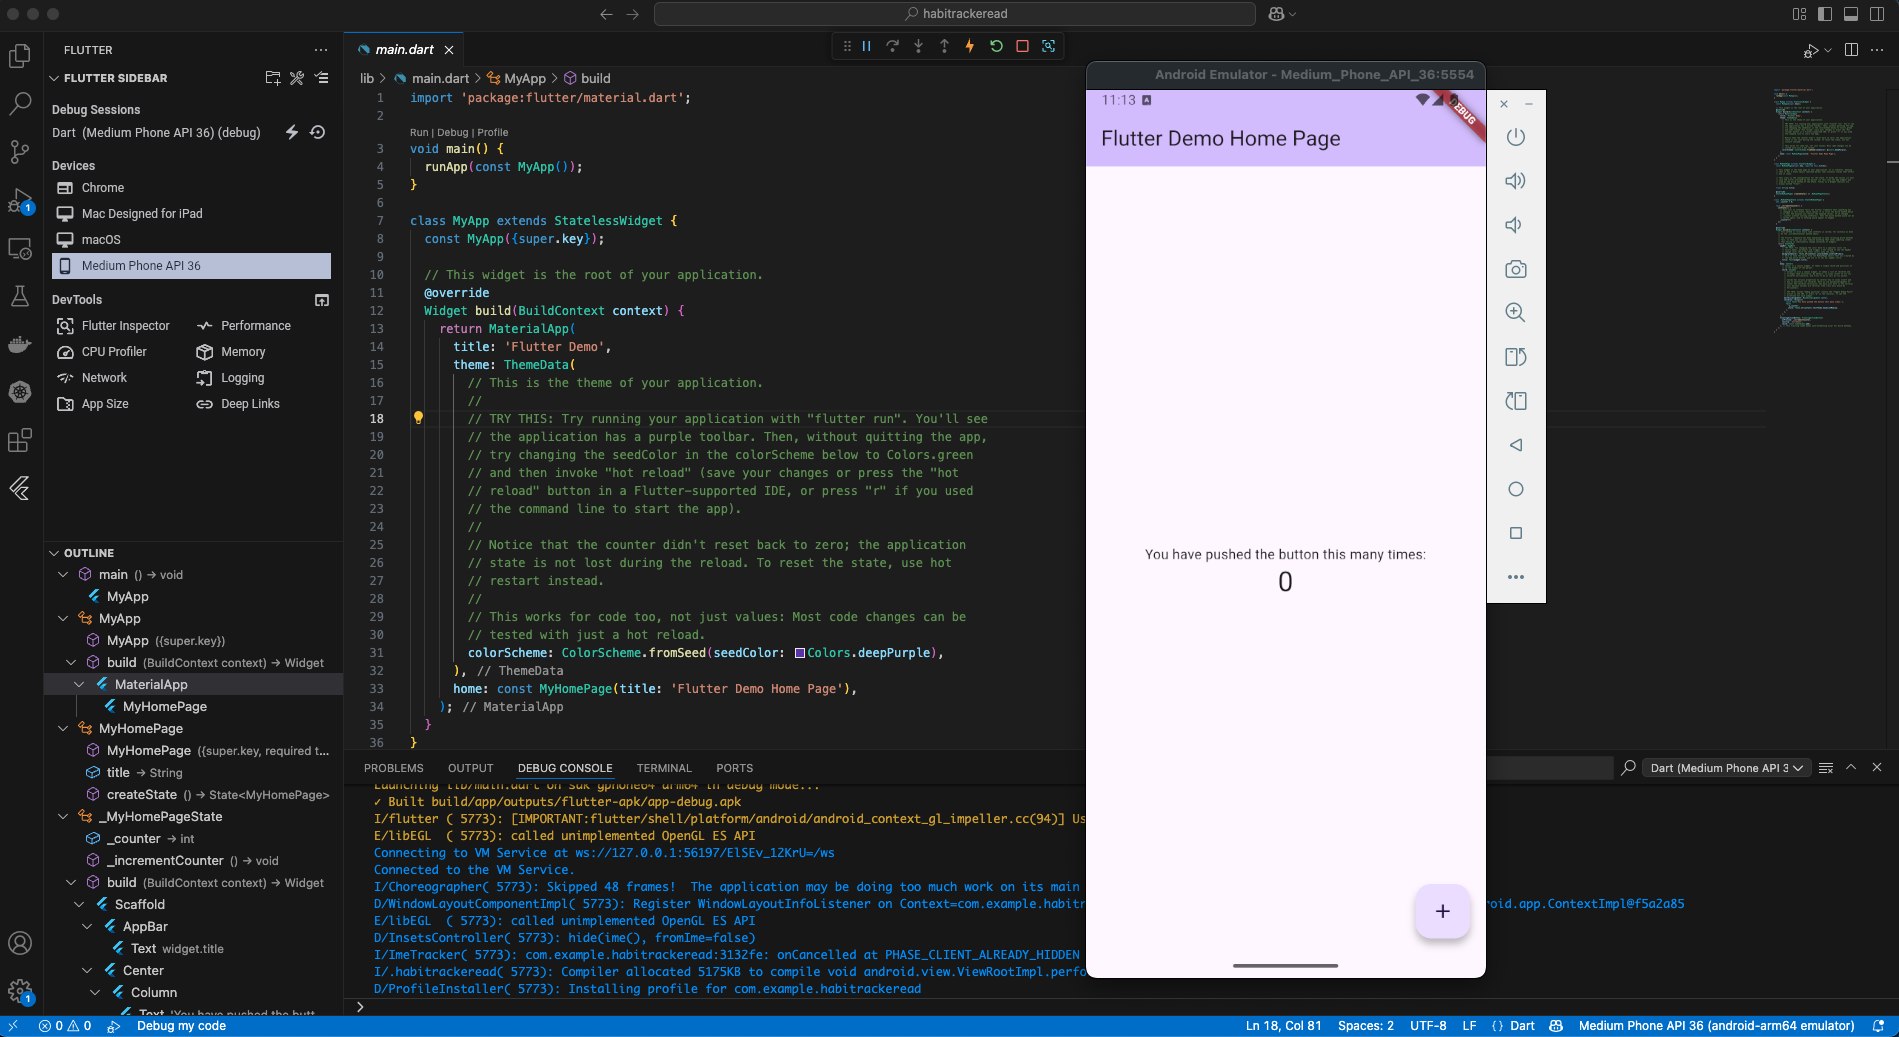
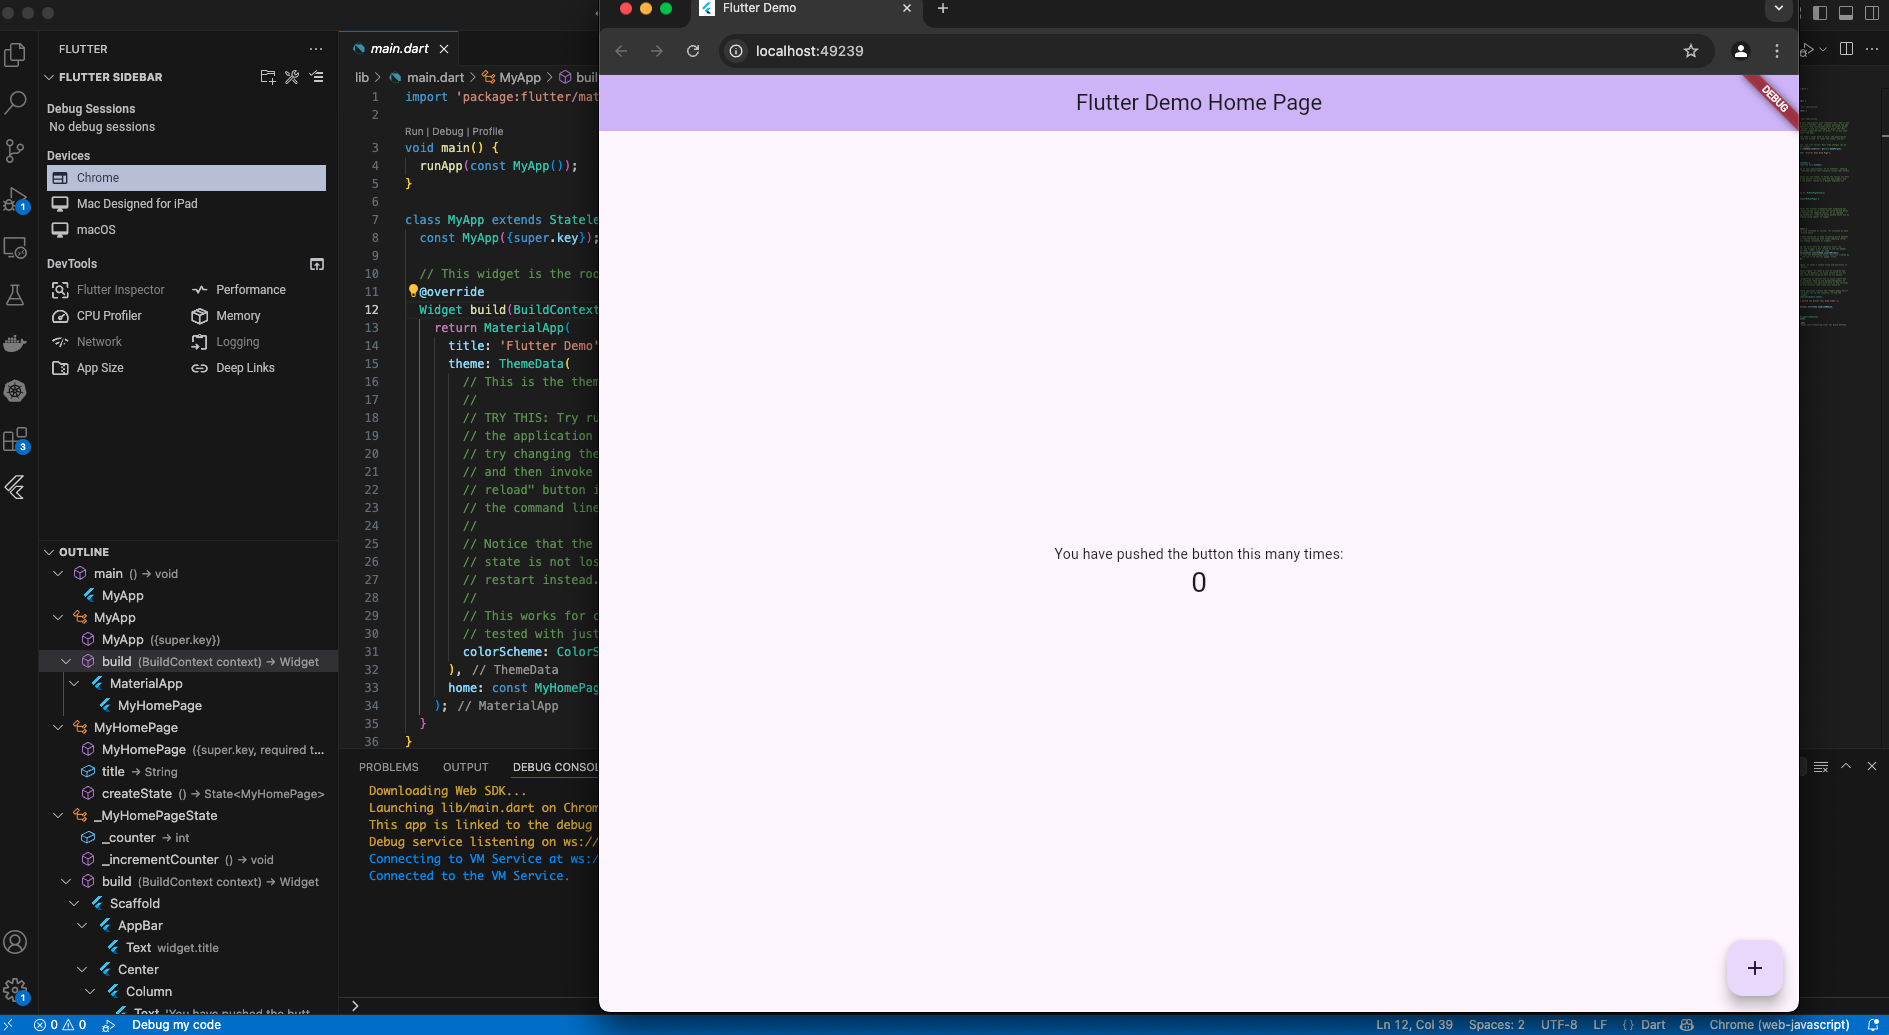
シミュレータが起動しました。
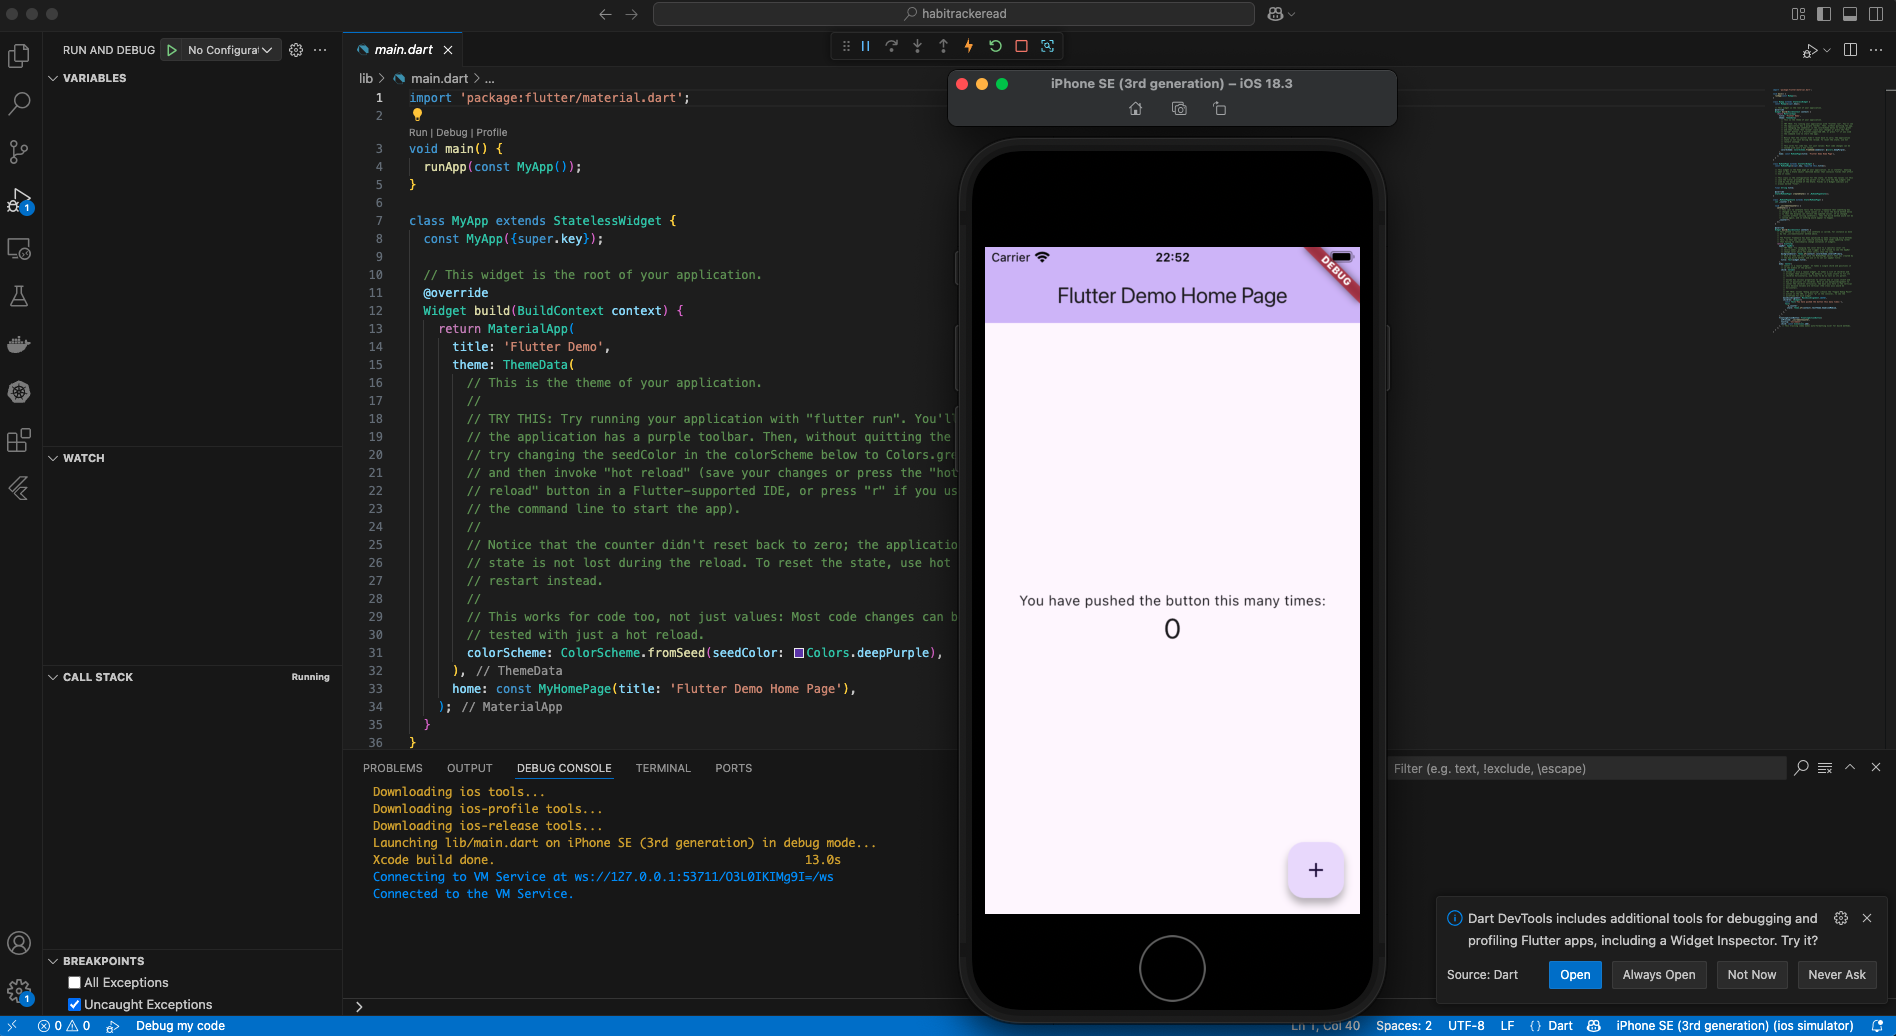
この状態で右上のデバッグ開始ボタンを押下します。

アプリケーションが起動しました🎉
Appendix
Androidのシミュレータで動作確認
mac OSのシミュレータで動作確認

webのシミュレータで動作確認
以上で、サンプルアプリケーションの動作確認ができました。
参考文献