はじめに
SimulIDE
Arduinoと電子回路をPC上でシミュレーションできるツールです。
https://sourceforge.net/projects/simulide/
GAMEBUINO
Arduinoで作られた携帯用ゲーム機です。
http://legacy.gamebuino.com/wiki/index.php?title=Getting_started
SimulIDEを使ったデモとして、SimulIDE上でGAMEBUINOを動かしてみます。![]()
準備するもの
ハードウエア
シミュレータ上での実行のため、部品購入や電子工作は不要です。![]()
ソフトウエア
-
SimulIDE
WindowsとLinuxに対応しています。以下よりダウンロードできます。(2019.8時点のバージョン:SimulIDE_0.3.10)
https://sourceforge.net/projects/simulide/ -
Arduino IDE
https://www.arduino.cc/en/Main/software -
GAMUBUINO
以下のサイトにあるゲームの中から、BLOCKSBUINOというゲームを試してみます。
http://legacy.gamebuino.com/wiki/index.php?title=Games

実機では、SDファイルにhexファイルを入れてソフトを入れ替えできるようです。
SimulIDEでSDカードをエミュレートできないため、以下のソースコードをダウンロードし、ビルドを行います。
https://github.com/frthery/BlocksBuino
SimulIDEの編集
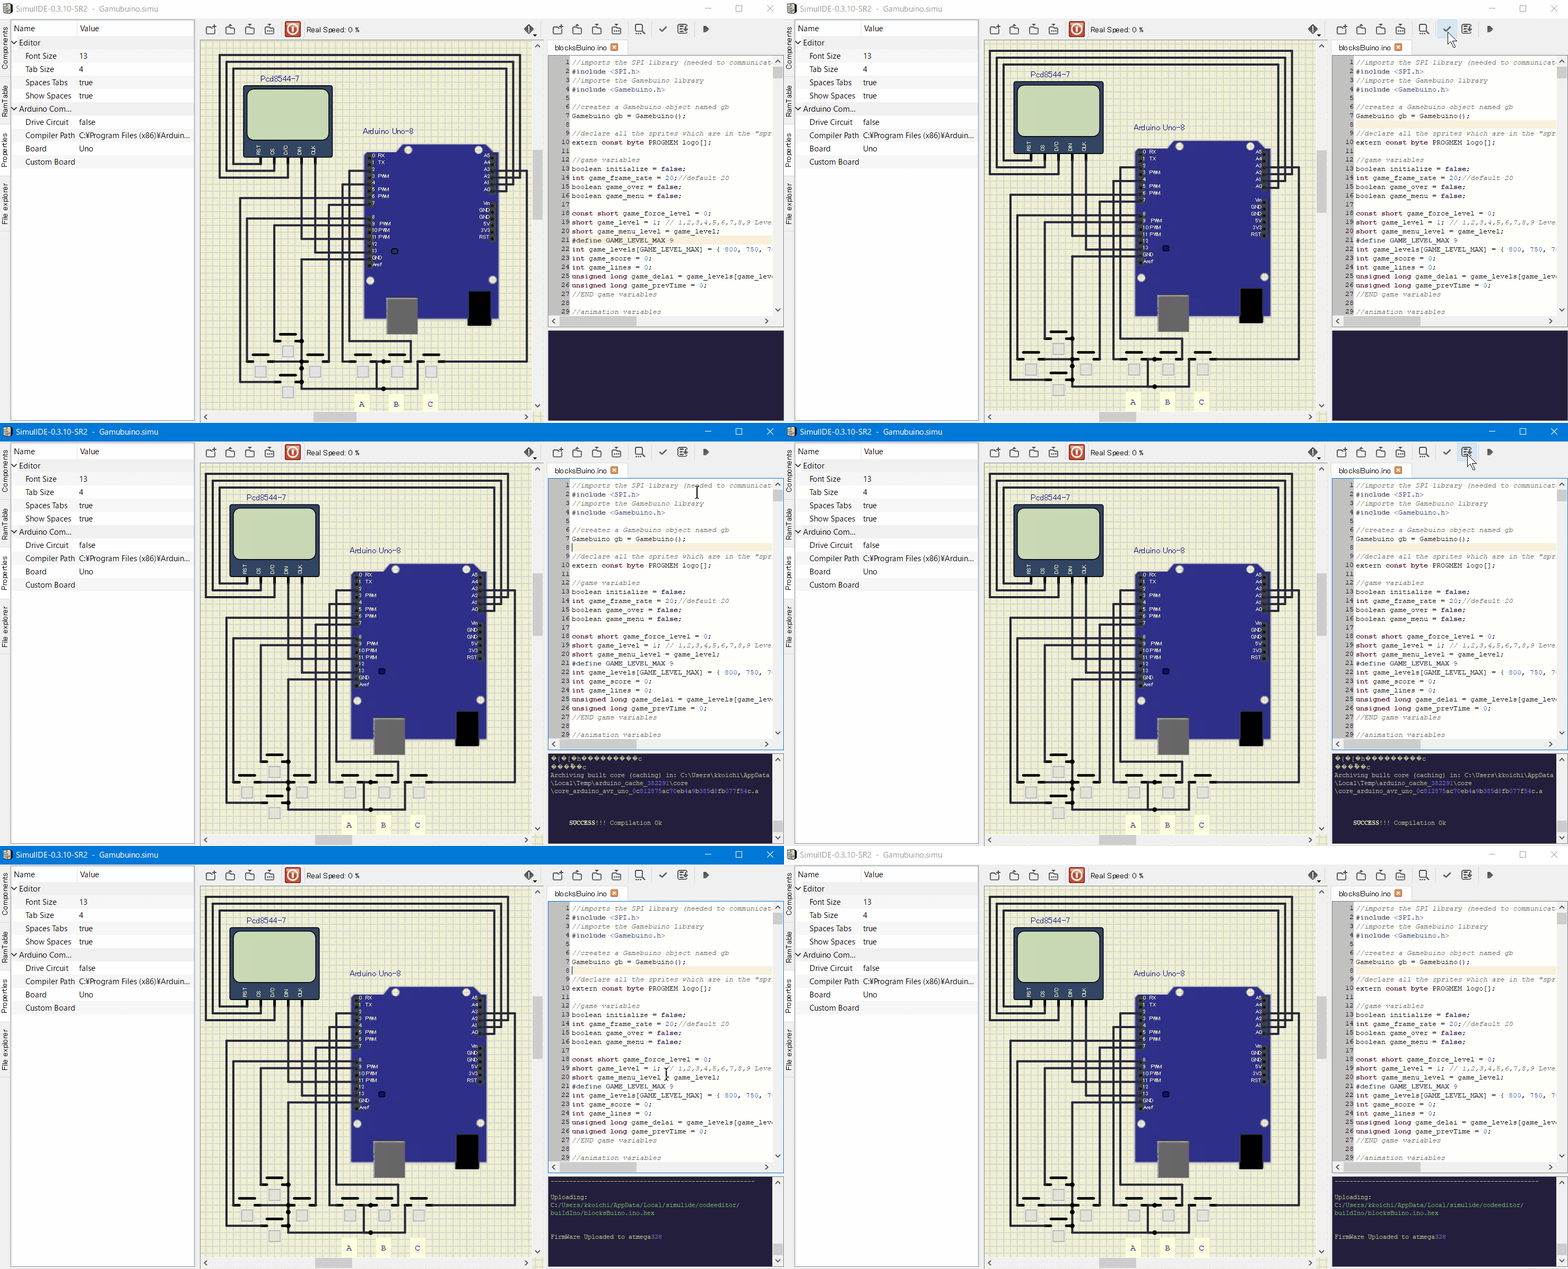
SimulIDEでArduino Unoとボタン、液晶(PCD8544)を配置し、結線します。
| Button | Arduino pin |
|---|---|
| Right Button | D7 |
| Left Button | D8 |
| Down Button | D6 |
| Up Button | D9 |
| A Button | D4 |
| B Button | D2 |
| C Button | A3 |
| PCD8544 | Arduino pin |
|---|---|
| RST | A0 |
| SC | A1 |
| DC | A2 |
| DIN | D11 |
| CLK | D13 |
ソースコードのビルド
-
事前にArduino IDEより、BlocksBuinoをビルドするのに必要なライブラリ(Gamebuino Classic)をインクルードしておきます。
参考 http://legacy.gamebuino.com/wiki/index.php?title=Getting_started#Software_setup -
SimulIDEより、BlocksBuino.inoを開きます。
-
SimulIDEのCompiler PathをArduino IDEのインストール先に設定しておきます。
-
SimulIDEのコンパイルボタンを押し、ビルドします。
仮想Arduinoの実行
- SimulIDEのPower Circuitボタンを押しシミュレーションを開始します。
- Aボタンでゲームがスタートします。

※液晶画面の表示にチラツキが発生してしまうようです。![]()
シミュレータのCircuit設定 NoLinStepを調整したところ、少し改善しました。![]()
さいごに
- GAMEBUINOは、液晶表示をSPI通信で行っており、動きの早いゲームなど、リアルタイム性を完全再現するのは難しいですが、Arduinoエミュレータでも一応動作しました。

- SimulIDEは、シリアル通信もシミュレーションすることができます。(デバッグに便利)
- SimulIDEは、Aruduinoエミュレータの一つで、まだベータ版ですが、開発、教育などいろいろな場面で使えそうです。


