NuxtTypeScript公式サイトのセットアップにしたがって進めます。
こちらの記事のnodeのバージョンはv11.9.0です。
https://typescript.nuxtjs.org/ja/guide/setup.html
1.インストール実行
npm initを実行しプロジェクトを作成。
yarn add --dev @nuxt/typescript-build
or
npm install --save-dev @nuxt/typescript-build
上記の実行後 git status で確認すると
node_modules/
package-lock.json
の差分が発生します。
2.gitで除外するファイルを設定する
vim .gitignore でgit管理から除外するファイルを作成します。

作成したファイルに除外する設定を記載する
/node_modules
/dist
.nuxt/
.nuxt/ はビルド差分の管理が大変なので無視しています。
3.nuxt.config.jsを作成
vim nuxt.config.js でnuxt.config.jsを作成する。
作成後、設定を追記。
export default {
  buildModules: ['@nuxt/typescript-build']
}
4.tsconfig.jsonを作成
vim tsconfig.json でtsconfig.jsonを作成する。
作成後、設定を追記。
{
  "compilerOptions": {
    "target": "es2018",
    "module": "esnext",
    "moduleResolution": "node",
    "lib": [
      "esnext",
      "esnext.asynciterable",
      "dom"
    ],
    "esModuleInterop": true,
    "allowJs": true,
    "sourceMap": true,
    "strict": true,
    "noEmit": true,
    "baseUrl": ".",
    "paths": {
      "~/*": [
        "./*"
      ],
      "@/*": [
        "./*"
      ]
    },
    "types": [
      "@types/node",
      "@nuxt/types"
    ]
  },
  "exclude": [
    "node_modules"
  ]
}
5. Vueを使用するためのファイルを作成
vim vue-shim.d.ts
初期設定を記載する。
declare module "*.vue" {
  import Vue from 'vue'
  export default Vue
}
インストールと設定ができたのでコミットする
自分はここまで完了したら作成したリポジトリにコミットしました。
gitignoreに除外ファイルを設定しているので git statusすると下記のような差分になります。
git status で確認。
.gitignore
nuxt.config.js
package-lock.json
package.json
tsconfig.json
vue-shim.d.ts
こちらで問題ないので一旦コミット
git add --all
git commit -m 'nuxt+typescriptで環境構築'
6.TypeScriptに関する設定追加
typeCheckについてはこちら
https://typescript.nuxtjs.org/ja/guide/setup.html#typecheck
ignoreNotFoundWarningsについてはこちら
https://typescript.nuxtjs.org/ja/guide/setup.html#ignoreNotFoundWarnings
loaderについてはこちら
https://typescript.nuxtjs.org/ja/guide/setup.html#loaders
これらを踏まえてnuxt.config.jsに追記していきます。
export default {
  buildModules: [
    ['@nuxt/typescript-build', {
      typeCheck: true,
      ignoreNotFoundWarnings: true
    }]
  ],
  loaders: {
    ts: {
      silent: true
    },
    tsx: {
      silent: true
    }
  }
}
ここの差分は僕のGithubに置いておきます。
Typescriptの設定を追記
7.Runtimeの設定
まずはインストールを実行
https://typescript.nuxtjs.org/ja/guide/runtime.html
npm install @nuxt/typescript-runtime
その後package.jsonに
scriptdependenciesdependencies
を追記していく。
vim package.json
"dependencies": {
    "@nuxt/typescript-runtime": "latest",
    "nuxt": "latest"
  },
  "devDependencies": {
    "@nuxt/typescript-build": "latest"
  },
  "scripts": {
    "dev": "nuxt-ts",
    "build": "nuxt-ts build",
    "generate": "nuxt-ts generate",
    "start": "nuxt-ts start"
  },
上記の設定の記載が完了したらnpm iでインストールしてくる。
ログはこんなにnuxtのロゴが表示されます。

その後、ビルド、スタートと順に実行。
npm run build
npm run start
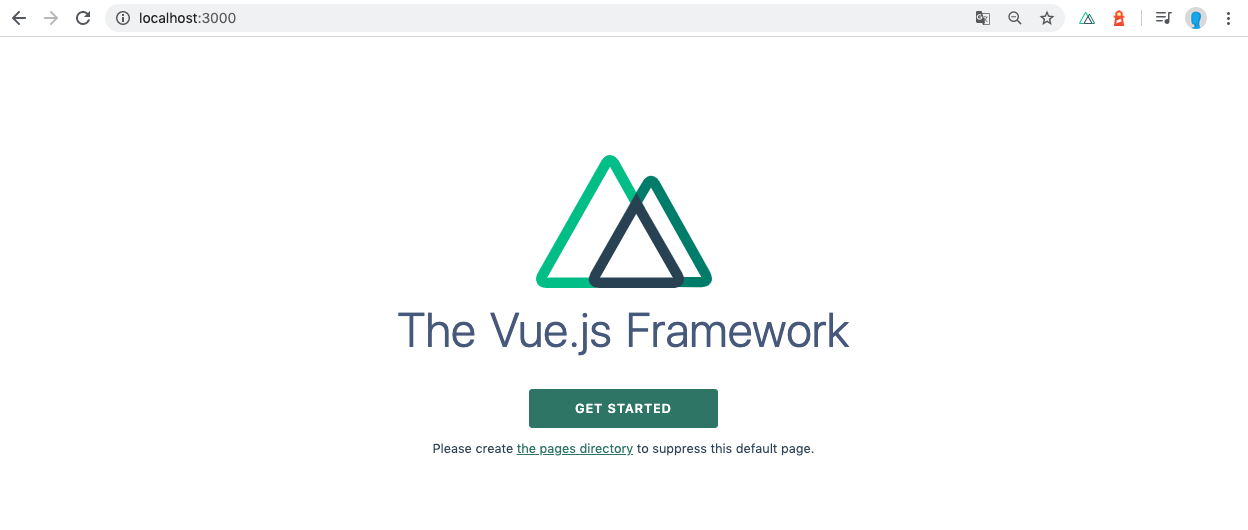
特に設定していなければ http://localhost:3000/ にアクセス
ここの作業のコミット
runtimeの設定
8.Lint設定
インストール
こちらをどちらも実行する
npm i -D @nuxtjs/eslint-config-typescript
npm i eslint --save-dev
ファイルを作成し設定を記載
vim .eslintrc.js
module.exports = {
  extends: [
    '@nuxtjs/eslint-config-typescript'
  ]
}
package.jsonのscriptにlintの実行を行うための記載
"lint": "eslint --ext .ts,.js,.vue ."
npm run lint で実行する
  vue-shim.d.ts
  1:16  error  Strings must use singlequote  quotes
エラーを吐いてくれました。
ここの作業のコミット
Lintを追加
環境構築完了
ここまでくれば環境構築は完了です。
お疲れ様でした!

