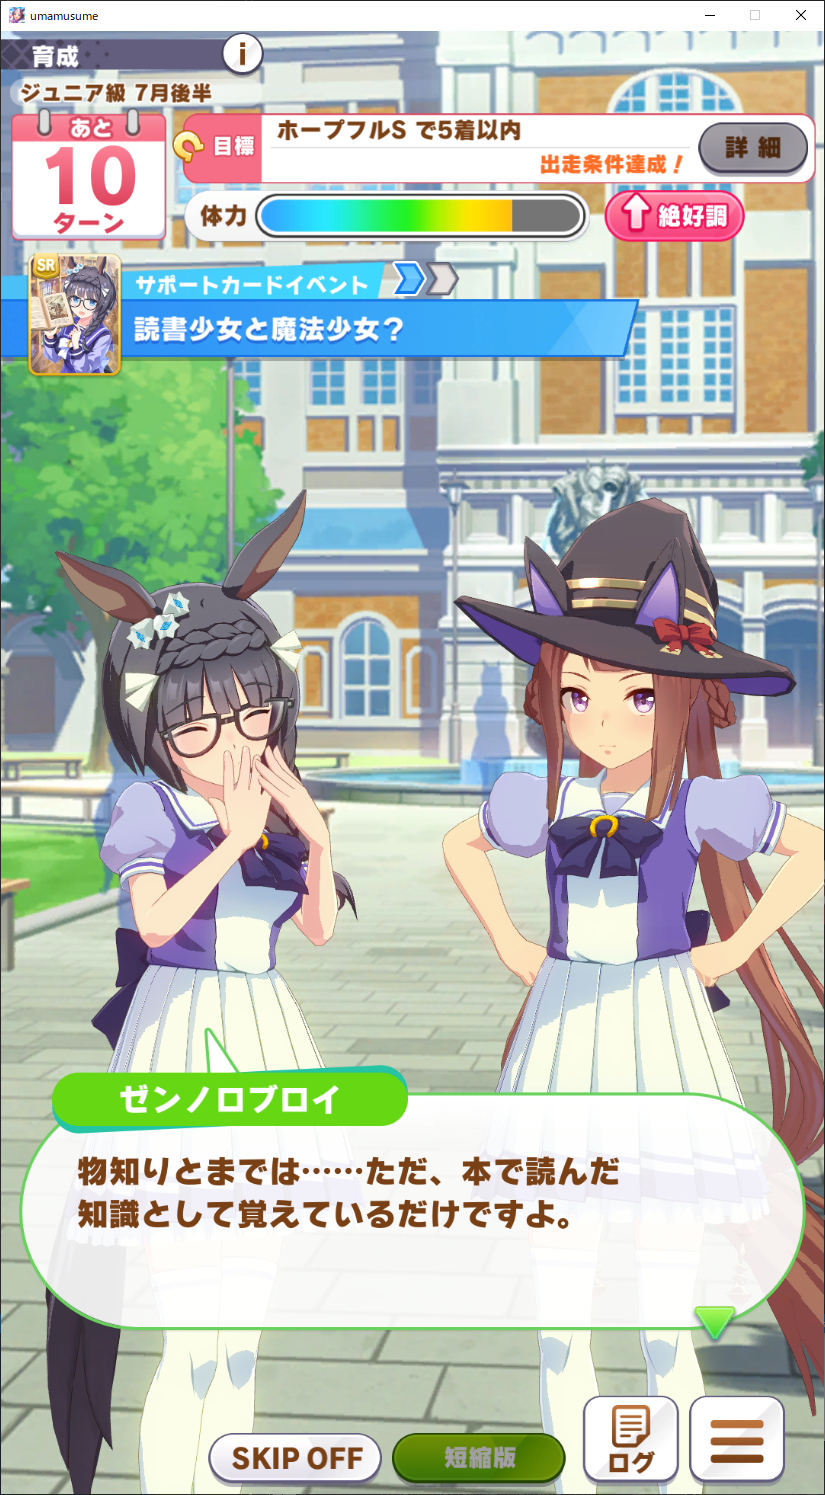
ウマ娘は無課金勢で楽々URA優勝というわけにはいかないのでステータスとレースの結果の記録を取って試行錯誤しながらやってるのですが、
難度も周回してるといちいち数字とレース名を打ち込むのがめんどくさくなってきました

なのでPythonでキャプチャ画像から文字認識して入力を支援するスクリプトを作成しました
自分はVisual Studio Codeを利用してますが普通のPythonで動くと思うのでお好きな環境でやってください
Visual Studio Code を使用して Python 初心者向けの開発環境をセットアップする - Learn | Microsoft Docs
https://docs.microsoft.com/ja-jp/learn/modules/python-install-vscode/
画像認識の下準備##
画像認識の精度を上げるためにキャプチャ画像を下準備します
具体的にはレース前のキャプチャを加工して不必要なところをそぎ落とします

↓

まず画像処理ライブラリのpillowをインストールします
[Python]画像処理ライブラリPillow(PIL)をインストールする | CodeLab
https://codelab.website/python-pillow-install/
pip install pillow
# キャプチャを取得
img_org = Image.open("./umaPc.jpg")

# レース名とステータス部分を切り出す
img_race = img_org.crop(
    (img_org.width * 0.2, img_org.height * 0.03, img_org.width * 0.85, img_org.height * 0.09))

img_stats = img_org.crop((img_org.width * 0.765, img_org.height *
                         0.18, img_org.width * 0.93, img_org.height * 0.35))

# 二つを合体させてJPGで保存する
img_dest = Image.new(
    'RGB', (img_race.width, img_race.height + img_stats.height))
img_dest.paste(img_stats, (0, 0))
img_dest.paste(img_race, (0, img_stats.height))
img_dest.save('.\\dest.jpg')
cropする領域はPC版だとウィンドウの大きさにより縦横比が変わる(タイトルバーの高さが変わらないため)ため多少大きさに余裕を持たせています
幅を合わせるとよくわかりますね
 

Google Cloud Vision APIで画像認識する##
下準備した画像をGoogle Cloud Vision APIに投げて画像認識します
最初は検索したらすぐ出てくるTesseractを使ったのですが太いフォントのせいかうまく行きませんでした・・・
やり方はほぼここからのコピペです
Google Cloud Vision APIで光学式文字認識 - Qiita
https://qiita.com/AltGuNi/items/6f22f1441733da08fdc1
Cloud Vision APIの使い方まとめ (サンプルコード付き)
https://syncer.jp/cloud-vision-api
注意 Google Cloud Vision APIは一か月に1000回以上使うと課金が発生します
import requests
import base64
import json
import pyperclip

GOOGLE_CLOUD_VISION_API_URL = 'https://vision.googleapis.com/v1/images:annotate?key='
API_KEY = ''  # 取得したAPIキーを入力してください。

# APIを呼び、認識結果をjson型で返す


def request_cloud_vison_api(image_base64):
    api_url = GOOGLE_CLOUD_VISION_API_URL + API_KEY
    req_body = json.dumps({
        'requests': [{
            'image': {
                # jsonに変換するためにstring型に変換する
                'content': image_base64.decode('utf-8')
            },
            'features': [{
                'type': 'TEXT_DETECTION',  # ここを変更することで分析内容を変更できる
                'maxResults': 10,
            }]
        }]
    })
    res = requests.post(api_url, data=req_body)
    return res.json()


def img_to_base64(filepath):
    with open(filepath, 'rb') as img:
        img_byte = img.read()
    return base64.b64encode(img_byte)

# 加工したキャプチャをbase64エンコードする
img_base64 = img_to_base64('./dest.jpg')
result = request_cloud_vison_api(img_base64)

# 結果のJSONを取得
text_r = result["responses"][0]["fullTextAnnotation"]["text"]

# 結果をタブで区切って表示
text_dest = ''
i = 0

for c in text_r:
    if c == '\n':
        text_dest += '\t'
        i += 1
        if i == 5:
            text_dest += '\t'
    else:
        text_dest += c

print(text_dest)

# 結果をクリップボードに入れる
pyperclip.copy(text_dest)
キャプチャを保存してからPythonスクリプトを実行すると結果がクリップボードに入るのでスプレッドシートにCtrl+Vするだけで記録が取れるようになりました(゚∀゚)
