最新のDockerから Kubernetesが最初からインストールされるようになったので、色々とKubernetes (以下k8s)の記事は出ているが、自分のメモ用と社内共有用にメモがわりに自分の手順を載せていきます。
できるだけ細かく書きますが、もっとこんな風に書いたらいいよというのがあれば指摘いただければ幸いです。
なお今回の環境は以下とします。
OS: MacOS High Sierra (10.13.4)
Docker: 18.06.1-ce-mac73
Dockerのインストール
以下より、DockerのCEをダウンロードしましょう。
今回の対象はマックなので、Docker Community Edition for Macを選択しましょう。
https://www.docker.com/products/docker-desktop
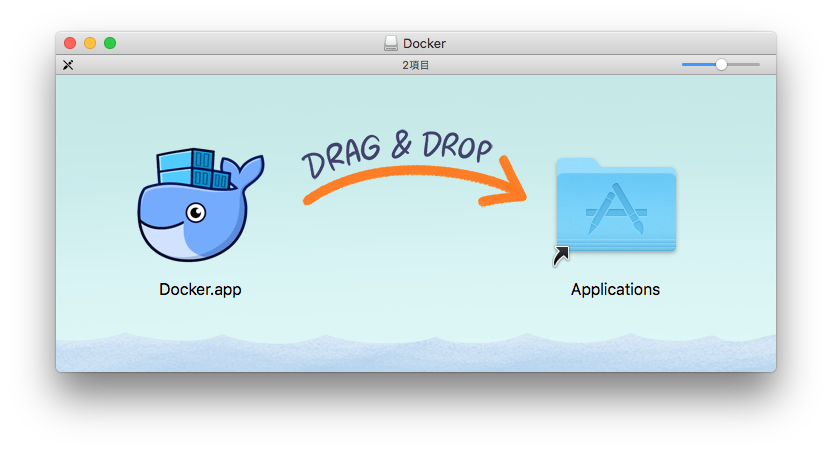
ドラッグ&ドロップでサクッとApplicationsに入れて、Applicationフォルダから開いちゃいましょう。
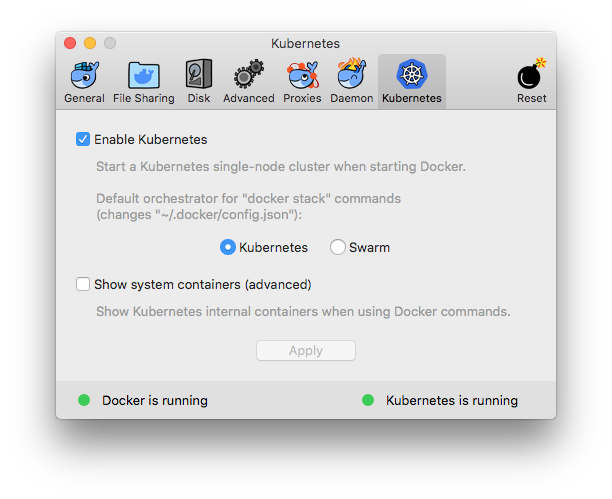
Dockerを起動したら、環境設定を開き以下の項目をKubernetesをONにし、Apply ボタンを押します。
デフォルトは、SwarmになってますがKubernetesを選択。
ここではSwarmについては触れません。
なお、Kubernetesの設定については以下を参考にしています。
https://qiita.com/flyhigh/items/668a21da483dbf1ab145
有効にした後は、数分待てばいいらしいのでそれまで待ちます。
左下のインジケーターが緑になり、Kubernetes is running と出たら完了。
kubernetes-dashboard を 動かす。
git hubに マニュフェストファイルがあるので、それを使ってローカルのk8sにデプロイします。
https://github.com/kubernetes/dashboard
$ kubectl apply -f https://raw.githubusercontent.com/kubernetes/dashboard/master/src/deploy/recommended/kubernetes-dashboard.yaml
*ここの -f オプションは、自分で作った yamlファイルも指定できます。今回はそのまま公式サイトに書いてある物を使ってます。また、これらのプログラムはダウンロードが完了するまで稼働しません。
kubectl get po --all-namespaces
このコマンドで、現在のポッドの状況を確認する必要があります。
実行すると以下のようなリストが出てくるので、STATUSがRunningになるまで待ちます。
NAMESPACE     NAME                                         READY     STATUS              RESTARTS   AGE
docker        compose-7447646cf5-d7gw7                     1/1       Running             0          4d
docker        compose-api-6fbc44c575-q5xzt                 1/1       Running             0          4d
kube-system   etcd-docker-for-desktop                      1/1       Running             0          4d
kube-system   kube-apiserver-docker-for-desktop            1/1       Running             0          4d
kube-system   kube-controller-manager-docker-for-desktop   1/1       Running             0          4d
kube-system   kube-dns-86f4d74b45-rmwn5                    3/3       Running             0          4d
kube-system   kube-proxy-fxzbk                             1/1       Running             0          4d
kube-system   kube-scheduler-docker-for-desktop            1/1       Running             0          4d
kube-system   kubernetes-dashboard-7b9c7bc8c9-txxkb        0/1       ContainerCreating             1          2d
Runningになったら以下のコマンドを実行し、dashboardを起動します。これを実行することで、
$ kubectl proxy
Starting to serve on 127.0.0.1:8001
これで、dashboardにアクセスできるようになっているので、
http://localhost:8001/api/v1/namespaces/kube-system/services/https:kubernetes-dashboard:/proxy/` を開いて dashboardを確認しましょう。
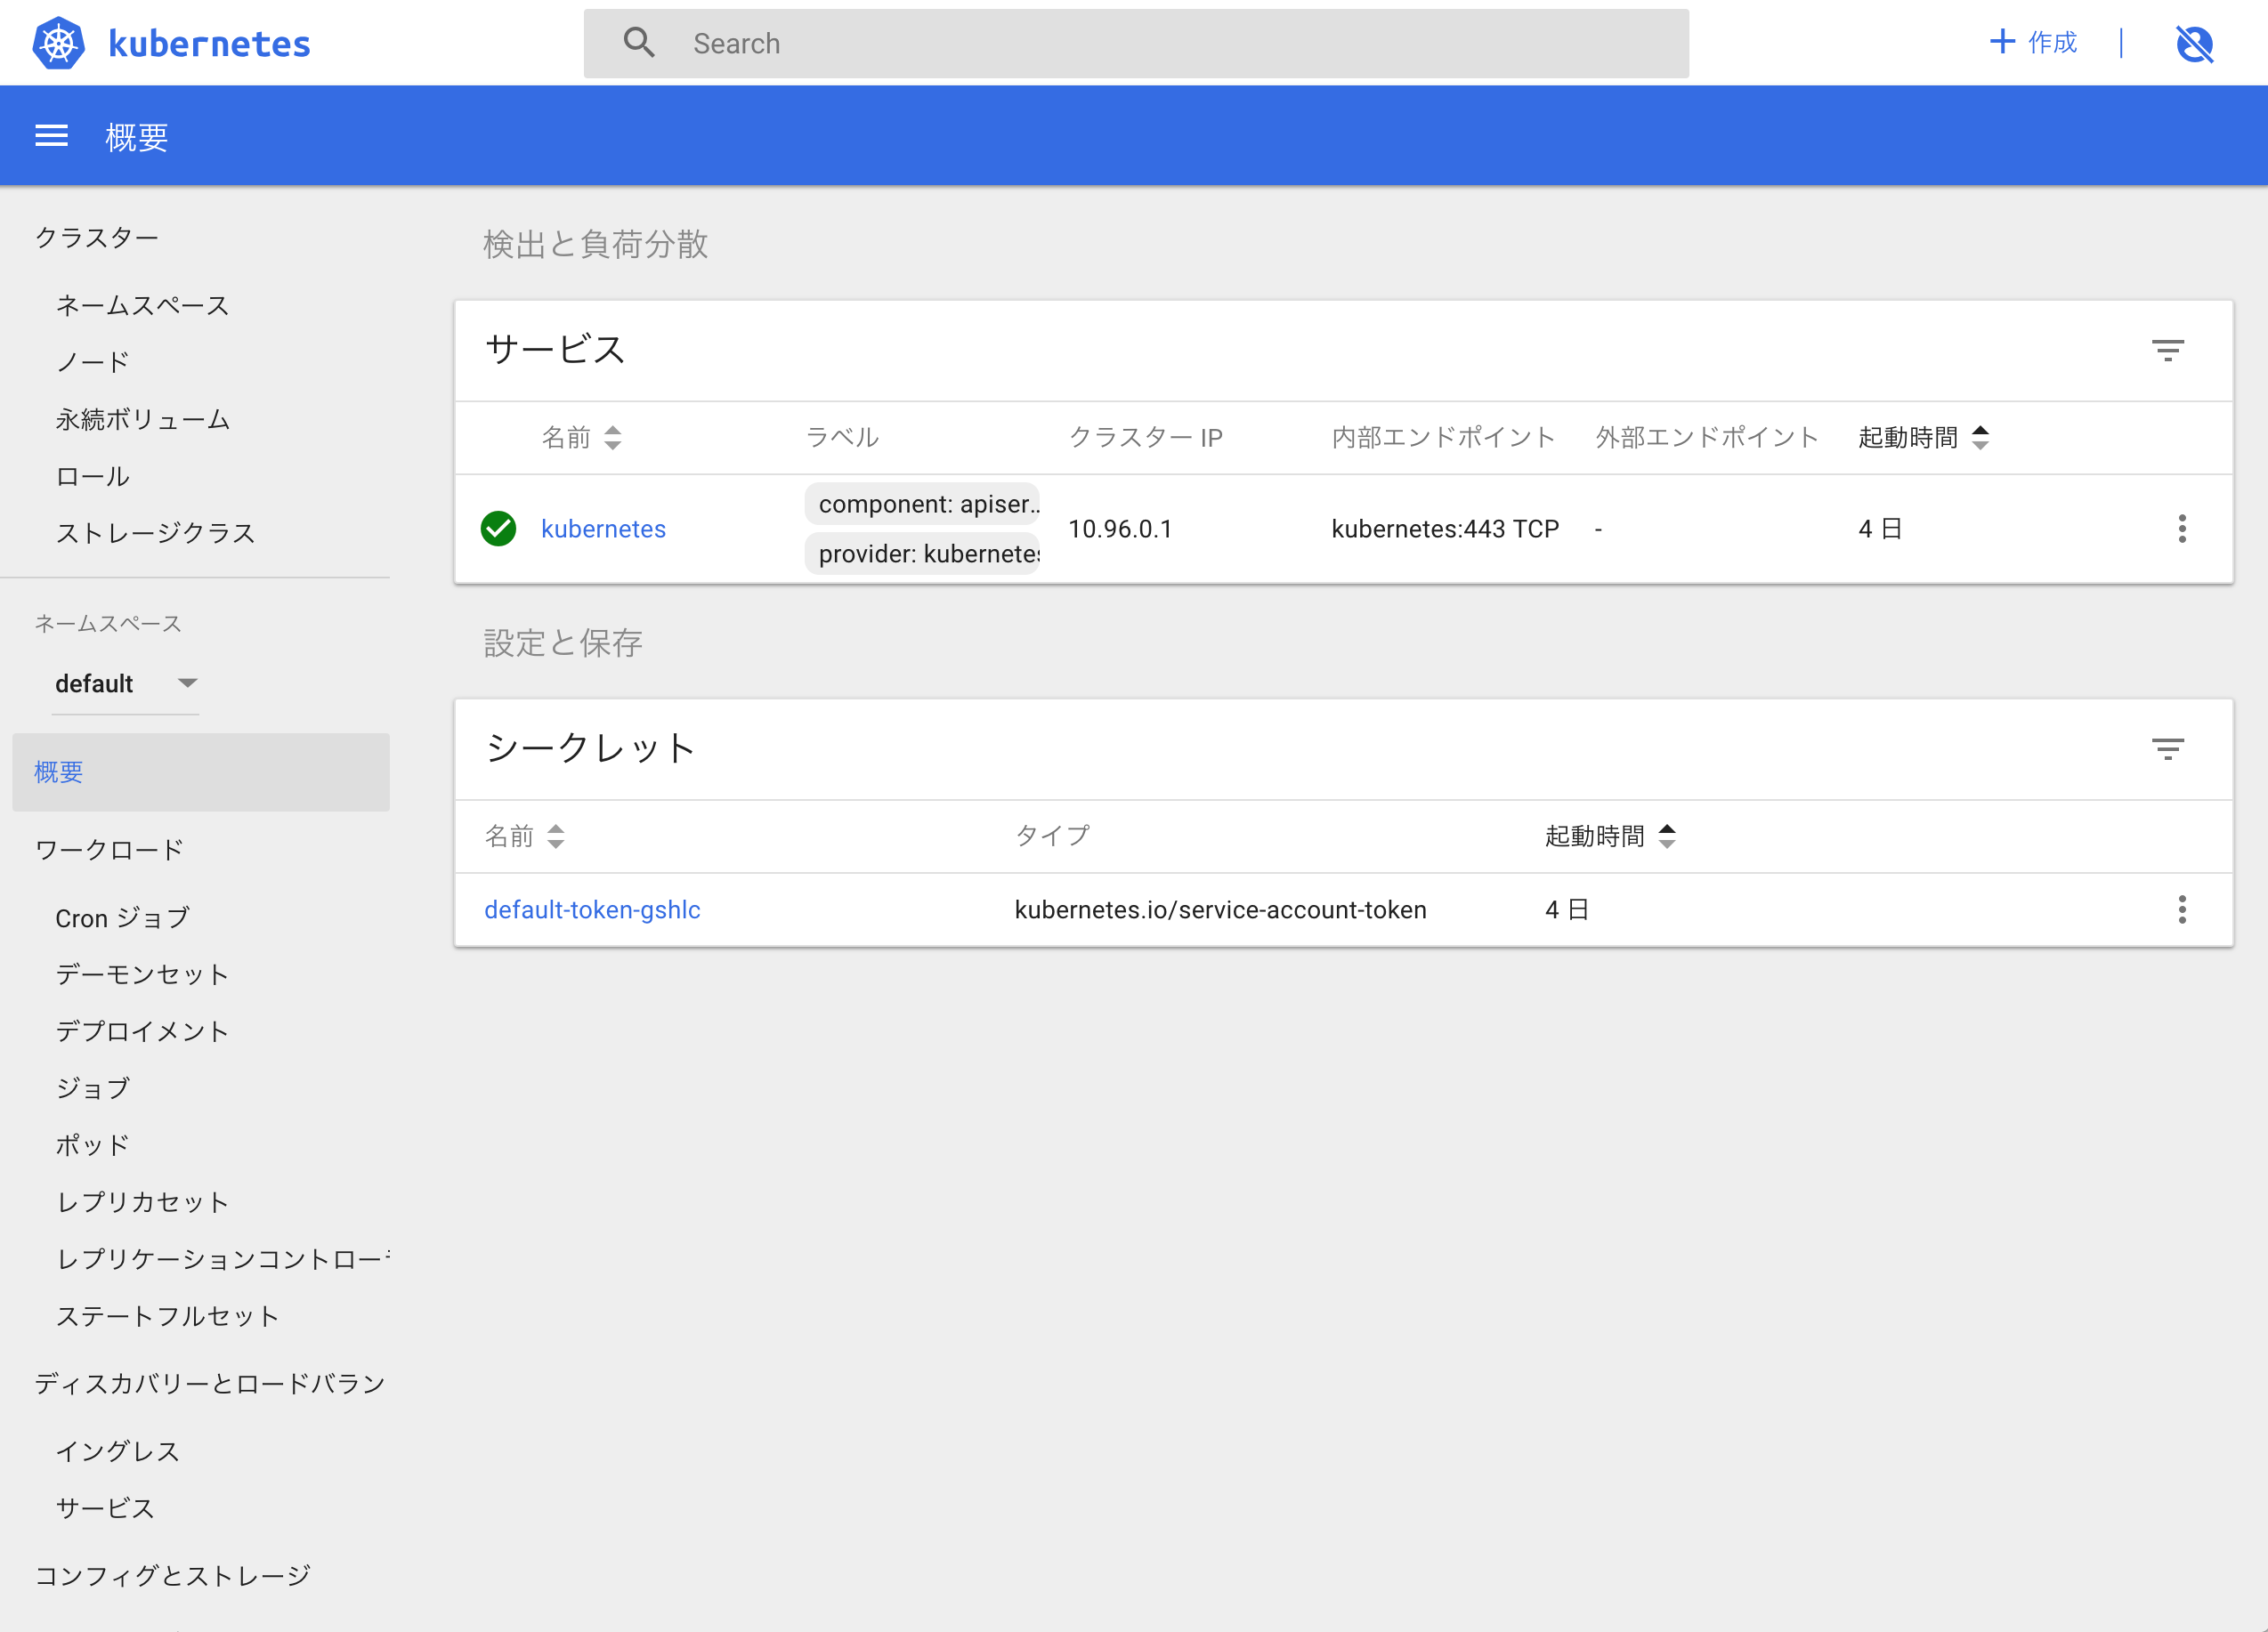
無事開けば dashboardのデプロイは完了です。
jupyter note book をデプロイ
今回は、こちらのリンクを参照しました。
まずは Namespaceを作成
kubectl create ns jupyter
次に、好きなディレクトリに jupyter.yaml の名前でファイルを作成。
apiVersion: apps/v1
kind: Deployment
metadata:
  name: jupyter-notebook
  labels:
    app: jupyter-notebook
spec:
  replicas: 1
  selector:
    matchLabels:
      app: jupyter-notebook
  template:
    metadata:
      labels:
        app: jupyter-notebook
    spec:
      containers:
      - name: minimal-notebook
        image: jupyter/minimal-notebook:latest
        ports:
        - containerPort: 8888
このマニュフェストファイルを元にデプロイを開始します。下記のコマンドを実行すると1GB近いファイルのダウンロードが開始されるため、完了まで割と時間がかかります。
kubectl apply -f jupyter.yaml --namespace jupyter
jupyterが稼働しているかどうかは、下記のコマンドで確認できます。
なお、(xxxxxxxx-xxxxx)部分は環境によって異なります。
kubectl get po --namespace jupyter
NAME                              READY     STATUS    RESTARTS   AGE
jupyter-notebook-xxxxxxxx-xxxxx   1/1       Running   0          22m
動作しているのを確認できたら、UIをブラウザで開くためのトークンをコンテナのログから取得する必要があります。
kubectl logs -n jupyter jupyter-notebook-xxxxxxxx-xxxxx
Container must be run with group "root" to update passwd file
Executing the command: jupyter notebook
[I 11:05:16.966 NotebookApp] Writing notebook server cookie secret to /home/jovyan/.local/share/jupyter/runtime/notebook_cookie_secret
[I 11:05:17.457 NotebookApp] JupyterLab extension loaded from /opt/conda/lib/python3.6/site-packages/jupyterlab
[I 11:05:17.457 NotebookApp] JupyterLab application directory is /opt/conda/share/jupyter/lab
[I 11:05:17.464 NotebookApp] Serving notebooks from local directory: /home/jovyan
[I 11:05:17.464 NotebookApp] The Jupyter Notebook is running at:
[I 11:05:17.464 NotebookApp] http://(jupyter-notebook-75674b74cb-wt944 or 127.0.0.1):8888/?token=3bc8ef4bf024bd6cb91fe816c0385a512da616e9e85a4c75
[I 11:05:17.464 NotebookApp] Use Control-C to stop this server and shut down all kernels (twice to skip confirmation).
[C 11:05:17.465 NotebookApp]

    Copy/paste this URL into your browser when you connect for the first time,
    to login with a token:
        http://(jupyter-notebook-75674b74cb-wt944 or 127.0.0.1):8888/?token=3bc8ef4bf024bd6cb91fe816c0385a512da616e9e85a4c75
最後の行に、http://(jupyter-notebook-75674b74cb-wt944 or 127.0.0.1):8888/?token=3bc8ef4bf024bd6cb91fe816c0385a512da616e9e85a4c75
があるので、控えておきます。
次にコンテナからlocalhostにポートを転送を実行します。
kubectl port-forward jupyter-notebook-xxxxxxxxxx-xxxxx 8888:8888 -n jupyter
Forwarding from 127.0.0.1:8888 -> 8888
Forwarding from [::1]:8888 -> 8888
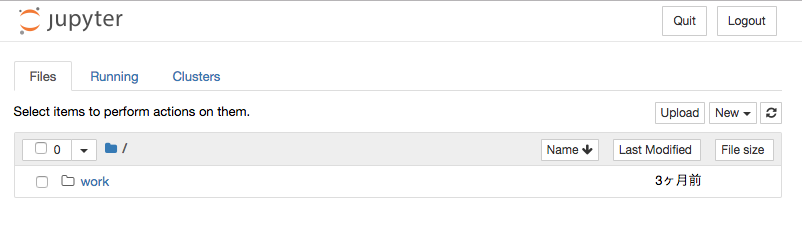
これでポートフォワードが完了したので先ほどのトークンを利用して、Jupyter note bookを開きます。
以下の画面が開けば完了です。