はじめに
Djangoの使い方~環境構築編~の続きです。
この章ではウェブサイトを作ってウェブサーバー上で起動します。
プロジェクトを作成しよう!
最初はDjangoの新規プロジェクトを作成します。
(myvenv) C:\Users\Name\djangogirls> django-admin.exe startproject mysite .
次のようなファイル構造が作成されます。
djangogirls
├───manage.py
├───mysite
│ settings.py
│ urls.py
│ wsgi.py
│ _init_.py
└───requirements.txt
設定変更
コードエディタでmysite/settings.pyを開きます。
Wikipediaのタイムゾーンのリストへ行き、Asia/Tokyoのタイムゾーン (TZ) をコピーして
下記のようにTIME_ZONEの値を変更します。
TIME_ZONE = 'Asia/Tokyo'
次は言語を日本語に変更します。
LANGUAGE_CODE = 'ja'
静的ファイルのパスを追加します。
STATIC_URLの下に STATIC_ROOTを追加します。
STATIC_URL = '/static/'
STATIC_ROOT = os.path.join(BASE_DIR, 'static')
PythonAnywhere のホストネームへ変更します。
ALLOWED_HOSTS = ['127.0.0.1', '.pythonanywhere.com']
データベースをセットアップする
ここではsqlite3というDjangoがデフォルトで使うデータベースを使用します。
既にファイルの中に次のように書かれています。
DATABASES = {
    'default': {
        'ENGINE': 'django.db.backends.sqlite3',
        'NAME': os.path.join(BASE_DIR, 'db.sqlite3'),
    }
}
ブログのデータベースを作成するには、python manage.py migrateを実行します。
うまく行けば次のようになります。
(myvenv) ~/djangogirls$ python manage.py migrate
Operations to perform:
  Apply all migrations: auth, admin, contenttypes, sessions
Running migrations:
  Rendering model states... DONE
  Applying contenttypes.0001_initial... OK
  Applying auth.0001_initial... OK
  Applying admin.0001_initial... OK
  Applying admin.0002_logentry_remove_auto_add... OK
  Applying contenttypes.0002_remove_content_type_name... OK
  Applying auth.0002_alter_permission_name_max_length... OK
  Applying auth.0003_alter_user_email_max_length... OK
  Applying auth.0004_alter_user_username_opts... OK
  Applying auth.0005_alter_user_last_login_null... OK
  Applying auth.0006_require_contenttypes_0002... OK
  Applying auth.0007_alter_validators_add_error_messages... OK
  Applying sessions.0001_initial... OK
ウェブサーバを起動する
次を実行してウェブサーバを起動します。
(myvenv) ~/djangogirls$ python manage.py runserver
Windows上で、UnicodeDecodeErrorで失敗した場合は、代わりに次のコマンドを使用します。
(myvenv) ~/djangogirls$ python manage.py runserver 0:8000
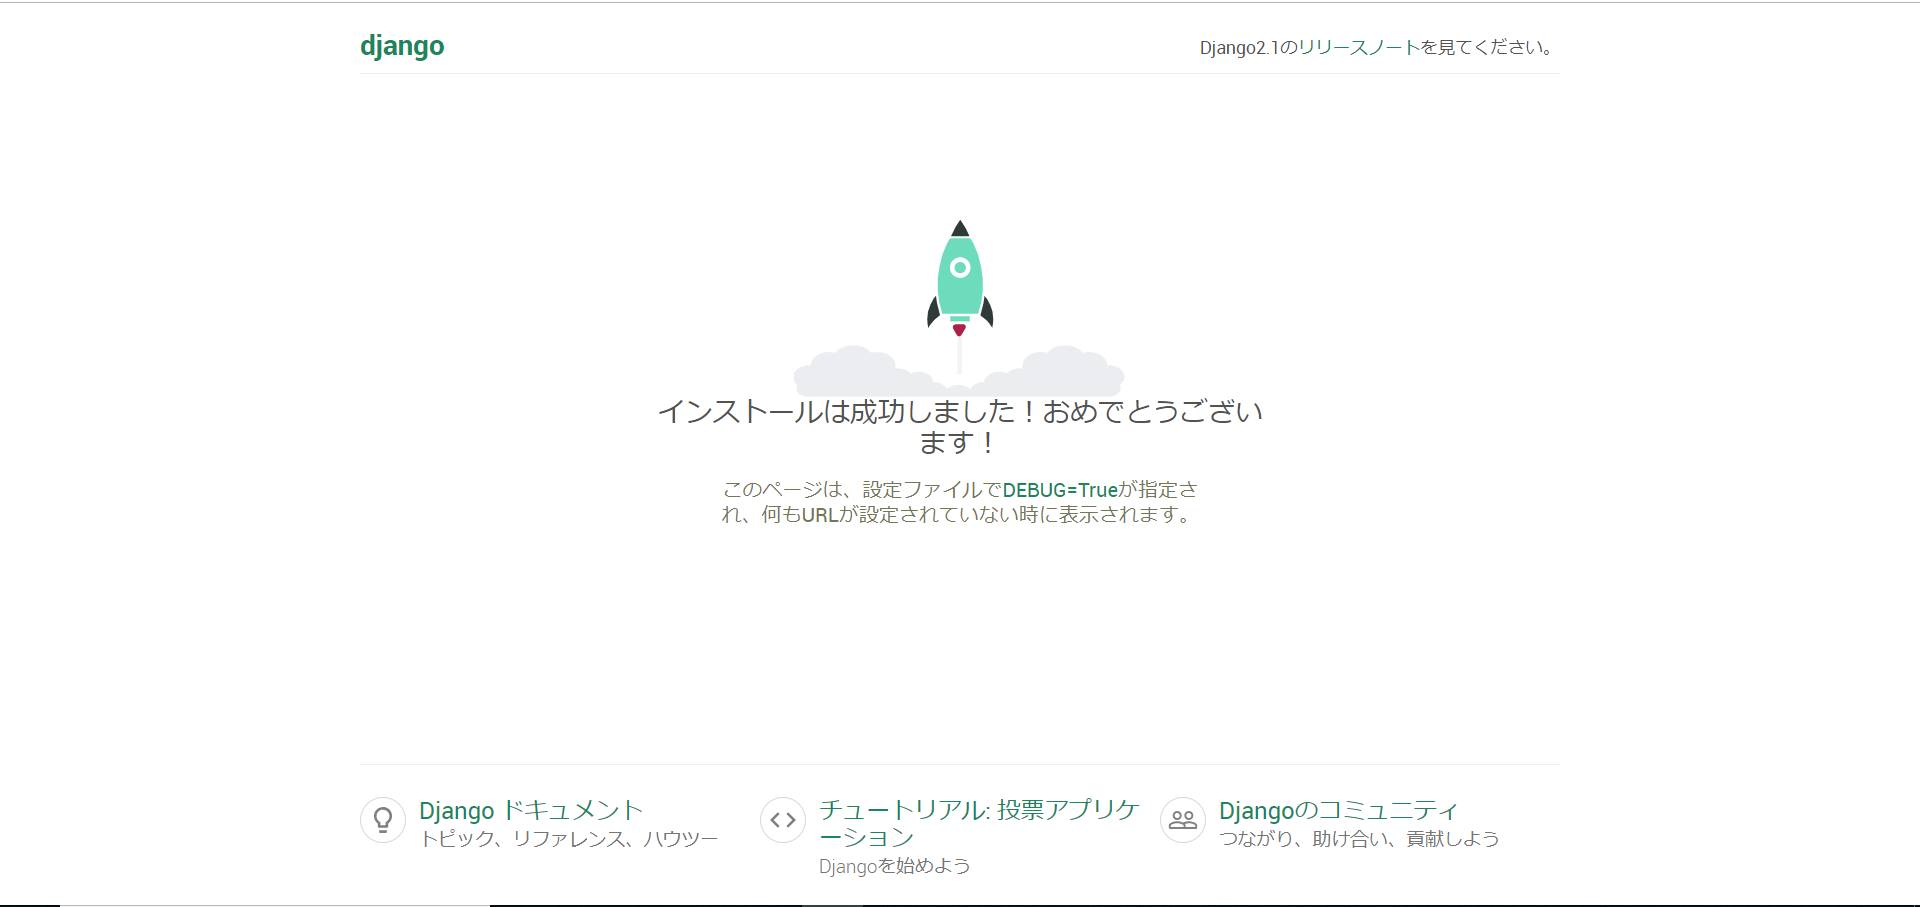
ブラウザを開き次のアドレスを入力しウェブサーバが起動しているか確認します。
http://127.0.0.1:8000/
Webサーバーが稼働している間は追加のコマンドラインは表示されません。
ctl+Cでコマンドラインを入力できるようになります。
おわりに
次回はオブジェクトを作ります!
次回→Djangoの使い方~オブジェクト作成編~
