環境
- MacBook Air Mid 2013
- macOS Catalina 10.15.4
- Raspberry Pi Zero WH
SDカードをフォーマット
The Raspberry Pi's bootloader, built into the GPU and non-updateable, only has support for reading from FAT filesystems (both FAT16 and FAT32)
Raspberry PiはFATのみサポートとあります。
ターミナルでフォーマット
$ diskutil list

/dev/disk0 (internal, physical):
   #:                       TYPE NAME                    SIZE       IDENTIFIER
   0:      GUID_partition_scheme                        *121.3 GB   disk0
   1:                        EFI EFI                     209.7 MB   disk0s1
   2:                 Apple_APFS Container disk1         121.1 GB   disk0s2

/dev/disk1 (synthesized):
   #:                       TYPE NAME                    SIZE       IDENTIFIER
   0:      APFS Container Scheme -                      +121.1 GB   disk1
                                 Physical Store disk0s2
   1:                APFS Volume Macintosh HD - Data     856.1 KB   disk1s1
   2:                APFS Volume Preboot                 81.0 MB    disk1s2
   3:                APFS Volume Recovery                528.1 MB   disk1s3
   4:                APFS Volume VM                      3.2 GB     disk1s4
   5:                APFS Volume Macintosh HD - Data     40.7 GB    disk1s5
   6:                APFS Volume Macintosh HD            11.1 GB    disk1s6

/dev/disk2 (internal, physical):
   #:                       TYPE NAME                    SIZE       IDENTIFIER
   0:     FDisk_partition_scheme                        *15.7 GB    disk2
   1:                  Apple_HFS raspberrypiSD           45.0 MB    disk2s1
   2:                      Linux                         15.7 GB    disk2s2

/dev/disk3 (disk image):
   #:                       TYPE NAME                    SIZE       IDENTIFIER
   0:      GUID_partition_scheme                        +2.8 GB     disk3
   1:                        EFI EFI                     209.7 MB   disk3s1
   2:                  Apple_HFS Visual Studio           2.4 GB     disk3s2
目当てのSDカードを確認。私のケースでは/dev/disk2でした。
一度アンマウントします。
$ diskutil unMountDisk /dev/disk2

Unmount of all volumes on disk2 was successful
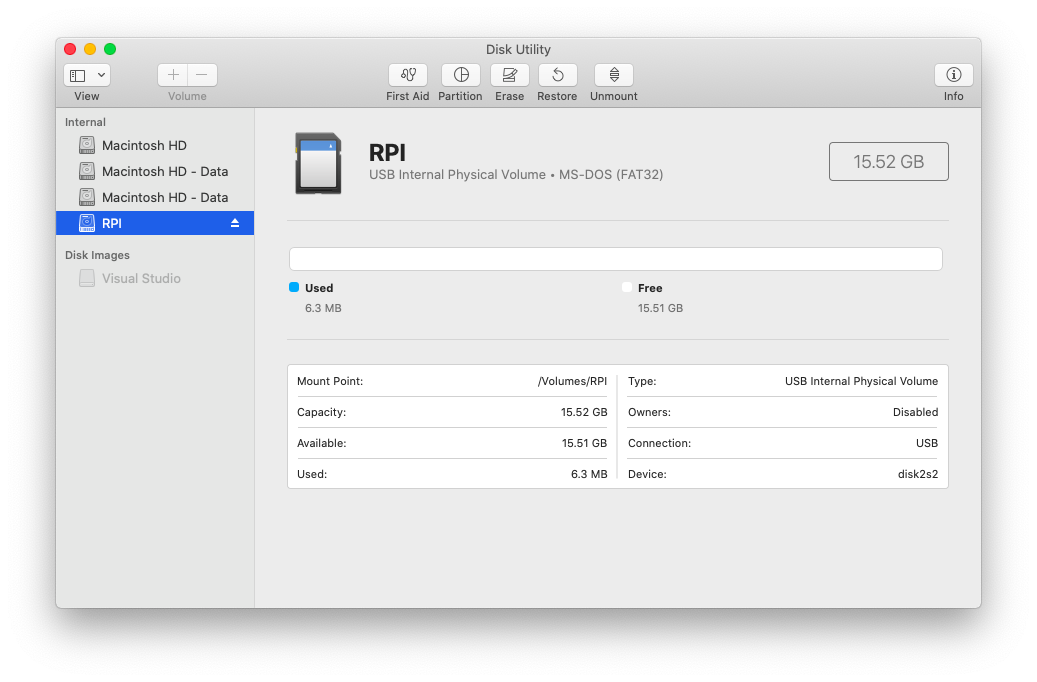
"RPI"という名前をつけてフォーマットします。
$ diskutil eraseDisk MS-DOS RPI /dev/disk2

Started erase on disk2
Unmounting disk
Creating the partition map
Waiting for partitions to activate
Formatting disk2s2 as MS-DOS (FAT) with name RPI
512 bytes per physical sector
/dev/rdisk2s2: 30298816 sectors in 473419 FAT32 clusters (32768 bytes/cluster)
bps=512 spc=64 res=32 nft=2 mid=0xf8 spt=32 hds=255 hid=411648 drv=0x80 bsec=30306304 bspf=3699 rdcl=2 infs=1 bkbs=6
Mounting disk
Finished erase on disk2
FAT32でフォーマットできました。
OS(Raspbian)をダウンロード
SDカードへイメージファイルを書き込み
参考: https://qiita.com/ishihamat/items/f1fb1f30327373dffac7
$ sudo dd if=xxxxxxxx.img of=/dev/rdisk2 bs=16m

Password:
110+1 records in
110+1 records out
1849688064 bytes transferred in 114.354973 secs (16174968 bytes/sec)
SSH接続を設定
SDカードに空ファイル"ssh"を作成する。
$ touch /Volumes/boot/ssh
Wi-Fiを設定
参考: https://qiita.com/mascii/items/0d1a280ac58ed8f6f999
Wi-Fi設定ファイルを作成する。
$ touch /Volumes/boot/wpa_supplicant.conf
下記の通り内容を書き換えます。パスワードを平文で保存したくない場合はWPA key calculationで変換する。
wpa_supplicant.conf
ctrl_interface=DIR=/var/run/wpa_supplicant
GROUP=netdev
update_config=1
country=JP

network={
    ssid="SSID"
    psk="WiFiパスワード"
}
SDカードの準備はこれで完了。
Raspberry Piを起動する
参考: https://gloria.cool/blog/20191203-raspberrypi4-setup/
SDカードをRaspberry Piに挿し,電源を入れる。
1分ほど置いたらMacのターミナルにarp -aを打ち込みIPアドレスを調べる。
raspberrypi (192.168.x.x) at b8:27:eb:b6:28:be on en0 ifscope [ethernet]
この場合”192.168.x.x"がRaspberry PiのIPアドレスである。
Macからssh接続
Macのターミナルから
$ ssh pi@192.168.x.x

pi@192.168.x.x's password:
パスワードを求められる。初期パスワードは"raspberry"
Linux raspberrypi 4.19.97+ #1294 Thu Jan 30 13:10:54 GMT 2020 armv6l

The programs included with the Debian GNU/Linux system are free software;
the exact distribution terms for each program are described in the
individual files in /usr/share/doc/*/copyright.

Debian GNU/Linux comes with ABSOLUTELY NO WARRANTY, to the extent
permitted by applicable law.
Last login: Wed May 20 13:18:00 2020 from 192.168.x.x

SSH is enabled and the default password for the 'pi' user has not been changed.
This is a security risk - please login as the 'pi' user and type 'passwd' to set a new password.

pi@raspberrypi:~ $
セットアップ完了!