要約
UINib.OptionsKey.externalObjects を使ってDIします。
やり方
- External Object用のクラスを用意する
- External Object付きのXibファイルを作成する
- instantiate(withOwner:options:)時にexternalObjectsキーでExternal Objectにオブジェクトを割り当てる
External Object用のクラスを用意する
今回は計算をさせたいので計算用オブジェクトを用意します。
これらのクラスは後ほど使います。
class CalcObject: NSObject {
    func calc(num1: Int, num2: Int) -> Int {
        fatalError()
    }

    var operaterText: String {
        fatalError()
    }
}

class AdditionObject: CalcObject {
    override func calc(num1: Int, num2: Int) -> Int {
        num1 + num2
    }

    override var operaterText: String {
        "+"
    }
}

class MultiplicationObject: CalcObject {
    override func calc(num1: Int, num2: Int) -> Int {
        num1 * num2
    }

    override var operaterText: String {
        "×"
    }
}
External Object付きのXibファイルを作成する
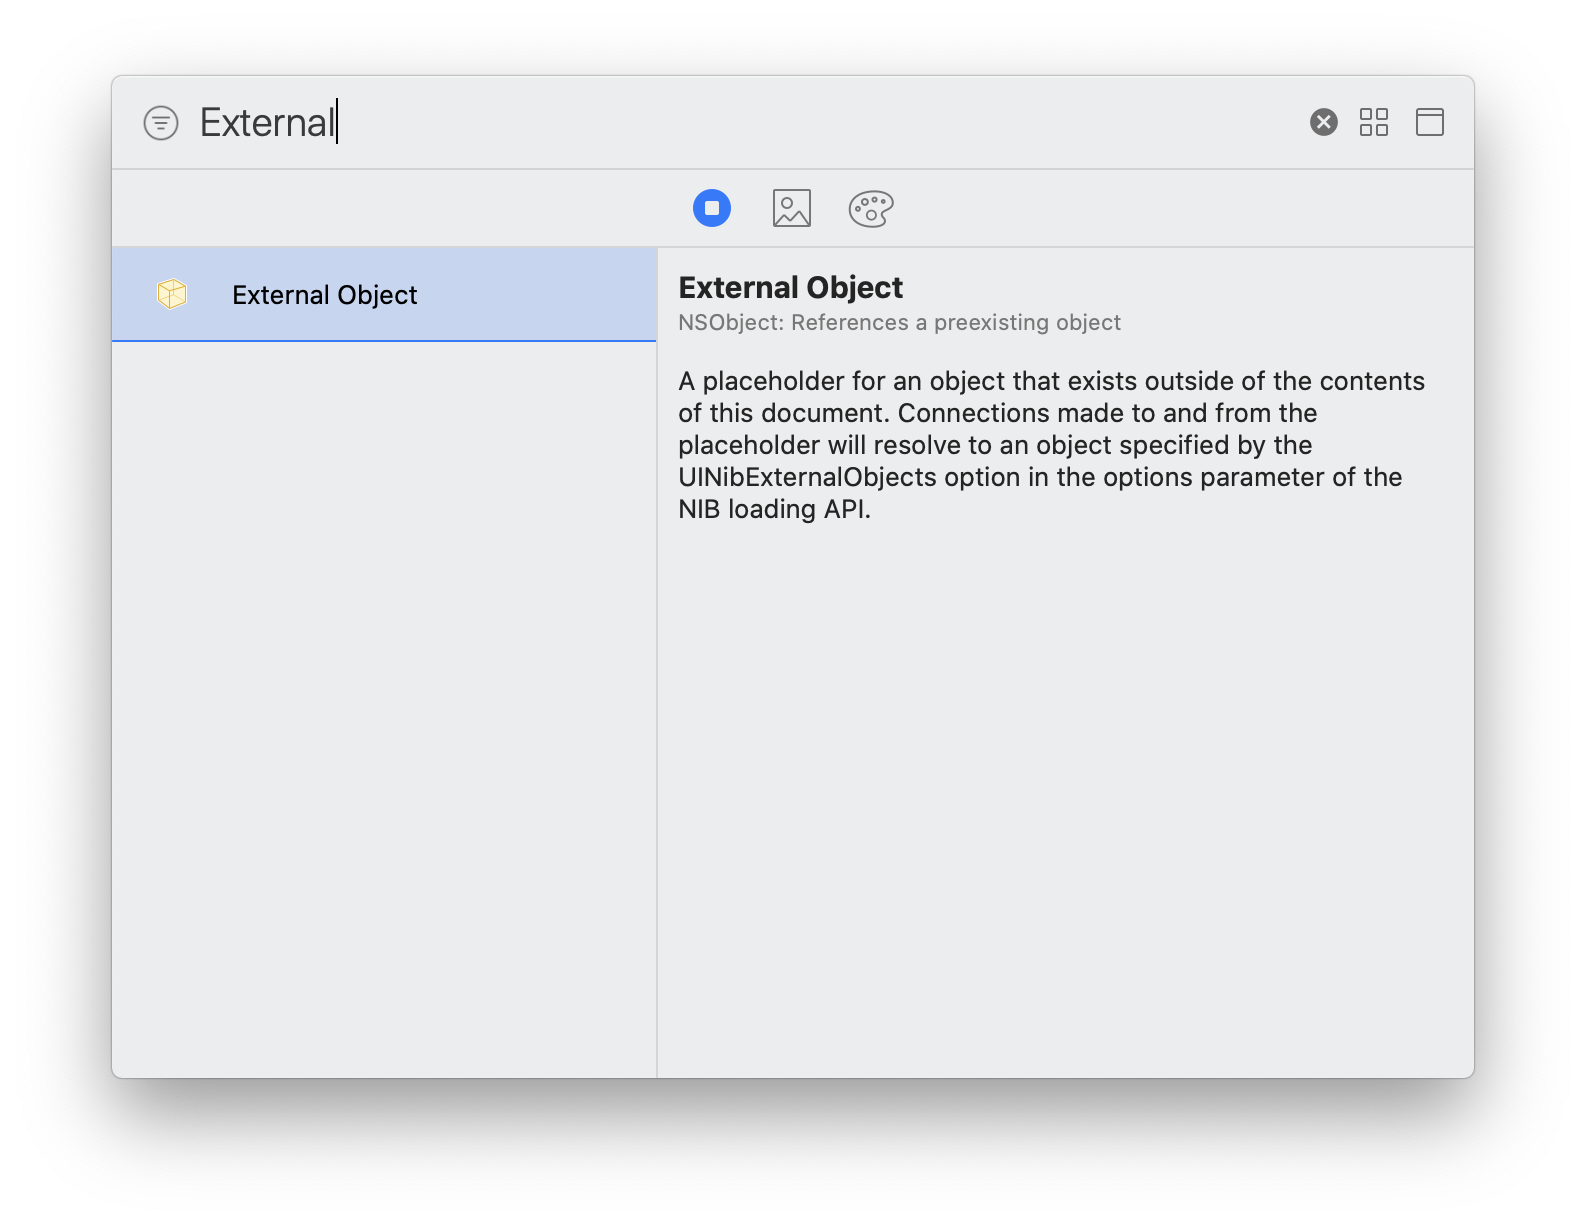
まず、xibファイルを作成し、Interface Builderを開き、Object Libraryより External Object を追加します。

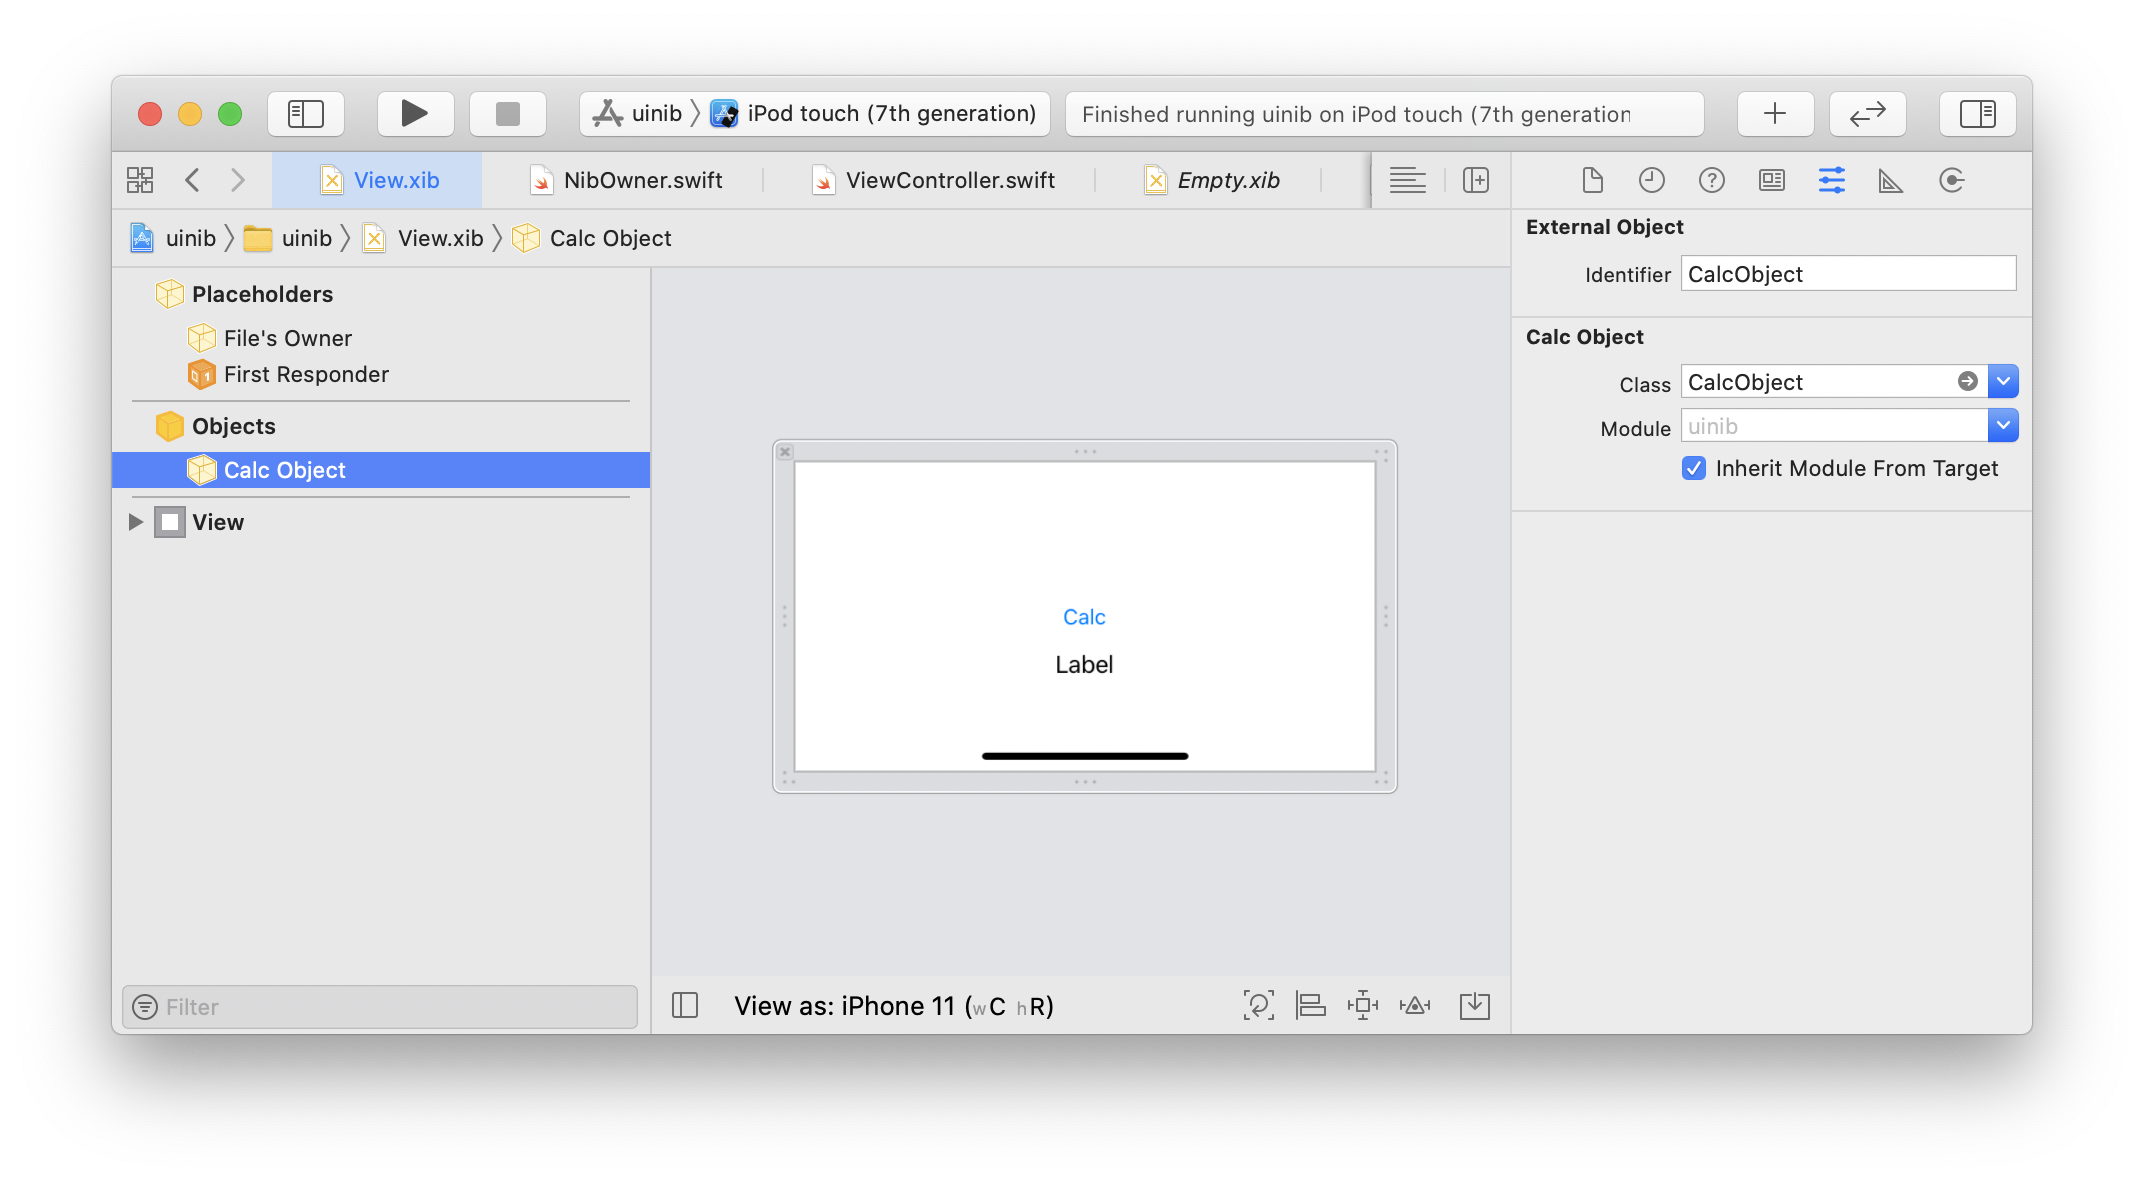
追加したらExternal Objectのインスペクタより設定を行います。
- Identifier → 今回は
CalcObjectにします - Class → 先ほど作成したクラス
CalcObjectにします
ついでにFile's Ownerも実装しておきます。
File's Ownerは、先ほどのExternal Objectと計算結果を表示するラベル、ボタンのアクションが認識できるよう、IBOutletやIBActionを設定しておきます。
class NibOwner: NSObject {
    @IBOutlet var calcObject: CalcObject!
    @IBOutlet weak var label: UILabel!
    @IBInspectable var num1: Int = 0
    @IBInspectable var num2: Int = 0

    @IBAction func calc() {
        label.text = "\(num1) \(calcObject.operaterText) \(num2) = \(calcObject.calc(num1: num1, num2: num2))"
    }
}
instantiate(withOwner:options:)時にexternalObjectsキーでExternal Objectにオブジェクトを割り当てる
先ほど作成したxibファイルをコードから使います。
xibを使うときに、instantiate(withOwner:options:)でインスタンス化しますが、その時のoptionsに. externalObjectsを付与します。
External ObjectのIdentifierをキーにして、実際にExternal Objectとして割り当てたいオブジェクトをvalueとします。
CalcObject() の部分をAdditionObjectやMultiplicationObjectに差し替えると動作を変えることができます。
以下は画面にxibの内容を反映させるコードの例です。
class ViewController: UIViewController {
    @IBOutlet weak var stackView: UIStackView!
    let nibOwner = NibOwner()

    override func viewDidLoad() {
        super.viewDidLoad()
        let nib = UINib(nibName: "View", bundle: nil)
        let externalObjects = ["CalcObject" : CalcObject()] // ここのオブジェクトを差し替える
        let instance = nib.instantiate(withOwner: nibOwner,
                                       options: [.externalObjects : externalObjects])
        instance.compactMap { $0 as? UIView }.forEach {
            self.stackView.addArrangedSubview($0)
        }
    }
}
実際の動作
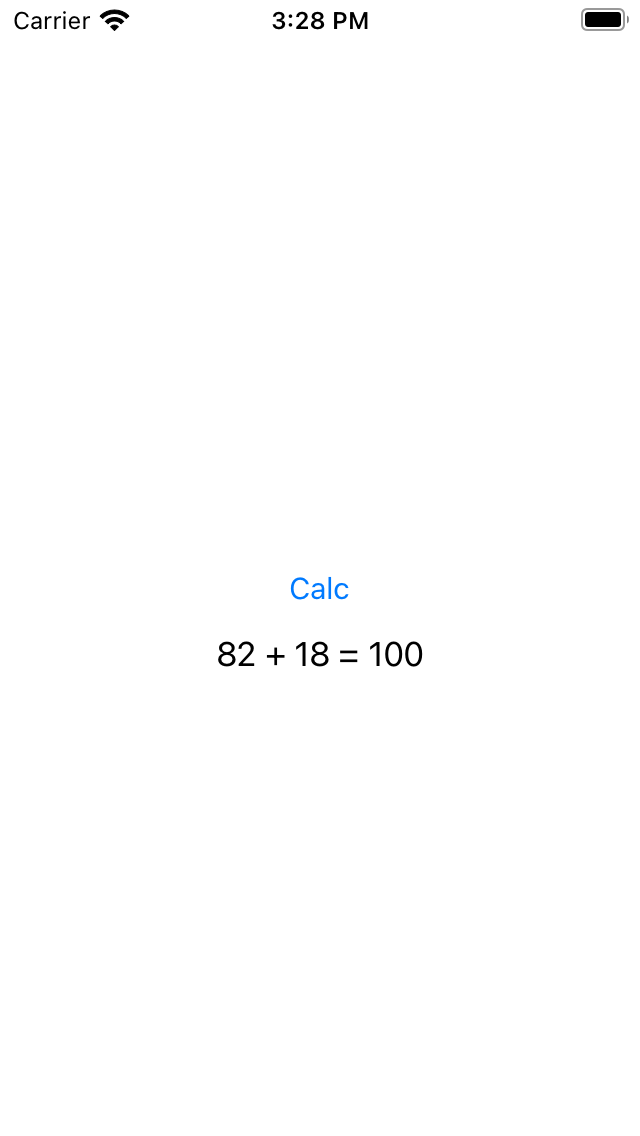
AdditionObjectの場合
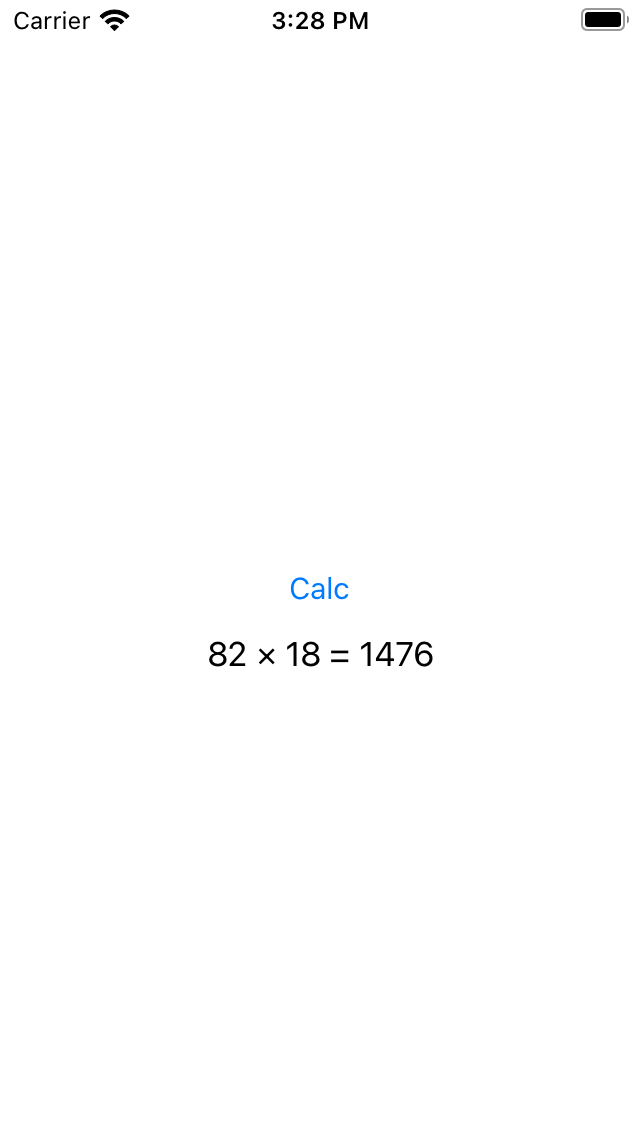
MultiplicationObjectの場合
まとめ
つかおう!DI!


