背景
Square POS と API で実現できることをエンジニアが検証するために、開発環境を手に入れる手順をご紹介します。
Square Application 作成
Square API を利用するために Square Application を作成します。
必要なことは Get Started with Square APIs, SDKs, and Plugins に全て書いてあります。
Get Started with Square APIs, SDKs, and Plugins
Step 1: Create a Square account
まず、Square アカウントが無いと何もできません。
https://squareup.com/signup/jp?lang_code=ja からアカウント作成しましょう。
Step 2: Create a new application
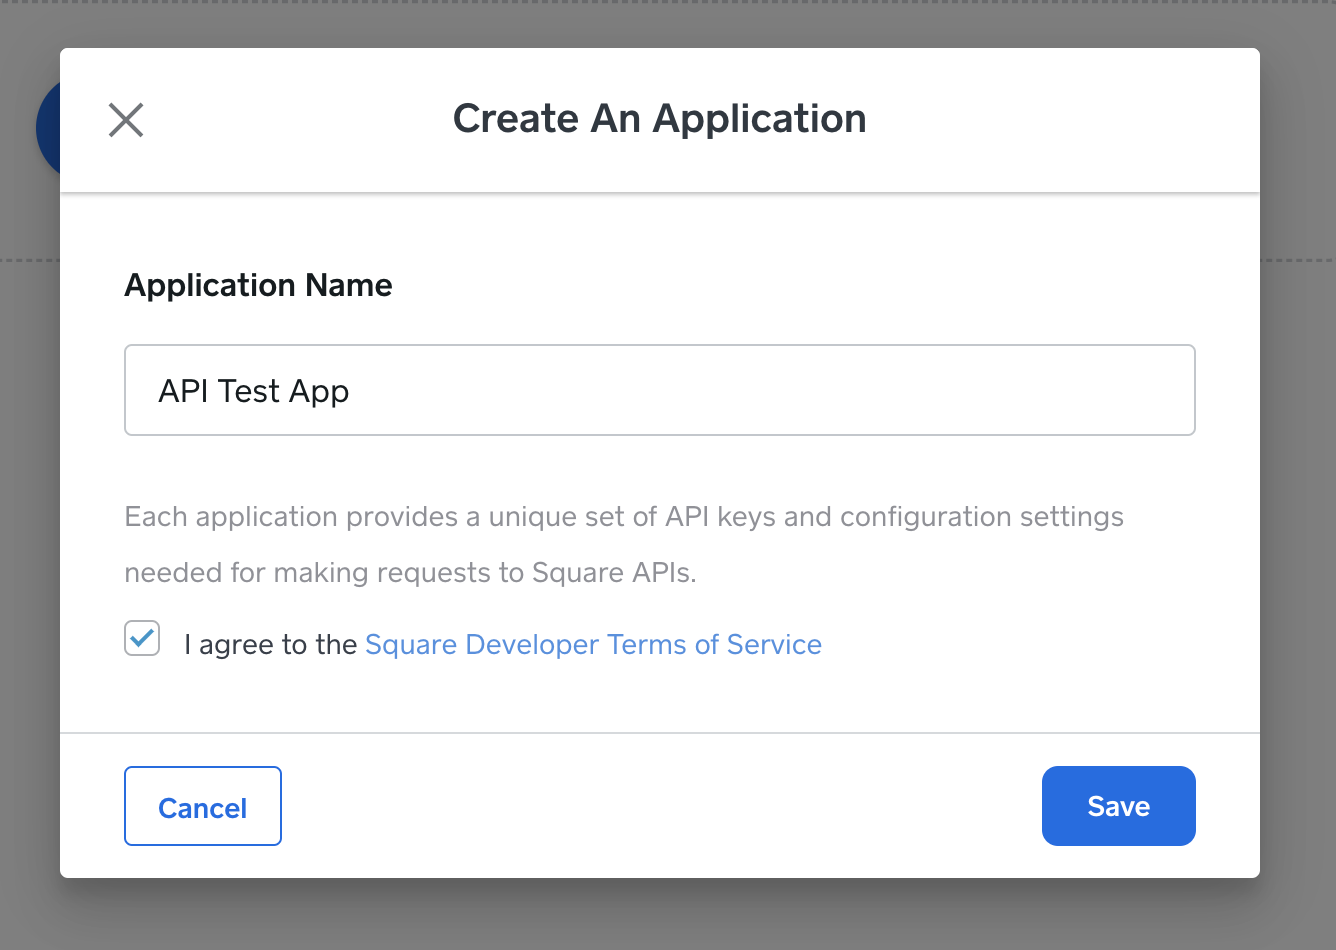
https://developer.squareup.com/apps から Square アプリを作成します。
Step 3: Get to know the application settings pages
作成した Application ページから Sandbox Access Token をゲットできます。
Step 4: Understand the different application credentials
色んなクレデンシャルがあることを確認しつつ、
今回は Sandbox access token を使って、検証を進めました。
Step 5: Try it out
商品一覧 list-catalog を curl で取得する例は以下のとおりです。
SQUARE_ACCESS_TOKEN=XXX

curl https://connect.squareupsandbox.com/v2/catalog/list \
  -H 'Square-Version: 2020-08-26' \
  -H "Authorization: Bearer ${SQUARE_ACCESS_TOKEN}" \
  -H 'Content-Type: application/json' \
ここでのポイントは API のドメインが Sandbox では connect.squareupsandbox.com な点です。
The Square Sandbox environment domain: connect.squareupsandbox.com for all REST and SDK calls.
Square Sandbox Seller Dashboard
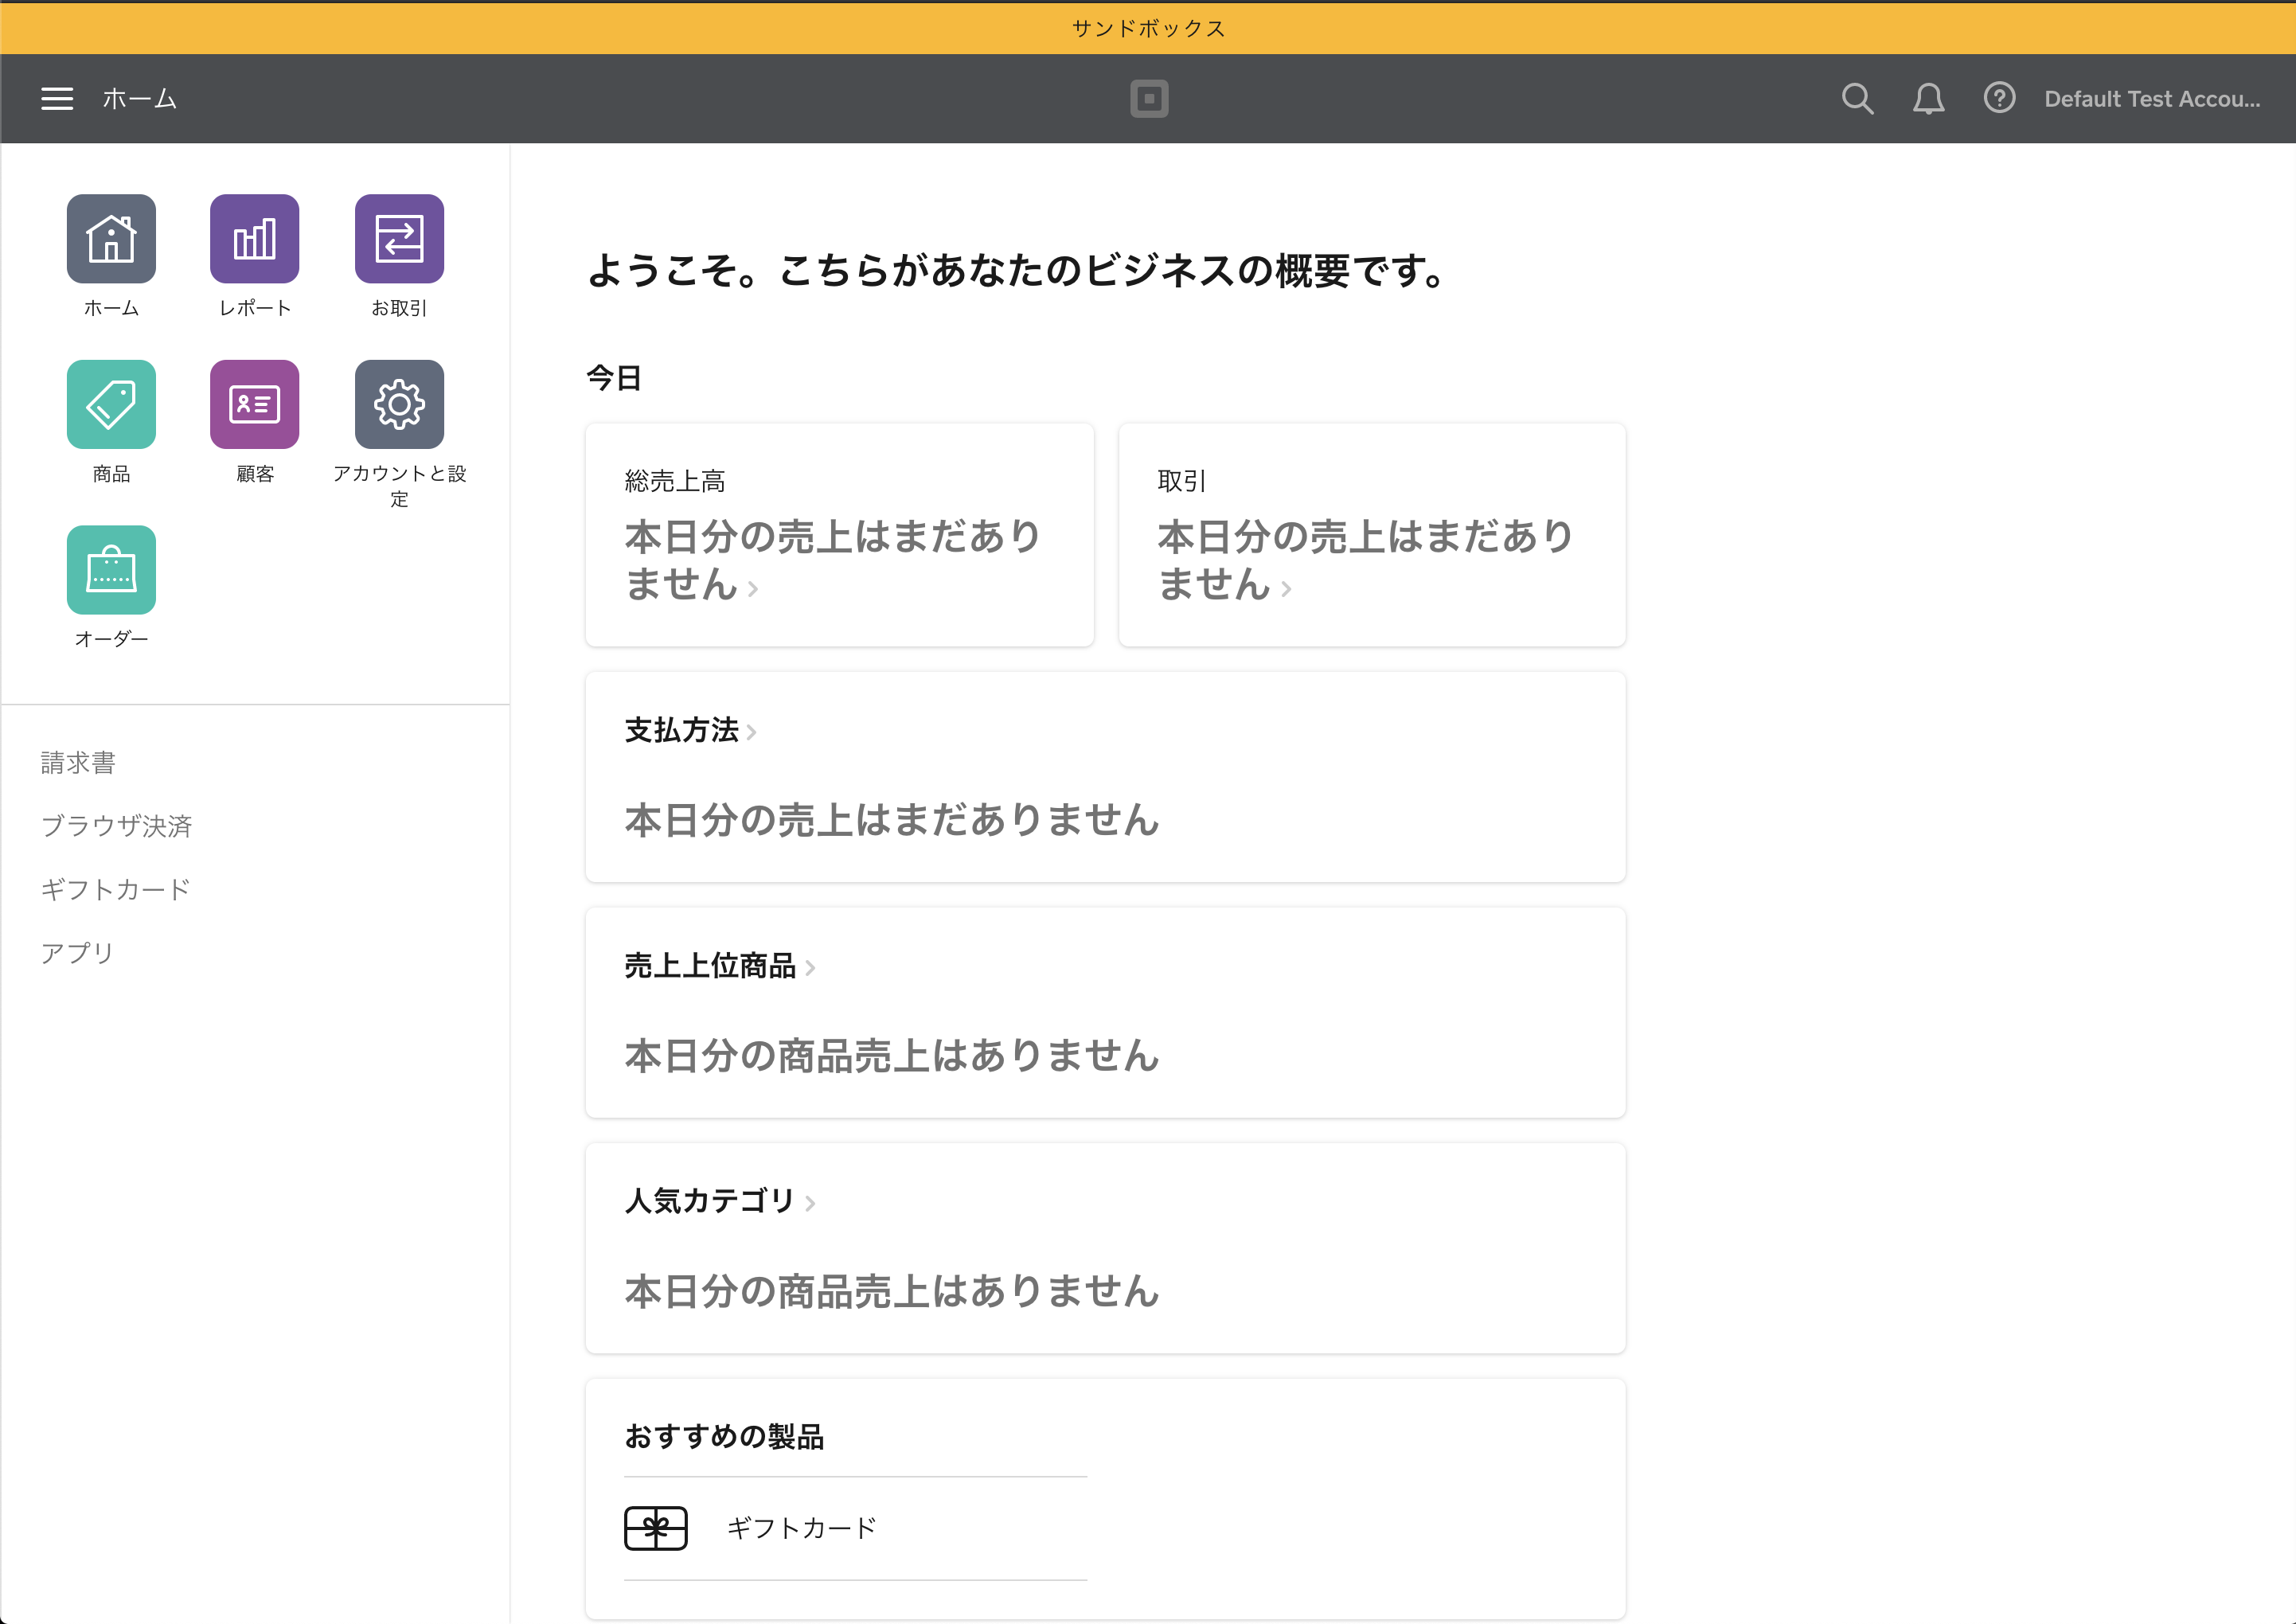
https://developer.squareup.com/apps ページの Sandbox Test Accounts エリアの Default Test Account から Open ボタンをクリックすると Sandbox Seller Dashboard ページが開きます。
Square API の検証では Sandbox Seller Dashboard で登録したデータを利用するのが Production を汚さなくて済みそうです。
以上、Square API と Sandbox Seller Dashboard で技術検証をしていきたい、現場からお送りしました。


