はじめに
画像中から特定の領域をセグメンテーション(抽出)する手法は数多く提案されています.有名な手法だとグラフカット法や,レベルセット法,領域拡張法などがあります.グラフカットやレベルセット法は精度よく領域を抽出できますが,プログラムを組むのはかなり大変です.領域拡張法は簡単に組めますが,単にseed点から閾値に収まる領域を抽出していくだけなので精度はイマイチです.でも非常に簡単にプログラムが組めて,さらに精度もいいとっておきの手法が提案されています.それがgrowcut法です.growcutはセルオートマトンを用いた領域抽出手法です.近傍画素から注目画素が攻撃され,その近傍画素のラベルでどんどん置き換えられていくプロセスが全ての画素で繰り返し行われることで領域が決定されます.今回はこのgrowcut法をpythonで組んでみたのでプログラムの解説をしようと思います.
growcut法って?
growcut法は画像中で前景と背景のseed点が与えられた際に,前景をセグメンテーションするための手法です.この手法はセルオートマトンをベースにしており,前景ラベルをもったバクテリアと背景ラベルを持ったバクテリアがseed点から拡散し,競合しながら画像中の各画素を奪いあうという風に解釈できます.各注目画素は近傍画素に潜むバクテリアから侵略を受けます.各バクテリアは攻撃力と防御力を持っており,バクテリアがある画素を侵略しようとする(自分のラベルをその画素に付与する)と,その画素が持つ防御力によって攻撃がある程度減衰されます.それでも攻撃力が侵略しようとする画素のもつ攻撃力より大きければその画素は侵略されます.この侵略プロセスを全ての画素について行い,この一連の流れを何度も繰り返すことで前景の抽出が可能となるそうです.詳しい数式などは参考文献を参照してください.
使用データ
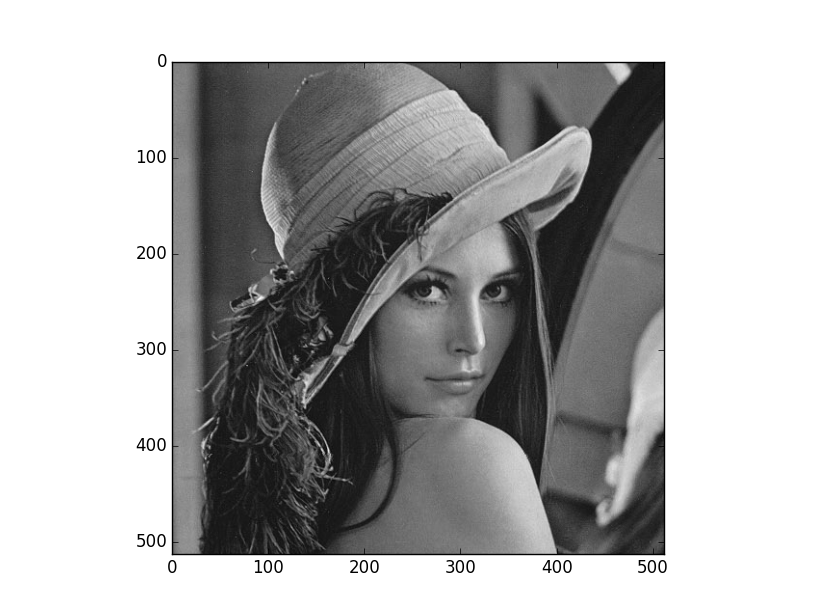
使用するデータはグレースケール化されたLennaさんの画像です.今回はこのLennaさんをgrowcut法で抽出します.

プログラム全体
今回作成したプログラム全体は以下の様になります.
# encoding:utf-8
import numpy as np
import cv2
import matplotlib.pyplot as plt

class Sampling:
    def __init__(self, image):
        self.image = image
        self.points = []

    def mouse(self, event):
        if event.button == 3:
            self.axis.plot(event.xdata, event.ydata, "ro")
            self.points.append([event.ydata, event.xdata])
        self.fig.canvas.draw()

    def start(self):
        self.fig = plt.figure()
        self.axis = self.fig.add_subplot(111)
        self.fig.canvas.mpl_connect("button_press_event", self.mouse)
        plt.gray()
        self.axis.imshow(self.image)
        plt.show()
        plt.clf()
        return np.array(self.points).astype(np.int)


def growCut(image, foreGround, backGround, iter=100):
    #8近傍
    diffY = [-1,-1,-1,0,0,1,1,1]
    diffX = [-1,0,1,-1,1,-1,0,1]

    #ラベル初期化
    label = np.zeros(image.shape)
    label[foreGround[:,0], foreGround[:,1]] = 1
    label[backGround[:,0], backGround[:,1]] = -1

    #攻撃力
    power = np.zeros(image.shape)
    power[foreGround[:,0], foreGround[:,1]] = 1.0
    power[backGround[:,0], backGround[:,1]] = 1.0

    power_next = np.copy(power)
    label_next = np.copy(label)

    #growcut開始
    for t in range(iter):
        print(t)

        power = np.copy(power_next)
        label = np.copy(label_next)

        for i in range(1,image.shape[0]-1):
            for j in range(1,image.shape[1]-1):
                for k in range(8):
                    dy, dx = diffY[k], diffX[k]

                    #注目セルの防御力
                    shield = 1.0 - np.abs(image[i,j] - image[i+dy,j+dx])

                    #近傍セルの攻撃力が注目画素の防御力を上回るか
                    if shield * power[i+dy,j+dx] > power[i,j]:
                        label_next[i,j] = label[i+dy,j+dx]
                        power_next[i,j] = power[i+dy,j+dx] * shield
    return label_next


def main():
    image = cv2.imread("Lenna.png", 0).astype(np.float)
    image = (image - image.min()) / (image.max() - image.min())

    plt.gray()
    plt.imshow(image)
    plt.show()

    foreGround = Sampling(image).start()
    backGround = Sampling(image).start()

    mask = growCut(image, foreGround, backGround)
    mask[mask != 1] = 0

    plt.gray()
    plt.subplot(131)
    plt.imshow(image)
    plt.subplot(132)
    plt.imshow(image)
    plt.plot(foreGround[:,1], foreGround[:,0], "ro")
    plt.plot(backGround[:,1], backGround[:,0], "bo")
    plt.subplot(133)
    plt.imshow(image * mask)
    plt.show()
プログラム解説
Samplingクラスはseed点を決定するためのクラスです.右クリックでseed点を打っていきます.最後に全てのseed点を返します.特に重要な部分ではないので詳しい解説は省きます.
class Sampling:
    def __init__(self, image):
        self.image = image
        self.points = []

    def mouse(self, event):
        if event.button == 3:
            self.axis.plot(event.xdata, event.ydata, "ro")
            self.points.append([event.ydata, event.xdata])
        self.fig.canvas.draw()

    def start(self):
        self.fig = plt.figure()
        self.axis = self.fig.add_subplot(111)
        self.fig.canvas.mpl_connect("button_press_event", self.mouse)
        plt.gray()
        self.axis.imshow(self.image)
        plt.show()
        plt.clf()
        return np.array(self.points).astype(np.int)
次はgrowcut関数の説明です.growcut法では全ての画素について近傍画素からの侵略を受けるというプロセスを何度も繰り返します.つまり,
for t in range(iter):
    #侵略プロセスをiter回繰り返す
ということになります.この侵略プロセスは各画素を注目画素とし,その近傍画素が持つ画素値の差を注目画素が持つ防御力という風に定義します.これが
shield = 1.0 - np.abs(image[i,j] - image[i+dy,j+dx])
です.この防御力によって近傍画素の攻撃がある減衰されますが,それでも注目画素の攻撃を上回る場合は注目画素は侵略され,近傍画素が持つラベルが注目画素に付与されます.そして注目画素の攻撃力も更新されます.これが,
if shield * power[i+dy,j+dx] > power[i,j]:
   label_next[i,j] = label[i+dy,j+dx]
   power_next[i,j] = power[i+dy,j+dx] * shield
になります.これらをひたすら繰り返すことで前景のセグメンテーションが可能となるそうです.
実行結果
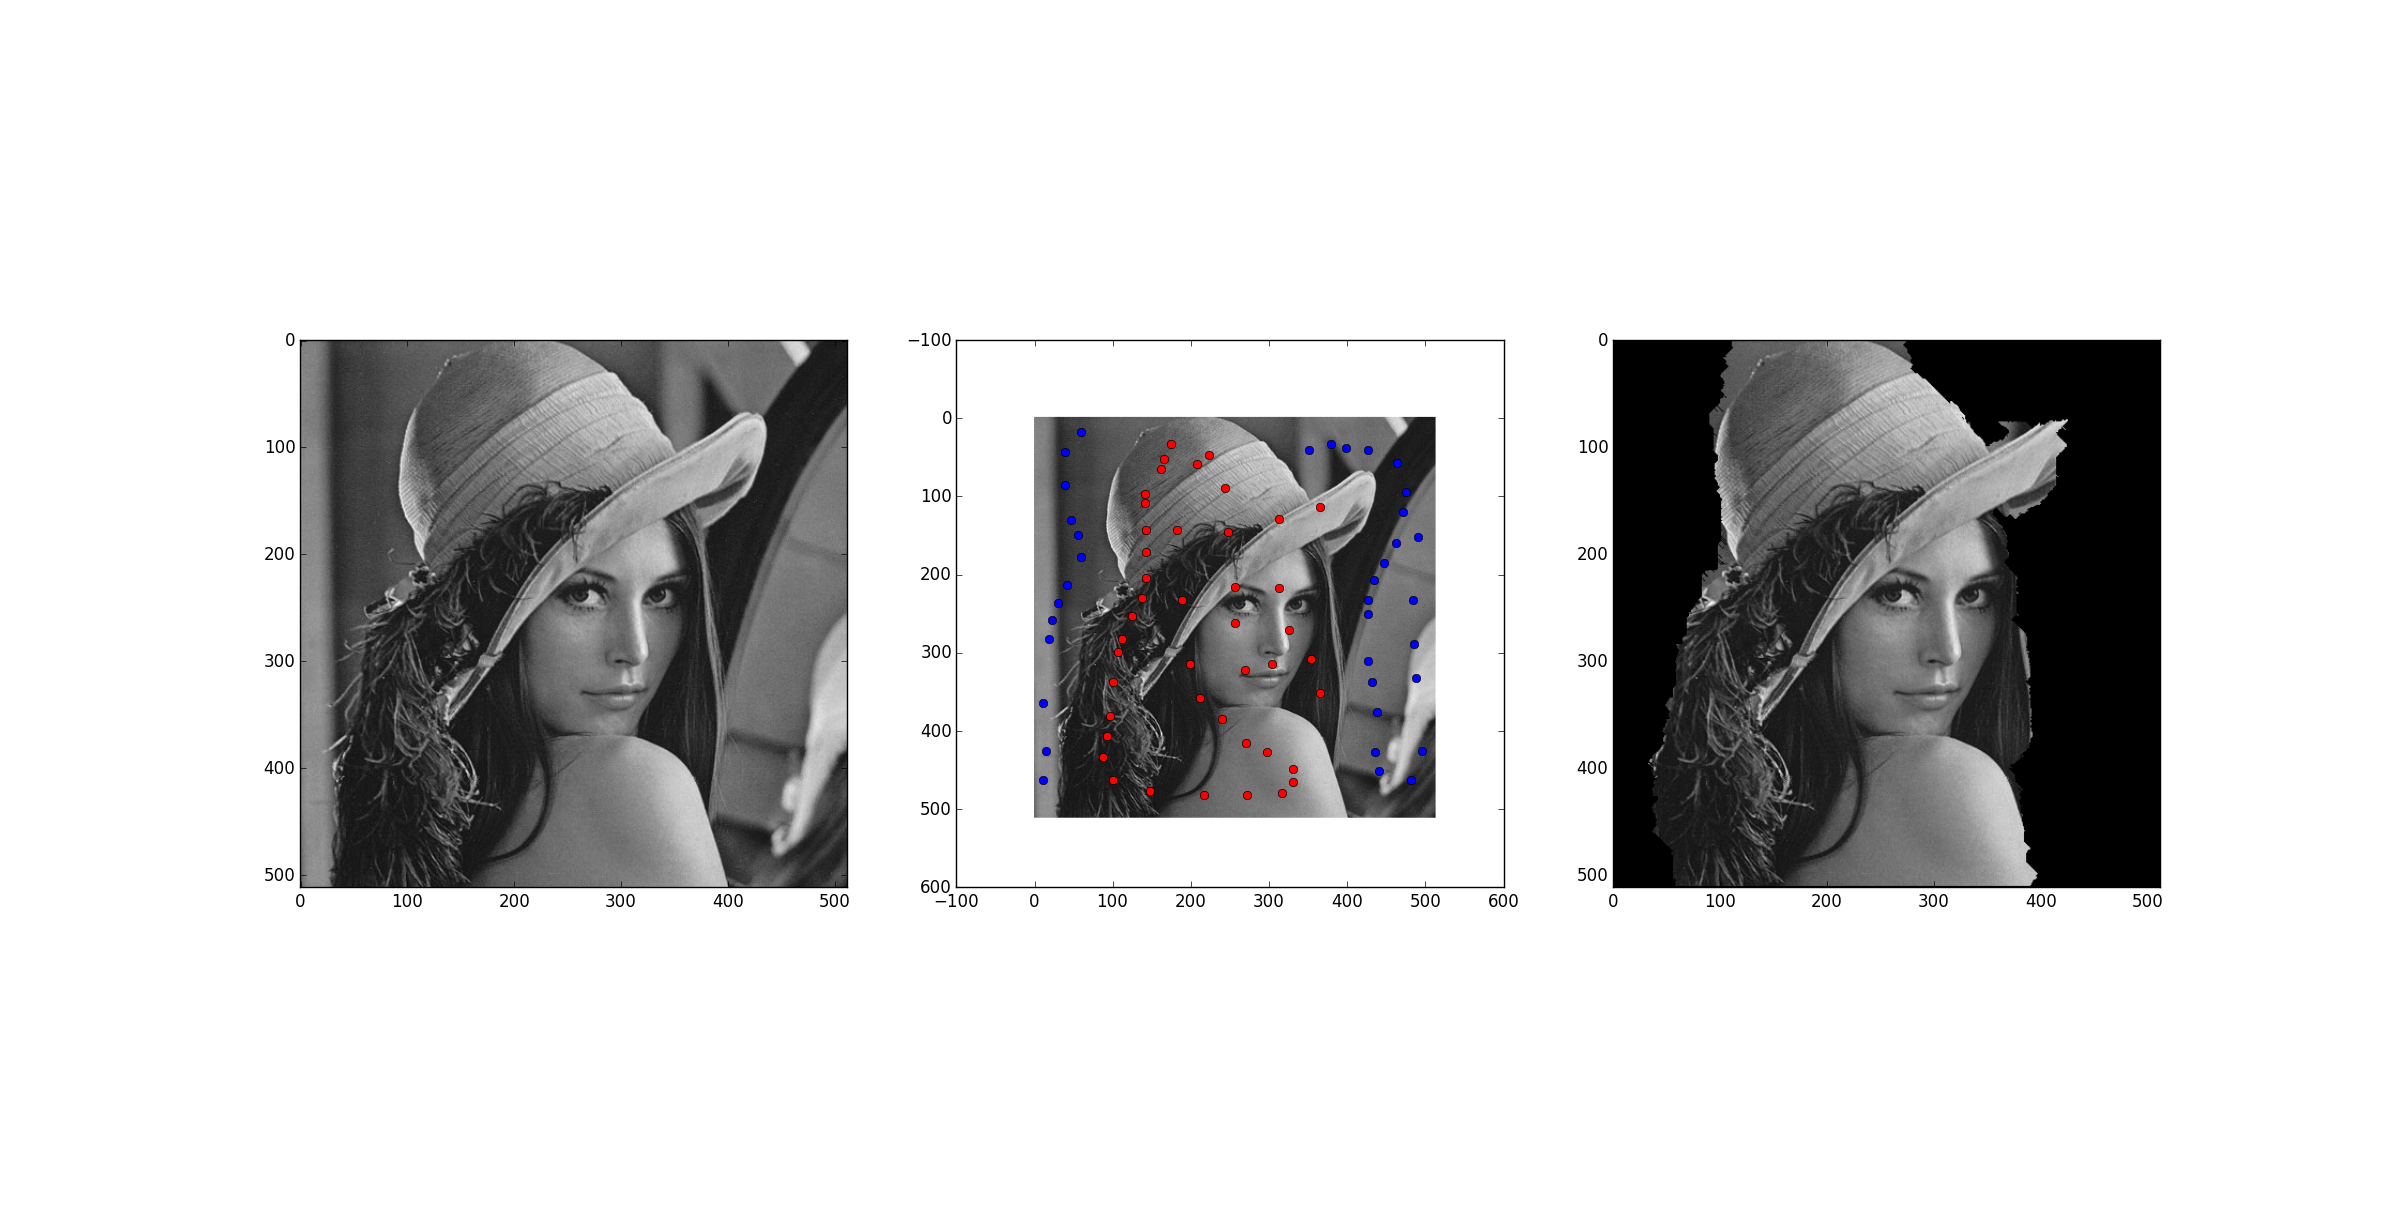
赤点が前景seed点,青点が背景seed点になります.少し汚いですが大体セグメンテーション出来ていることがわかります.なんでこんなにうまくいくのかはさっぱり分かりません.これを考えた人は凄いですね.
参考文献
growcutのオリジナル論文です.
“GrowCut” - Interactive Multi-Label N-D Image Segmentation By Cellular Automata
東京大学のとある先生が書いてくださっているそうです.
100行で書く画像処理最先端 growcut
