したいこと概要
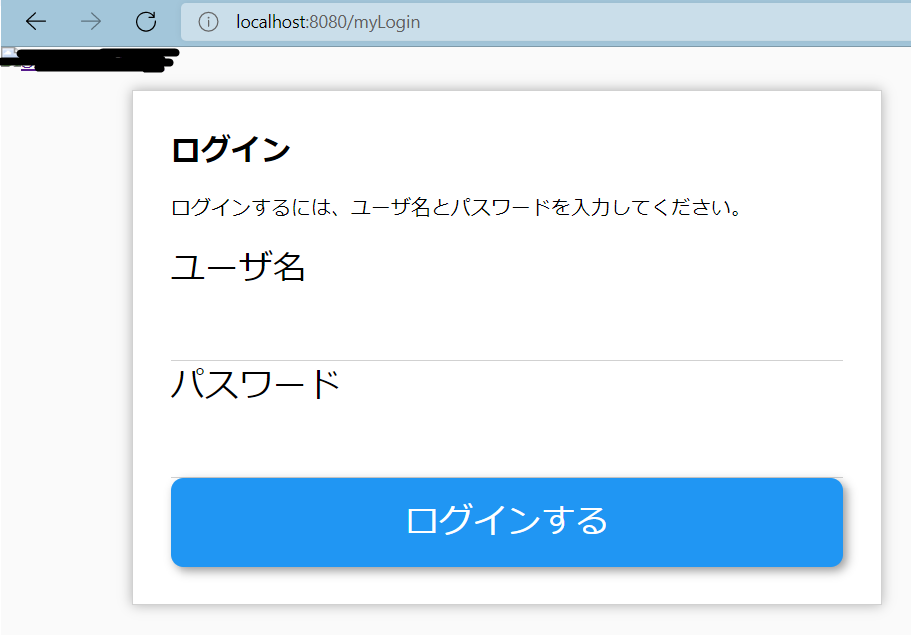
1、「http://localhost:8080/myLogin」で、ログイン画面に行きます。
2、ログイン画面でユーザ名とパスワードを入力します。
3、ログインに成功したら、test.htmlに遷移します(test.htmlはやる気ないテキトーな画面なのでソース載せていません)
環境
Eclipse(Version: 2018-09 (4.9.0))
Spring Boot(バージョン2.5.2)
Java1.8
Spring Securityを使うための設定
ビルドツールがmavenの場合は、pom.xmlに下記を追加します。
		<dependency>
        	<groupId>org.springframework.boot</groupId>
        	<artifactId>spring-boot-starter-security</artifactId>
        </dependency>
gradleの場合はbuild.gradleに下記を追記します。
implementation 'org.springframework.boot:spring-boot-starter-security'
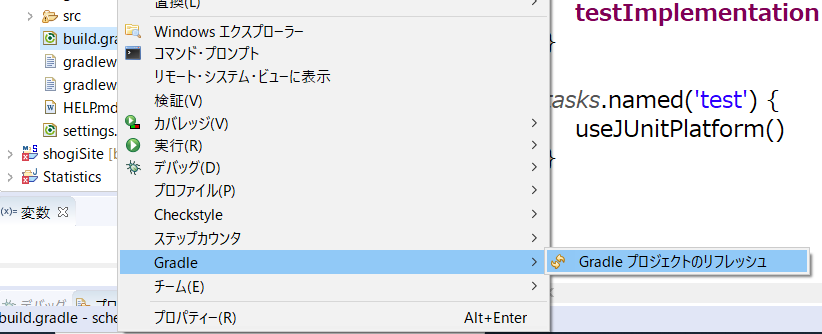
依存関係が反映されない場合は、スクショな感じに操作しましょう。
ログイン画面をつくる。
Spring Securityには機能としてデフォルトのログイン画面があるので、
それを使ってもいいですが、自作でログイン画面を作成してももちろんOKです。
今回はとりあえずこんな感じの画面をつくりました。
<!DOCTYPE html>
<html lang="ja" xmlns:th="http://www.thymeleaf.org">
    <head>
        <meta charset="UTF-8">
        <meta name="viewport" content="width=device-width">
        <title>ログイン</title>
        <link th:href="@{/css/style.css}" rel="stylesheet">
		<script type="text/javascript" src="js/site.js"></script>
    </head>
    <body>
        <div class="content">
            <h1>ログイン</h1>
            <p>ログインするには、ユーザ名とパスワードを入力してください。</p>
            <form method="post" th:action="@{/sign_in}">
            	<div class="control">
                	<label for="mymail">ユーザ名</label>
                	<input type="text" name="userName" th:value="*{userName}" required="required">
	            </div>

	            <div class="control">
	                <label for="passcode">パスワード</label>
	                <input type="password" name="password" th:value="*{password}" required="required">
	            </div>

	            <div>
	                <button class="button_login" type="submit">ログインする</button>
	            </div>
	    	</form>
        </div>
    </body>
</html>
重要なのは下記です。
<form method="post" th:action="@{/sign_in}">
まず、HTTPリクエストメソッドは、postにしてください。
Spring Securityでハマったことをまとめてみた に書かれていますが、
Spring Securityのログイン認証が実行されるのはPostメソッドを実行した場合のみということです。
また、アクション属性は下記のJavaのloginProcessingUrl()と合致する必要があります。
次に、name属性は、Spring Bootでは重要ですが、Spring Securityでも重要です。
下記のJavaのusernameParameter()、passwordParameter()と合致している必要があります。
<input type="text" name="userName" th:value="*{userName}" required="required">
<input type="password" name="password" th:value="*{password}" required="required">
SpringSecurityの設定Javaをつくる。
Spring Securityを使うには、
WebSecurityConfigurerAdapterクラスを継承して定義を行う必要があります。
認証・認可についての設定を記述するクラスとなります。
とりあえず、〇〇SecurityConfigという名前にしておきます。
@Configuration
@EnableWebSecurity
public class WebSecurityConfig extends WebSecurityConfigurerAdapter{


}
そうしたらそのクラスの中にメソッドを書きます。
オーバーロードされた、configureというメソッドが3つあります。
    @override
    public void configure(WebSecurity web) throws Exception {
        // 認可設定を無視するリクエストを設定します
        // よくあるパターンとしては、静的リソース(image,javascript,css)を認可処理の対象から除外します
    }
    @Override
    protected void configure(HttpSecurity http) throws Exception {
        // 認証・認可の情報を設定します
    }
    @Override
    public void configure(AuthenticationManagerBuilder auth) throws Exception{
        // 認証方法の実装の設定を行います。
        // データベース認証、OAuth認証などの認証処理を書きます。
        // この記事では割愛します。
    }
一番引っかかりやすいのが、たぶんconfigure(HttpSecurity http)です。
今回はこのように定義します。
    @Override
    protected void configure(HttpSecurity http) throws Exception {
        http
            .authorizeRequests()
            	// ログイン画面は直リンクOK
            	.antMatchers("/myLogin").permitAll()
            	// それ以外は直リンク禁止
                .anyRequest().authenticated()
                .and()
                .formLogin()
                	.loginPage("/myLogin")
                	.loginProcessingUrl("/sign_in")
                	.usernameParameter("userName")
                	.passwordParameter("password")
                	.defaultSuccessUrl("/test222")
                	.failureUrl("/myLogin");

        http
        	.logout()
        		.logoutUrl("/logout")
        		// ログアウト時の遷移先URL
        		.logoutSuccessUrl("/myLogin");

    }
今回は、ログイン認証処理をして成功した場合、/test222に飛ぶようにしたいと思います。
ポイントは3つです。
1、.loginPage()=ログイン画面のパスの設定
自作ログイン画面を作成してそれを表示させたい場合、.loginPage()に指定します。
今回は、.loginPage("/myLogin")としています。
これを設定しないと、Spring Security標準のログイン画面が表示されます。
もちろん、自作のログイン画面をつくっていない場合は指定不要です。
2、.loginProcessingUrl()=認証処理の実行URL
ここに、th:action="@{/sign_in}"と同じURLを書きます。
このURLへリクエストが送られると認証処理が実行されます。
また、.usernameParameter()とpasswordParameter()には、
myLogin.htmlで記述したname属性と同じ値を書きます。
3、defaultSuccessUrl()=ログイン成功時の遷移先URL
この時、ログイン認証成功時の遷移先URLは、defaultSuccessUrl()で指定する必要があるようです。
.successForwardUrl("/test222") でも同じ意味だと思いきや、下記のエラーになります。
org.springframework.web.HttpRequestMethodNotSupportedException: Request method 'POST' not supported
ブラウザの表示はこうなります。
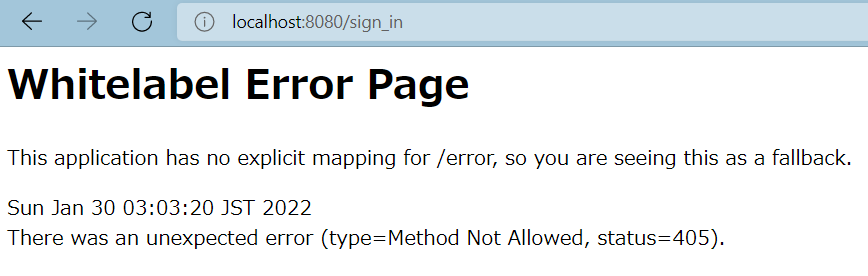
org.springframework.web.HttpRequestMethodNotSupportedException: Request method 'POST' not supported
でググると、だいたい、下記をapplication.propertiesに追加してください、という内容に行きつきます。
spring.webflux.hiddenmethod.filter.enabled=true
spring.mvc.hiddenmethod.filter.enabled=true
しかし、追加しても挙動に変化はありません。私はここでかなり時間をとられました。
※これについても、Spring Securityでハマったことをまとめてみた に書いてあって助かりました。
defaultSuccessUrl()を使いましょう。
ちなみに蛇足として、defaultSuccessUrl("test.html")とするのは、下記のエラーになってそもそも起動失敗するのでダメです。
java.lang.IllegalArgumentException: defaultTarget must start with '/' or with 'http(s)
ログイン成功時のハンドラメソッドをつくる。
/test222にリクエストが飛んだときに呼ばれるメソッドを書きます。
.defaultSuccessUrl()の中に書いたパスをpathとして書くのが重要です。
@RequestMapping(path="/test222", method=RequestMethod.リクエストメソッド)
※pathはvalueでも同じようです。
ここでも私はハマりました。
最初、このように書きました。
@RequestMapping(path="/test222", method=RequestMethod.POST)
public String getLogin(
		@RequestParam("userName") String userName,
		@RequestParam("password") String password,
		Model model) {

	System.out.println("LoginControllerの46行目");

	return "test";
}
しかし、
リクエストメソッドがPOSTだと、
org.springframework.web.HttpRequestMethodNotSupportedException: Request method 'GET' not supported
になります。
ブラウザの画面はこんなメッセージです(Method Not Allowed, status=405)。
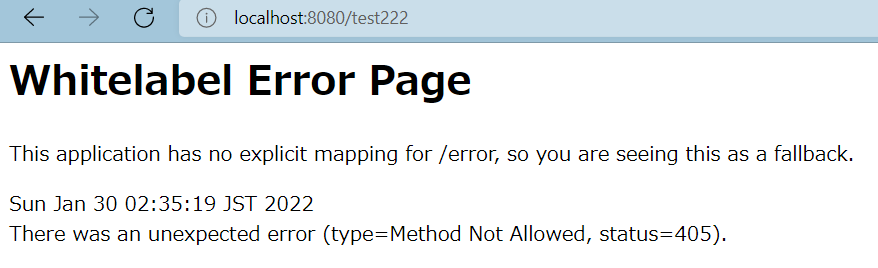
なので、リクエストメソッドはGETにします。
@RequestMapping(path="/test222", method=RequestMethod.GET)
※@GetMapping(path="/test222")でも同じです。
修正したのが下記↓
@RequestMapping(path="/test222", method=RequestMethod.GET)
public String getLogin(
		@RequestParam("userName") String userName,
		@RequestParam("password") String password,
		Model model) {

	System.out.println("LoginControllerの46行目");

	return "test";
}
しかし今度は、ステータスコードが400(Bad Request)や404になります(実行のたびに違う)。
コンソールのエラーメッセージはこちら。
org.springframework.web.bind.MissingServletRequestParameterException: Required String parameter 'userName' is not present
@RequestParamにユーザーIDとパスワードを指定していますが、渡されていないので、怒られています。
でもユーザ名は取得したいなと思いました。という場合はこれが正解なようです。
@GetMapping("/test222")
public String hello(Authentication loginUser,Model model) {

	System.out.println(loginUser.getName());

    return "test";
}
これで、test.htmlに対して、例えば
model.addAttribute("username",loginUser.getName());
などとすれば、「こんにちは、〇〇(ユーザ名)さん」と表示させることができます(はず)。
備考1
コードを正しい形に修正した上で起動して試してみても、最初の1、2回はなぜか通らず、3回目以降で成功し続けるということがあります(キャッシュが残っている????)。
数回トライしてみてください。
備考2
CSRFは/ログインSpring Securityの場合は無効にする必要があります。
という記事もありました。
クロスサイトリクエストフォージェリ対策を無効化するには、
configure(HttpSecurity http) throws Exception{ }の中にhttp.csrf().disable();
と書きますが、これはなくても私は通りました。