はじめに
カメラプラグインの動作テスト。
プラグインの追加
プロジェクトを作成してプラットフォームを追加し、カメラプラグインを追加。
$ cordova create camera
$ cd camera
$ cordova platform add ios
$ cordova plugin add cordova-plugin-camera
コード
index.html
<!DOCTYPE html>
<html>
	<head>
		<meta charset="utf-8">
		<meta http-equiv="Content-Security-Policy" content="default-src 'self' data: gap: https://ssl.gstatic.com 'unsafe-eval'; style-src 'self' 'unsafe-inline'; media-src *">
		<meta name="format-detection" content="telephone=no">
		<meta name="msapplication-tap-highlight" content="no">
		<meta name="viewport" content="user-scalable=no, initial-scale=1, maximum-scale=1, minimum-scale=1, width=device-width">
		<link rel="stylesheet" type="text/css" href="css/index.css">
		<title>Hello World</title>
	</head>
	<body>
		<div class="app">
			<h1>Camera</h1>
			<div>
				<button id="take_pictures">写真撮影</button>
				<div>
					<img src="" id="image" width="500px" />
				</div>
			</div>
		</div>
		<script type="text/javascript" src="cordova.js"></script>
		<script type="text/javascript" src="js/index.js"></script>
	</body>
</html>
index.js
var app = {
	initialize: function() {
		this.bindEvents();
	},
	bindEvents: function() {
		document.addEventListener('deviceready', this.onDeviceReady, false);
	},
	onDeviceReady: function() {
		var button = document.getElementById("take_pictures");
		button.addEventListener("click", takePictures);
	}
};

app.initialize();

// 写真撮影ボタンを押した時に呼ばれる
function takePictures(){
	navigator.camera.getPicture(cameraSuccess, cameraError, { quality: 80, destinationType: Camera.DestinationType.DATA_URL });
}
// 写真撮影が成功した時
function cameraSuccess(image){
	var img = document.getElementById("image");
	img.src = "data:image/jpeg;base64," + image;
}
// 失敗した時
function cameraError(message){
	alert("Failed!!: " + message);
}
カメラプラグイン概要
デバイスのカメラを起動して写真が撮れたり、デバイス内のギャラリーから写真を検索できる。
撮影した写真はBase64でエンコードされた文字列か、ファイルのURIのどちらかで返す。
オプション指定
| 値 | 説明 |
|---|---|
| quality | 写真のクオリティを0〜100で指定。 |
| destinationType | 戻り値のフォーマットの指定。 Camera.DestinationType.DATA_URL Camera.DestinationType.FILE_URI |
| sourceType | ソースタイプ指定。 Camera.PictureSourceType.PHOTOLIBRARY(写真ライブラリから画像選択) Camera.PictureSourceType.CAMERA(端末のカメラで写真撮影) Camera.PictureSourceType.SAVEDPHOTOALBUM(アルバムから画像選択) |
| allowEdit | 画像を選択する前の簡単な編集を許可。 |
| encodingType | 画像ファイルのエンコードタイプ。 |
| targetWidth | 画像スケールのためのピクセルでの横幅指定。 |
| targetHeight | 画像スケールのためのピクセルでの縦幅指定。 |
| mediaType | sourceTypeでPHOTOLIBRARYまたはSAVEDPHOTOALBUMを指定した時のみ有効。 Camera.MediaType.PICTURE Camera.MediaType.VIDEO Camera.MediaType.ALLMEDIA |
| correctOrientation | 画像を写真撮影した時と同じ向きにするかどうか。 |
| saveToPhotoAlbum | 写真撮影後に端末に画像を保存するかどうか。 |
| popoverOptions | iOSのみの設定。iPadでポップオーバー位置を明示するかどうか。 |
| cameraDirection | 背面のカメラか正面のカメラどちらを使うか。 |
実行結果
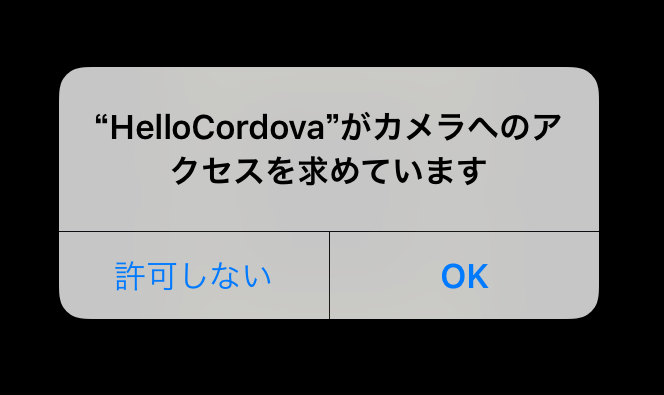
写真撮影ボタンを押すと以下が表示され、許可するとカメラが起動。
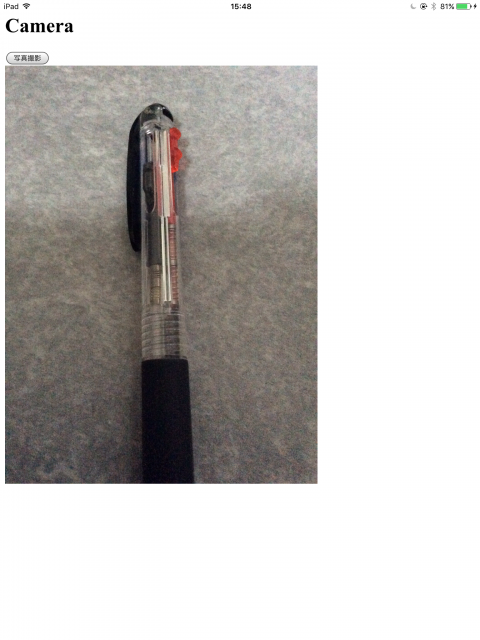
写真を撮って「Use Photo」を押すとボタンの下に画像が表示される。
まとめ
カメラ簡単に使えるので便利だった。