CocosCreatorのapp.asarの解凍
CocosCreatorを使っている方なら、一度目にしたことがあるかもしれません。
このapp.asarという圧縮ファイルの中に、エディタ自体のソースコードが入っています。これを解凍出来れば、改修はもちろん、エンジンの勉強にも役立ちます。
通常のasarファイルなら、
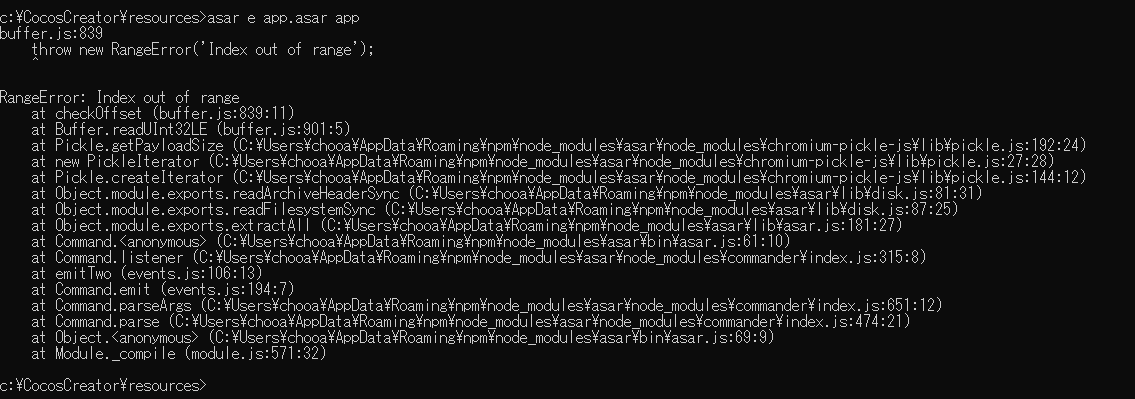
asar e app.asar app
で解凍できますが、cocos creatorのこのファイルは暗号化されており、asar コマンドでは解凍できません(以下のようなエラーが発生します)。
cocos creatorオフィシャルフォーラムにも同じような質問があります。
https://forum.cocos.com/t/creator/65966
このスレッドで解決策を見つけました。
https://forum.cocos.com/t/creator/65966/4
以下は解決策になります。
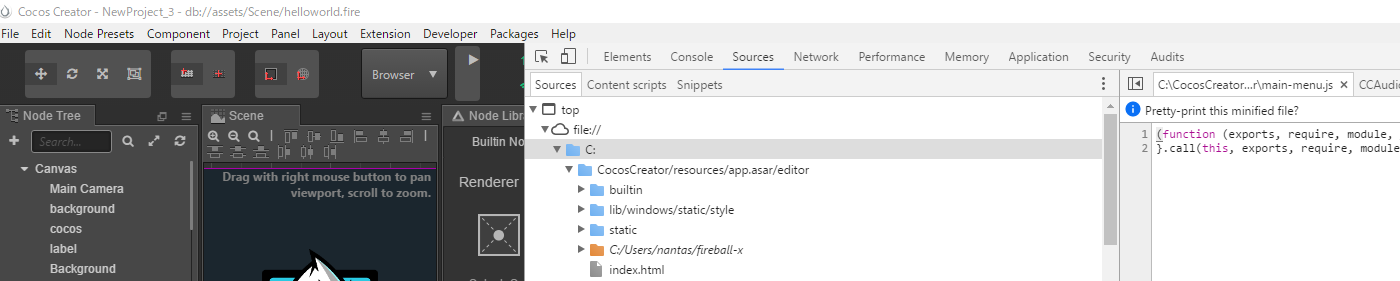
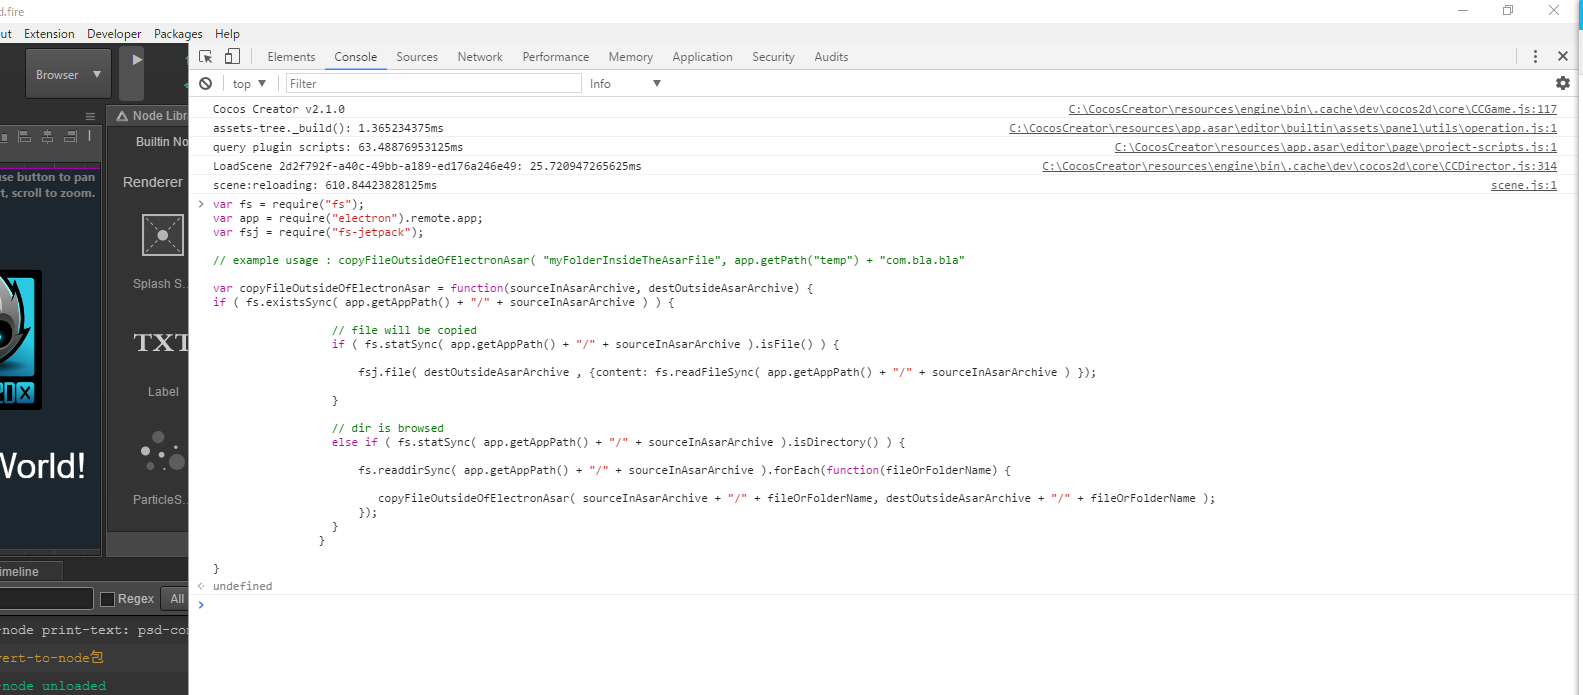
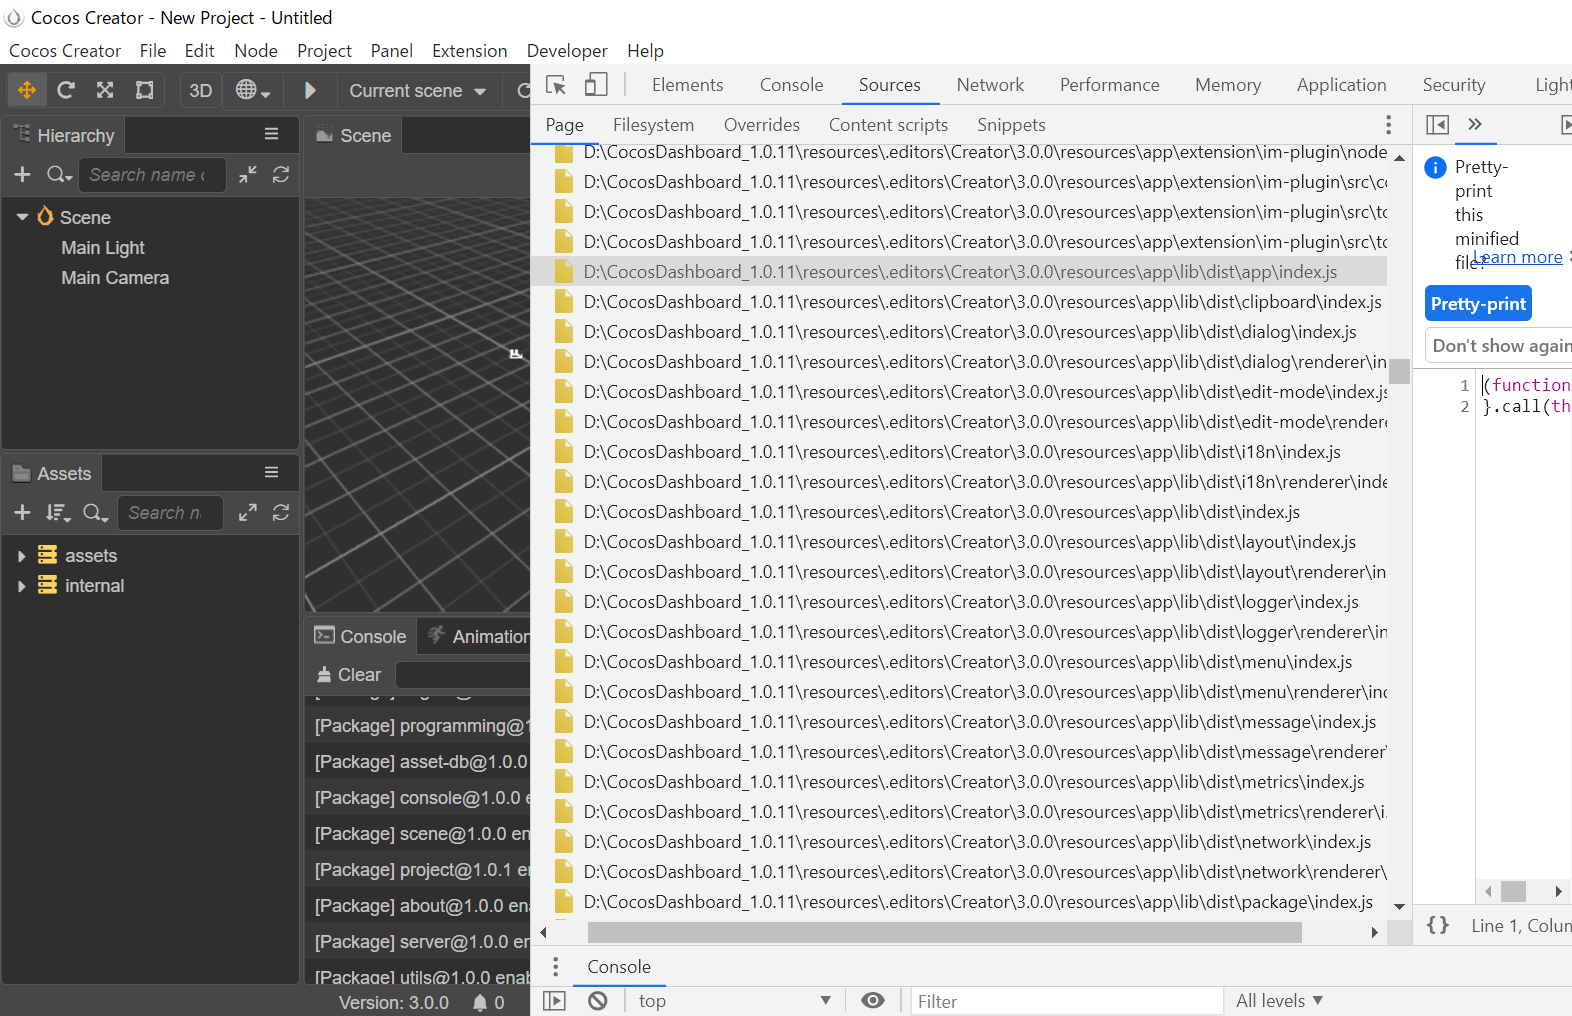
①まずは、Consoleタブをクリックし、すると、画面が下図の状態になります。

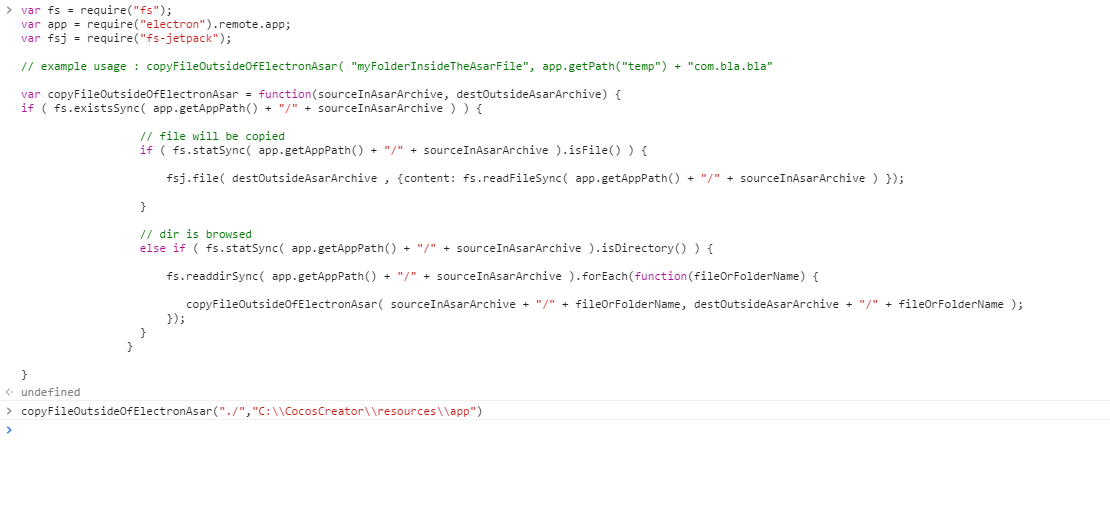
②asarファイル内のファイルを外にコピーする関数を実行
https://gist.github.com/benloong/586d6c899c2d84cea557d358311ae9d7
var fs = require("fs");
var app = require("electron").remote.app;
var fsj = require("fs-jetpack");

// example usage : copyFileOutsideOfElectronAsar( "myFolderInsideTheAsarFile", app.getPath("temp") + "com.bla.bla"

var copyFileOutsideOfElectronAsar = function(sourceInAsarArchive, destOutsideAsarArchive) {
if ( fs.existsSync( app.getAppPath() + "/" + sourceInAsarArchive ) ) {

                  // file will be copied
                  if ( fs.statSync( app.getAppPath() + "/" + sourceInAsarArchive ).isFile() ) {

                      fsj.file( destOutsideAsarArchive , {content: fs.readFileSync( app.getAppPath() + "/" + sourceInAsarArchive ) });

                  }

                  // dir is browsed
                  else if ( fs.statSync( app.getAppPath() + "/" + sourceInAsarArchive ).isDirectory() ) {

                      fs.readdirSync( app.getAppPath() + "/" + sourceInAsarArchive ).forEach(function(fileOrFolderName) {

                         copyFileOutsideOfElectronAsar( sourceInAsarArchive + "/" + fileOrFolderName, destOutsideAsarArchive + "/" + fileOrFolderName );
                      });
                  }
                }

}
上記コードをそのままConsoleにコピーし、実行(下図をご参照)
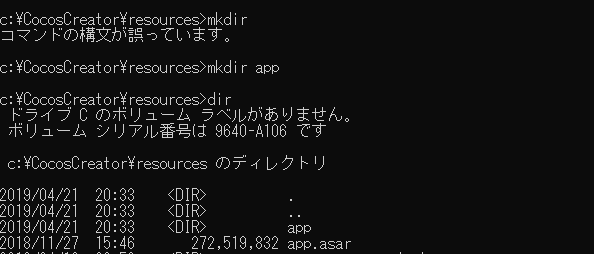
③app.asarと同じフォルダに一個appというフォルダを作成します。(mkdir appなどで)
④実際のコピー処理を実行します。
// 二つ目のパラメータはコピー先のフルパスに指定してください。
// 今回は上記で作成したappフォルダのフルパスを指定します。
copyFileOutsideOfElectronAsar("./","C:\\CocosCreator\\resources\\app")
これをConsoleで実行します。
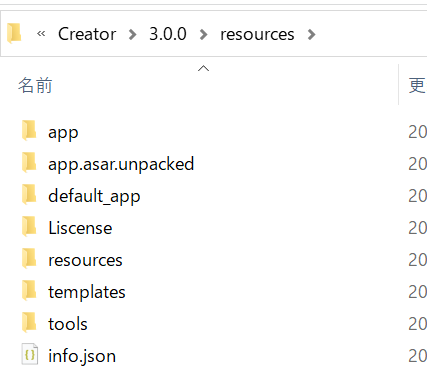
実際のappフォルダを確認しましょう。
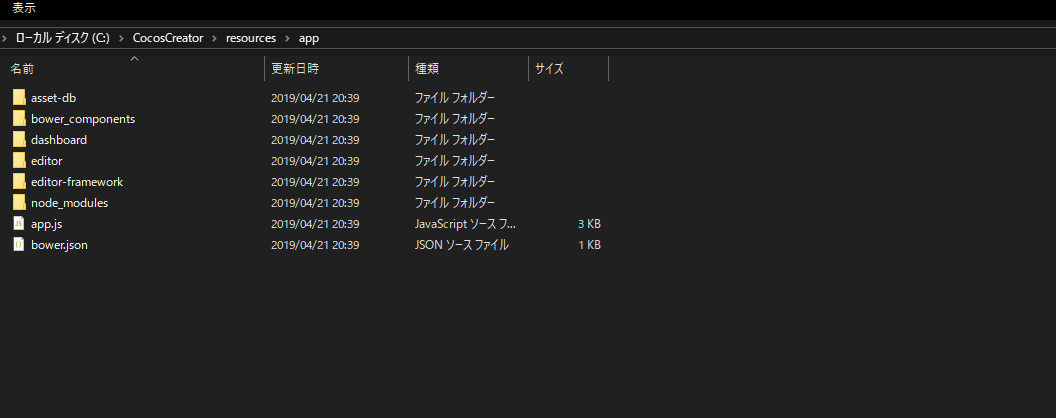
コピー出来ました!!
これでやっとapp.asarの中身を取り出せました。
electronコマンドでcocos creatorを起動
cocos creatorで使われているelectronのバージョンをまず確認します。
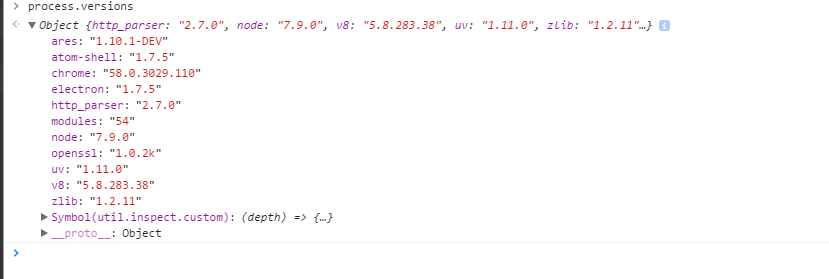
app.asarを解凍しない場合、Console上で
process.versions
で確認できます。
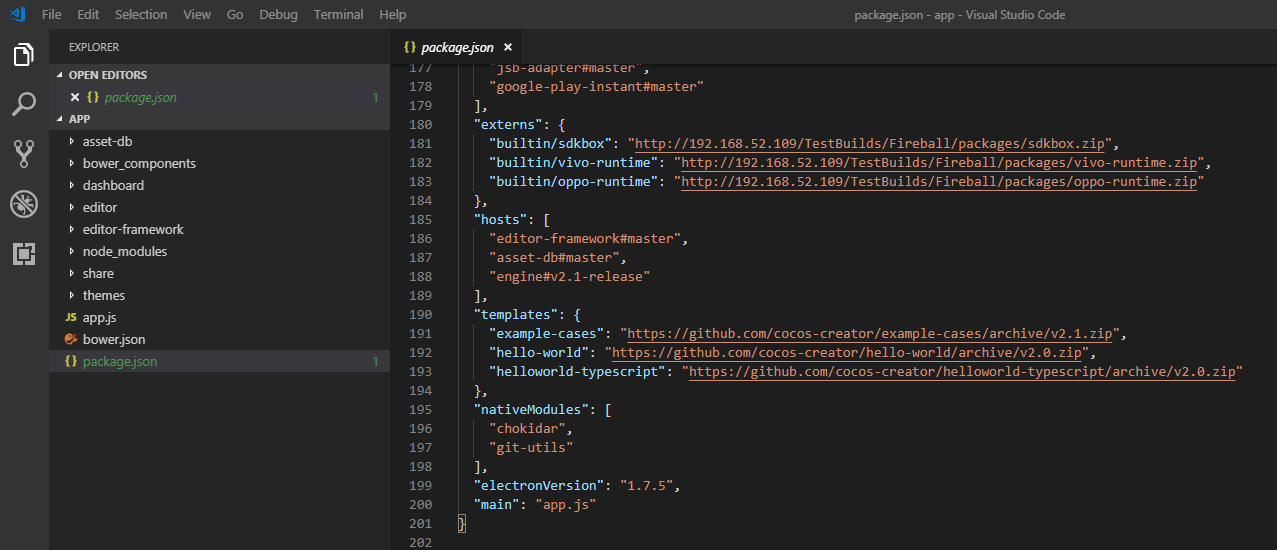
今回app.asarを解凍しましたので、この中のpackage.jsonからでも確認できます。
上記のprocess.versions実行でelectron 1.7.5で使われているnodeのバージョンは7.9.0で、chromiumのバージョンは58.0.3029.110です。
バージョン指定でelectron をインストールするとき、nodeのバージョンはあまり関係ないと思いますが、念のため、以下のようにインストールしました。
nvm use 7.9.0
npm -g install electron@1.7.5
electron --version

では本題のelectronコマンド実行でcreator creatorが起動できるかを見てみましょうか。
appフォルダに入り、electron .を実行
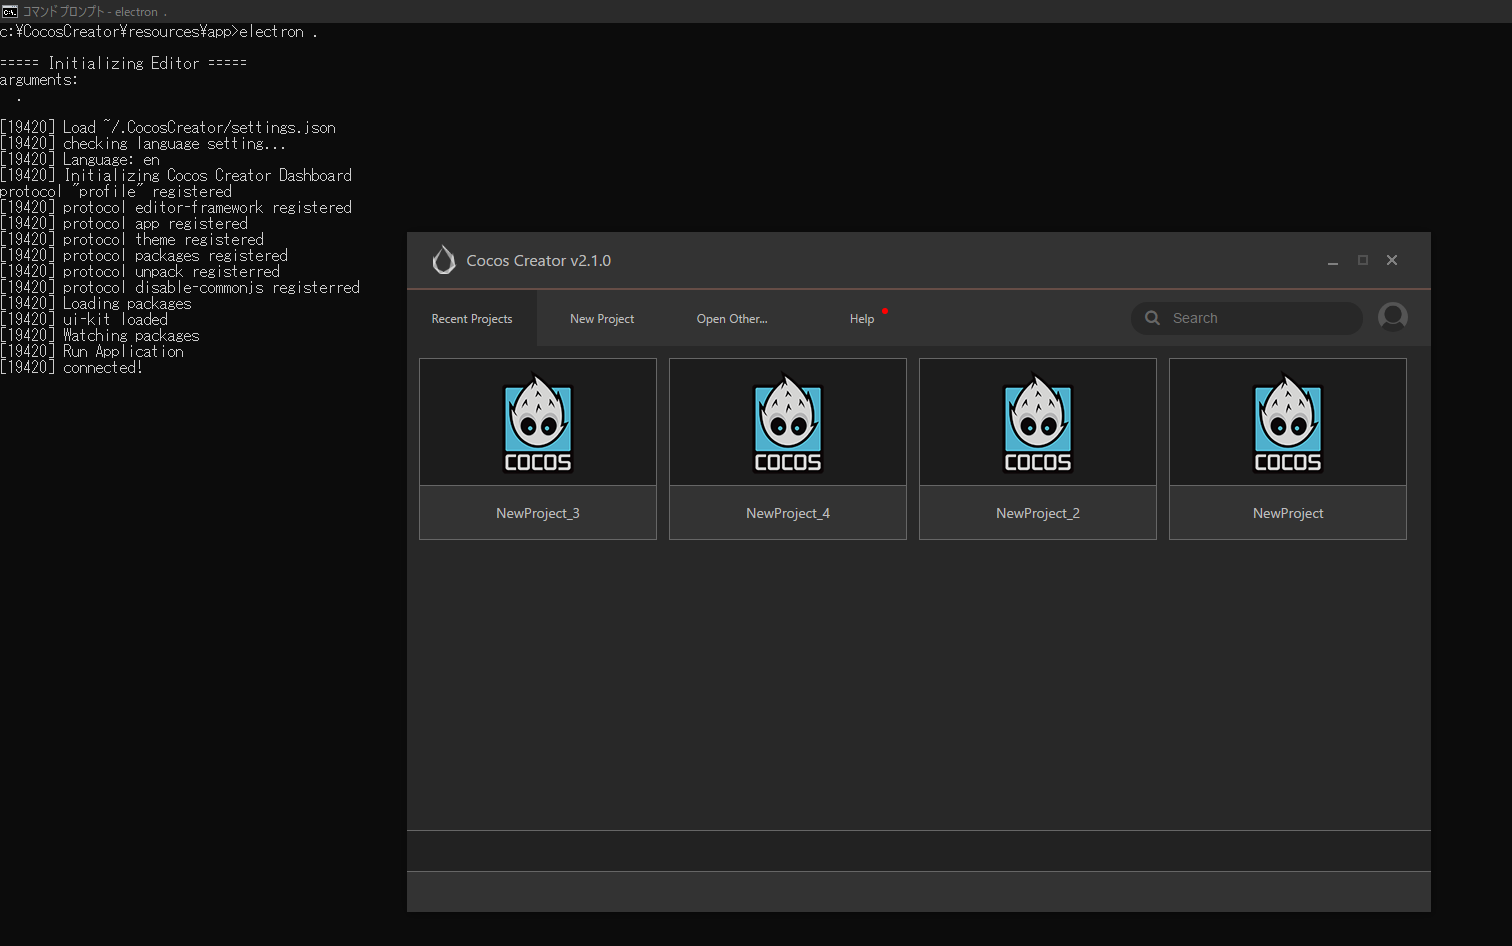
画面が立ち上がりました!!
今回の検証は今後どのような状況で使えるかはまだ課題として残っています。
例:・内蔵されているnodeが7.9.0で、もっと高いバージョンに上げるにはどうすればいいのか
CocosCreator3.0についての補足
asarファイル内のファイルを外にコピーする関数ですが、後続のバージョンでは一部モジュールが使えなくなったり、メソッド自体に制限がかかったりすることがありますので、以下の新しいバージョンをおすすめします。
以前と同じように、コピペでコンソールで実行。その後module.exports.copyFileOutsideOfElectronAsar("./","D:\\unpack\\app")を実行してください・「"D:\\unpack\\app"」の部分は解凍先フォルダとなります。
var fs = require("fs");
var app = require("electron").remote.app;
var copyFileOutsideOfElectronAsarUtility;
//module.exports.copyFileOutsideOfElectronAsar("./","D:\\unpack\\app")
(function () {
  if (copyFileOutsideOfElectronAsarUtility == null) {
    copyFileOutsideOfElectronAsarUtility = {};
  }
  copyFileOutsideOfElectronAsarUtility.isFile = function (filePath) {
    try {
      let r = fs.readFileSync(filePath);
      if (r != null) {
        return true;
      }
    } catch (error) {}
    return false;
  };
  copyFileOutsideOfElectronAsarUtility.isDirectory = function (filePath) {
    try {
      fs.readFileSync(filePath);
      return false;
    } catch (error) {
      return true;
    }
  };
  copyFileOutsideOfElectronAsarUtility.copyFileOutsideOfElectronAsar = function (
    sourceInAsarArchive,
    destOutsideAsarArchive
  ) {
    // file will be copied
    if (
      copyFileOutsideOfElectronAsarUtility.isFile(
        app.getAppPath() + "/" + sourceInAsarArchive
      )
    ) {
      console.log(app.getAppPath() + "/" + sourceInAsarArchive + ":isFile");
      let content = fs.readFileSync(
        app.getAppPath() + "/" + sourceInAsarArchive
      );
      fs.writeFileSync(destOutsideAsarArchive, content);
    }

    // dir is browsed
    else if (
      copyFileOutsideOfElectronAsarUtility.isDirectory(
        app.getAppPath() + "/" + sourceInAsarArchive
      )
    ) {
      if (sourceInAsarArchive !== "./") {
        fs.mkdirSync(destOutsideAsarArchive);
      }
      console.log(
        app.getAppPath() + "/" + sourceInAsarArchive + ":isDirectory"
      );
      let directory = app.getAppPath() + "/" + sourceInAsarArchive;
      if (sourceInAsarArchive === "./") {
        directory = app.getAppPath();
      }
      fs.readdirSync(directory).forEach(function (fileOrFolderName) {
        console.log(
          app.getAppPath() + "/" + sourceInAsarArchive + ":" + fileOrFolderName
        );

        copyFileOutsideOfElectronAsarUtility.copyFileOutsideOfElectronAsar(
          sourceInAsarArchive + "/" + fileOrFolderName,
          destOutsideAsarArchive + "/" + fileOrFolderName
        );
      });
    }
  };
})();

module.exports = copyFileOutsideOfElectronAsarUtility;
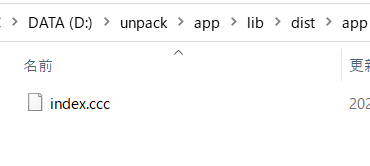
CocosCreator3.0解凍してもファイルの中身が確認できなかったため、対策を実施
上の新しい「module.exports.copyFileOutsideOfElectronAsar("./","D:\unpack\app")」を実行すると、解凍先のD:\unpack\app\の中身は確かに確認できるようになりましたが、でも、このindex.cccは何ですか?これでもせっかく解凍できても、javascript処理の確認が出来ないですね。
見れるソースコードを確認した限り、たぶんzlibで圧縮されたものらしいです。(←もちろん違う可能性もあります)
cocosの起動時、必ずこの.cccを有効のモジュールに変換する処理がありますので、ここはいくつの処理を拝借して、.cccファイルを同じ処理の.jsに変換し、.cccも削除する処理を作りました。
var fs = require("fs");
var convertCCCFileTojsUtility;
//module.exports.convertCCCFileTojsUtility("D:\\unpack\\app");
(function () {
  if (convertCCCFileTojsUtility == null) {
    convertCCCFileTojsUtility = {};
  }
  var compiler = null;
  try {
    require("fix-electron-require");
    compiler = process._linkedBinding("electron_common_compile");
  } catch (e) {
    console.log(e);
  }
  convertCCCFileTojsUtility.getBaseNameWithOutExt = function (filePath) {
    return filePath
      .split(".")
      .filter((c, i, a) => i < a.length - 1)
      .join(".");
  };

  convertCCCFileTojsUtility.loadCCC = function (filePath) {
    try {
      let compiler2Ret = Buffer.from(compiler.test2(filePath)).toString();
      return compiler2Ret;
    } catch (error) {
      console.log(error);
    }
  };

  convertCCCFileTojsUtility.convertCCCFileTojsUtility = function (
    cccSourceListPath
  ) {
    (async () => {
      let cccFileList = await new Promise((resolve) =>
        require("glob")(cccSourceListPath + "/**/*.ccc", {}, (err, files) => {
          resolve(files);
        })
      );
      let editorcccList = await new Promise((resolve) =>
        require("glob")(
          cccSourceListPath + "/**/.editor.ccc",
          {},
          (err, files) => {
            resolve(files);
          }
        )
      );
      let workflowcccList = await new Promise((resolve) =>
        require("glob")(
          cccSourceListPath + "/**/.workflow.ccc",
          {},
          (err, files) => {
            resolve(files);
          }
        )
      );
      cccFileList = cccFileList.concat(editorcccList).concat(workflowcccList);
      try {
        for (let index = 0; index < cccFileList.length; index++) {
          const cccFilePath = cccFileList[index];
          let jsVersionPath =
            convertCCCFileTojsUtility.getBaseNameWithOutExt(cccFilePath) +
            ".js";
          let cccFileContent = convertCCCFileTojsUtility.loadCCC(cccFilePath);
          fs.writeFileSync(jsVersionPath, cccFileContent);
          console.info(
            (index + 1).toString() + "/" + cccFileList.length + ":done"
          );
          if (fs.existsSync(jsVersionPath)) {
            // 以前の.cccファイル削除
            try {
              fs.unlinkSync(cccFilePath);
            } catch (error) {
              console.warn(error);
            }
          }
        }
      } catch (e) {
        console.error(e);
      }

      console.info("all ccc file convert process is over");
    })();
  };
})();
module.exports = convertCCCFileTojsUtility;
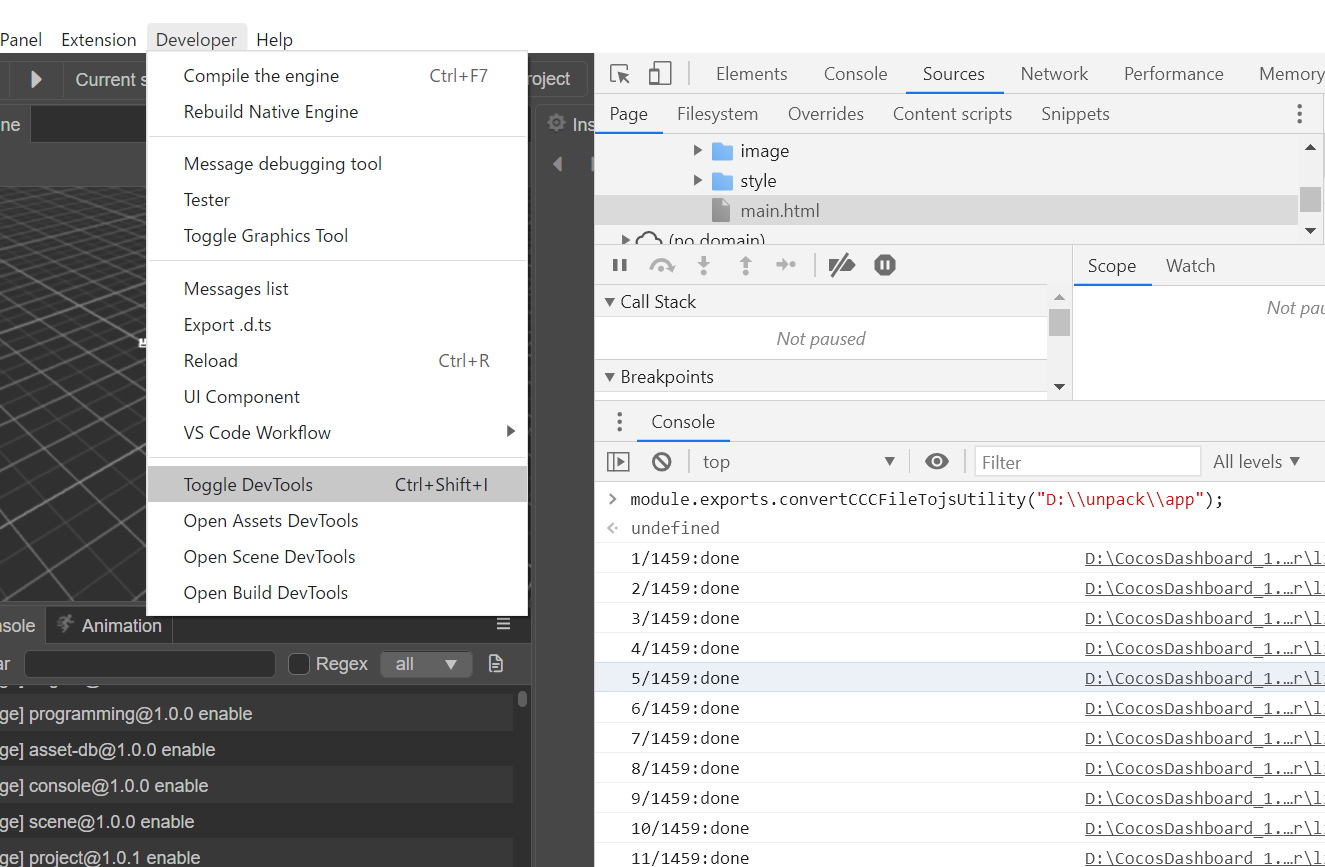
.cccファイルが入っているappフォルダー(もしcocoscreatorのフォルダー配下の場合、別の場所に移動しましょう)で、このキャプチャの場合、D:\unpack\appとなります。
CocosCreator3.0を起動し、メニューの「Toggle DevTools」を選択すると、出てきたコンソールに先ほどのconvertCCCFileTojsUtilityのソースコード全体をコピペして実行します。
その後、module.exports.convertCCCFileTojsUtility("D:\unpack\app");を実行すると、D:\unpack\app配下の.cccが全て.jsになります。
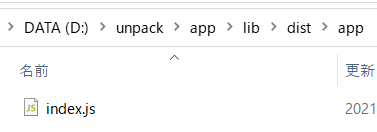
以上となります。これで.asar圧縮ファイルなしでも、.cccがなくても動くことが出来ます。
参考資料:
https://forum.cocos.com/t/creator/65966
https://discuss.cocos2d-x.org/t/successfully-run-cocos-creator-on-linux-and-released-it-as-docker-image/40755
https://github.com/atom/atom/issues/9800