はじめに
Project Tinyでミニゲームを作成時に使用した機能やトラブルを説明していきます。
今回はUIについてです。
リポジトリはこちら。
UIの作成方法
uGUIと基本的には同じです。
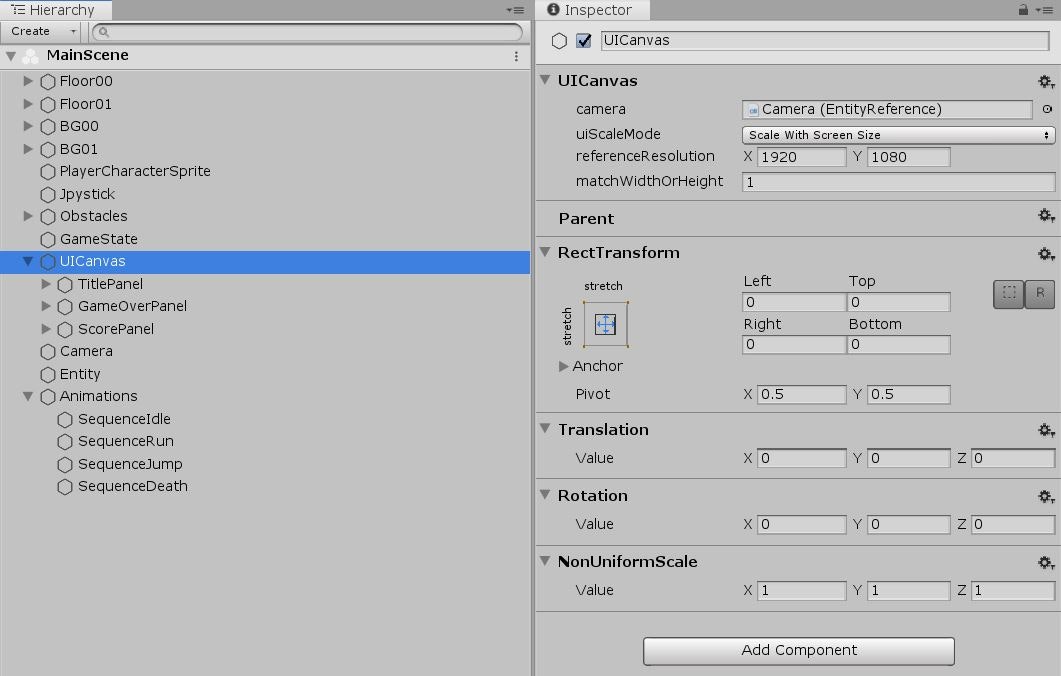
RootとなるEntityにUICanvasとRectTransformを設定し、
その子としてスプライトやテキストを配置していきます。
ボタン
ボタンを作成するために下記のコンポーネントが必要になります。
- Sprite2DRenderer
- RectTransform
- Button
- PointerInteraction
- Sprite2DRendererOption
- ColorTintTransition
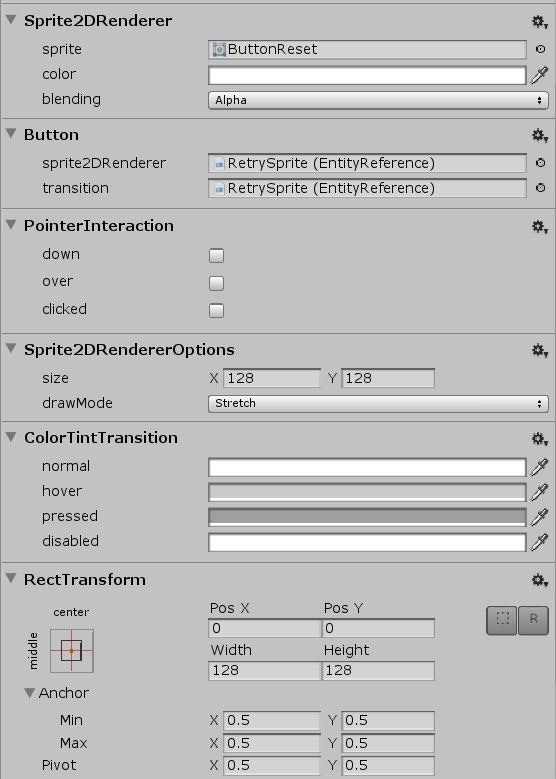
ボタンの実装
HierarchyでEntityに上記の必要なコンポーネントを設定し、
BUttonのsprite2DRendererにボタン画像のSprite2DRnedererのEntity、
transitionにColorTintTransitionのEntityを設定すればいいだけです。
必要に応じてColorTintTransitionの各色を変更してください。
あとはシステム内でPointerInteractionのclickedからクリックしたかどうか判定します。
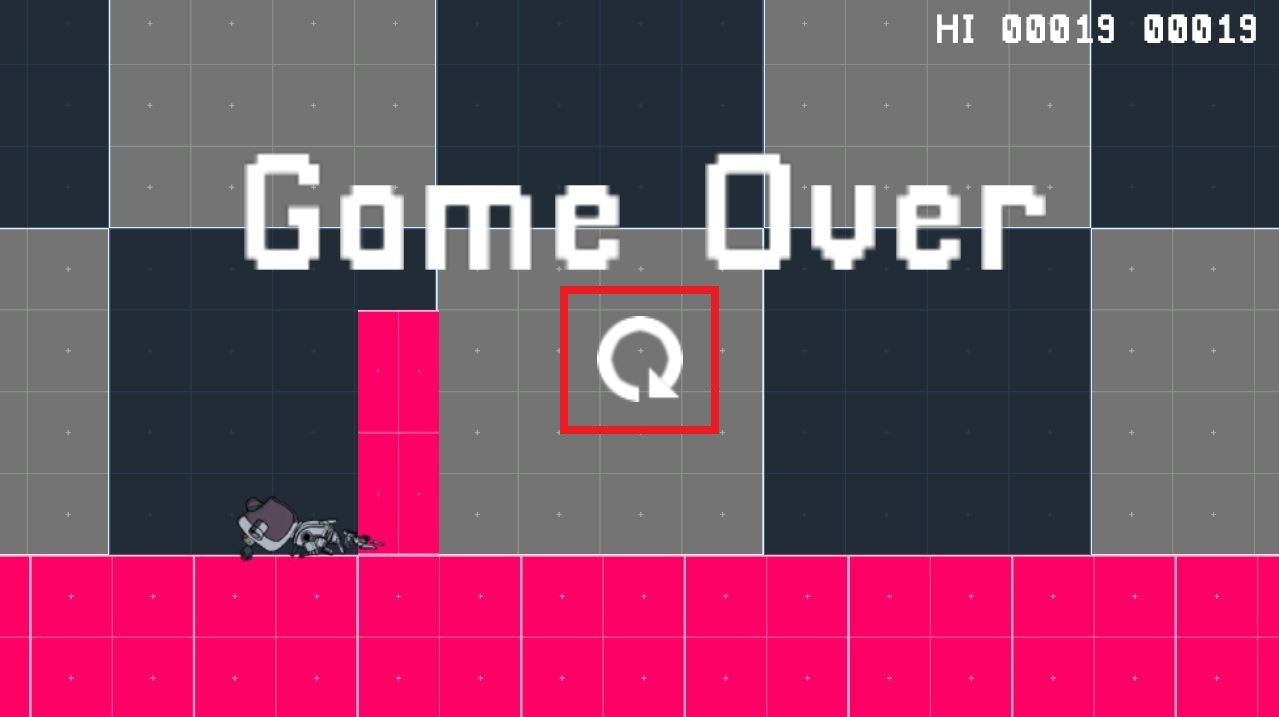
今回の場合だと、ゲームオーバー時のリトライボタンで使用しています。
// リトライボタンのクリック
Entities.WithAll<RetryButton>().ForEach((Entity entity, ref PointerInteraction pointerInteraction) =>
{
    // クリックされたらリトライを行う
    retry = pointerInteraction.clicked;
    pointerInteraction.clicked = false;
});
テキスト
テキストを作成するために必要なコンポーネントです。
- RectTransform
- Text2DStyleBitmapFont
- Text2DRenderer
- Text2DStyle
- TextString
- LayerSorting
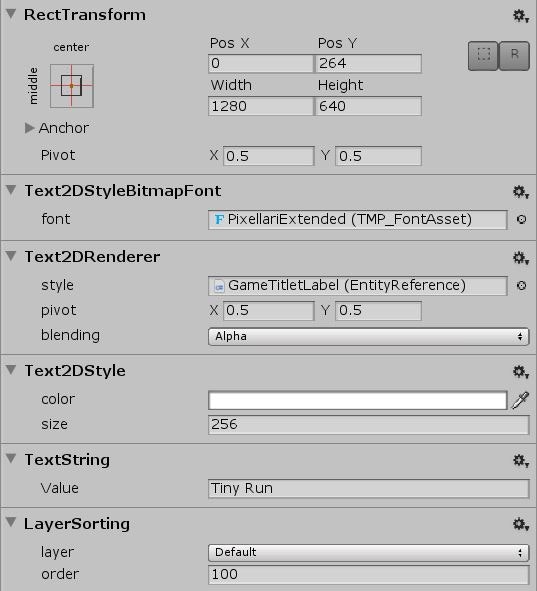
テキストの実装
Entityに上記の必要なコンポーネントを設定します。
各コンポーネントのフィールドを下記のように設定してください。
Text2DStyleBitmapFont
font : Text Mesh Proのフォントアセット
Text2DRenderer
style : Text2DStyleのEntity
Text2DStyle
color : フォントカラー
size : フォントサイズ
TextString
Value : 描画する文字列
LayerSorting
layer : レイヤー
order : レイヤー内での描画順(大きいほど手前になる)
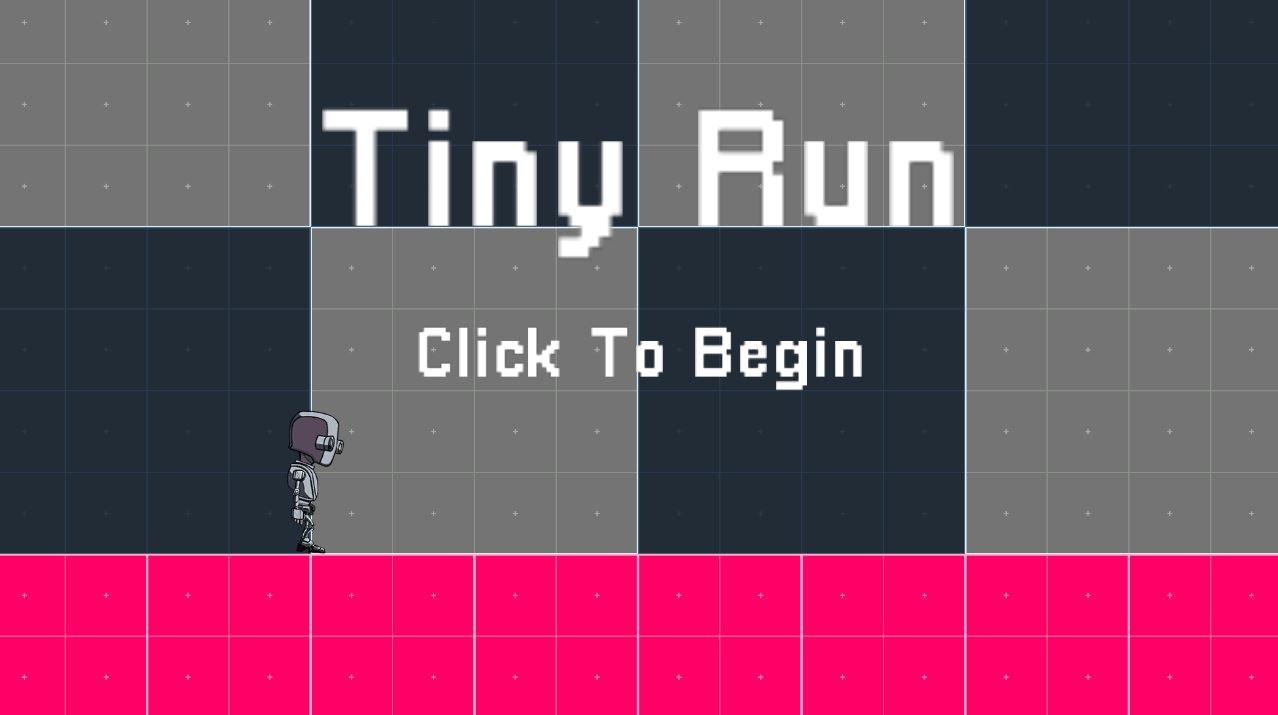
タイトル画面、スコア表示、ゲームオーバー表記はこの方法で実装しています。