はじめに
MacOSのユーザー向けの解説になります。
Dockerのバージョンは19.03.8です。
Dockerのインストール
下記の公式サイトにアクセスします。
https://hub.docker.com/editions/community/docker-ce-desktop-mac
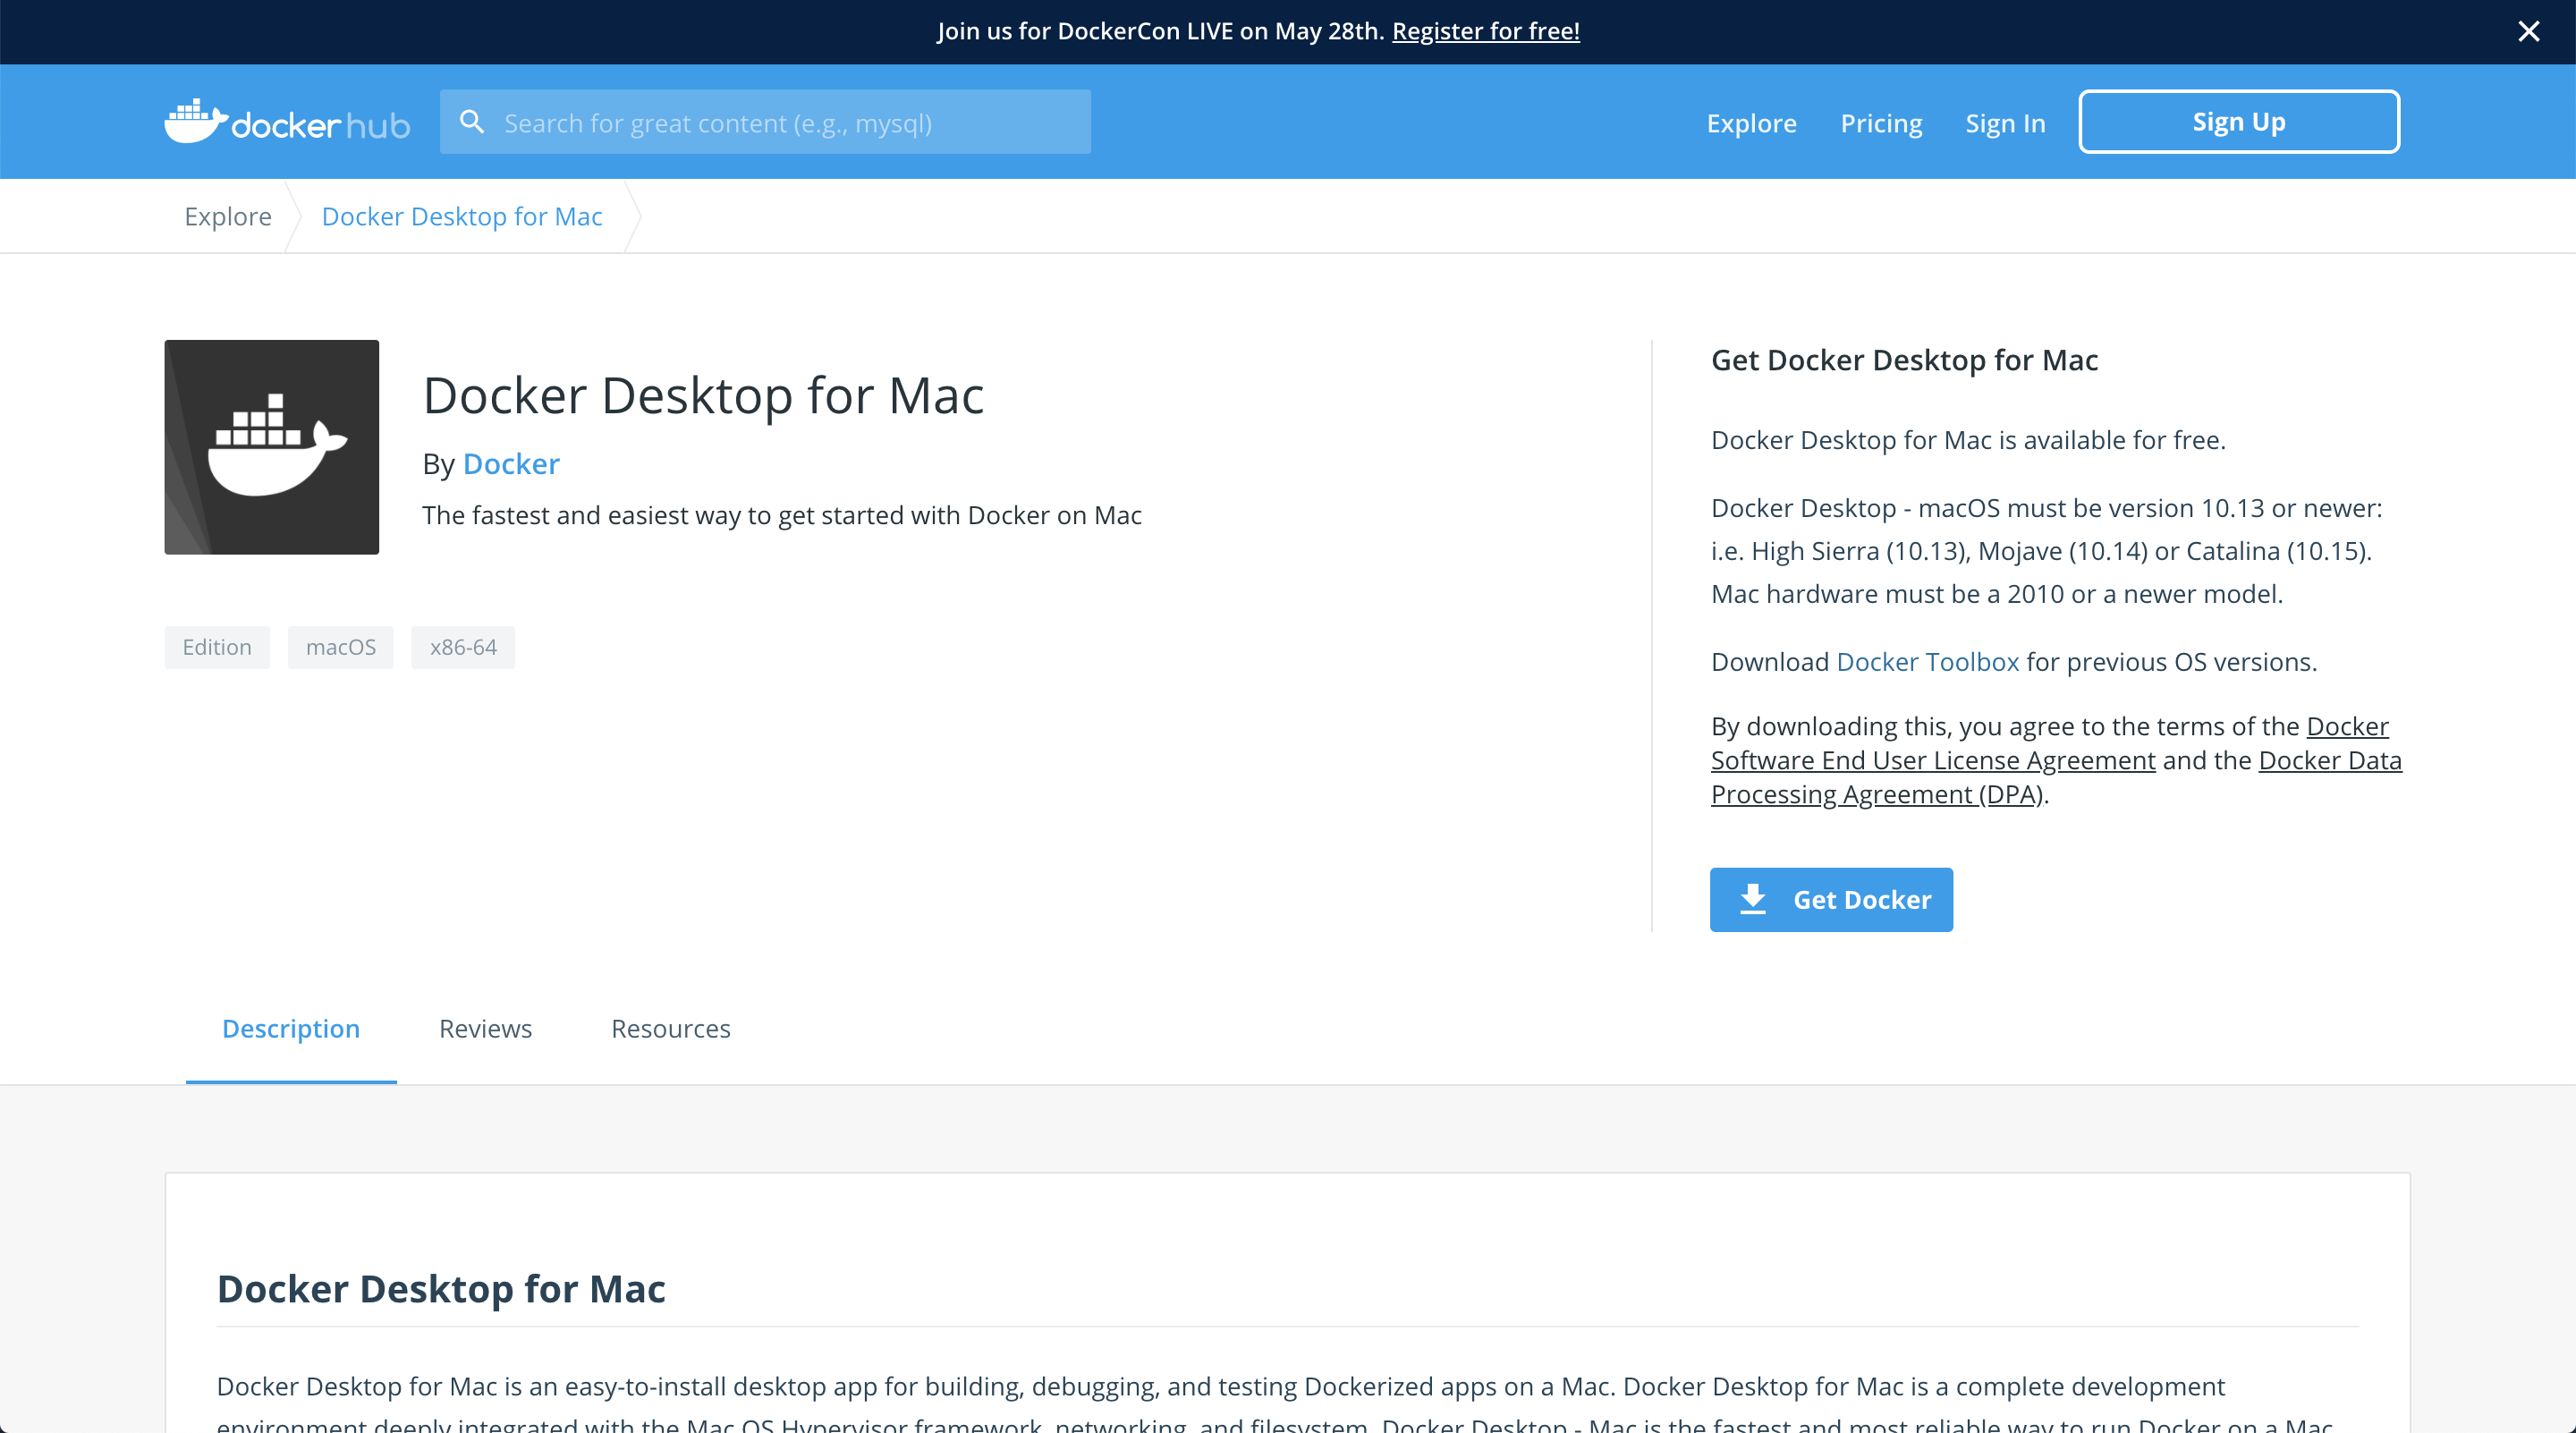
Get Dockerをクリックしてダウンロードをします。
ダウンロードが完了したらダブルクリックをしてPC上にインストールができたことを確認します。

一番左側にくじらのマークが現れたら次のことを試します。
インストールができたかどうかを確認する
下記のコマンドを実行してDockerのバージョンが表示されたらdockerがインストールされていることを試します。
$ docker version
Client: Docker Engine - Community
 Version:           19.03.8
 API version:       1.40
 Go version:        go1.12.17
 Git commit:        afacb8b
 Built:             Wed Mar 11 01:21:11 2020
 OS/Arch:           darwin/amd64
 Experimental:      false

Server: Docker Engine - Community
 Engine:
  Version:          19.03.8
  API version:      1.40 (minimum version 1.12)
  Go version:       go1.12.17
  Git commit:       afacb8b
  Built:            Wed Mar 11 01:29:16 2020
  OS/Arch:          linux/amd64
  Experimental:     false
 containerd:
  Version:          v1.2.13
  GitCommit:        7ad184331fa3e55e52b890ea95e65ba581ae3429
 runc:
  Version:          1.0.0-rc10
  GitCommit:        dc9208a3303feef5b3839f4323d9beb36df0a9dd
 docker-init:
  Version:          0.18.0
  GitCommit:        fec3683
Dockerを用いたRuby on Railsの環境構築
Dockerのインストールが完了したのでこれからDockerを用いたRuby on Railsの環境構築を行います。
各ファイルの準備
DockerでRuby on Railsの環境を構築するプロジェクトのディレクトリを作成し移動します。今回はdocker_sampleとします。
$ mkdir docker_sample
$ cd docker_sample
そして移動したらDockerfileを作成します。
$ touch Dockerfile
$ ls
Dockerfile
次にDockerfile内に記述するためにviコマンドで開き編集します。
$ vi Dockerfile
下記の内容をDockerfile内に記述します。
FROM ruby:2.5
RUN apt-get update -qq && apt-get install -y nodejs postgresql-client
RUN mkdir /myapp
WORKDIR /myapp
COPY Gemfile /myapp/Gemfile
COPY Gemfile.lock /myapp/Gemfile.lock
RUN bundle install
COPY . /myapp

# Add a script to be executed every time the container starts.
COPY entrypoint.sh /usr/bin/
RUN chmod +x /usr/bin/entrypoint.sh
ENTRYPOINT ["entrypoint.sh"]
EXPOSE 3000

# Start the main process.
CMD ["rails", "server", "-b", "0.0.0.0"]
次はGemfileの編集になります。同じくviコマンドで開き編集をします。
$ vi Gemfile
下記の内容をGemfile内に記述します。
source 'https://rubygems.org'
gem 'rails', '~>5'
次にGemfile.lockを作成します。このときにGemfile.lockは空にします。この時点で下記の3つのファイルがあれば正常です。
$ touch Gemfile.lock
$ ls
Dockerfile	Gemfile		Gemfile.lock
次はentrypoint.shの作成をします。
$ vi entrypoint.sh
下記の内容をentrypoint.sh内に記述します。
# !/bin/bash
set -e

# Remove a potentially pre-existing server.pid for Rails.
rm -f /myapp/tmp/pids/server.pid

# Then exec the container's main process (what's set as CMD in the Dockerfile).
exec "$@"
次はdocker-compose.ymlの作成をします。
vi docker-compose.yml
下記の内容をdocker-compose.yml内に記述します。
version: '3'
services:
  db:
    image: postgres
    volumes:
      - ./tmp/db:/var/lib/postgresql/data
    environment:
      POSTGRES_PASSWORD: 'postgres'
  web:
    build: .
    command: bash -c "rm -f tmp/pids/server.pid && bundle exec rails s -p 3000 -b '0.0.0.0'"
    volumes:
      - .:/myapp
    ports:
      - "3000:3000"
    depends_on:
      - db
Rails newを行う
各ファイルの準備が整ったのでRails newをします。
$ docker-compose run web rails new . --force --no-deps --database=postgresql --skip-bundle
ダウンロードが終わるまでしばらく待ちます。
bundle install
ダウンロードが完了しましたらGemfileが更新されたのでビルドの実行をします。
$ docker-compose build
Ruby on RailsのDB設定
初期設定ではSQLiteになっているため下記のようにコードを差し替えます。
default: &default
  adapter: postgresql
  encoding: unicode
  host: db
  username: postgres
  password: postgres
  pool: 5

development:
  <<: *default
  database: myapp_development

test:
  <<: *default
  database: myapp_test
コンテナの起動
次にコンテナの起動を行います。
$ docker-compose up
DBの作成
$ docker-compose run web rake db:create
あとはdb:createを行い完了になります。http://localhost:3000/ にアクセスします。

以上がDockerでRuby on Railsの開発環境を構築する内容になります^_^
開発の際に役に立つ情報
DockerでRailsの開発環境の構築ができたら早速開発に移ることになりますが、その際にわたしが実際に使用したものや導入したものをまとめた記事を下記のリンクで紹介していますのでぜひご覧ください!