環境
Docker 19.03.8
macOS 10.15.5
前提
Herokuのアカウント登録は完了している
Homebrewのインストールが完了していてbrewコマンドが使える
デプロイするまでの解説
下記は今回わたしがデプロイしたWebサイトのdocker-compose.ymlのファイルになります。
docker-compose.yml
version: '3'

services:
  db:
    image: postgres
    volumes:
      - ./tmp/db:/var/lib/postgresql/data

    environment:
      POSTGRES_PASSWORD: 'postgres'

  web:
    build: .
    command: bash -c "rm -f tmp/pids/server.pid && bundle exec rails s -p 3000 -b '0.0.0.0'"
    volumes:
      - .:/myapp
    ports:
      - "3000:3000"
    depends_on:
      - db
herokuコマンドのインストール
terminal
$ brew tap heroku/brew && brew install heroku
heroku-cliにログイン
下記のコマンドを実行したのちにEnterをクリックします。
terminal
$ heroku login
heroku: Press any key to open up the browser to login or q to exit:
下記の画面が自動的に開きますのでログイン情報を入力します。
Container Registryにログイン
そして下記のコマンドを実行してContainer Registryにログインします。
terminal
$ heroku container:login
Login Succeeded
アプリを新規作成
下記のコマンドを実行してアプリを新規作成をします。$ heroku create [app name]でアプリの名前を作成します。自身の指定するアプリ名を入力してください。
terminal
$ heroku create recipegram-app
Creating ⬢ recipegram-app... done
https://recipegram-app.herokuapp.com/ | https://git.heroku.com/recipegram-app.git
Container Registryにdocker imageをpushします。
ローカルで作成したdocker imageをHerokuのContainer Registryにpushします。
terminal
$ heroku container:push web
Heroku add-onsのpostgresqlを作成
terminal
$ heroku addons:create heroku-postgresql:hobby-dev
webプロセスタイプをリリース
terminal
$ heroku container:release web
DB migrationの実行
terminal
$ heroku run rails db:migrate
assets:precompile
terminal
$ heroku run rails assets:precompile
デプロイ完了
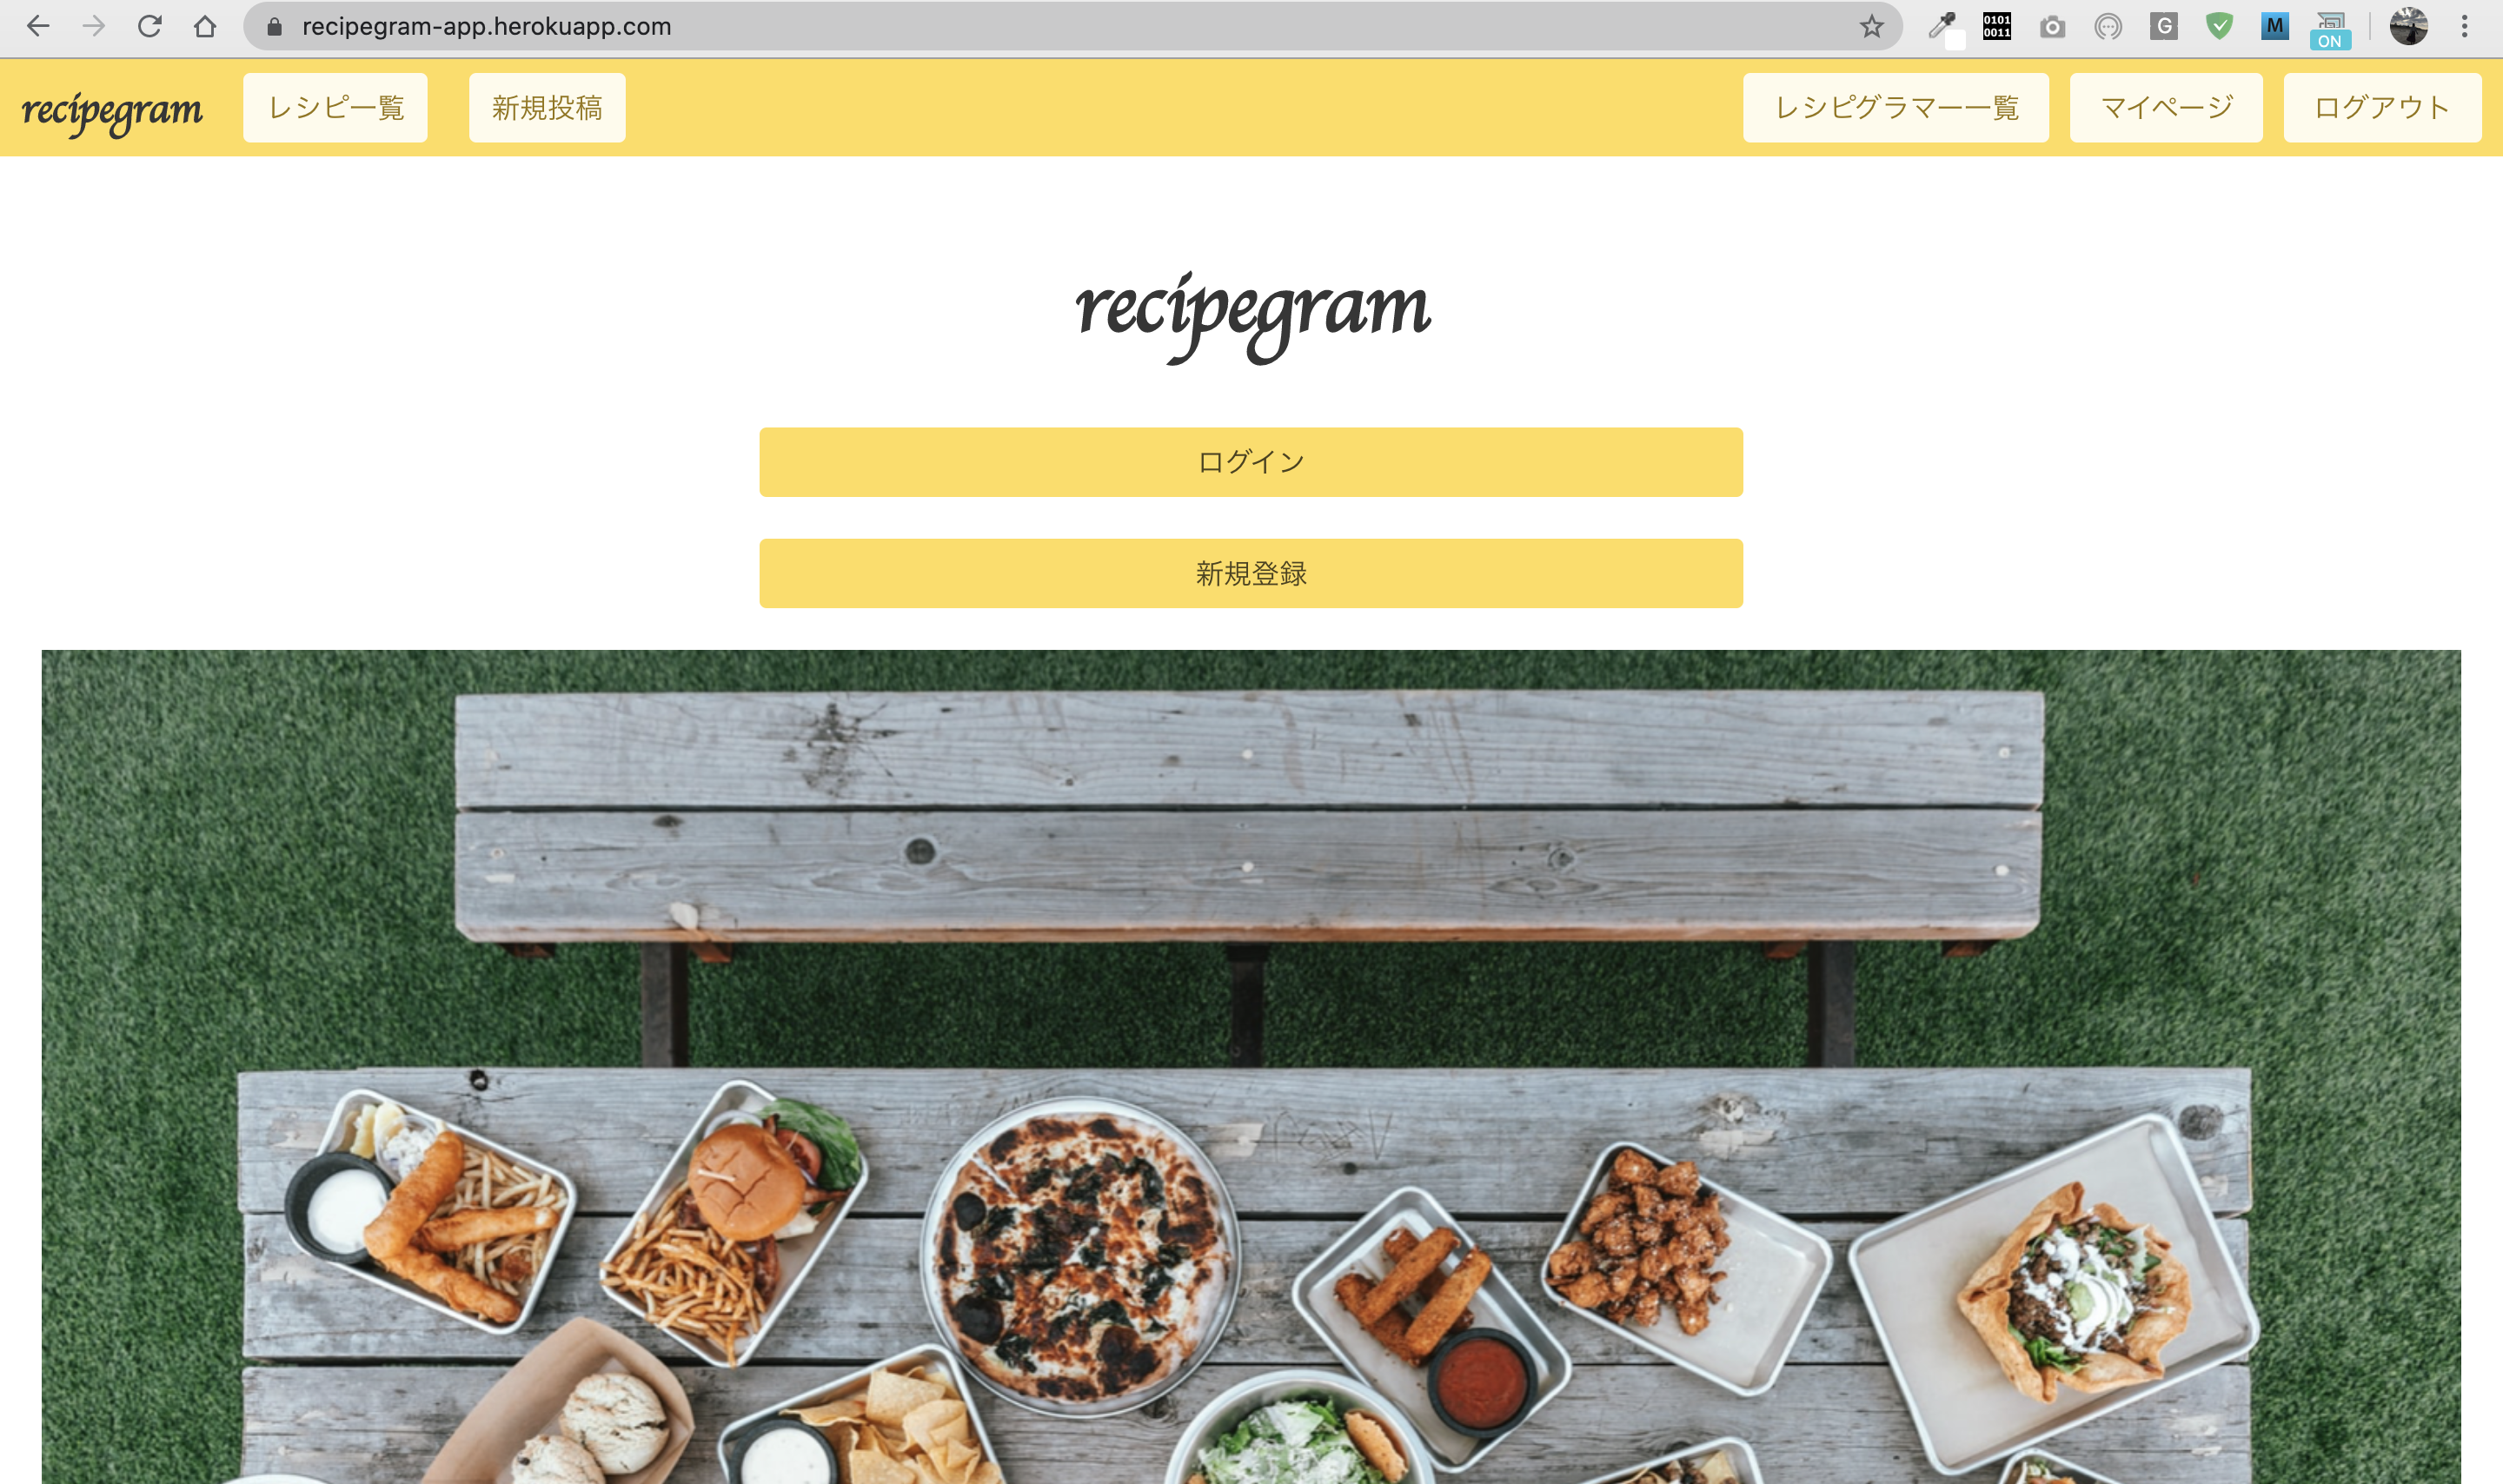
以下のコマンドでデプロイしたアプリが開きますので確認をします。
terminal
$ heroku open
問題なく表示させることができました!URLもきちんと表示されていることが確認できました^_^
Herokuにデブロイしたあとに更新する方法
下記のリンクではHerokuにデプロイしたあとに更新する場合の手順を公開していますのでぜひご覧ください!