概要
最近仕事でReactを触るようになったので、それに関連して何か書けないかなと。
何が良いかな・・そういえばFirebaseってよく耳にするけど触ったことないな・・(汗)
というわけで、ReactとFirebaseで簡単なアプリを作ってみます。
作ったもの
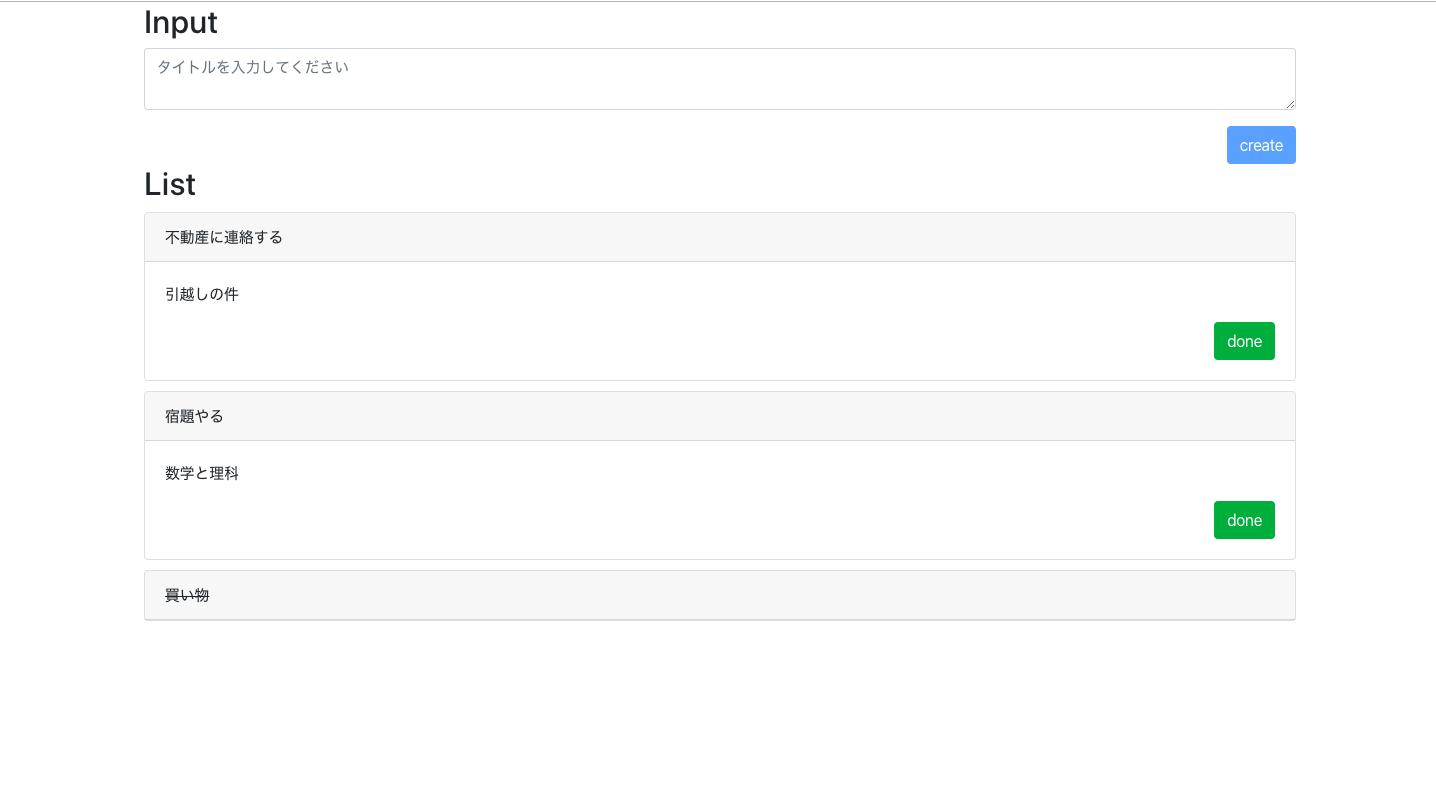
- ToDoを一覧に登録/表示する簡単なアプリを作りました
- https://todolist-b715e.firebaseapp.com

- createボタンを押すと一覧に追加する
- doneのボタンを押すと該当のToDoを閉じて、タイトルに取り消し線を引く
Reactとは
React はユーザーインターフェースを作成する為の JavaScript のライブラリです。
つまり、UIのパーツ(構成部品)を作るためのライブラリです。
Facebook社がOSSとして公開しています。
開発を行っているFacebookやInstagramはもちろん、YahooやAirbnbなどの著名な企業が利用しています。
特徴ですが、以下の三点が公式にコンセプトとして掲げられています。
- Declarative(宣言的である)
- Component-Based(コンポーネント指向である)
- Learn Once, Write Anywhere(一度の学習で何度でも書ける)
詳しくはこちらをご参照ください。
Firebaseとは
https://firebase.google.com/
Googleが提供しているBaaS(mobile Backend as a Service)
アプリケーションのバックエンドとして利用することのできるサービスで、主にモバイルアプリの開発に用いられています。
これを利用することでサーバレスな開発を実現でき、バックエンド側の開発コストを抑えることができます。
機能はたくさんありますが、全部を一度に理解するのは難しそうなので
今回は以下の二つの機能を使ってみようと思います。
-
Webホスティング機能
-
Webサイトを手軽に公開できる
-
Cloud Firestore(リアルタイムデータベース)
-
ドキュメント指向のNoSQLデータベース
-
リアルタイム性を兼ね備えており、ドキュメントに変更があった場合にも変更を即座に受け取ることも可能(クライアント側でリッスンしていた場合)
用いる技術
- フロントエンド: React.js
- バックエンド: Firestore
サーバーサイド(Firestore)のプロジェクト作成
-
Firebaseにアクセスし、Googleアカウントでログインする
-
プロジェクトを作成する

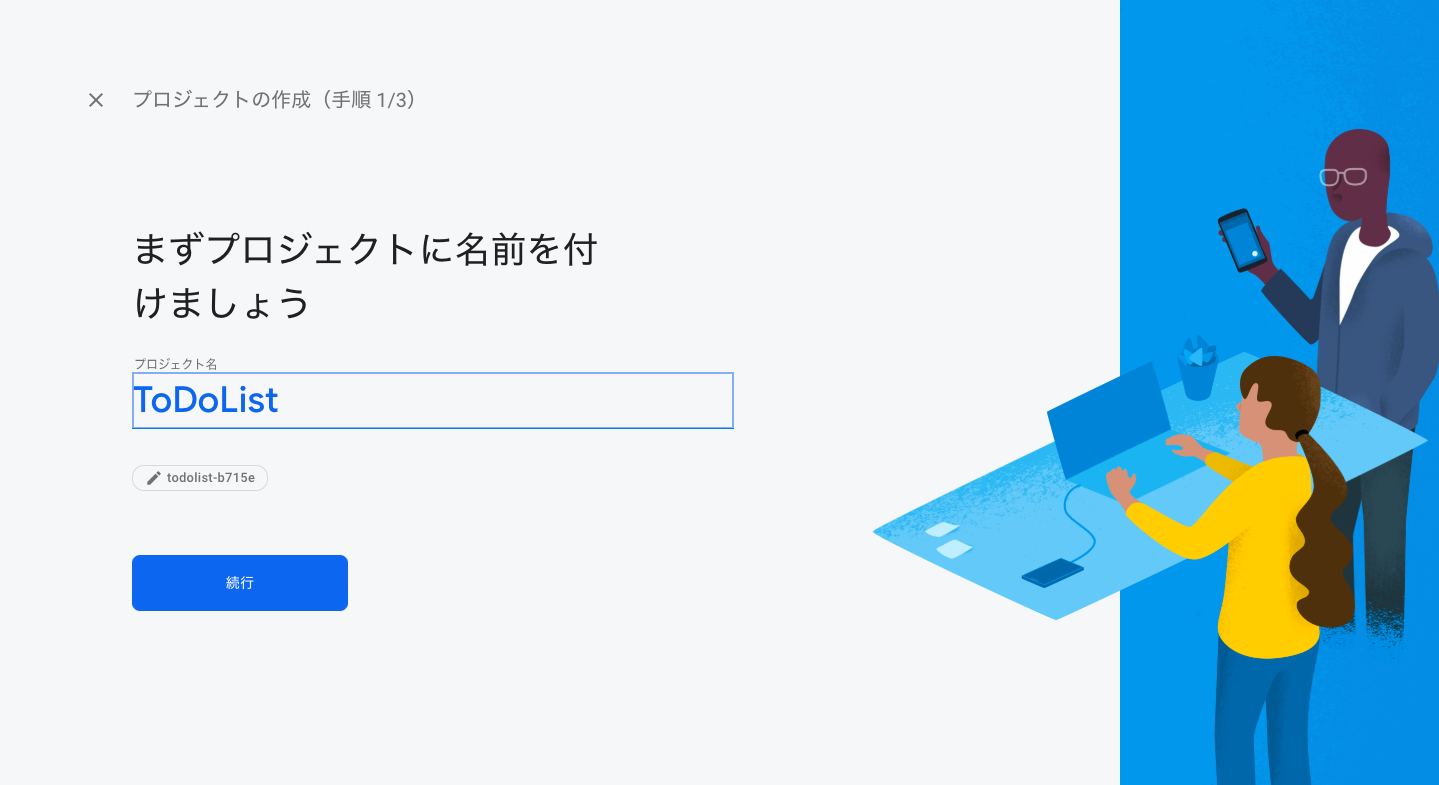
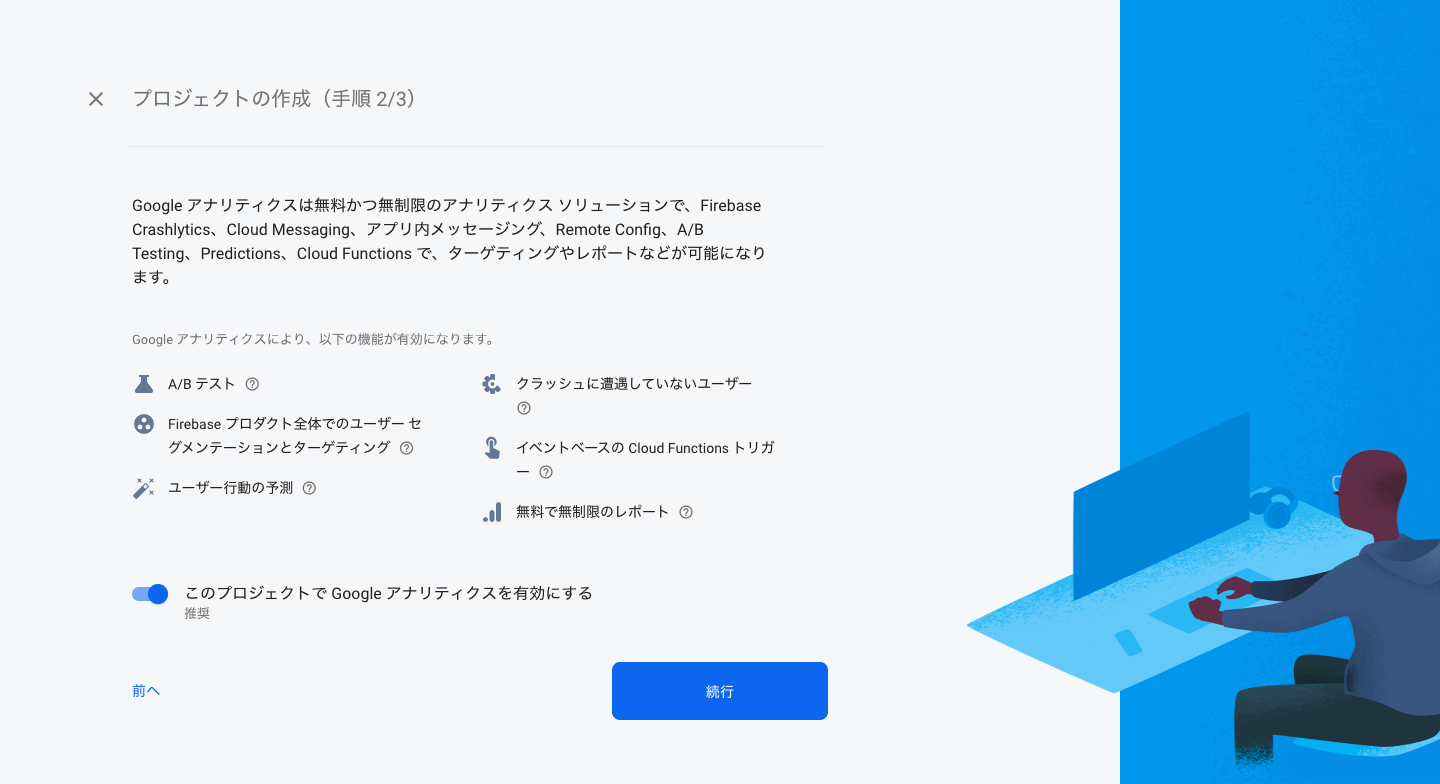

-
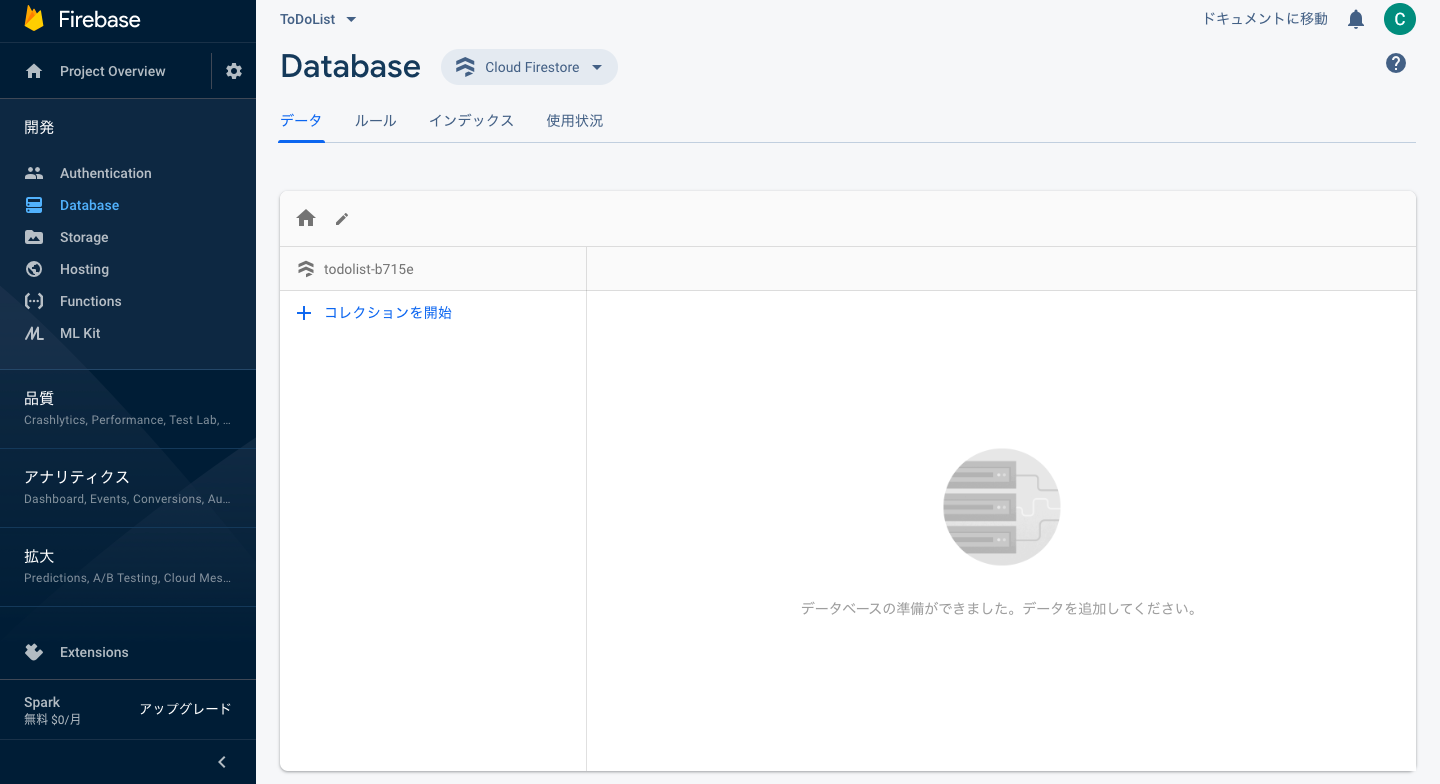
データベースをテストモードで作成する

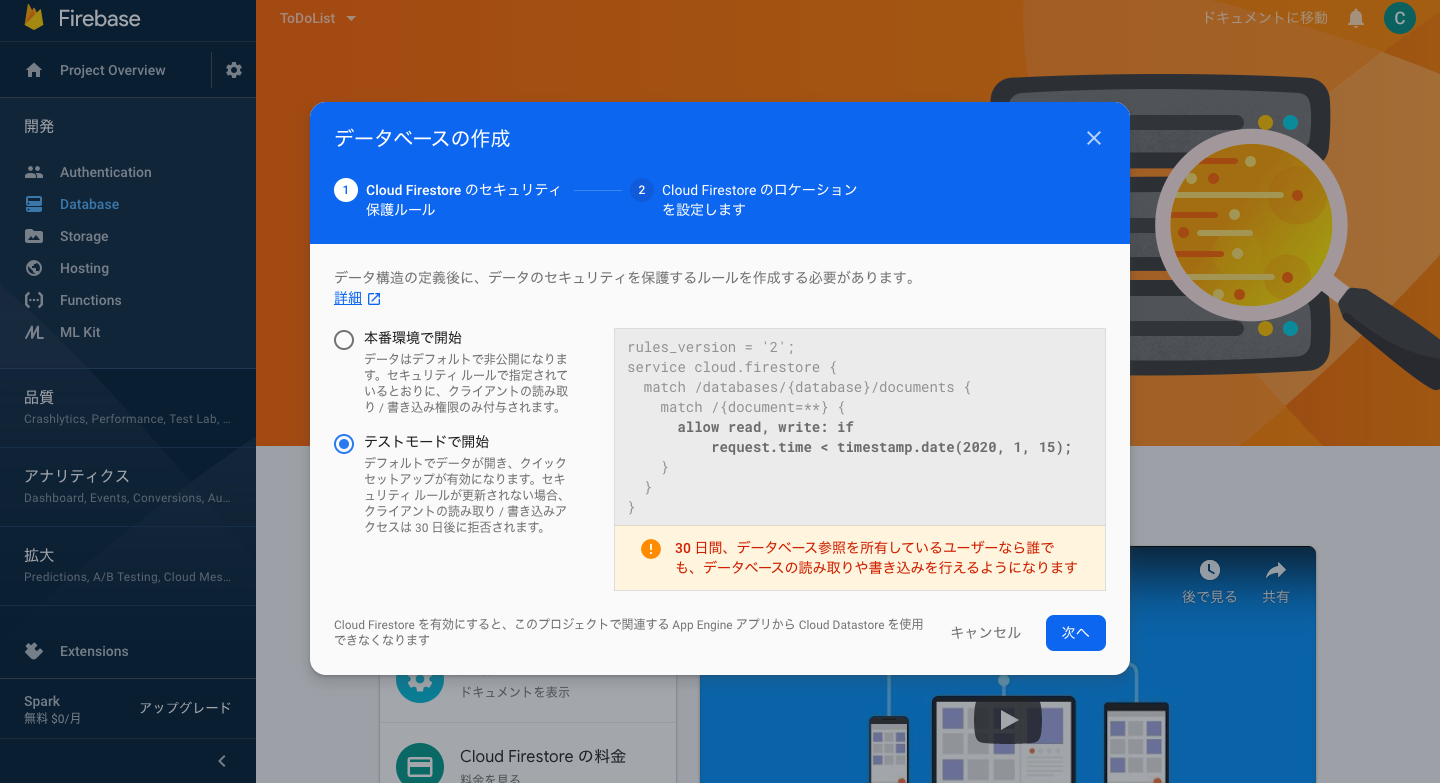
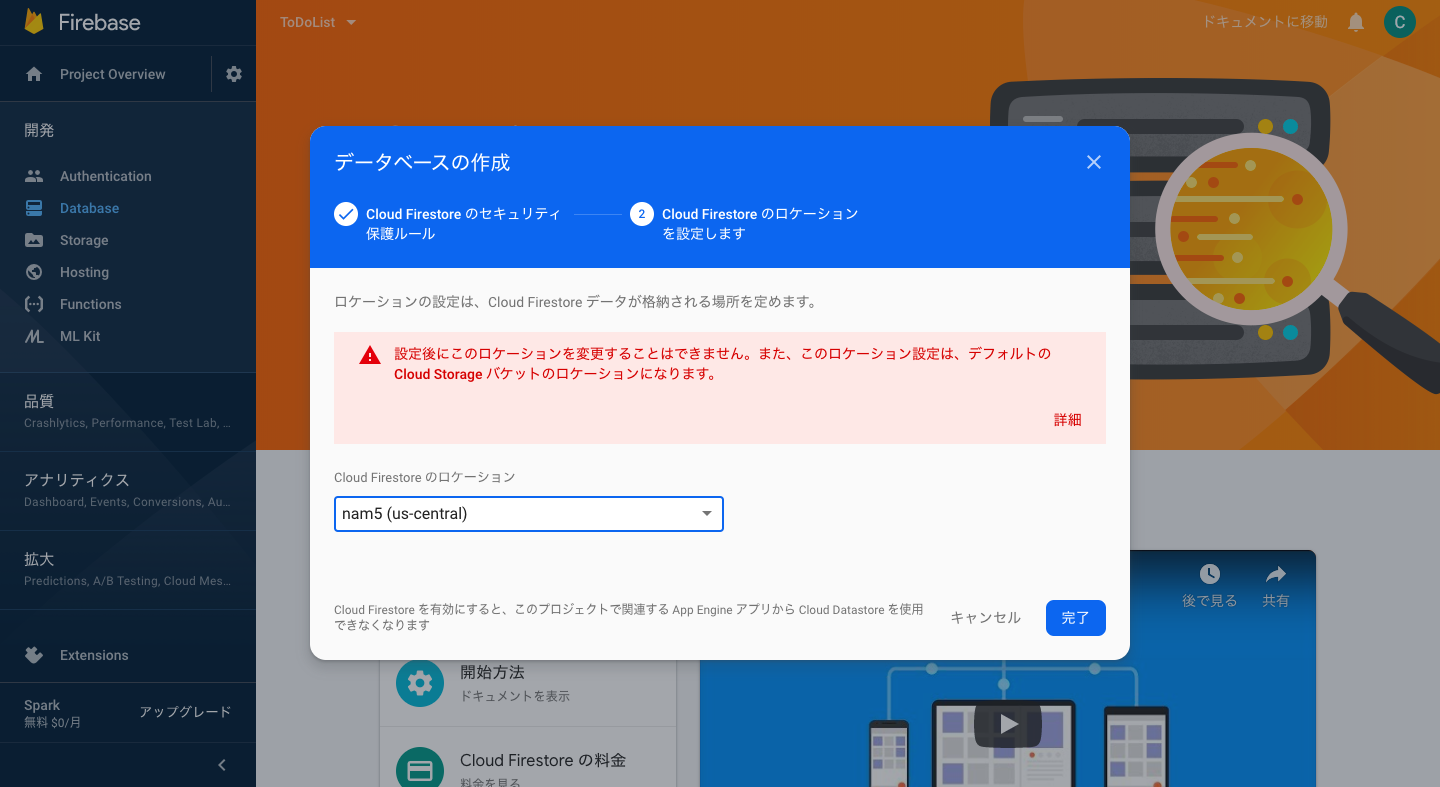
-
何も登録されていない(当たり前)
クライアントサイド(React)のプロジェクト作成
- 今回は
create-react-appを用いてReactのプロジェクトを作成します。 - ※npm(npx含む)コマンド実行環境の構築手順はこちらを参照
$ npx create-react-app todolist-client
- ディレクトリを移動する
$ cd todolist-client
- Reactのパッケージをインストールする
$ npm i -S react@16.7.0-alpha.2 react-dom@16.7.0-alpha.2
- 開発用のサーバーを起動する
$ npm start
-
http://localhost:3000/にアクセスして以下の画面が表示されればプロジェクト作成完了です
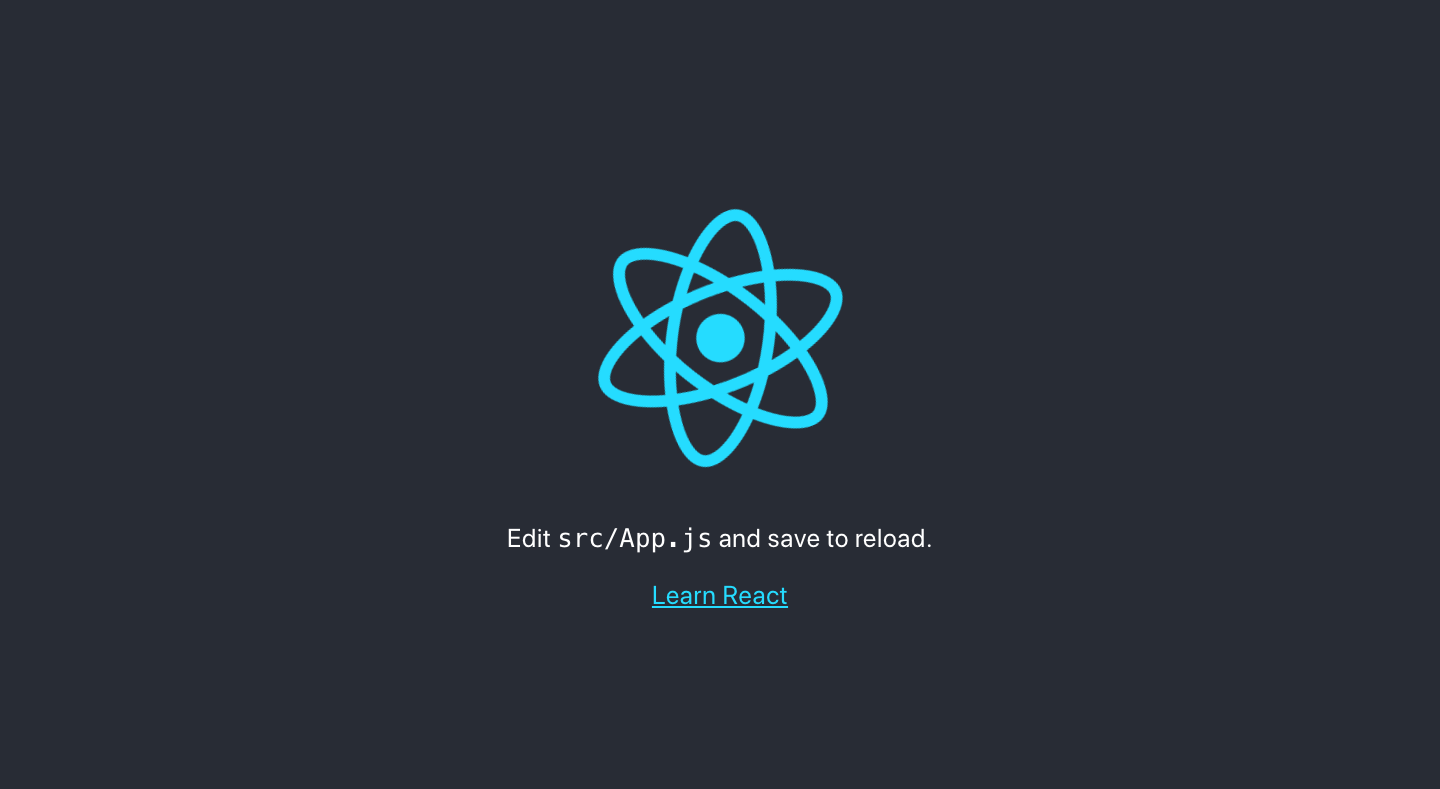
(何度やっても楽チンで感動する)
画面の見た目を作る
クラスを作成/編集する前にUIを作るためのライブラリを2つ
-
Bootstrap のコンポーネントをJSXで扱えるようにしたライブラリ
-
css属性の情報を定義したタグ付きテンプレートリテラルを扱えるようにしたライブラリ
-
各ライブラリをインストールする
$ npm install react-bootstrap bootstrap
$ npm install styled-components@beta
-
src/App.jsに以下を追記する
import 'bootstrap/dist/css/bootstrap.min.css';
- 以下のクラスを作成する
import React from "react";
import styled from "styled-components";
import { Button, Card } from "react-bootstrap";

const StyledCard = styled(Card)`
  margin-top: 10px;
`;

const StyledCardBody = styled(Card.Body)`
  display: flex;
  flex-direction: column;
`;

const StyledDiv = styled.div`
  margin: auto 0px auto auto;
`;

const StyledButton = styled(Button)`
  align-self: flex-end;
`;

const CardList = ({ thread }) => {
  return (
    <>
      <StyledCard>
        <Card.Header
          style={{
            textDecoration: thread.doneFlg ? "line-through" : ""
          }}
        >
          {thread.title}
        </Card.Header>
        {!thread.doneFlg && (
          <StyledCardBody>
            <Card.Text>{thread.content}</Card.Text>
            <StyledDiv>
              <StyledButton variant="success">done</StyledButton>
            </StyledDiv>
          </StyledCardBody>
        )}
      </StyledCard>
    </>
  );
};

export default CardList;
import React, { useState } from "react";
import { Button, Form } from "react-bootstrap";
import styled from "styled-components";

const StyledForm = styled(Form)`
  display: flex;
  flex-direction: column;
`;

const StyledDiv = styled.div`
  align-self: flex-end;
`;

const InputForm = () => {
  const [title, setTitle] = useState("");
  const [content, setContent] = useState("");

  return (
    <StyledForm>
      <StyledForm.Group controlId="title">
        <StyledForm.Control
          as="textarea"
          value={title}
          placeholder="タイトルを入力してください"
          onChange={event => setTitle(event.target.value)}
        />
      </StyledForm.Group>
      {title && (
        <StyledForm.Group controlId="content">
          <StyledForm.Control
            as="textarea"
            value={content}
            rows="3"
            placeholder="概要を入力してください"
            onChange={event => setContent(event.target.value)}
          />
        </StyledForm.Group>
      )}
      <StyledDiv>
        <Button id="create" disabled={!title || !content} variant="primary">
          create
        </Button>
      </StyledDiv>
    </StyledForm>
  );
};

export default InputForm;
import React, { useState } from "react";
import styled from "styled-components";
import CardList from "./CardList";
import InputForm from "./InputForm";

const StyledDiv = styled.div`
  width: 80%;
  margin: auto;
`;

const PageHome = () => {
  const [threads, setThreads] = useState([]);

  return (
    <StyledDiv>
      <h2>Input</h2>
      <InputForm />
      <h2>List</h2>
      {threads.map(thread => (
        <CardList key={thread.id} thread={thread} />
      ))}
    </StyledDiv>
  );
};

export default PageHome;
-
src/App.jsを修正する
import "bootstrap/dist/css/bootstrap.min.css";
import React from "react";
import PageHome from "./components/PageHome";

const App = () => {
  return <PageHome />;
};

export default App;
- 開発用サーバーを起動して確認する
$ npm start
- 以下の画面が表示されれば見た目の作成は完了です
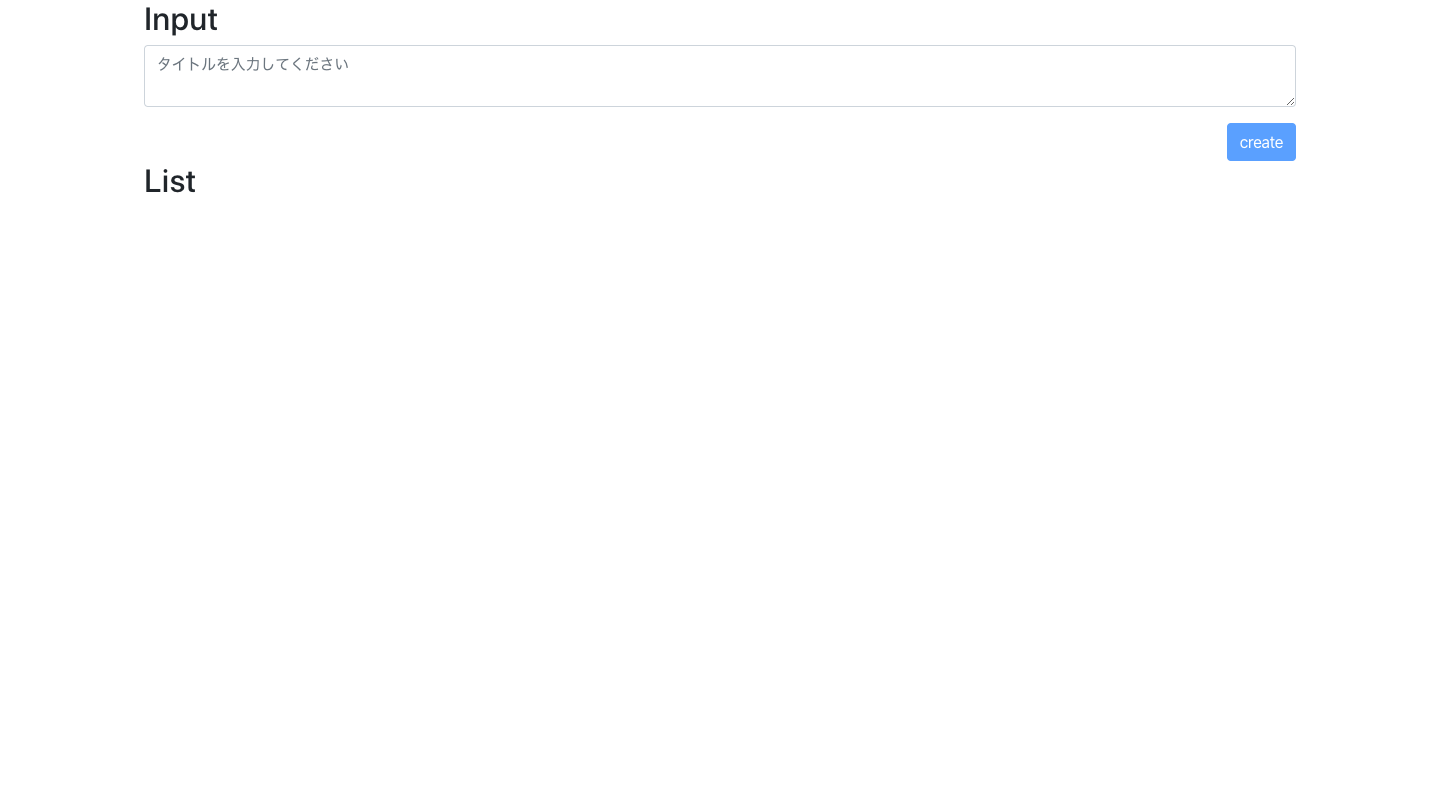
(まだ何もない)
Firestoreとの通信処理を実装する
- Firebaseをインストールする
$ npm i -S firebase
-
Firebaseのトップページからアプリを登録する

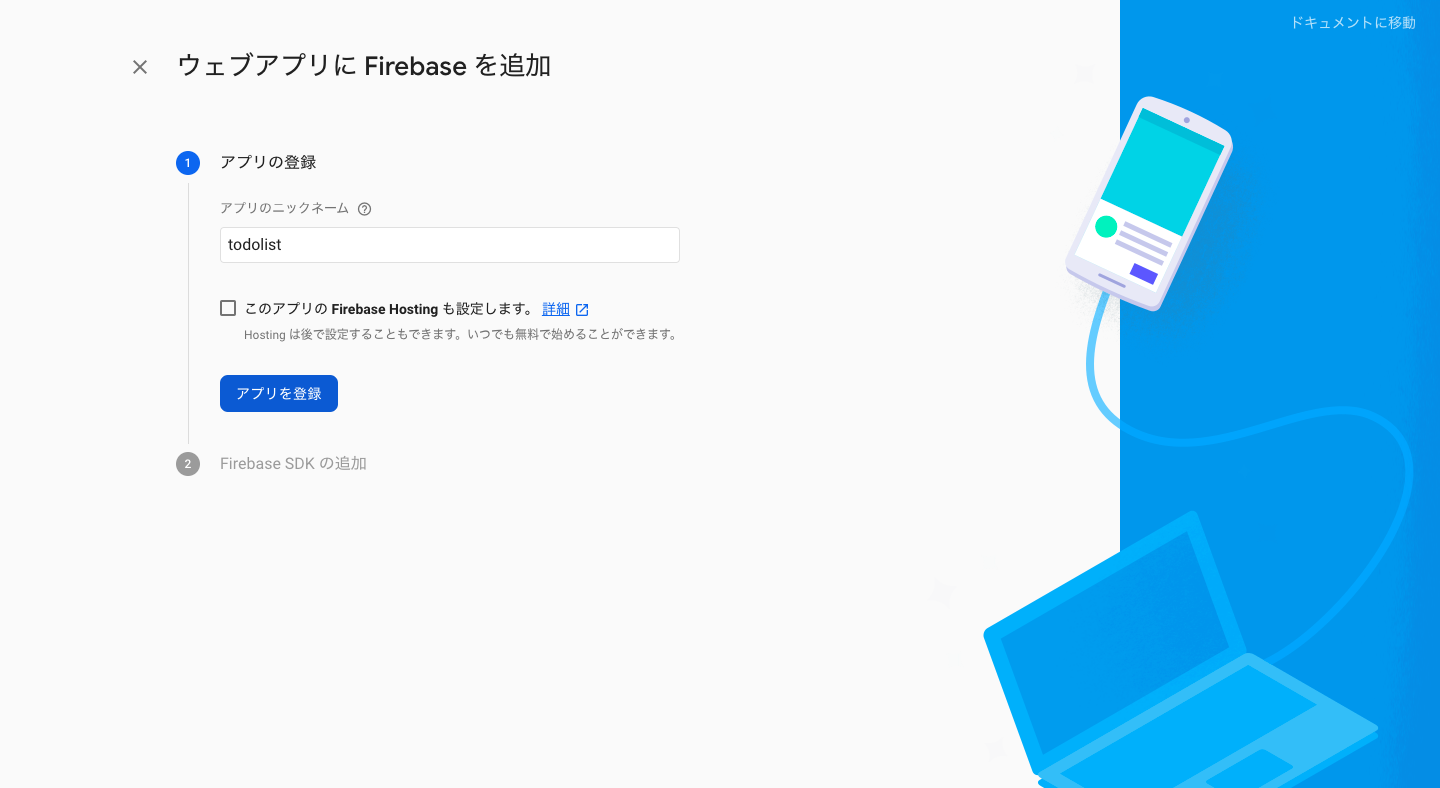
-
以下のようなスクリプトが表示されるので、
var firebaseConfigの値をコピーしてsrc/helpers/initializeApp.jsを作成する
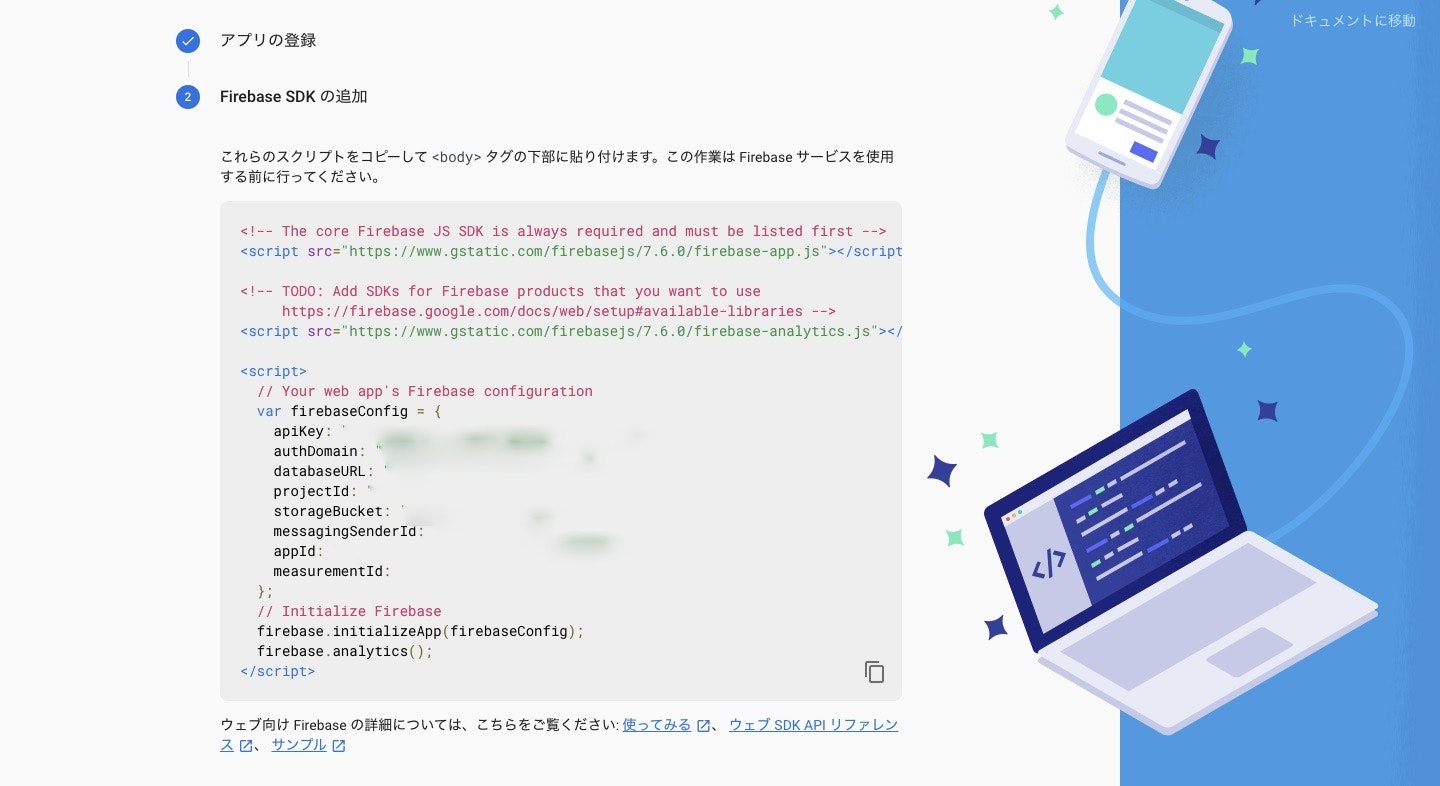
(キー情報なので伏せました)
import { firestore, initializeApp } from 'firebase/app';
import 'firebase/firestore';

initializeApp({
    apiKey: '',
    authDomain: '',
    databaseURL: '',
    projectId: '',
    storageBucket: '',
    messagingSenderId: '',
    appId: '',
    measurementId: '',
});

firestore().settings({ timestampsInSnapshots: true });

firestore()
    .enablePersistence({ experimentalTabSynchronization: true })
    .catch(err => {
        console.error(err);
    });
-
src/index.jsを修正する
import React from 'react';
import ReactDOM from 'react-dom';
import './index.css';
import App from './App';
import * as serviceWorker from './serviceWorker';
// 以下行を追加する
import './helpers/initializeApp.js';

ReactDOM.render(<App />, document.getElementById('root'));

// If you want your app to work offline and load faster, you can change
// unregister() to register() below. Note this comes with some pitfalls.
// Learn more about service workers: https://bit.ly/CRA-PWA
serviceWorker.unregister();

if (module.hot) {
    module.hot.accept();
}
- RxFireをインストールする
$ npm i -S rxfire
-
src/helpers/create.jsを作成する
import { firestore } from "firebase/app";

const create = async input => {
  const now = firestore.Timestamp.now();

  const systemFields = { createdAt: now };

  const threadRef = firestore()
    .collection("threads")
    .doc();

  await threadRef.set({
    ...systemFields,
    title: input.title,
    content: input.content,
    doneFlg: 0
  });
};

export { create };
- 以下クラスを修正する
import React from "react";
import styled from "styled-components";
import { Button, Card } from "react-bootstrap";
import { firestore } from "firebase/app";

const StyledCard = styled(Card)`
  margin-top: 10px;
`;

const StyledDiv = styled.div`
  margin: auto 0px auto auto;
`;

const StyledButton = styled(Button)`
  align-self: flex-end;
`;

const StyledCardHeader = styled(Card.Header)``;

const StyledCardBody = styled(Card.Body)`
  display: flex;
  flex-direction: column;
`;

const CardList = ({ thread }) => {
  const onSubmit = () => {
    firestore()
      .collection("threads")
      .doc(thread.id)
      .update({
        title: thread.title,
        content: thread.content,
        doneFlg: 1,
        createdAt: thread.createdAt
      });
  };

  return (
    <>
      <StyledCard>
        <StyledCardHeader
          style={{
            textDecoration: thread.doneFlg ? "line-through" : ""
          }}
        >
          {thread.title}
        </StyledCardHeader>
        {!thread.doneFlg && (
          <StyledCardBody>
            <Card.Text>{thread.content}</Card.Text>
            <StyledDiv>
              <StyledButton variant="success" onClick={onSubmit}>
                done
              </StyledButton>
            </StyledDiv>
          </StyledCardBody>
        )}
      </StyledCard>
    </>
  );
};

export default CardList;
import React, { useState } from "react";
import { Button, Form } from "react-bootstrap";
import styled from "styled-components";
import { create } from "../helpers/create";

const StyledForm = styled(Form)`
  display: flex;
  flex-direction: column;
`;

const StyledDiv = styled.div`
  align-self: flex-end;
`;

const InputForm = () => {
  const [title, setTitle] = useState("");
  const [content, setContent] = useState("");

  const onSubmit = () => {
    if (title || content)
      create({ title, content })
        .then(() => {
          setTitle("");
          setContent("");
        })
        .catch(err => {
          console.error(err);
        });
  };

  return (
    <StyledForm>
      <StyledForm.Group controlId="title">
        <StyledForm.Control
          as="textarea"
          value={title}
          placeholder="タイトルを入力してください"
          onChange={event => setTitle(event.target.value)}
        />
      </StyledForm.Group>
      {title && (
        <StyledForm.Group controlId="content">
          <StyledForm.Control
            as="textarea"
            value={content}
            rows="3"
            placeholder="概要を入力してください"
            onChange={event => setContent(event.target.value)}
          />
        </StyledForm.Group>
      )}
      <StyledDiv>
        <Button
          id="create"
          disabled={!title || !content}
          onClick={onSubmit}
          variant="primary"
        >
          create
        </Button>
      </StyledDiv>
    </StyledForm>
  );
};

export default InputForm;
import React, { useEffect, useState } from "react";
import styled from "styled-components";
import { firestore } from "firebase/app";
import { collectionData } from "rxfire/firestore";
import CardList from "./CardList";
import InputForm from "./InputForm";

const StyledDiv = styled.div`
  width: 80%;
  margin: auto;
`;

const PageHome = () => {
  const [threads, setThreads] = useState([]);

  const query = firestore()
    .collection("threads")
    .orderBy("createdAt", "desc");

  useEffect(() => {
    const subscription = collectionData(query, "id").subscribe(data => {
      setThreads(data);
    });
    return () => subscription.unsubscribe();
  }, []);

  return (
    <StyledDiv>
      <h2>Input</h2>
      <InputForm />
      <h2>List</h2>
      {threads.map(thread => (
        <CardList key={thread.id} thread={thread} />
      ))}
    </StyledDiv>
  );
};

export default PageHome;
- 開発用サーバーを起動して確認する
$ npm start
-
以下のような動きをすれば通信処理の実装は完了です
-
データベースには以下のような形式で値が登録されます
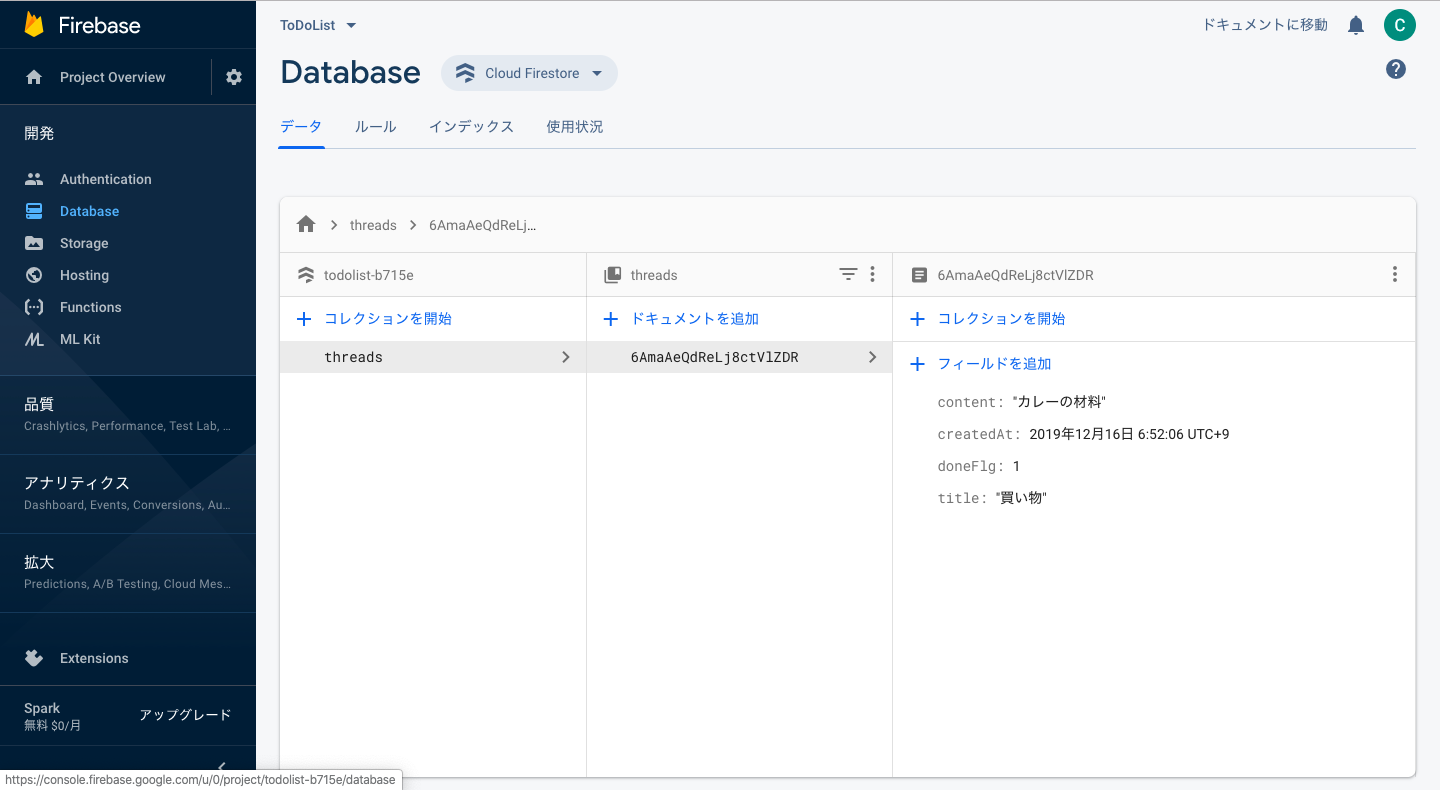
(ついに登録された!)
ホスティングする
- 本番用にビルドする
$ npm run build
-
.firebasercを作成する
{
  "projects": {
    "default": "プロジェクトID"
  }
}
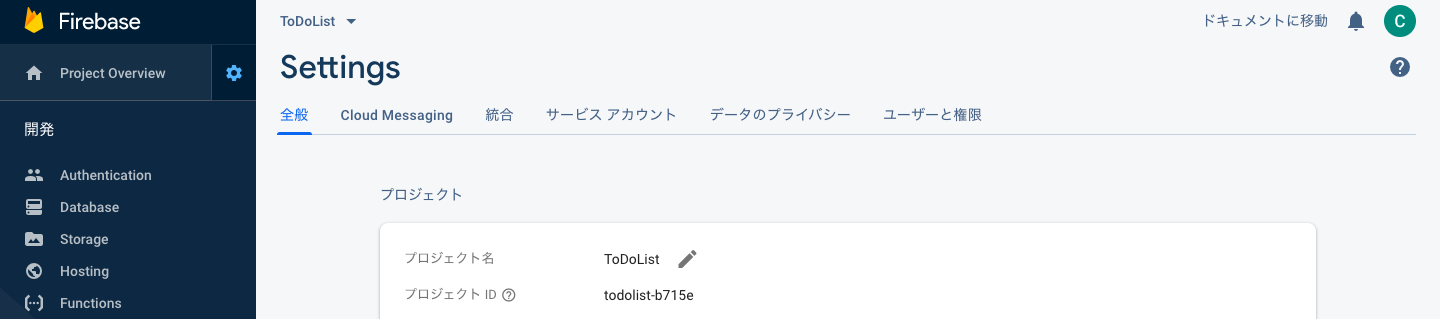
-
プロジェクトIDはFirebaseの管理画面から確認できる
-
firebase.jsonを作成する
{
  "hosting": {
    "public": "build",
    "rewrites": [
      {
        "source": "**",
        "destination": "/index.html"
      }
    ]
  }
}
- Firebase-toolsをインストールする
$ npm i -g firebase-tools
- Firebaseにログインする
$ firebase login
- Webページを公開する
$ firebase deploy --only hosting
-
コンソールに表示されるURLにアクセスする
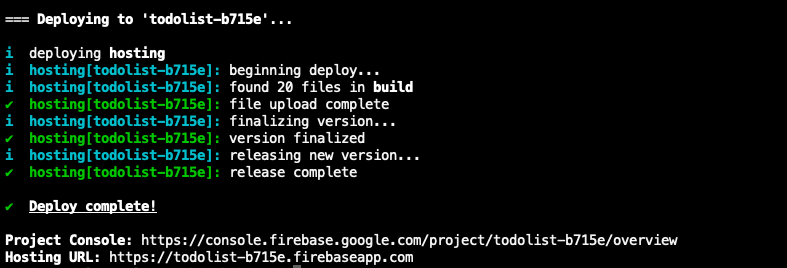
-
ホスティングしたWebページが表示される
最後に
- Firebaseまだ全然使いこなせてない・・
- 次はモバイルアプリ開発にも挑戦したい
ここまで読んでいただいてありがとうございました。