はじめに
本記事はVCIアドベントカレンダーの18日目の記事です。
pythonのopenCVを使って、動画をテクスチャにして、動画VCIを作る方法について解説します。
動画の全コマを画像化する
動画のコマを画像化する際、以下の処理を行います。
- 動画の読み込み
- 1コマ画像の読みだし
- 画像の保存
動画の読み込み
cv2.VideoCapture(filename)

@param[in] filename 動画ファイルの名前
@return 動画キャプチャオブジェクト
1コマ画像の読みだし
VideoCapture::read()

@param[out] image 1コマの画像
@return true : 動画フレームあり    false : 動画フレームなし
画像の保存
cv2.imwrite(filename, img[, params] )

@param[in] filename 保存するファイル名
@param[in] img (1コマの)画像
@param[in] [params] フォーマットを指定するパラメータ(option)
動画のコマ割り例
cap = cv2.VideoCapture(”movoe.mp4”)

if not cap.isOpened():
    return

n = 0

while True:
    ret, frame = cap.read()
    if ret:
        cv2.imwrite('{}.{}'.format(str(n), "png"), frame)
        n += 1
    else:
        break
画像を結合して1枚の画像にする
- 画像のリサイズ(場合による)
- 画像を横方向に結合する
- 画像の保存
画像のリサイズ
画像を結合する際に画像のサイズが不一致の場合、エラーが出ることがありますそのため画像のリサイズを行います。
cv2.resize(img, (width, height), fx, fy, interpolation)
@param[in] img 画像の名前
@param[in] (width, height) 変換したい(幅, 高さ)
@param[in] fx 幅の倍率
@param[in] fy 高さの倍率
@param[in] interpolation 補間方法
@return 変換後の画像情報
画像を横方向に結合する
cv2.hconcat([im])

@param[in] [im] 結合したい画像のリスト
@return 結合後の画像情報
画像を縦方向に結合する
cv2.vconcat([im])

@param[in] [im] 結合したい画像のリスト
@return 結合後の画像情報
結合関数を組み合わせた関数例
def concat_tile(im_list_2d, w):
    v_list = []
    for i in range(len(im_list_2d)) :
        datas = im_list_2d[i]
        l = len(datas)
        # todo :画像が横に並べたい枚数と一致しない場合の対応を行う
        if l < w :
            blank = np.zeros((datas[0].shape[0], datas[0].shape[1], 3))
            img = cv2.resize(blank, (width, height), 1, 1, cv2.INTER_LANCZOS4)
            for j in range(w-l) :
                datas.append(img)
            print(len(datas))
        img = cv2.hconcat(datas)
        v_list.append(img)
    return cv2.vconcat(v_list)
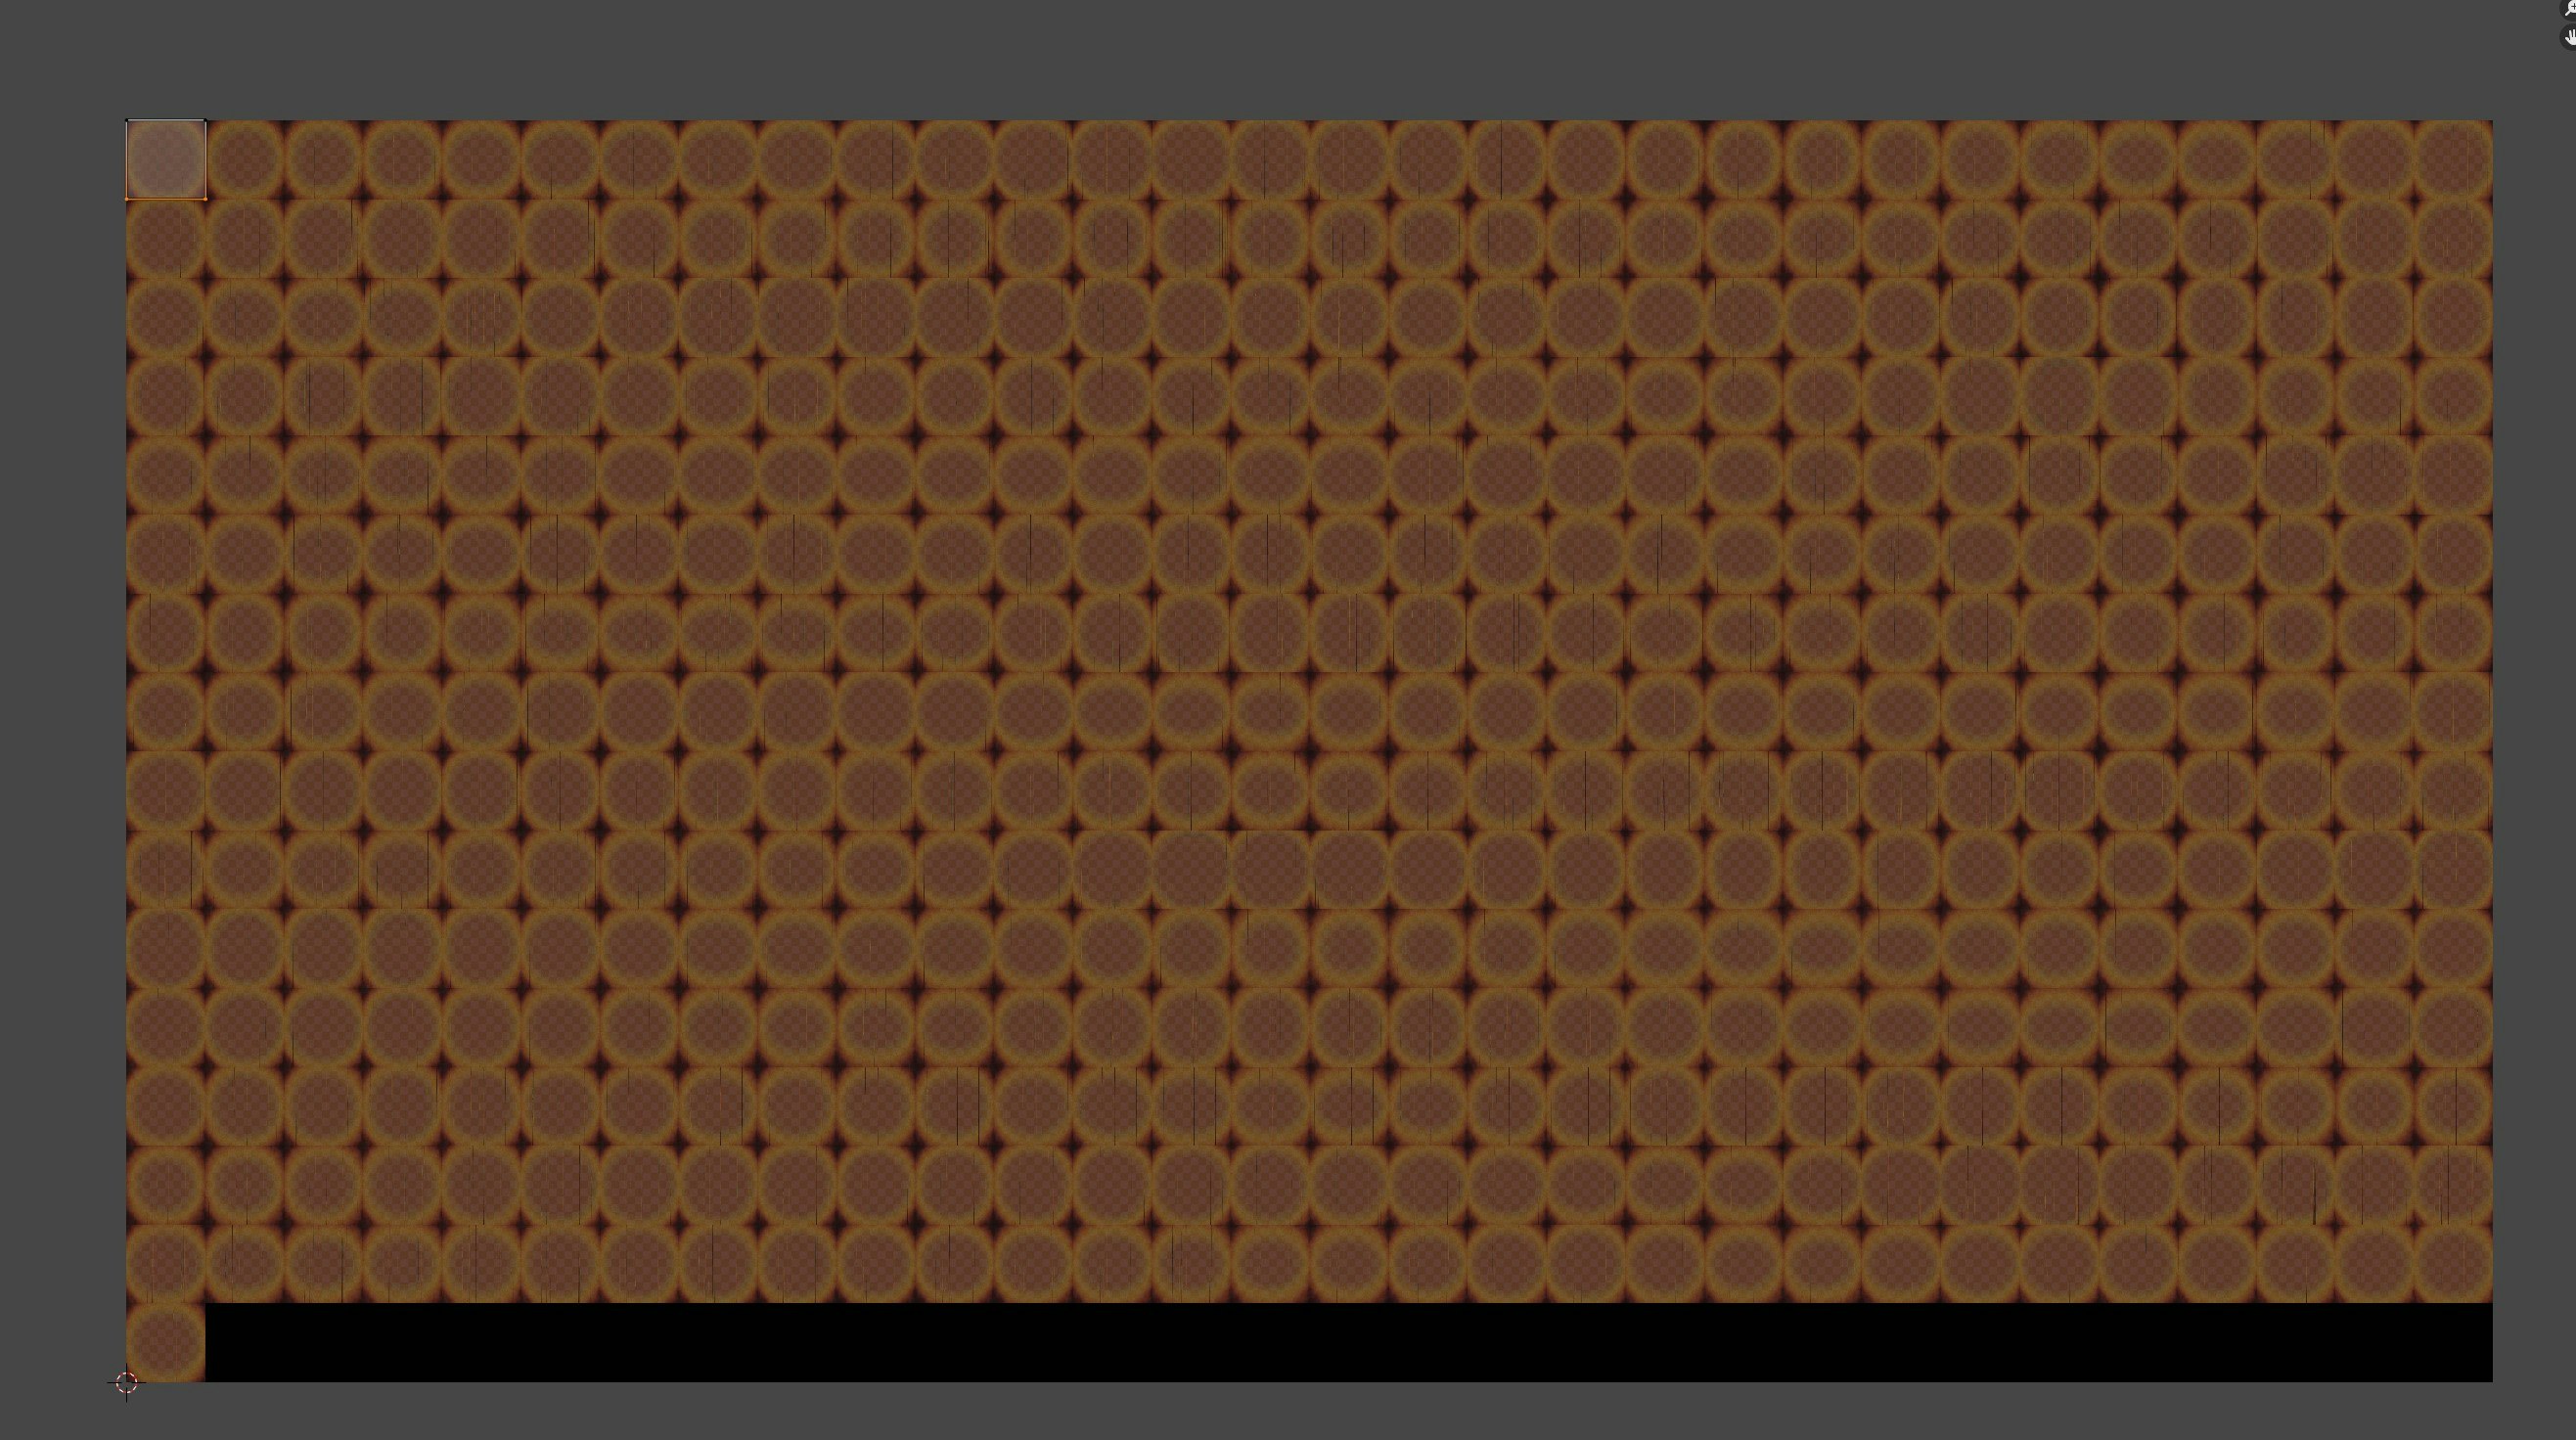
blenderで板ポリに画像を張り付ける
板ポリのUVを調整し、1コマサイズに合わせます。
(下記の画像では30fps15秒の画像で、Xは0.033(1/30)、Yは0.938(1-(1/16)が四捨五入))
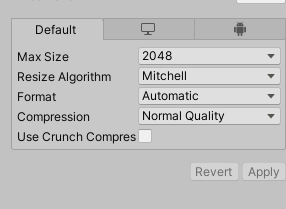
Unityでの画像設定
画像の種類にもよりがますが、4Kや8Kにサイズ変更するとVCI化した際に綺麗に見えます。
luaスクリプトでUVオフセットをずらし動画を再生する
動画再生関数例
local material = "movie" -- 動画画像のマテリアル
local sec = 15 -- 動画の再生時間
local fps = 30 -- 動画のfps

function playMovie()
    print("playMovie 開始")
    local fin = (fps * sec) + 1
    local ms = 1000 * (1/fps)
    local cnt = 0

    print(fps)
    print(sec)
    print(fin)


    local colorON = vci.assets.material.GetColor(material)
    colorON.a = 1
    vci.assets.material.SetColor(material, colorON)

    while cnt < fin do
        local offset = Vector2.zero
        offset.x = ( (cnt % fps) / fps )
        -- offset.y = (math.modf(fin / fps) - math.modf(cnt / fps)) * (1/(math.modf(fin / fps) + 1))
        offset.y = 1 - (math.modf(cnt / fps)) * (1/(math.modf(fin / fps) + 1))
        if offset.x == 0 then
            print(offset.y)
        end
        vci.assets.material.SetTextureOffset(material, offset)
        sleepMs(ms)
        cnt = cnt + 1
    end

    colorON.a = 0
    vci.assets.material.SetColor(material, colorON)
    print("playMovie 終了")
end
おわりに
動画をVCIを作成するだけでなく、画像を結合以降の内容はグリップボタンを押したときに柄が変わるポスターなどで使用する画像を簡単に作成することが出来るのでUVオフセットを切り替えるアイテムを作成する際に使ってみてください。